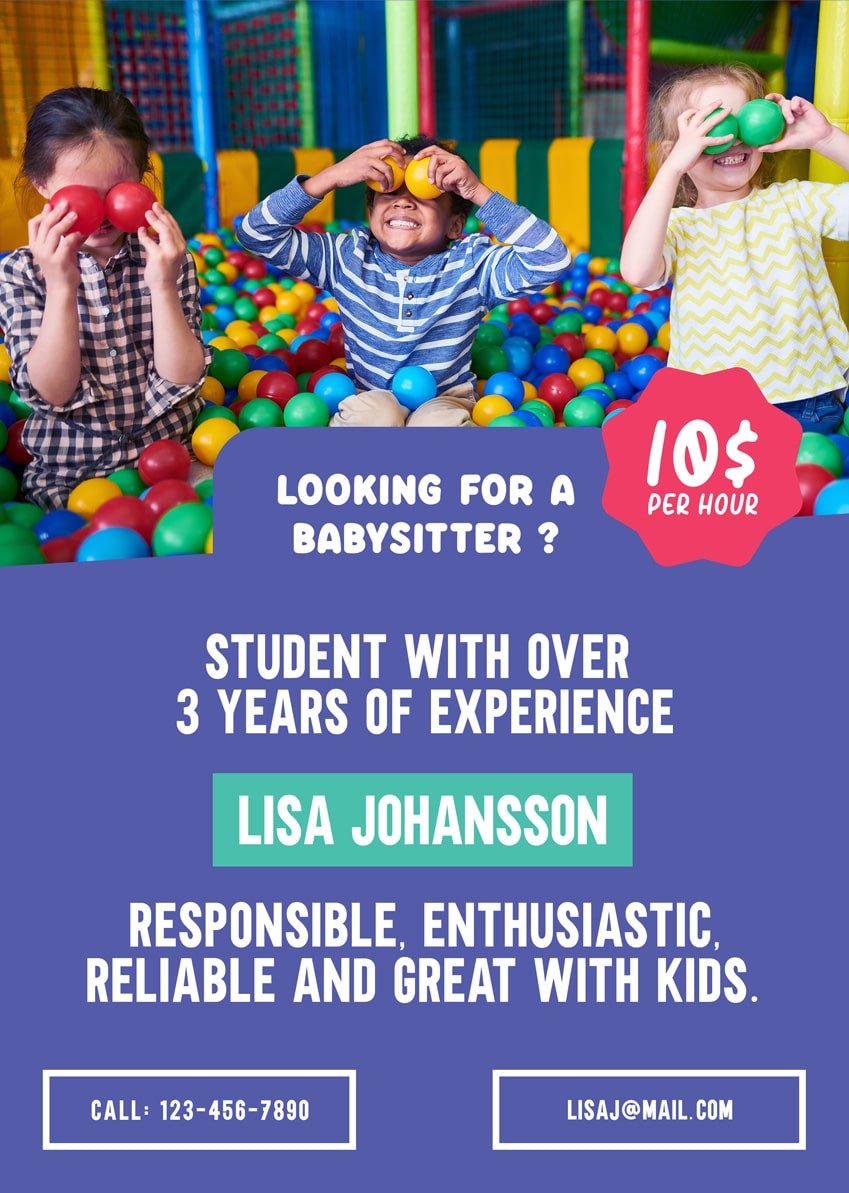


In the following tutorial, you will learn how to make a babysitter flyer template in Adobe Photoshop.
We’ll start by creating a print-ready document. You’ll learn how to add images, vector shapes, or text, and how to easily align or stylize these elements. For the final touch, you’ll learn how to add a badge design to your babysitting flyer template.
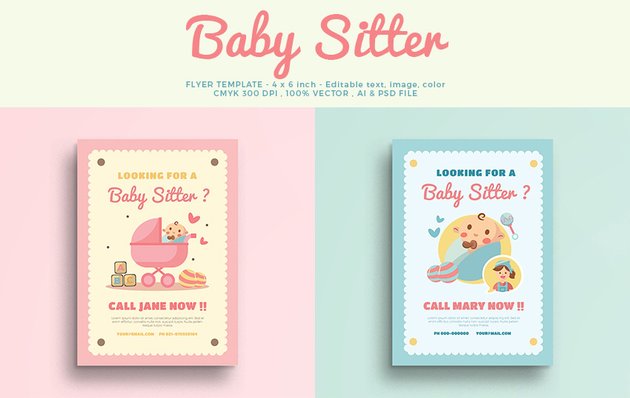
If you don’t have the time to learn how to make a good babysitting poster, you can always try GraphicRiver, where you can find plenty of babysitting flyer ideas. This playful babysitter ad template is just one of the many babysitting flyer examples. All you have to do is open it and adjust the text as needed.

What You’ll Learn in This Tutorial
- How to set up a print-ready document in Photoshop
- How to stylize and align vector shapes in Photoshop
- How to work with text in Photoshop
- How to create a basic badge design in Photoshop
What You’ll Need
You will need the following resources in order to complete this babysitter flyer template :
- Happy Kids Playing in Ball Pit photo
- Knicknack font
- Trouble font
- Childo font
1. How to Set Up a New Document
Step 1
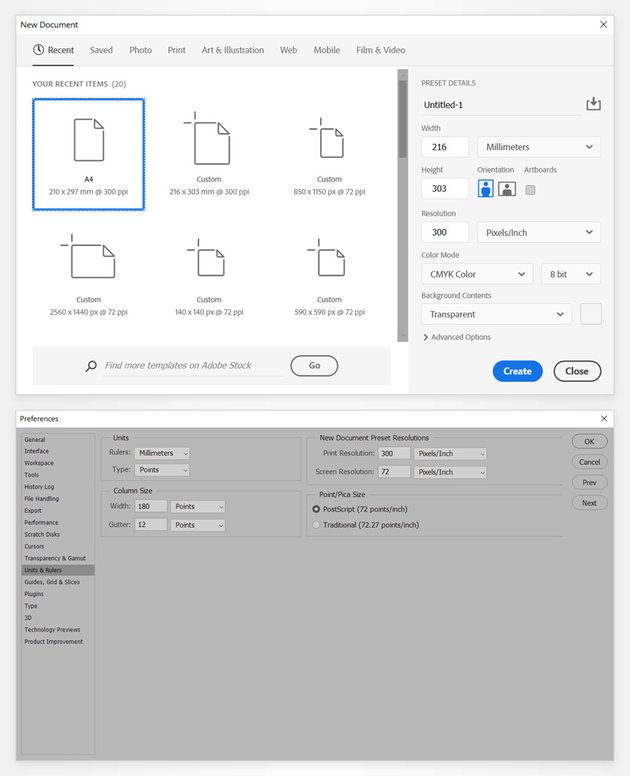
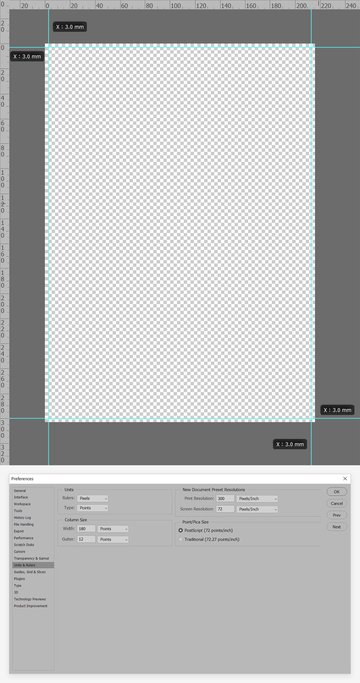
Hit Control-N to open the New Document window. Go to the Print section and select the A4 template. This will automatically set the Width to 210 millimeters and the Height to 297 millimeters. Increase both values by 6 pixels, which will represent the bleed area.
Now that the Width is set to 216 mm and the Height to 303 mm, make sure that the Resolution is set to 300 px/inch, and since you’re creating this for print, select CMYK for the Color Mode. Set the Background to Transparent and then click that Create button to create your new document.
Go to Edit > Preferences > Unit & Rulers and make sure that the Rulers are set to Millimeters. Now that your document is set up, let’s learn how to make a babysitter flyer.

Step 2
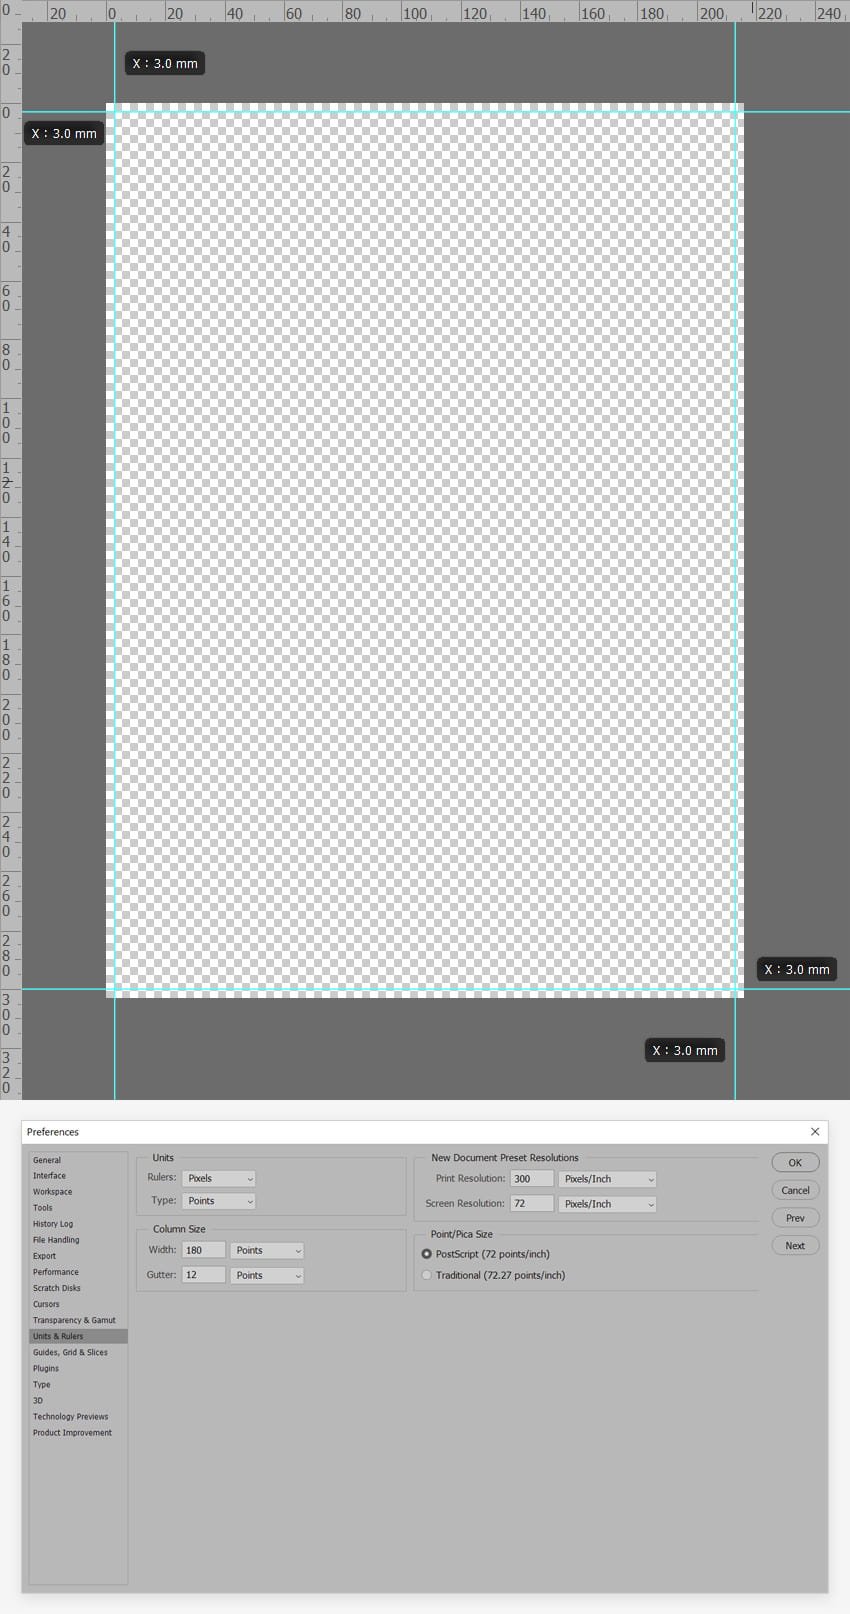
Press Control-R to enable the Rulers, and let’s create the guides which will demarcate the bleed areas.
Grab the Move Tool (V), hold down the Shift key, and simply click and drag from your rulers to add two horizontal guides and two vertical guides 3 px from the edge of the canvas.
Once you’re done, go back to Edit > Preferences > Unit & Rulers and set the Rulers to Pixels.
2. How to Create the Babysitter Flyer Background
Step 1
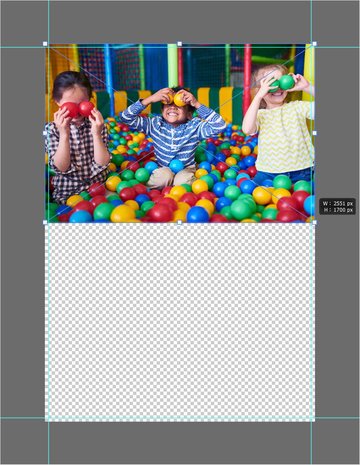
Drag this Happy Kids Playing in Ball Pit photo inside your document. Scale it to fit the width of the canvas and move it to the top.


Step 2
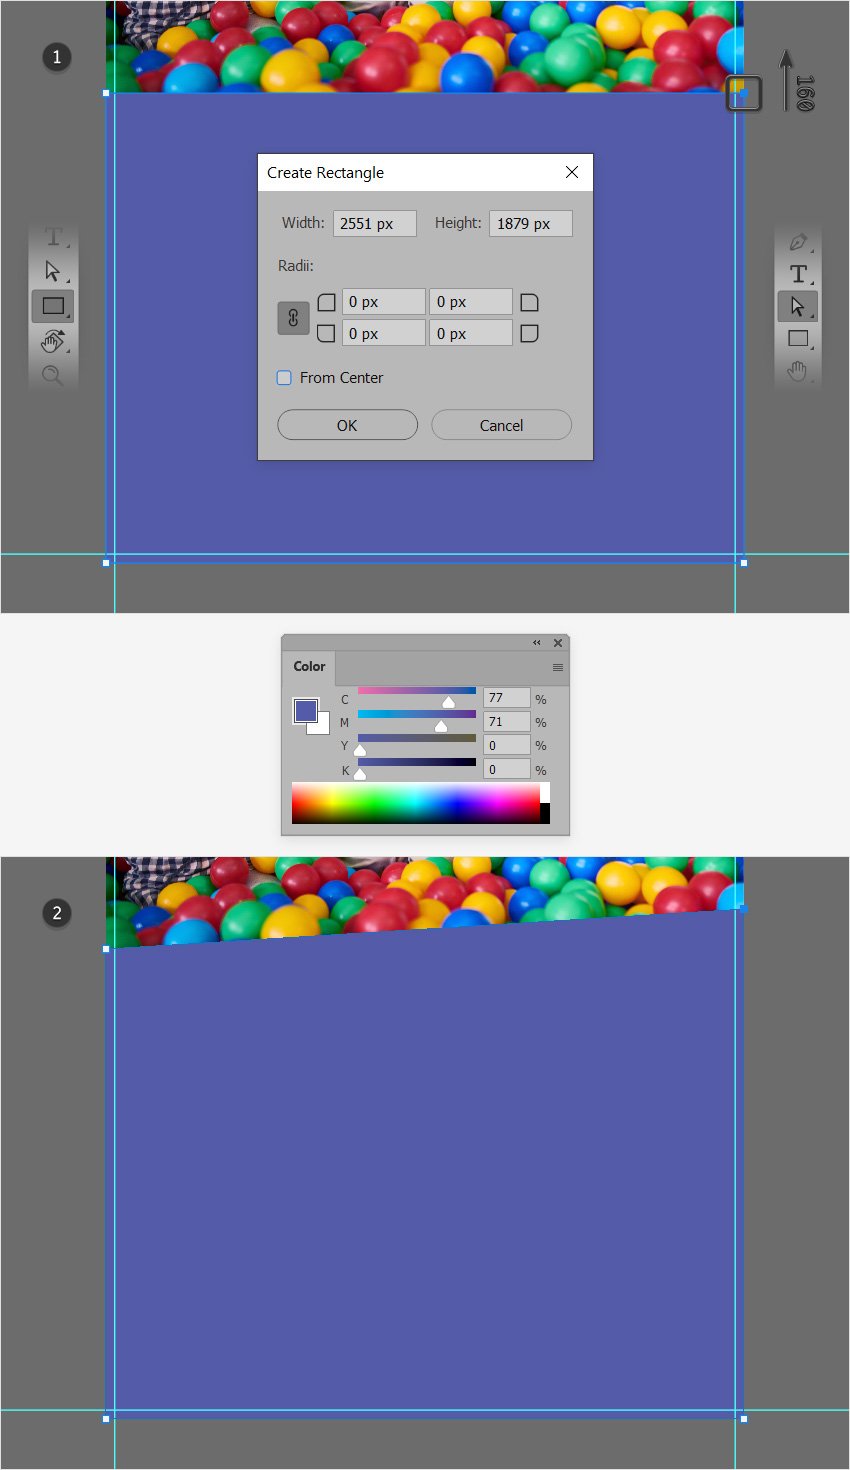
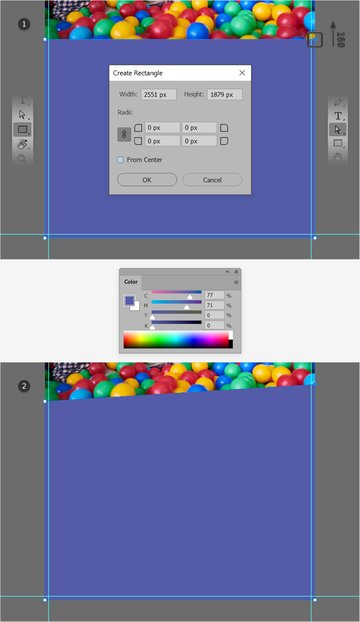
Select the Rectangle Tool (U) from your toolbar and simply click on your canvas to create a 2551 x 1879 px shape.
Fill this new shape with C=77% M=71% Y=0% K=0% and place it as shown in the first image.
Switch to the Direct Selection Tool (A) and focus on the top side of this rectangle. Select the right anchor point, hold down the Shift key, and drag it 160 px up, as shown in the second image.

Step 3
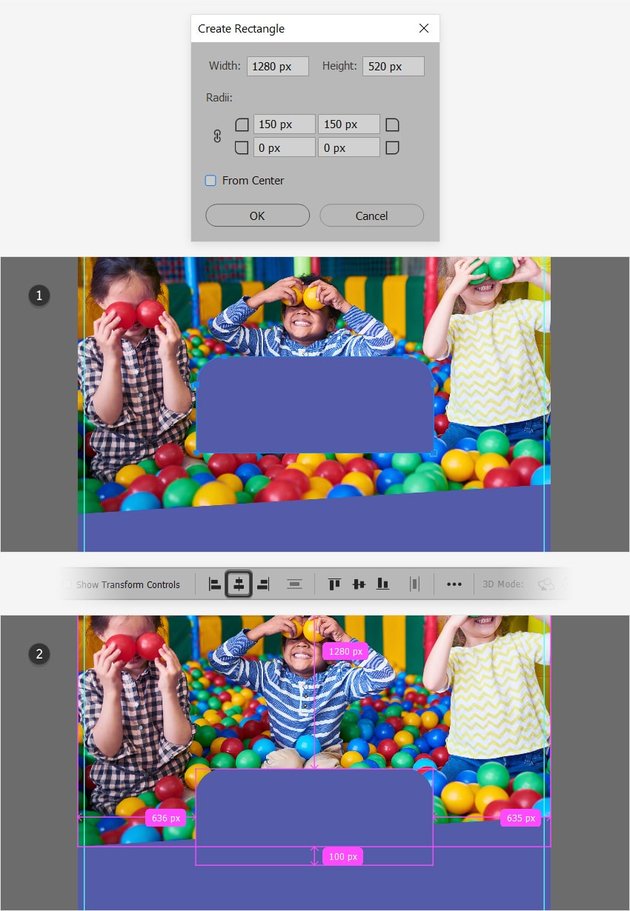
Reselect the Rectangle Tool (U), and click again on your canvas to create a new shape.
This time, set the Width to 1280 and the Height to 520. Make sure that the Link together corner radius values button is disabled, and set the Corner Radius for the top corners to 150 px.
Click OK to create your new shape, and make sure that you’re using that same purple for the fill color.
Keep this shape selected and press Control-A to load a selection around your entire canvas. Focus on the control panel and click the Align Horizontal Center button to easily center your shape. Press Control-D to get rid of that selection, and then switch to the Move Tool (V). Hold down the Shift key to easily drag your shape vertically, and place it exactly as shown in the second image.


3. How to Add Text to Your Babysitter Flyer
Step 1
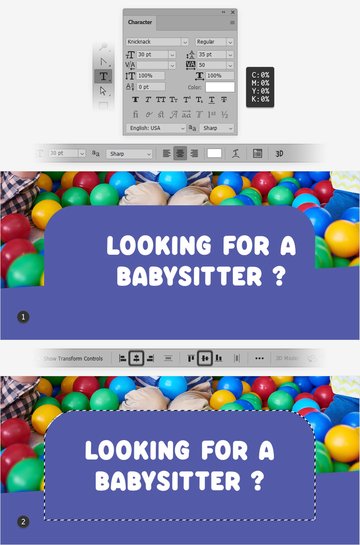
Select the Horizontal Type Tool (T) from your toolbar and focus on the Character panel (Window > Character) where you can set the settings for the text that you’re about to add.
Select the Knicknack font, set the size to 30 pt, the leading to 35 pt, the tracking to 50, and the color to white, and then simply click on your canvas to type in “LOOKING FOR A BABYSITTER?”
Move to the control panel and click the Center text button to set the alignment of your text to center, and then focus on the Layers panel (Window > Layers). Hold down the Control key and click the thumbnail of your rectangle with the two rounded corners to easily load a selection around it.
Make sure that your text is still selected (in the Layers panel), move to the control panel, and click the two Align center buttons to easily move the text to the center of your selection. Once you’re done, remember to press Control-D to get rid of the selection.


Step 2
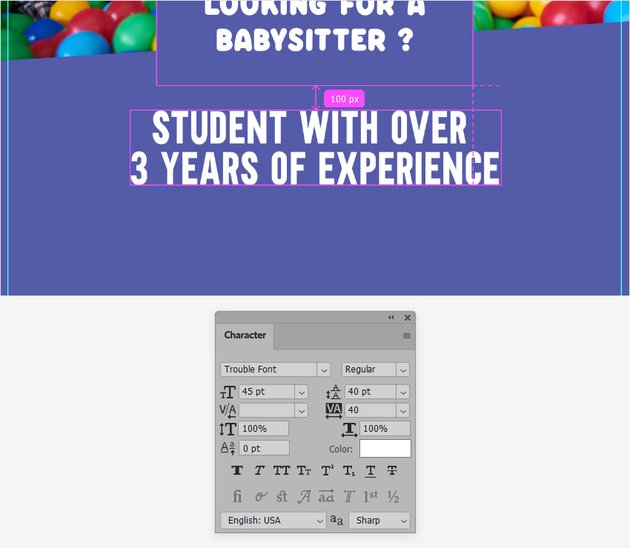
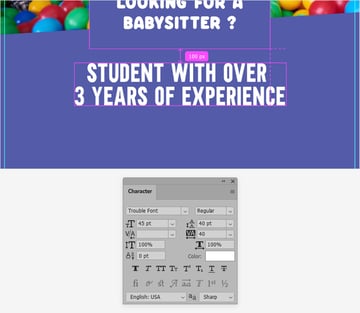
Return to the Character panel, and this time select the Trouble font. Increase the size to 45 and the leading to 40, lower the tracking to 40, and keep the color set to white.
Click again on your canvas and type in the text shown below. Center it and place it exactly as shown in the following image.
Go to View > Show > Smart Guides to enable the Smart Guides. Now you can hold down the Control key and hover over any elements from your design to check the distance between those elements and your new piece of text.

Step 3
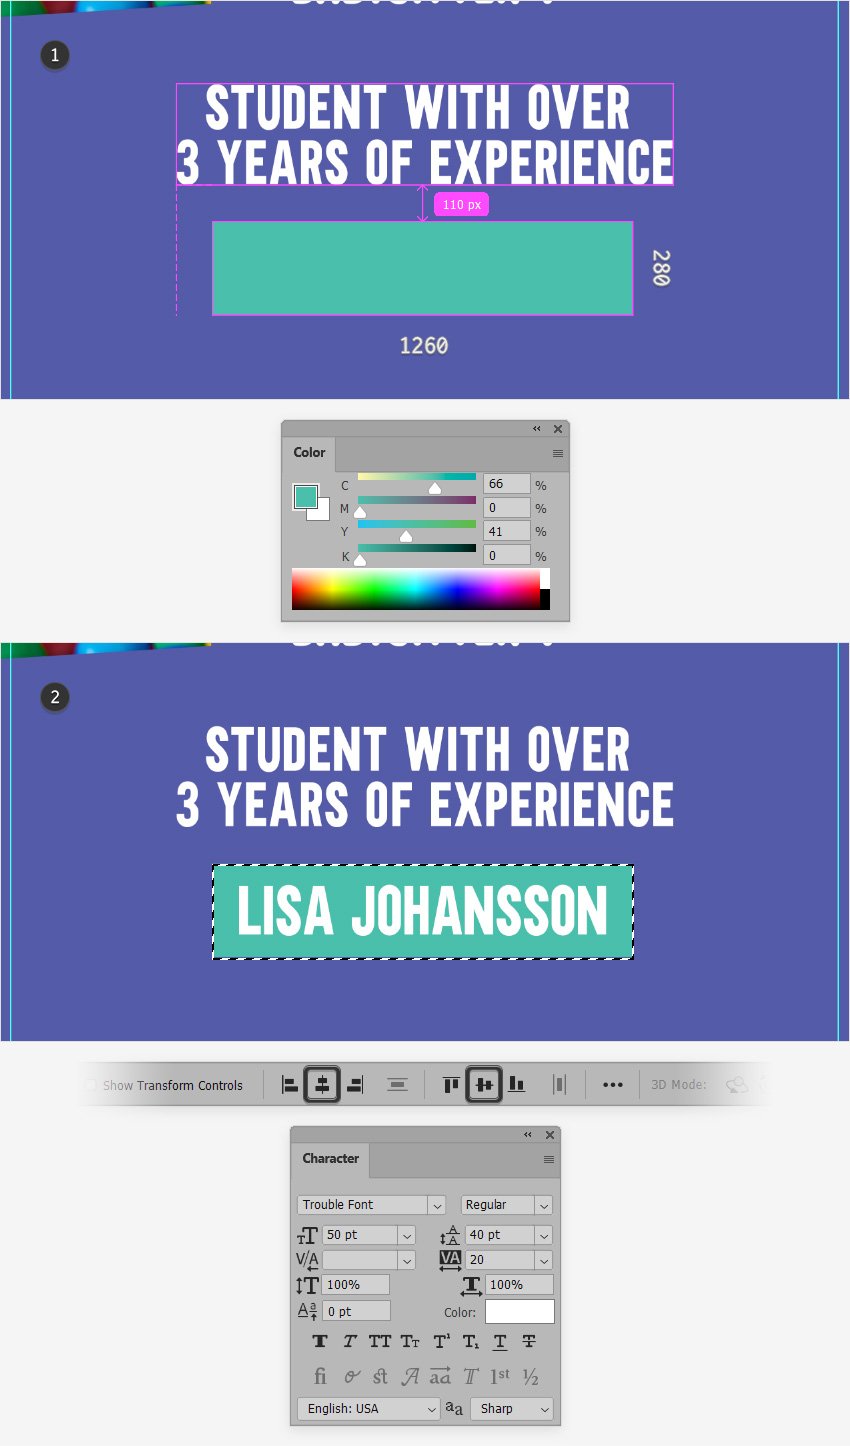
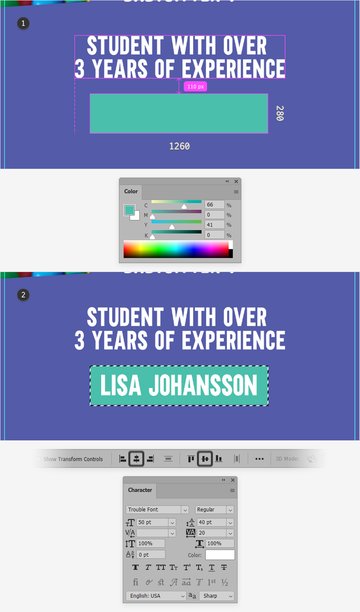
Reselect the Rectangle Tool (U) and use it to create a 1260 x 280 px shape. Set the fill color of this rectangle to C=66% M=0% Y=41% K=0% and place it as shown in the first image.
Switch to the Horizontal Type Tool (T) and return to the Character panel to increase the size to 50 and lower the tracking to 20. Type in “LISA JOHANSSON” and center this new text inside your newest rectangle.

Step 4
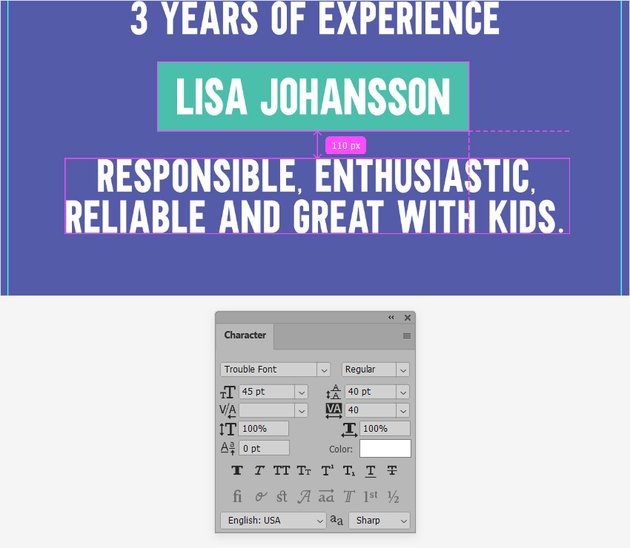
Select the “STUDENT WITH…” text from the Layers panel and grab the Move Tool (V).
Hold down the Alt key to easily drag a copy of this text and then the Shift key to constrain the movement of the copy vertically. Place it as shown in the following image, and replace the text with the one shown below.


Step 5
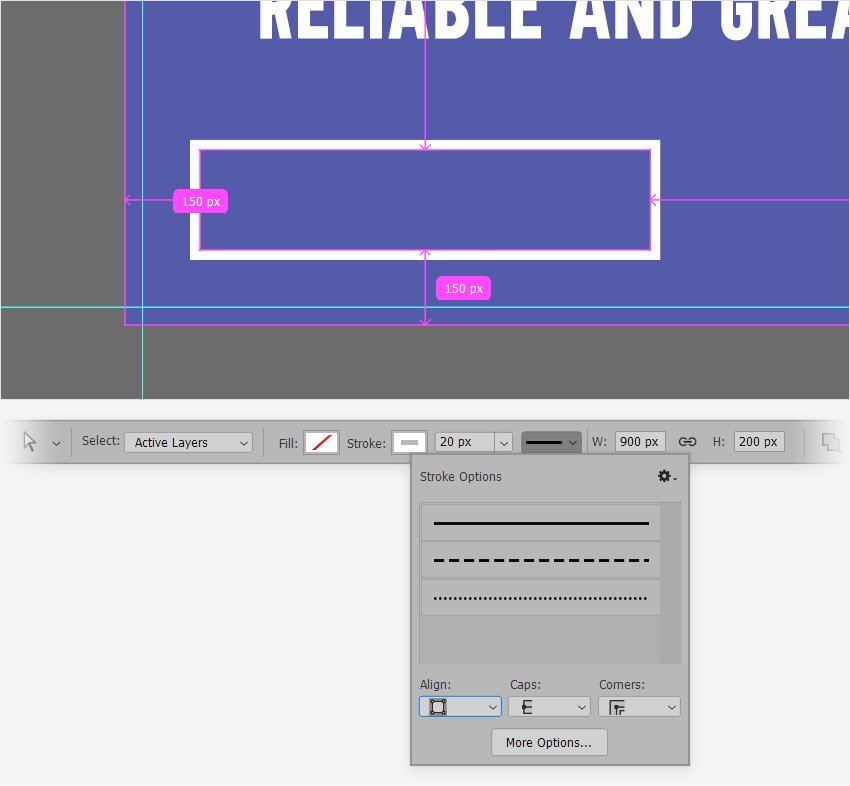
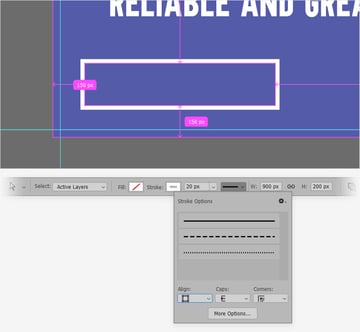
Reselect the Rectangle Tool (U) and use it to create a 900 x 200 px shape. Place it as shown in the following image and then focus on the control panel to stylize it.
First, remove the fill color and set the stroke color to white. Increase the stroke weight to 20 px and then click the Stroke Options button where you need to set the alignment to Outside.

Step 6
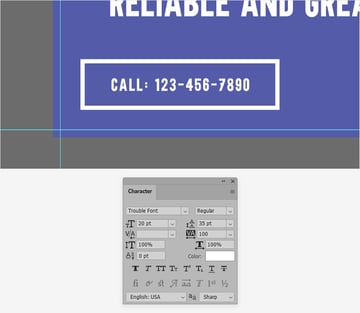
Switch to the Horizontal Type Tool (T) and return to the Character panel. Lower the Size to 20 and the Leading to 35, increase the Tracking to 100, and then type in “CALL: 123-456-7890”.
Don’t forget to center this new text inside your rectangle outline.


Step 7
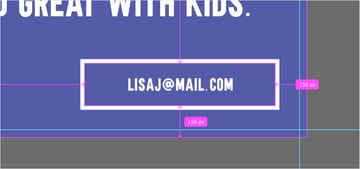
Focus on the Layers panel, hold down the Control key, and select your rectangle outline along with the text inside it. Get back to your canvas and drag a copy of these two elements as shown in the following image.
Remember that the Move Tool (V) must be active and that you should hold down the Alt key to add the copy and the Shift key to constrain the movement of the copy.


4. How to Add a Badge to the Babysitter Flyer
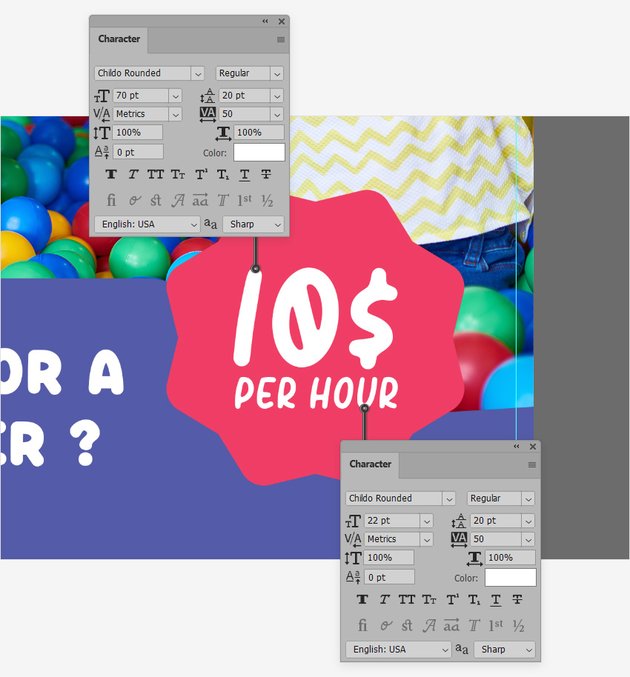
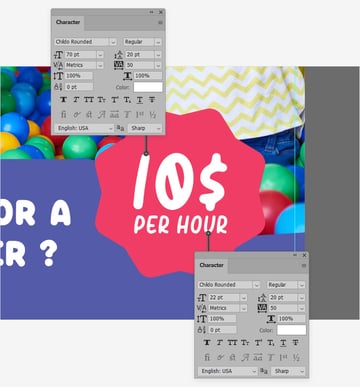
Step 1
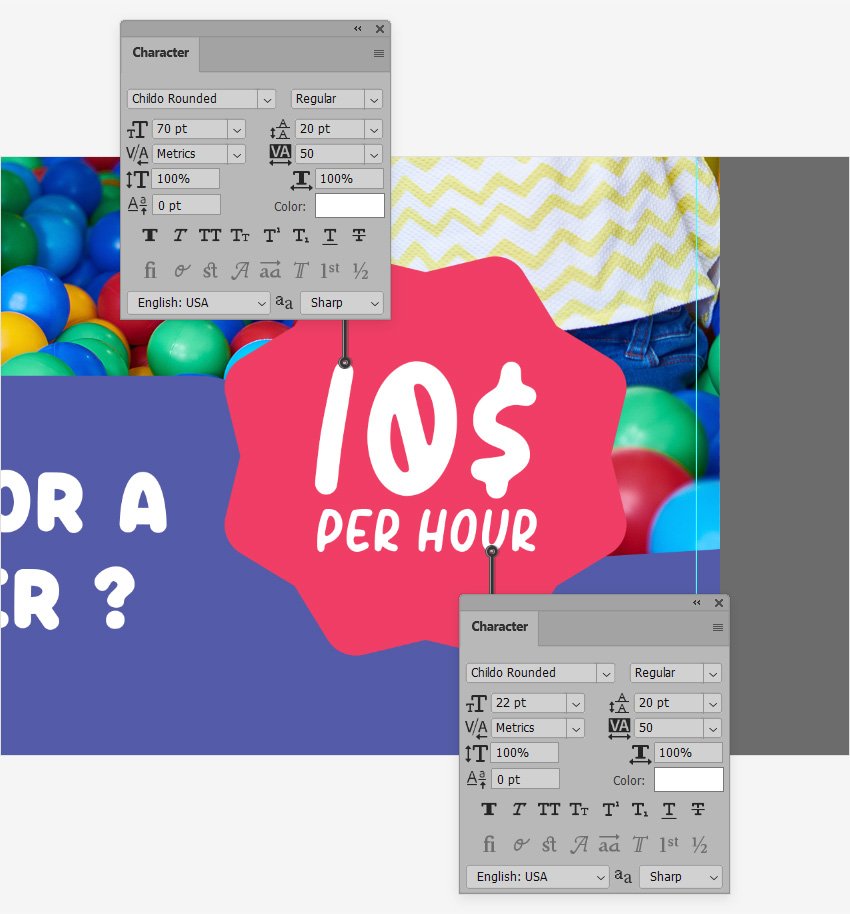
Select the Polygon Tool (U) from your toolbar and click on the canvas to create a new shape.
Set the Width and Height to 670 px, enter 8 Sides, increase the Corner Radius to 50 px and the Start Ratio to 90%, and then click OK to create your new shape. Fill it with C=0% M=90% Y=45% K=0% and place it roughly as shown in the following image.


Step 2
Finally, reselect the Horizontal Type Tool (T) and use it to add the white text shown in the following image.
Congratulations! You’re Done!
Here’s how your babysitting flyer template should look. I hope you’ve enjoyed this tutorial and can apply these techniques in your future babysitting flyers.
Feel free to adjust this babysitter ad template and make it your own. You can find some great sources of inspiration at GraphicRiver, with interesting babysitting flyer examples.


Popular Babysitting Flyers From GraphicRiver
GraphicRiver is an excellent resource for babysitter flyer templates. Here’s a short list of some of the most popular babysitting flyer ideas that you can find.
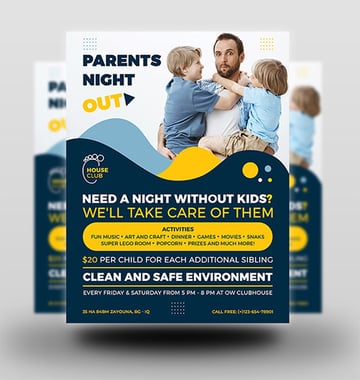
Parents Night Out: Babysitting Flyer Template (PSD)
Don’t have the time to learn how to make a good babysitting poster? You can always use this clean and bold babysitter flyer. Using this template, you can have a funny babysitter flyer design in just a few minutes.


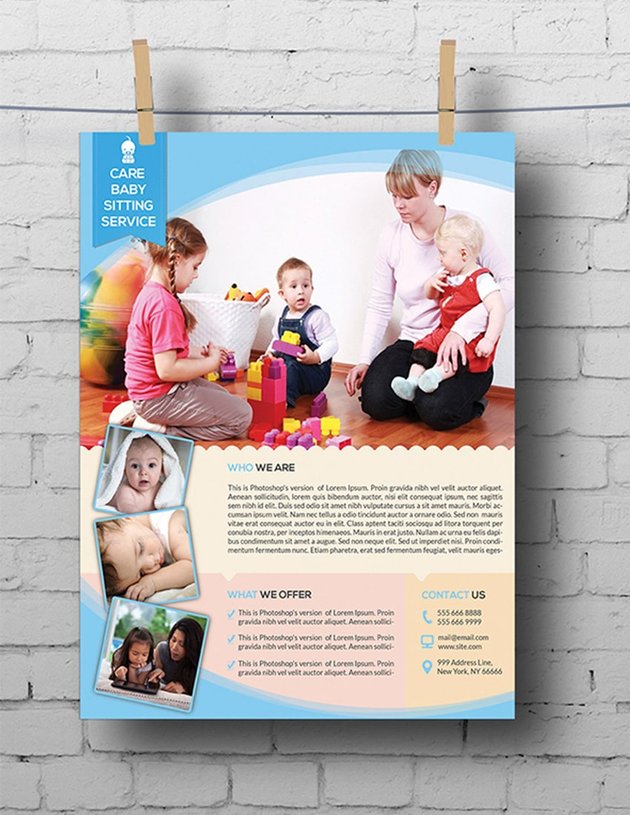
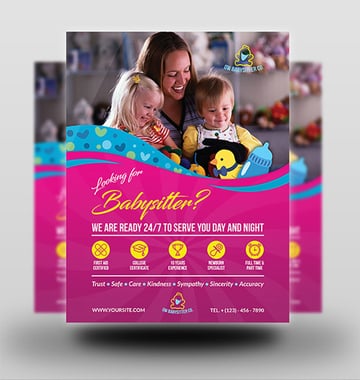
Daycare & Babysitting Flyer Template (PSD)
Advertise your babysitting services using this attractive babysitter flyer template. The design is very customizable, which means that you can change the titles, the paragraphs, or the image to suit your needs and preferences.


Child Care & Babysitting: Cartoon Flyer (PSD, PNG, JPG, EPS, AI)
Cut the hassle of learning how to create a babysitter flyer and try this cartoon flyer template. All you have to do is type your information and you’re ready to print.


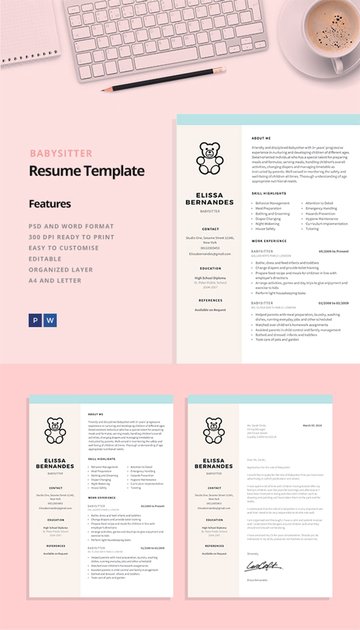
Babysitter Resume Template (PSD)
If you’re looking for something different, this babysitter resume template might be the solution. This fully customizable design is perfect to display your skills and experience in a well-put-together flyer.


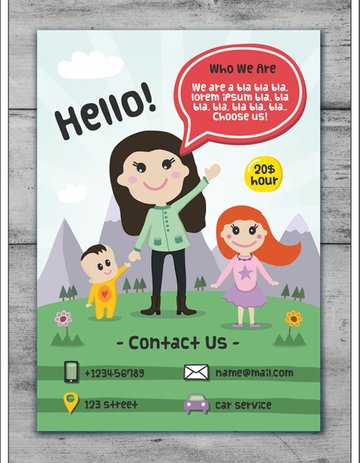
Babysitter Flyer Template (PSD)
If you’re in a hurry or you simply can’t be bothered to learn how to make a good babysitting poster, this warm and colorful design could be the perfect solution. Just a few clicks and your babysitter flyer should be ready for print.


Want to Learn More?
We have loads of tutorials on Envato Tuts+, from beginner to intermediate level. Take a look!
 FlyersHow to Create a Party Flyer Template PSD in Photoshop
-
FlyersHow to Make a Pool Party Flyer Template in Photoshop
-
FlyersHow to Create a Restaurant Flyer Template
-
Print DesignHow to Create a Promotional Flyer in Photoshop
-
FlyersHow to Make a Business Flyer Template in Photoshop
-
Print DesignLearn How to Make a Flyer in Our New Photoshop Course
-
FlyersHow to Create a 60s Retro Flyer Design
-
FlyersHow to Make a Flyer Online With a Flyer Creator (Without Photoshop!)