For many years, Photoshop was the go-to tool for many image editing tasks such as removing the background from an image. But nowadays there are powerful new options for image editing. We can do a lot more with UI design tools like Figma now, including removing an image’s background. In this quick tip, we’ll show how to remove an image’s background using Figma.
To accomplish this, we’ll need to install a Figma plugin.
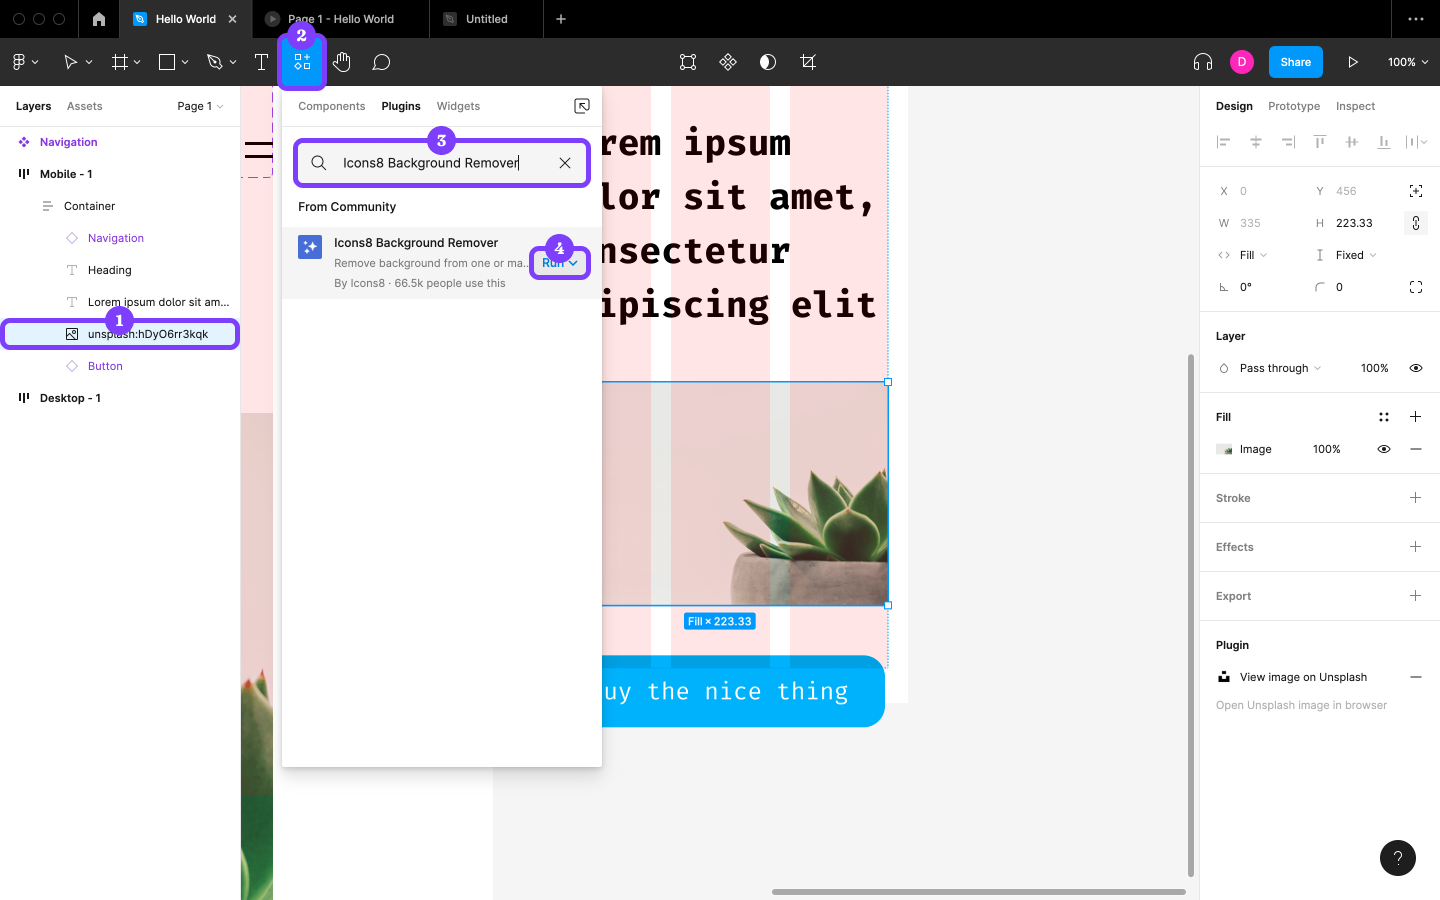
Select the image, click on the “Resources” icon in the horizontal toolbar, switch to the Plugins tab, do a search for “Icons8 Background Remover”, and then click on the Run button. Viola!

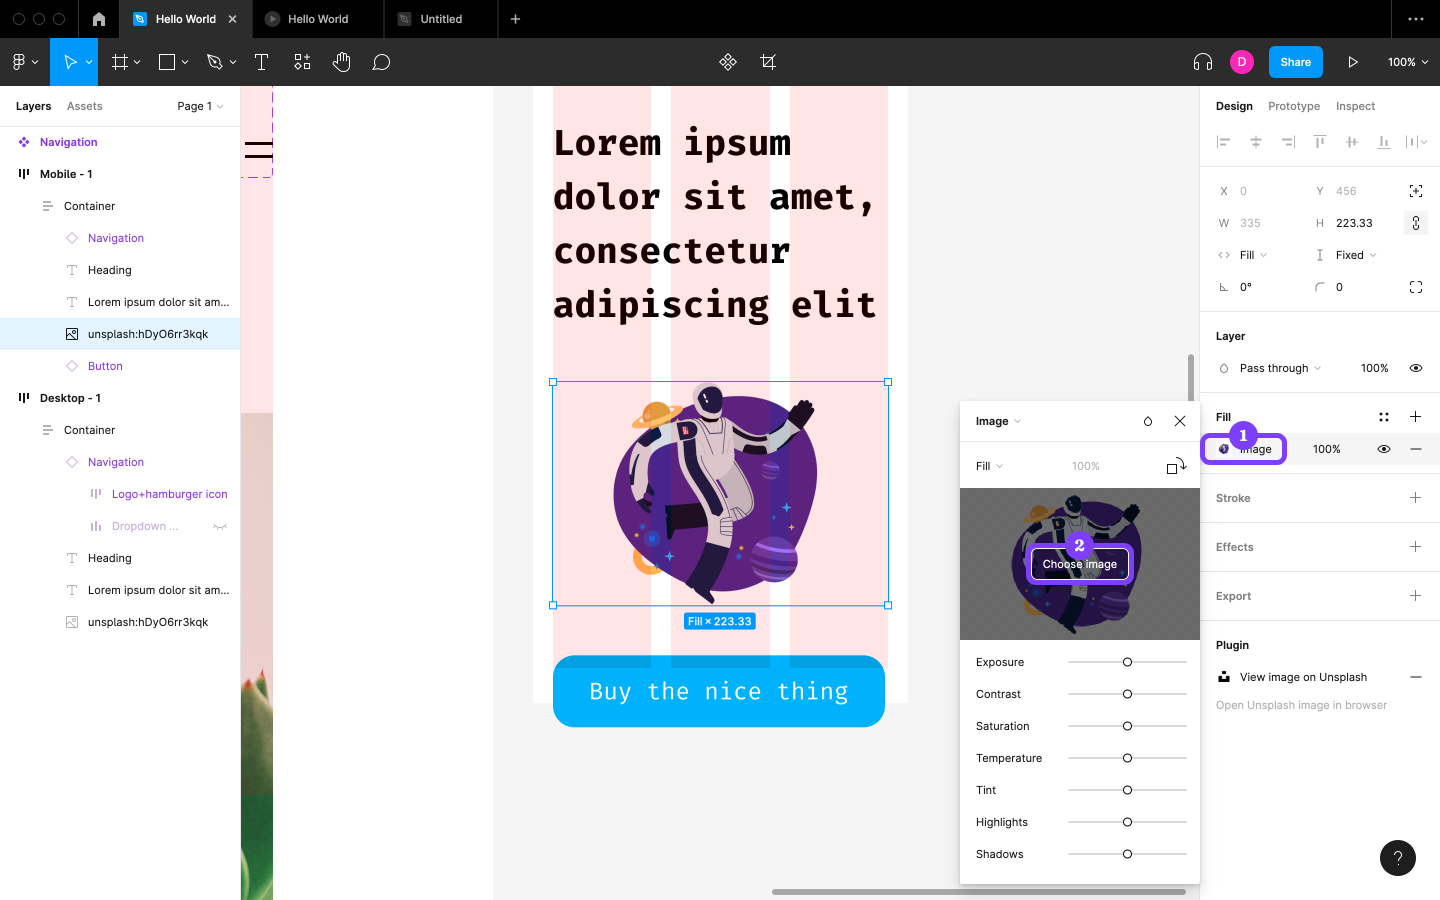
If the image isn’t suitable for background removal, change its Fill to that of a new image by clicking on the Choose image button. If we need to edit the image (such as changing how it fits into the bounding box, or rotating it, or fine-tuning its exposure), we can also do that from here.

This article is a short extract from The Designer’s Guide to Figma, available on SitePoint Premium.