What You’ll Need
What Is Matte Painting in Photoshop?
Let’s go back to the days before Photoshop because matte painting has been around for over 100 years. Originally, matte painting was a hyper-realistic backdrop used in photography and film. This technique allowed filmmakers to create detailed environments of cityscapes and landscapes using various methods.
Sometimes, the mattes were done by painting directly onto glass and then placing that glass in front of the camera. Sometimes, they were used as actual backdrops on sets, often to extend the set or landscape.
As long as the subjects stayed within the non-painted area, it produced a very convincing effect.
So these backdrops and paintings were meant to be hyper-realistic and blend seamlessly with the real-life actors and sets. There were not too many fantasy or sci-fi movies that existed without matte paintings.
Modern-Day Digital Matte Painting
In modern times, matte paintings serve the same purpose but tend to be digital and a mixture of 3D, CGI, animation, photo elements, and hand painting. This introduced a newer technique called photo bashing or photo manipulation, which uses both traditional painting techniques and photographed textures for added realism.
With the rise of Photoshop came the popularity of creating matte paintings for concept and digital art, not just films. This is what we’ll be covering today as I’ve picked up some photo compositing tips from watching matte painters despite my main skill being creative compositing.
Planning a Matte Painting
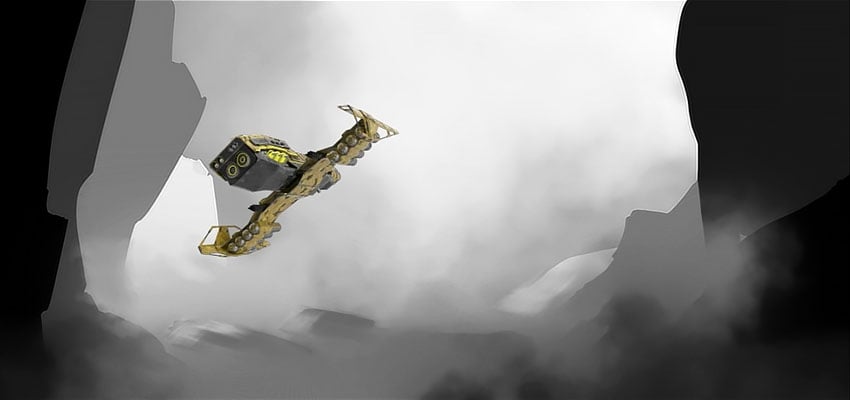
Let’s start with planning out a matte painting. When planning your matte painting, you’ll usually want to start with some kind of sketch. It doesn’t have to be pretty or good—it’s only there to act as a guide for composition and values.
Sketch
When creating the sketch, you should Zoom your canvas out so it’s small, or make sure your Navigator is turned on by going to Window > Navigator.
Your sketch isn’t meant to look good, only to serve as a guide for your photos and other assets.
Because your sketch is meant to guide the general shapes, composition, and values of your matte painting, you don’t want to focus on the details. Staying zoomed out will help you see the big picture.
Guides
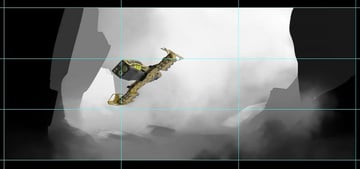
There are a number of different guides you can use to help influence and build your composition. I like splitting my landscapes into thirds.
Step 1
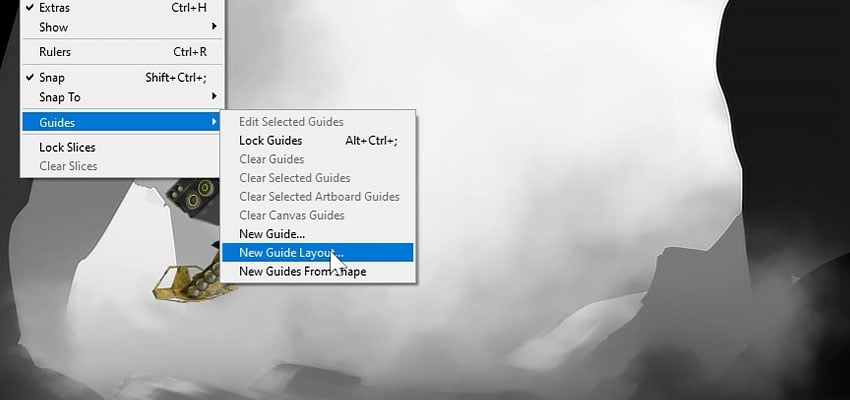
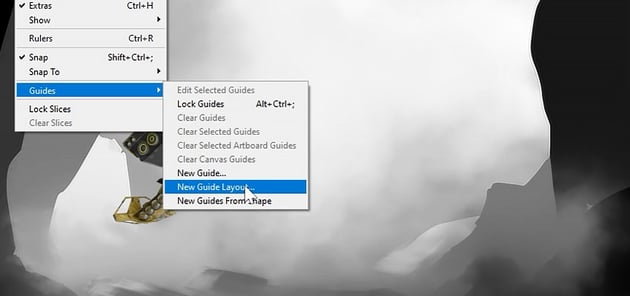
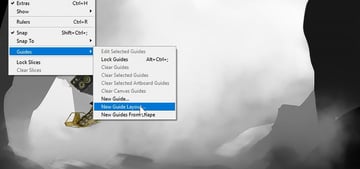
We can do this quickly by going to View > Guide > New Guide Layout.
Step 2
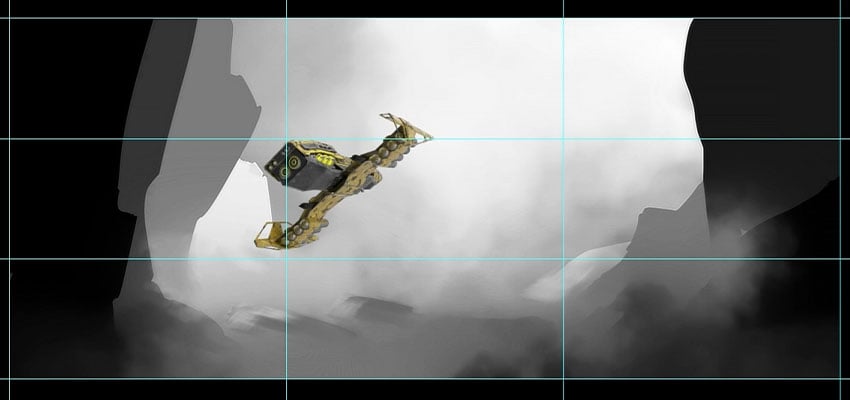
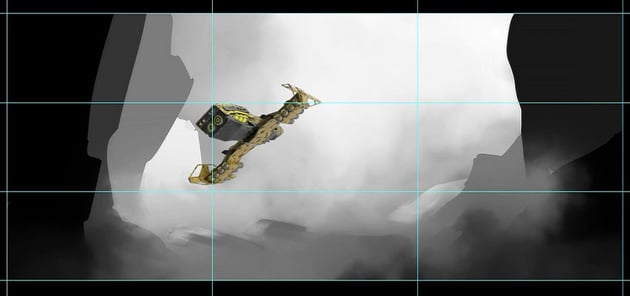
Select the Center option in the Preset dropdown. Now, change the 2 in Column and Row to 3. Your canvas will be split into three sections.
Step 3
We can toggle our guides on and off using Control/Command-;.
If your scene has a specific horizon line, it may be helpful to add a guide to mark it.
How to Choose Images for Matte Painting
Our rough sketch and guides are set up; now let’s discuss images. Try to collect as many high-resolution textures as possible. There may be a lot of trial and error when creating your matte painting, so having a big pile of trees, stones, mountains, and skies ready will make things easier.
You want to ensure they are high quality and that you have the correct license to use them.
A big mistake beginners make is grabbing images straight from Google. You want to get your images and textures from legitimate sources like Envato Elements or by shooting and collecting them yourself.
3D Assets
This brings us to 3D assets! 3D sculpting is a critical skill in matte painting. If you want to pursue matte painting, you’ll definitely want to look into tools like Blender or Cinema 4D.
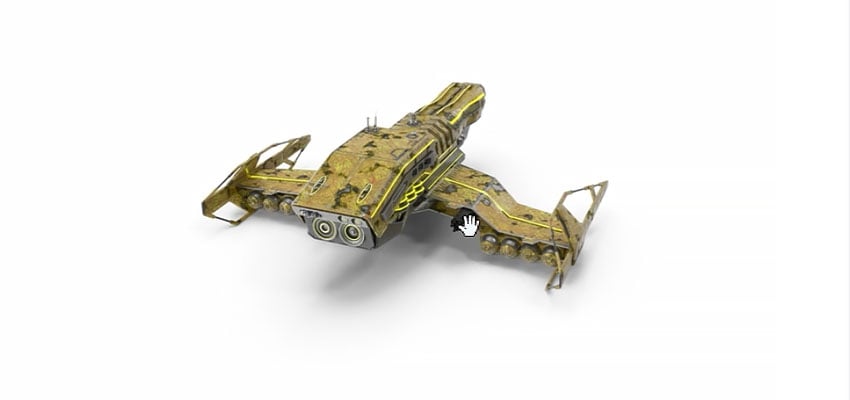
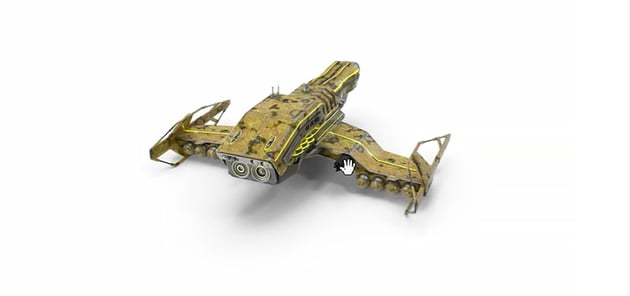
However, you can also use stock assets like these from Envato Elements. The key is to turn and angle the assets, downloading them at the correct angle we need.
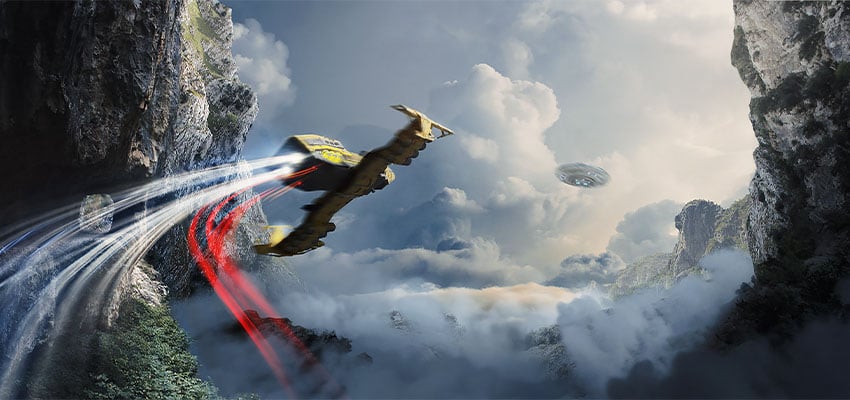
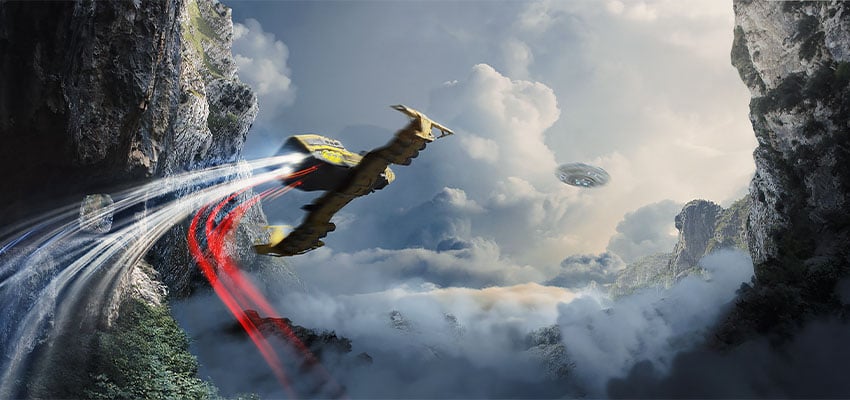
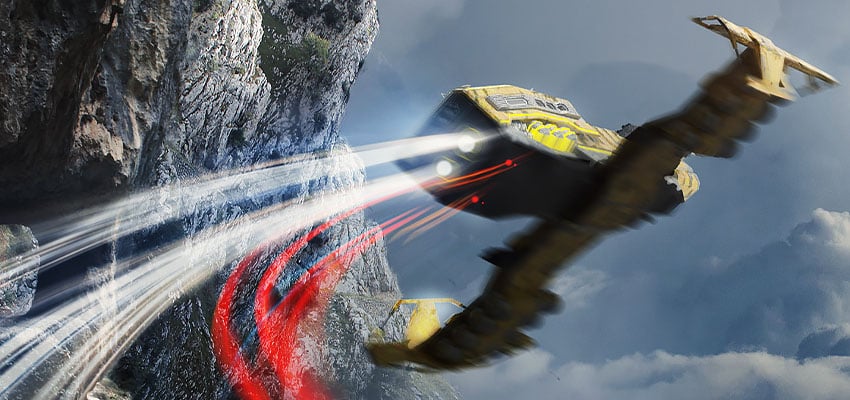
I’ll be using this spaceship and a bunch of these clouds. I’m downloading all of them as PNGs.
Extracting Images
Next up, we definitely need to talk about extracting the textures. For the initial extractions, you’ll most commonly use:
- Lasso Tool
- Quick Selection Tool
- Object Selection Tool
There are other methods as well, like using channels to create selections, but most of the time you just want to make fast, rough selections.
Matte paintings often require highly detailed, organic-looking edges, as opposed to clean-cut edges.
Step 1
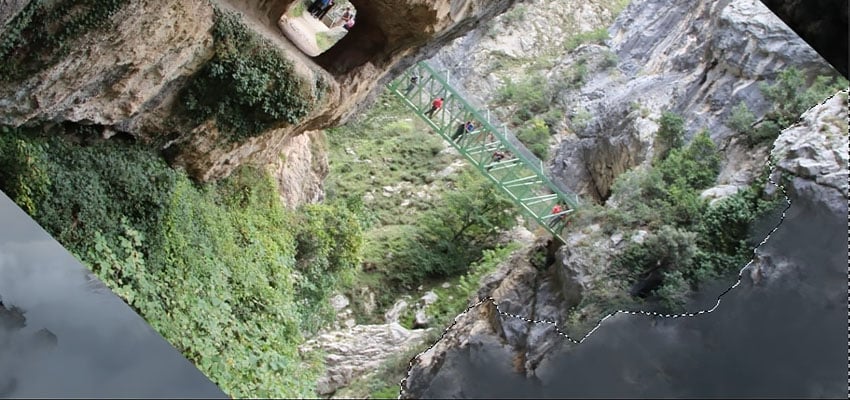
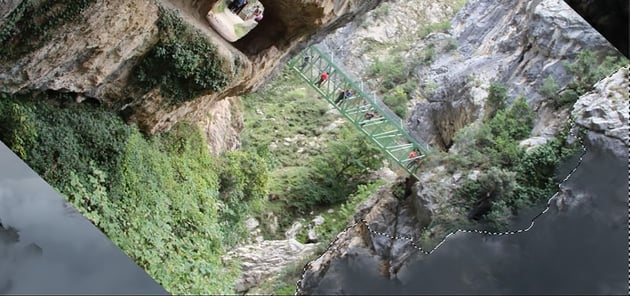
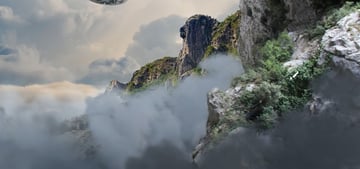
Let’s select a portion of this rocky cliff using the Object Selection Tool and add a Layer Mask.
Step 2
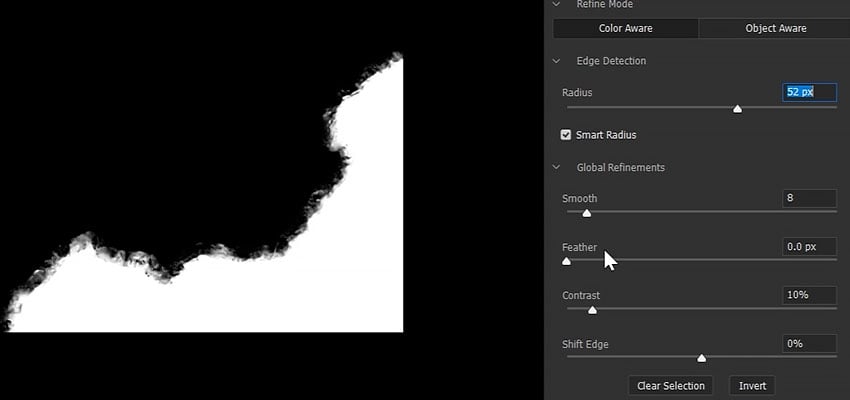
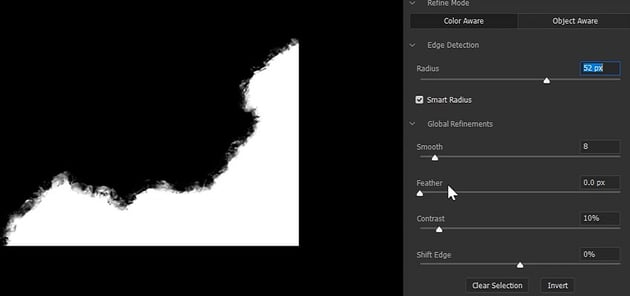
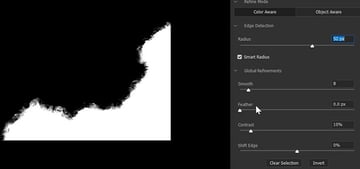
Now, we want to go into Select and Mask, which can be found in the upper option bar. We want to turn Smart Radius On and increase the Radius until the edges of our rocky textures look more natural.
If we need to, we can further refine the mask using the Global Refinements. Keep in mind the mask won’t look perfect.
Step 3
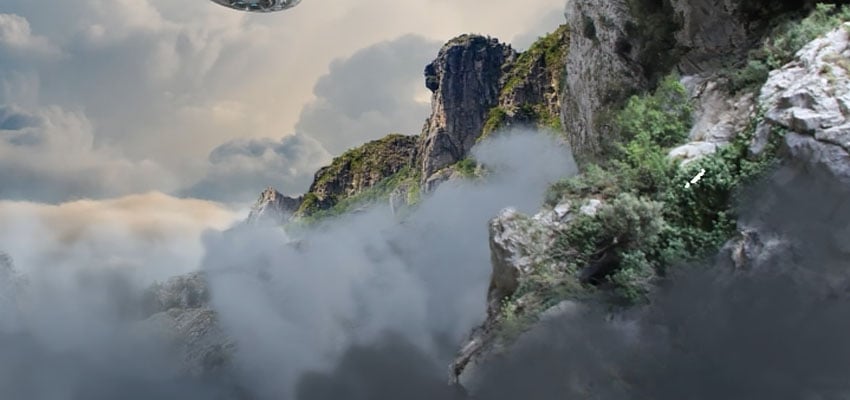
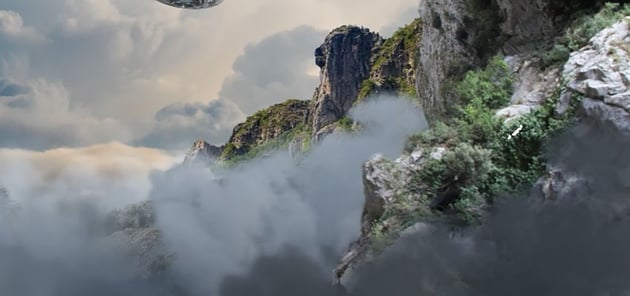
We can make any last adjustments using a Brush, ideally one with a texture that matches the surface of your masking. I’m using a messy edge brush for the rocks.
For example, it would be best to mask leaves or foliage with a leaf-shaped brush tip.
Generative Fill
As an extra tip, if you choose to use Generative Fill, I would not recommend using it to generate an object or Image. Instead, you can use it to blend two sections together.
Step 1
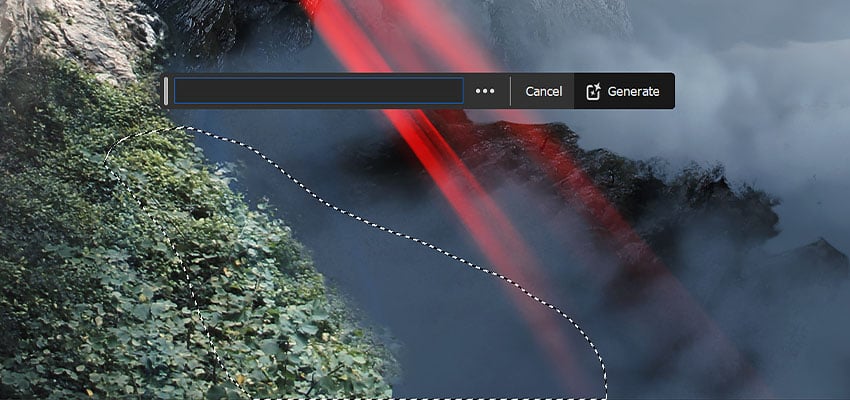
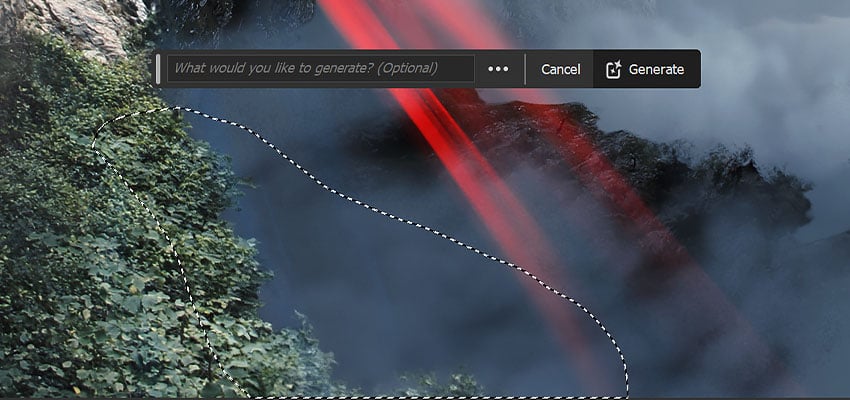
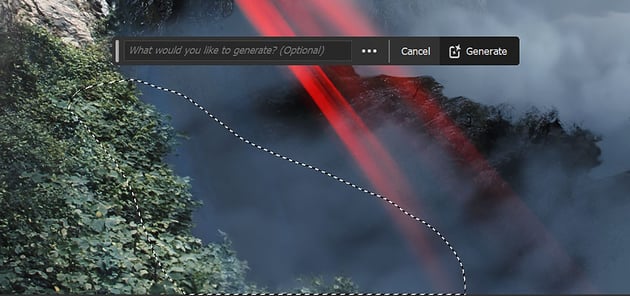
We can take the Lasso tool and select an area that isn’t blended or seems disconnected from its surrounding environment.
Step 2
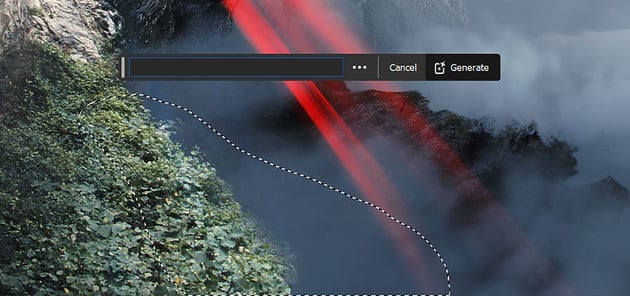
Now, in the floating Context bar, hit Generate with no prompt, and Photoshop will try to blend the area together.
You may have to regenerate an area several times. You can do so in the Properties panel.
How to Value Match in Matte Painting
We can’t talk about matte painting without talking about values. Values are how light or dark something is, regardless of hue. Let’s create what I call a “Value Check” layer. This layer will help us check our values while we paint and composite.
Step 1
Let’s create a New Layer at the top of our layer stack and go to Edit > Fill > 50% Gray.
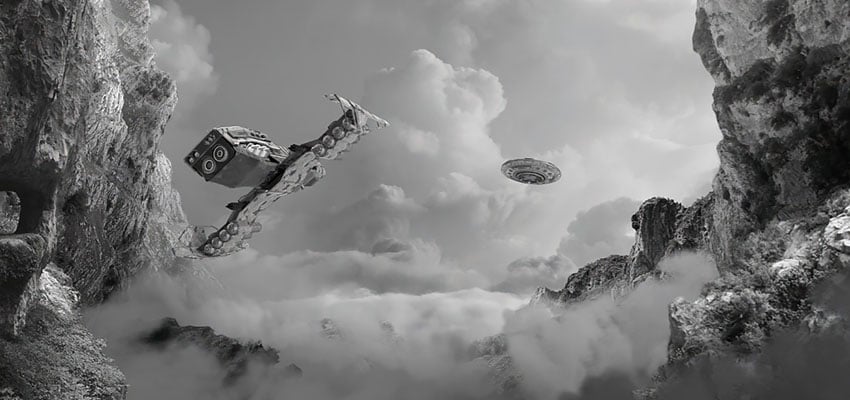
Now, let’s change its layer mode to Color. This will give us a black-and-white view of our image, which will help us see and adjust our values more easily.
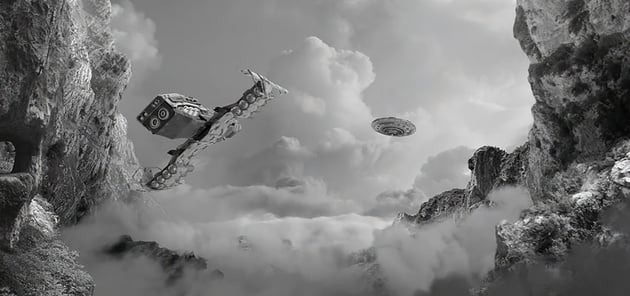
Step 2
We can toggle it on and off as we go and Lock the layer to keep us from accidentally selecting it.
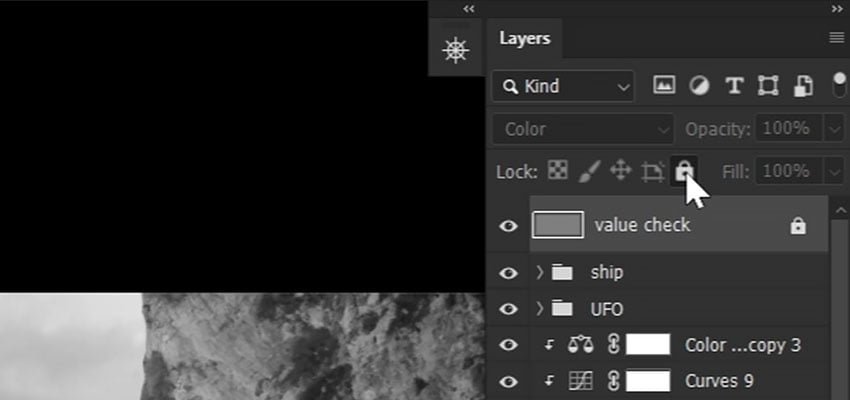
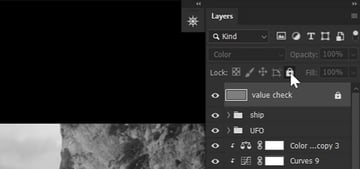
Adjusting Values
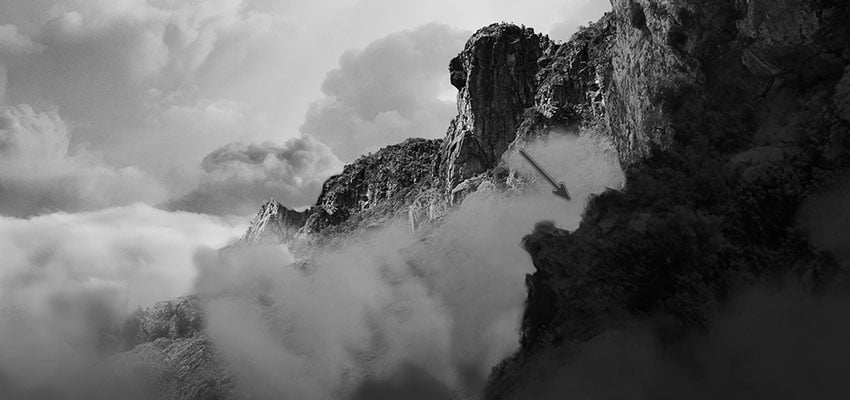
Now that we can see our values more easily, let’s take a quick look at adjusting values. We want to make sure our “Value Check” layer is on when adjusting our values.
Step 1
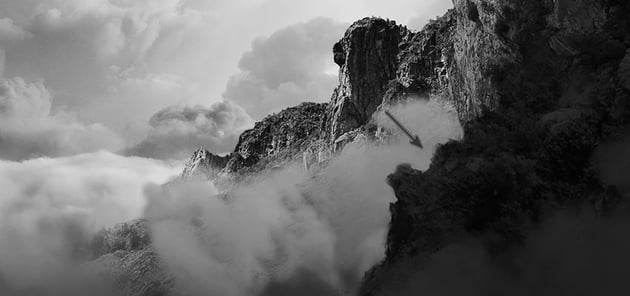
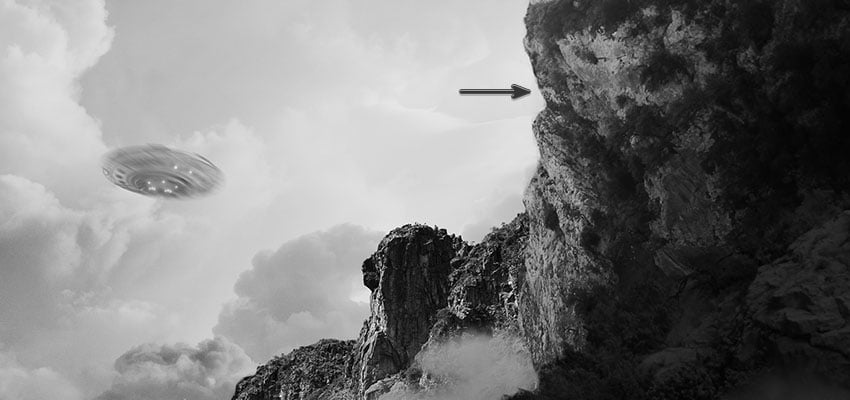
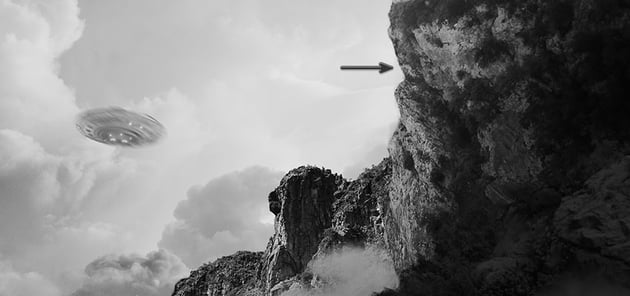
Let’s create and Clip a Curves adjustment layer into the frontmost rock face. We want to bring down the right-hand point on the curve to darken it.
Step 2
Let’s do the same for the stone behind it, but this time darkening it slightly less.
Step 3
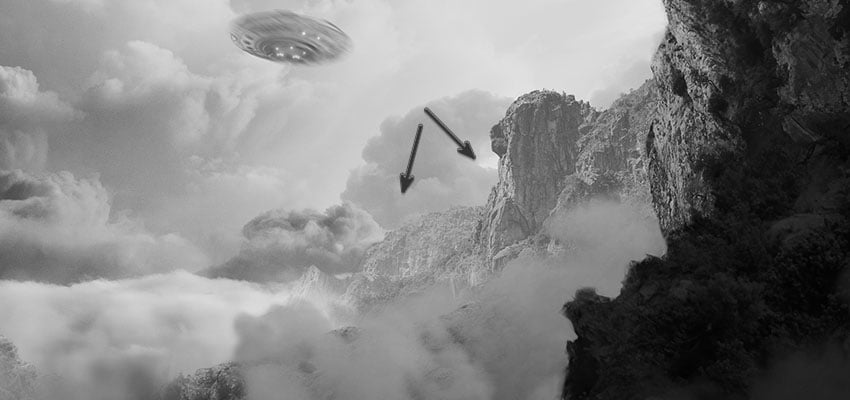
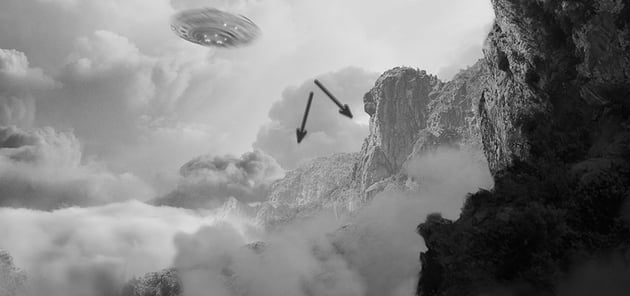
For the mountains way off in the distance, we want to bring up the shadows. Not only are they more brightly lit, but they will be affected by atmospheric haze.
You’ll notice when something is far away, it tends to appear lighter and have less contrast. That’s caused by the moisture, clouds, and gases in the air. That is often referred to as atmospheric haze.
The further something is, the lighter and less contrasting it tends to be. Understanding atmospheric haze is a massive part of a successful matte painting and is much more complex than just a flat Curves layer.
Both atmospheric haze and values in general are two topics you’ll want to dive into if you’re interested in matte painting.
How to Add Final Details for Matte Painting
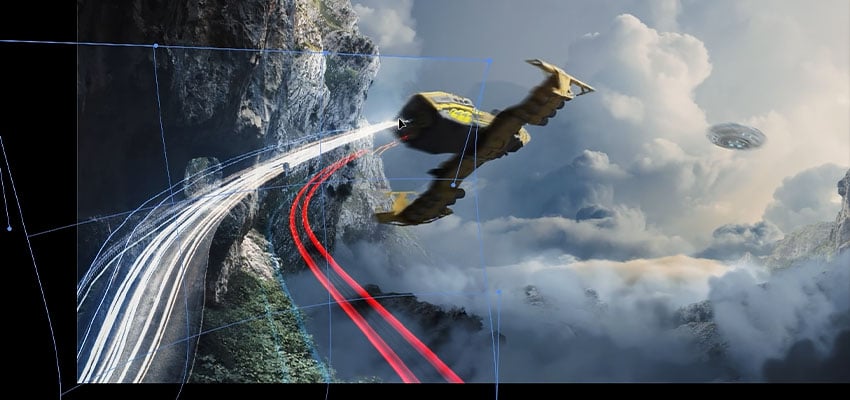
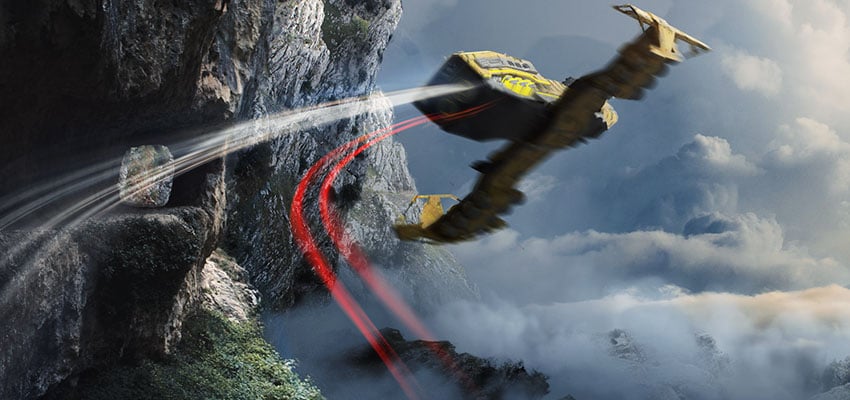
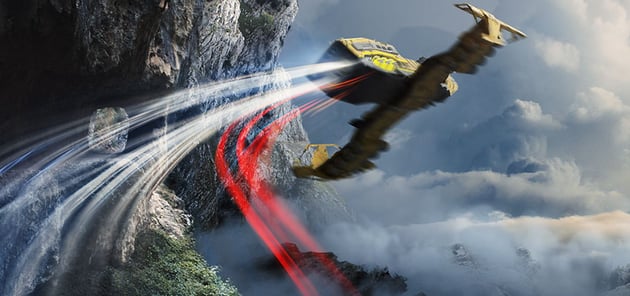
We’ve touched on the whats and some basics, so now let’s end with a couple of easy, simple special effects you can add to your concepts. First, let’s focus on our ship’s trail. I love a light trail because it adds instant movement to any object.
Step 1
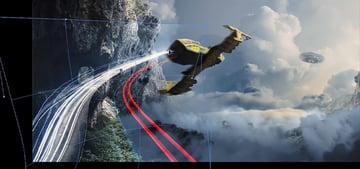
First, we need to grab an image of some light trails. I like using long-exposure shots from highways. Place the image on the canvas and set it to Screen.
Now, we can use the Transform tool to shape and Warp the lights so they appear to be coming from the back of our ship.
Step 2
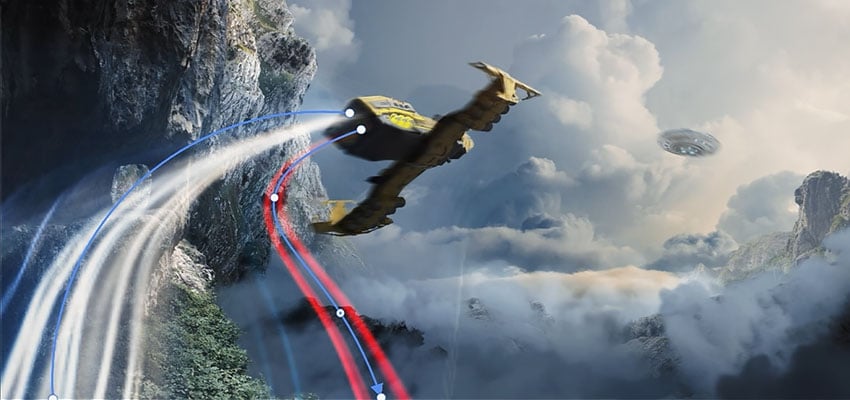
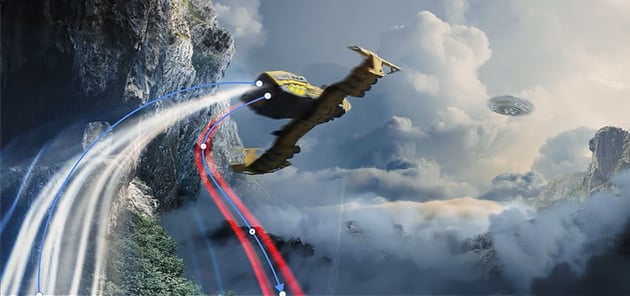
Let’s add some blur using Filter > Blur Gallery > Path Blur. Create and build paths to add more movement to the streams of light. Set the Speed to around 80%.
Step 3
Finish the light tails by going to Image > Adjustments > Curves, bringing down the image’s shadows. This will remove any excess background from the lights.
If you need to clean them up further, add a Layer Mask and use a soft round Brush set to black to remove any unwanted areas.
Step 4
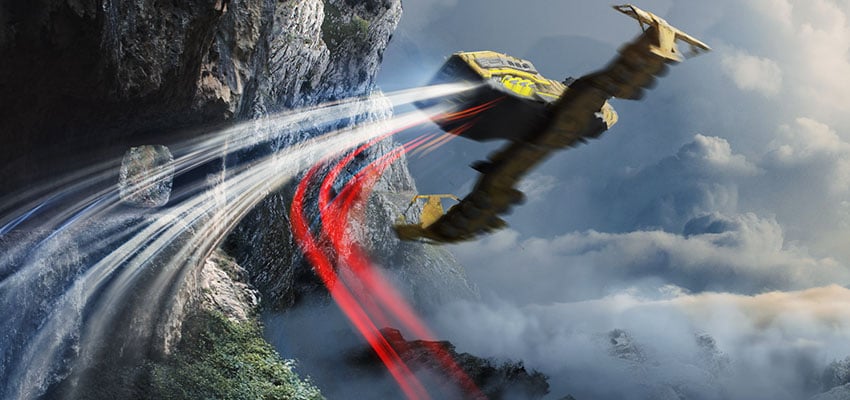
Repeat the steps or Duplicate the lights for double light trails.
Step 5
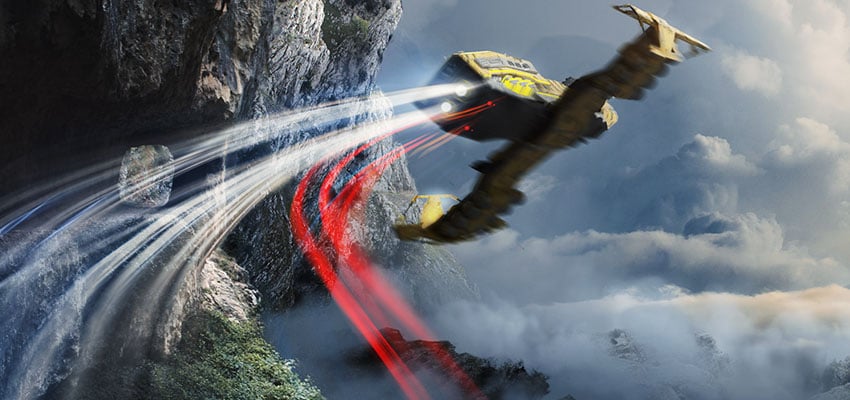
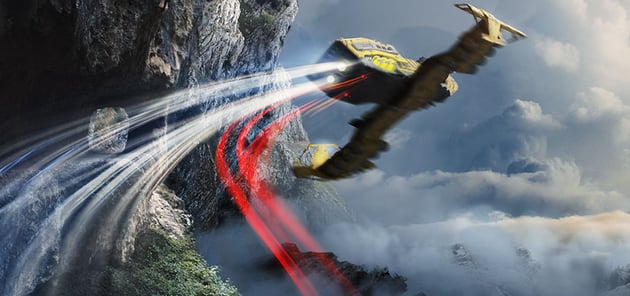
Finally, add some dots of light to the back of the ship as a light source. I like using layers set to Screen, Overlay, and Color Dodge to create small, simple lights.
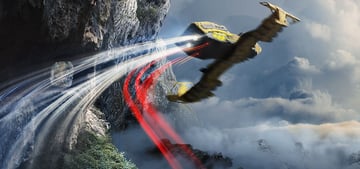
Path Blur
We could use the Motion Blur filter to add some motion blur to our ship. However, I much prefer to use Path Blur for this.
Step 1
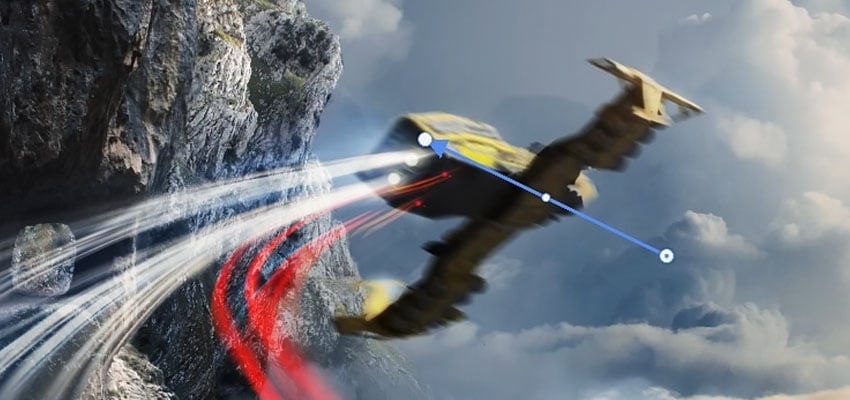
Select the ship and Right-click > Smart Object. This is important as we’ll be using a Smart Filter Mask.
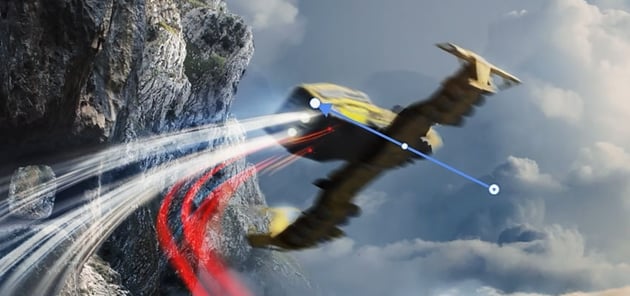
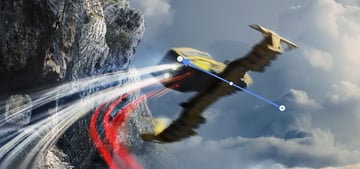
Let’s go to Filter > Blur Gallery > Path Blur. Again, place and blend a path to match the shape of our ship. Set the Speed to 20%.
Step 2
Next, let’s grab a default soft round Brush and click on the Smart Filter Mask.
We want to mask away the middle of our ship and any area where we don’t want to have the Path Blur. I like to focus the movement effect on the wings and the bottom of the ship.
You’ve Learned About Matte Painting in Photoshop
Matte painting is an incredibly impressive art form that requires proficiency in multiple media. And even if we talked a lot about photo bashing and Photoshop today, you don’t need to use textures and photos. Matte paintings used to be incredibly impressive, highly detailed paintings, painted by hand.
Now, they incorporate almost every creative technical skill you can think of alongside those traditional methods. And because of that, you can learn so much from matte painting as an art form, no matter your personal medium. Happy designing; see you next time!


