Transitioning from Webflow to WordPress can seem daunting, but it doesn’t have to be. In this step-by-step guide, we’ll walk you through the process of migrating your website with ease.
Jump to sections in this tutorial:
Why Migrate from Webflow to WordPress?
Webflow and WordPress have their own differences, but migrating from Webflow to WordPress can offer several benefits for website management, depending on your needs.
Differences between Webflow and WordPress
Webflow and WordPress are both popular platforms for creating and managing websites. Each has its unique features and capabilities. Let’s explore some of the key differences between these two platforms.
| Features | Webflow | WordPress |
|---|---|---|
| Intuitive Editor | Webflow offers an intuitive visual editor. | WordPress doesn’t have a built-in visual editor, but it can be added using plugins. |
| Customization Options | Webflow has limited customization options with a smaller range of apps and widgets. | WordPress allows for more customization, offering a wide range of plugins and modification options. |
| Content Management | Webflow provides good content management abilities, but it may not be as comprehensive as other platforms. | WordPress is recognized for its robust content management system, allowing for excellent tracking and organization. |
| Hosting | Webflow offers in-built hosting, streamlining the process. | With WordPress, you need to choose a hosting provider and install the software, providing more control over the hosting environment. |
| Community Support | Webflow has a smaller community and fewer resources for help. | WordPress has a vast community of users and developers, providing extensive resources and support. |
Benefits of WordPress for Website Management
WordPress dominates as a highly flexible content management system. It stands out for its wealth of customizable features and superior control over web hosting. This open source software is designed to help you curate your website the way you desire, without stretching your budget.
The customizability of WordPress makes it an attractive option for many site owners. With thousands of themes available at your disposal, you can tailor every aspect of your website.
Not only this, but WordPress also provides plugins that offer additional functions and features to enrich user experience on your site. Plus, most plugins are free! The savings on website expenses make WordPress a cost-efficient solution in managing websites effectively.
Preparing for the Migration


Let’s now cover all of the steps for preparing for migration from Webflow to WordPress.
Choose a Hosting Provider for WordPress
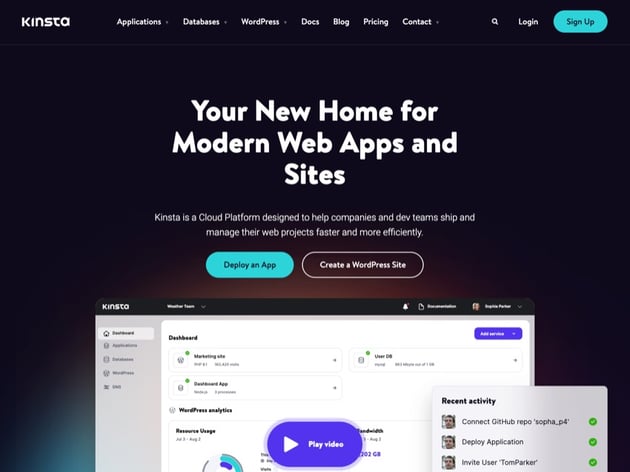
Choosing a WordPress hosting provider is the first step. This choice plays a significant role in your website’s speed, performance, and overall user experience. Look for providers like Kinsta that offer managed WordPress hosting to simplify the process.
These hosts provide automatic daily backups, hack and malware removal, 24/7 support, and free SSL certificates as part of their services. Not just but unlimited free migrations from all web hosts when you choose Kinsta.
So choose a hosting provider and set up an account with them.
Install WordPress on Your Hosting Platform
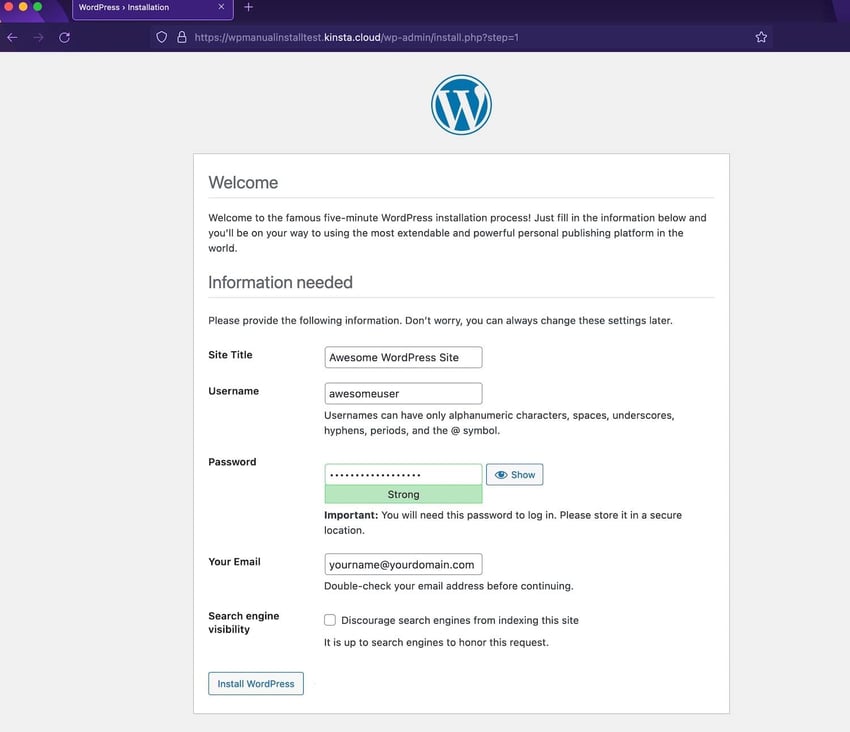
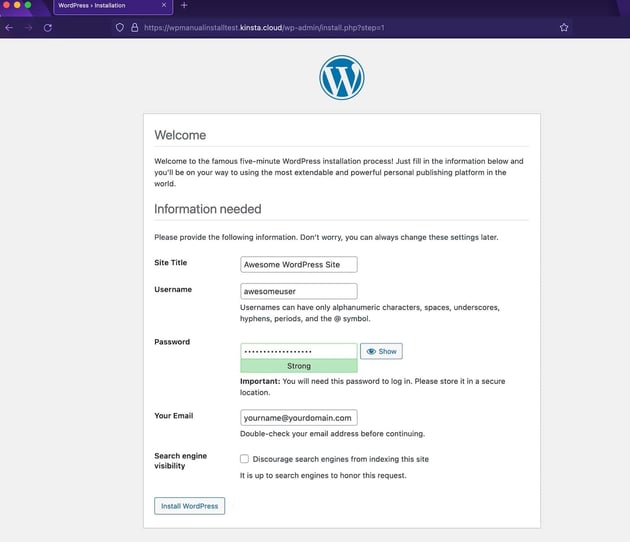
Installing WordPress on your hosting is the next n getting ready for the migration from Webflow to WordPress. With WordPress, you’ll have access to a powerful and customizable content management system that offers more flexibility compared to Webflow.
Each hosting provider will have its own WordPress installation process so be sure to ask your chosen hosting providers support for help.
This is usual a very quick process and can even be done with a click of a button like with the hosting provider SiteGround.
Customize Your WordPress Website as Needed


With WordPress, you have access to a wide range of plugins that offer an array of features and customization options. You can enhance the functionality of your site by adding plugins for things like e-commerce, contact forms, search engine optimization (SEO), and more.
Additionally, with thousands of themes available, you can choose a design that aligns with your brand and then customize it further to create a unique online presence. Enjoy the flexibility and creativity that comes with customizing your WordPress website as needed.
Be sure to check out Envato Elements as they have a massive library of high-quality themes and plugins that you can use on your new WordPress website.
WordPress provides an intuitive interface for managing pages on your website. You can easily create new pages or edit existing ones without requiring any coding skills or technical knowledge.
For an in depth look at setting up hosting, installing WordPress, and customizing the site, check out the tutorial below:
Exporting Webflow Content


Let’s now cover the second phased of migrating your Webflow site, which is exporting your Webflow content.
Access the Webflow Dashboard
To manage your website created on the Webflow platform, you can easily access the Webflow dashboard. This central hub provides you with all the necessary tools and features for editing and customizing your website.
From here, you can customize the design and layout of your site using the visual editor. You also have control over managing site settings, adding or editing content, and integrating third-party services.
To access the Webflow dashboard, simply log into your Webflow account to get started.
Locate and Export Your Content Files
To successfully migrate your website from Webflow to WordPress, you need to locate and export your content files.
By finding and exporting these files, you can maintain the integrity of your website during the migration process. Once exported, these content files can be easily imported into WordPress using a migration plugin, ensuring a seamless transition from Webflow to WordPress.
To locate and export your content files in Webflow, you can follow these steps:
Exporting CMS Content as a CSV

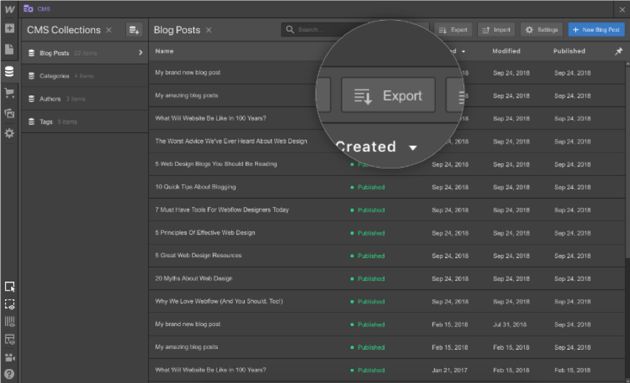

Open the collections panel in Webflow. Then select the collection you want to export and click the Export button. This will export the collection as a CSV file which will be used to import in WordPress.
Export the Code

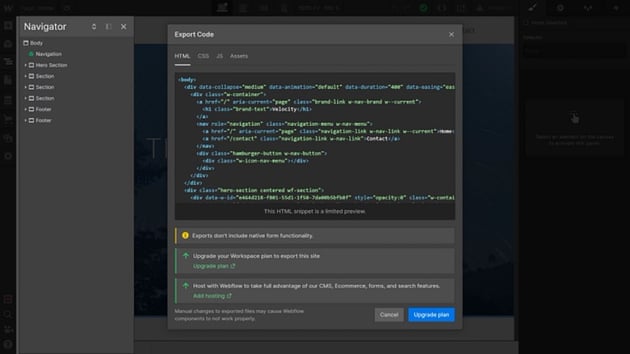
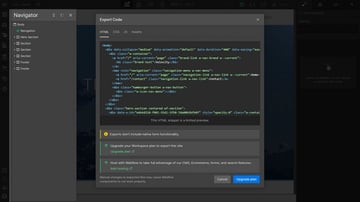
Next, you’ll want to export the code. Open your site in the Webflow Designer and click the Export button. Click Prepare ZIP to generate a ZIP file containing your site’s HTML, CSS, JavaScript, and assets.
You’re now ready to import your content to WordPress.
Importing Content to WordPress
Let’s now cover how you can import these files that you exported from Webflow into your new WordPress website.
Import Your Exported Files Into WordPress
To successfully migrate your content from Webflow to WordPress, you need to import the exported files into your new WordPress site. This is a crucial step in the migration process as it ensures that all your website content is transferred accurately.
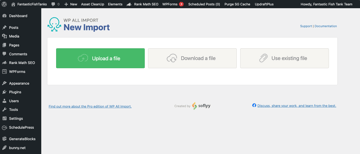
To do this, you can use a migration plugin like WP All Import, which simplifies the importing process by allowing you to upload and manage your exported files with ease. Alternatively, you can manually add the content to WordPress if it’s a small amount or if you prefer more control over the import.
You can import your exported content with the WP All Import plugin by going to the new plugin clicking All Import > New Import.
From there you can upload your CSV file, select the import post type, and map the columns in your CSV file to the appropriate places in WordPress during the import process.


Manage and Organize Your Imported Content
Once you’ve successfully imported your files, it’s important to manage and organize them to set your site like it was on Webflow.
With WordPress, you have complete control over how you arrange and structure your imported content. This allows you to easily categorize posts, create custom menus, and assign tags or categories to make navigating your website effortless for both yourself and your visitors.
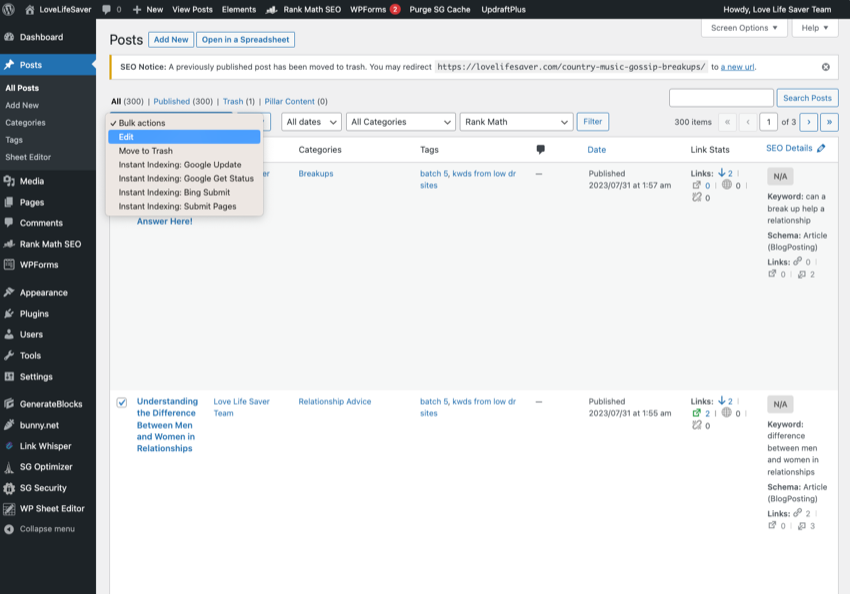


Additionally, take advantage of the various plugins available in WordPress that can help with organizing and managing your content effectively. One very helpful plugin is the Bulk Edit Posts. This plugin allows you to edit your posts from a spreadsheet, which is very effective in sorting large amounts of posts.
By utilizing these tools and taking the time to thoughtfully organize your imported content, you’ll ensure a smooth transition and an optimized user experience on your new WordPress site.
Image Handling During Migration
The images on your Webflow site will need to handled differently than your other content in order to have them appear on your WordPress site. Let’s cover how to handle the image uploading.
Re-upload Images to Your WordPress Site
During the process of migrating your website from Webflow to WordPress, one important step is to re-upload images to your WordPress site. Unlike some other platforms, WordPress does not support automatic importing of images during the migration process.
This means that you will need to manually transfer and upload the images to your new WordPress site. This may require some effort and time, especially if your website has many pages or a large number of images.
However, there are plugins available such as Auto Upload Images that can help streamline this process by allowing you to import CSV files containing image information into WordPress.
Here are the steps to re-uploading your images to your WordPress site from the exported CSV file.
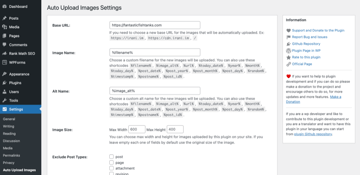
Configure the Auto Upload Images Plugin
Go to Settings > Auto Upload Images in your WordPress admin dashboard. Here, you can customize various settings related to image uploading, such as the base URL for images, image file name patterns, image alt name patterns, and more.


Upload the CSV file
Go to Tools > Auto Upload Images in your WordPress admin dashboard. Click on the Choose CSV File button and select the CSV file that contains the image URLs. Then click on the Upload button to start the image uploading process.
Monitor the progress
The Auto Upload Images plugin will automatically detect the image URLs in the CSV file and upload them to your WordPress site. You can monitor the progress of the image uploading process on the screen. Once the process is complete, you will see a message indicating the number of images successfully uploaded.
Verify the uploaded images
After the image uploading process is finished, you can go to the Media section in your WordPress admin dashboard to verify that the images have been successfully uploaded. Also check the posts or pages where the images should appear to ensure they are displaying correctly.
Let’s now cover how you can redirect your domain.
Domain Redirect
You’ll now need to redirect your domain from Webflow to WordPress and update the DNS settings in order to make your site go live.
Here are the stops for how to do this:
- Access your domain settings in Webflow: Log in to your Webflow account and access the domain settings for the domain you want to redirect.
- Configure the domain redirect: In the domain settings, look for an option to configure redirects or forwarding. Enter the new WordPress site URL as the destination for the redirect.
- Save and test: Save the changes in your Webflow domain settings and test the redirect by accessing your domain in a web browser. Make sure it properly redirects to your WordPress site.
It’s important to remember that the exact steps may vary depending on the specific domain registrar or hosting provider you are using.
It’s recommended to consult the documentation or support resources provided by your domain registrar and Webflow for more detailed instructions tailored to your specific setup.
Additionally, if you want to transfer your WordPress blog posts to your Webflow website, you may need to set up 301 redirects for the old WordPress URLs to the corresponding new Webflow URLs.
Final Steps and Next Actions
You’re almost done! The final steps are to check for broken links or errors and then to test your site thoroughly.
Check for Any Broken Links or Errors

Broken links can have a negative impact on the user experience and can also affect your search engine optimization (SEO) efforts.
To avoid these issues, it is recommended to perform a thorough check of all links and content after the migration is complete. You can use sites like Broken Link Checker to automatically scan for any broken links on your WordPress website.
Test Your New WordPress Site Thoroughly
It is important to ensure that everything is working correctly before launching the new site.
Comprehensive testing involves evaluating the functionality of plugins and themes, identifying potential issues or bugs, and optimizing the site for optimal performance.
By verifying the new site’s functionality through prelaunch testing, you can address any problems and make necessary adjustments to create a seamless user experience.
Alright! You’ve made it. You are now ready to show off your new WordPress website that was migrated from Webflow.
Download High-Quality WordPress Plugins
Looking to take your WordPress site to the next level? WordPress plugins are an invaluable tool for all WordPress site owners. They give your site important features for running a successful site that new WordPress websites don’t have.
Check out the following resources for tons of great plugins that you can download for your WordPress website today!
Migrate From Webflow to WordPress Today!
In conclusion, migrating from Webflow to WordPress can be a seamless process with the right steps and preparation. By choosing WordPress, you gain access to a powerful CMS with a huge amount of customization options and a wide range of plugins.
With careful planning and following this step-by-step guide, you can successfully transition your website from Webflow to WordPress and enjoy the benefits of enhanced website management and flexibility.
Start your migration today and unlock the full potential of your website with WordPress.
If you need access to WordPress themes, plugins, and creative assets, check out Envato Elements.