Affinity Version 2 is here, and there are so many amazing new features in Affinity to get excited about. From iPad offerings to new Affinity tools, there’s a ton to explore. Here are our top 6 new features from the Affinity Version 2 announcement for you to check out.


An Introduction to Affinity Version 2
What Is Affinity Version 2?
Affinity Version 2 is the newly announced (and released!) versions of Affinity Designer, Affinity Photo, and Affinity Publisher. When installing these new versions, you’ll notice that they are appropriately called “2” (e.g. Affinity Photo 2, etc).
Each member of the software suite has received upgrades, UI redesigns, new features, and more. It’s an exciting update at an exciting price point.
Check out our video review of the Affinity Version 2 update announcement:

Universal Licensing
The announcement and release of Affinity Version 2 brought with it Universal Licensing. Now, you can get Affinity’s whole suite for one discounted price. This also includes all available formats, including PC, Mac, and iPad. Universal Licensing is a one-time fee and does not include a subscription plan (definitely a plus over some competitors out there).


Affinity Publisher for iPad
With this announcement, we also see the introduction of Affinity Publisher for iPad. Now, you can enjoy Affinity’s whole suite of products on your iPad, and this is such a welcome addition. You can enjoy the power of Publisher with the flexibility of a tablet. If you opt to get the Universal License, you get the iPad versions of all three programs included. Otherwise, you can purchase the software of your choice, a la carte.


But What About Affinity Version 1?
Don’t want to upgrade to Affinity Version 2? No problem. The original versions of Affinity Designer, Affinity Photo, and Affinity Publisher will still work, just as they always have. No subscription, no changes there. However, at this point, they will no longer receive software updates. Future updates will be dedicated to Affinity Version 2.
And This Is Just the Beginning!
There were a lot of really awesome features announced with Affinity Version 2. In this article, we’ve rounded up our top 6 new features from the Affinity Version 2 announcement—but make sure to check out Affinity’s official website for even more news and updates. There are so many new features to get excited about!
Let’s take a look at some of our favorite new features from this update:
What Is It?
The Knife Tool is a new addition to Affinity Designer 2. It allows us to cut and manipulate our work in a way that’s easier than ever before. Just click, hold, and drag to make a slice. Sounds simple? Well, it is—let’s check out the basics together.
Step 1
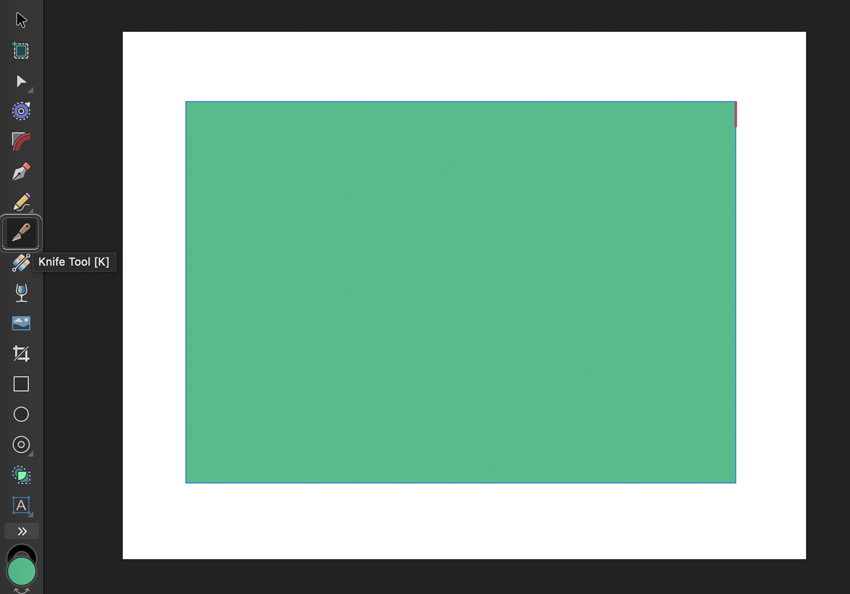
Here’s some simple, sample artwork in Affinity Designer 2. It’s a basic shape, drawn with the Rectangle Tool. You could use any shape you prefer.
Begin by going to the Tools panel and selecting the Knife Tool.

Step 2
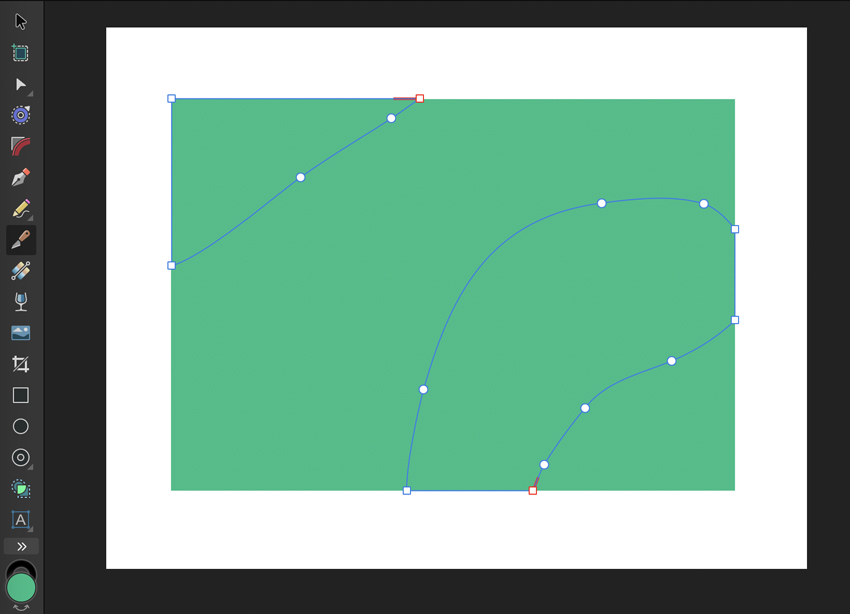
Then, click, hold, and drag to make a slice in your shape. You could make a single “cut” or draw a whole area or shape with the Knife Tool. Experiment with it and make a slice—it’s simple and user-friendly.
Here are a few sample cuts. One is just a slice from one side to another. The other is a more abstract shape. Give it a try!

Step 3
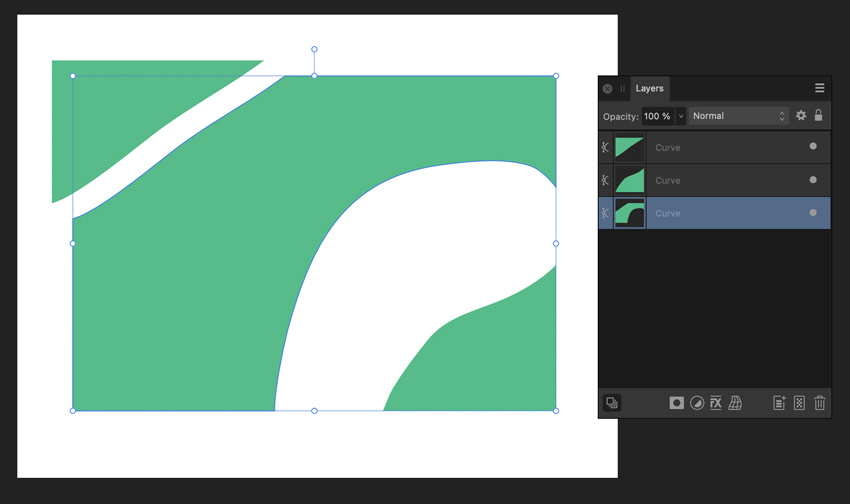
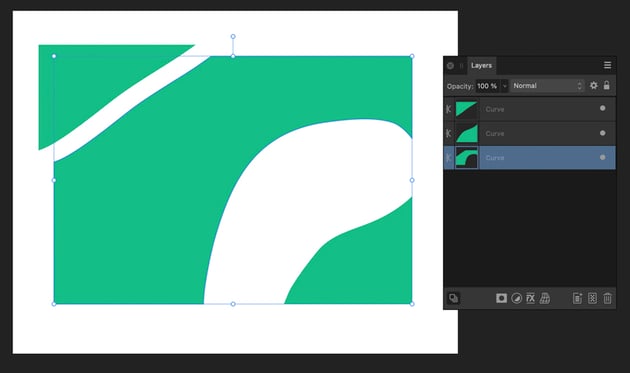
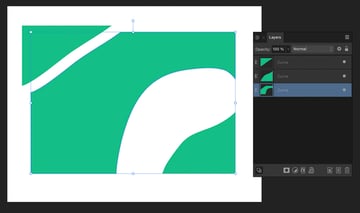
Here’s what the result looks like. Notice that you can select, move, and delete the portion that you’ve cut with the Knife Tool. It really is very simple.
If you look at your Layers panel, you’ll also see your new cuts reflected in your layers. So you can alter them independently from this space too.
What Is It?
The Shape Builder Tool in Affinity Designer 2 brings a new way to create and manipulate shapes. You can easily combine and delete content with a simple click or drag. The big benefit here is that it registers multiple shapes in one cohesive way.
It’s super simple, very convenient, and has so many potential applications. Here’s a quick look at how it works:
Step 1
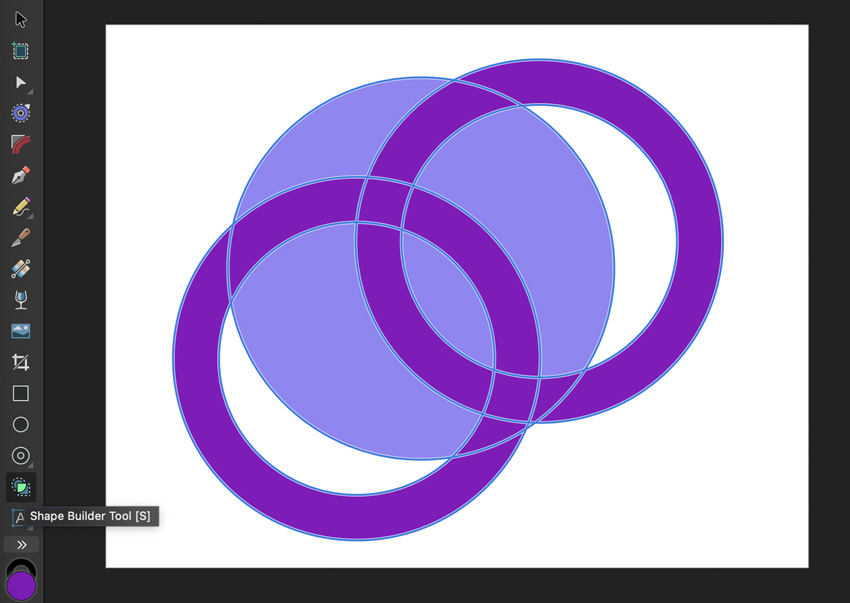
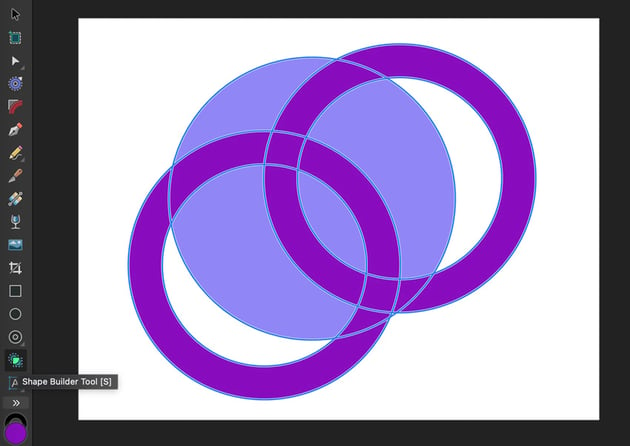
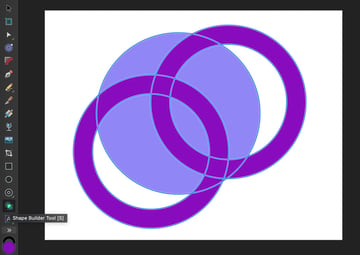
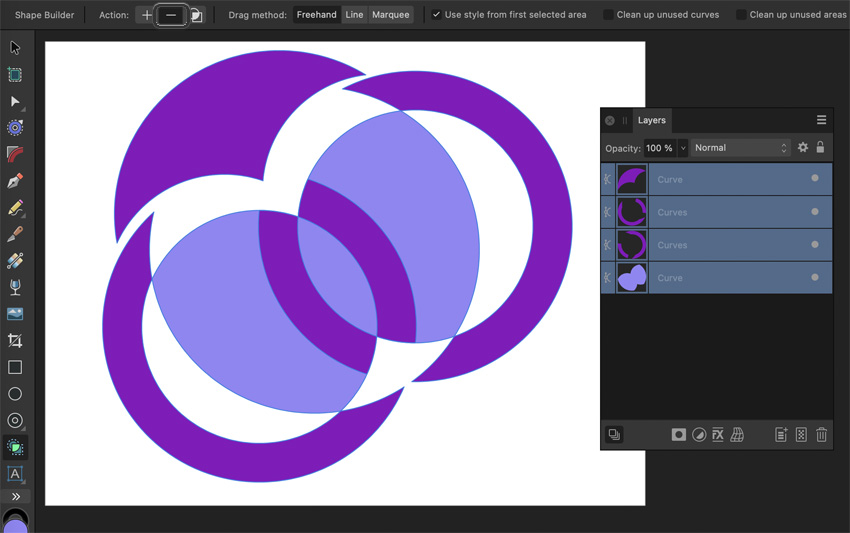
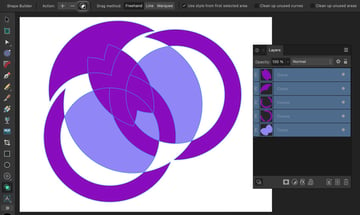
For this demonstration, here’s a collection of basic shapes, all layered on top of each other. Begin by selecting all of the shapes you would like to manipulate as one unit. In this case, we’ll select everything in our work area.
Then, select the Shape Builder Tool in our Tools panel to begin.
Step 2
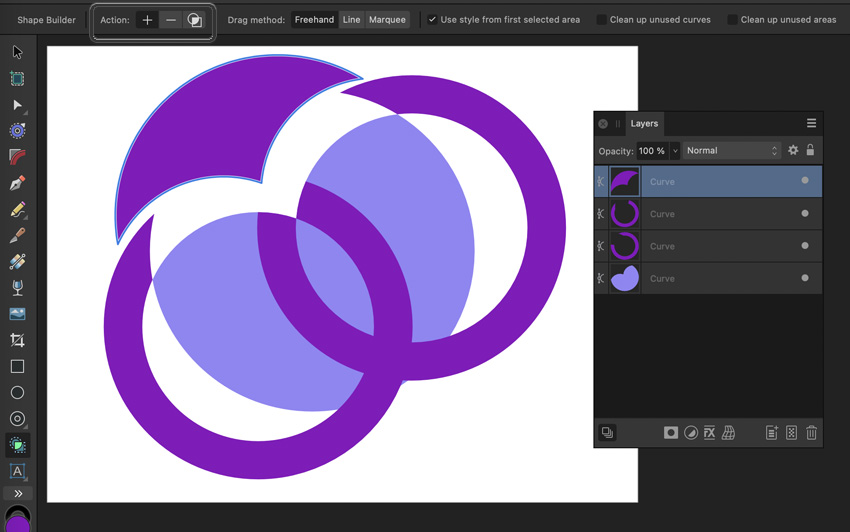
We get three different options when using the Shape Builder Tool:
- The Plus Icon combines the selection and removes the content from the original shapes.
- The Minus Icon deletes the selection.
- The Shape Icon combines the selection but leaves the original shapes intact as well.
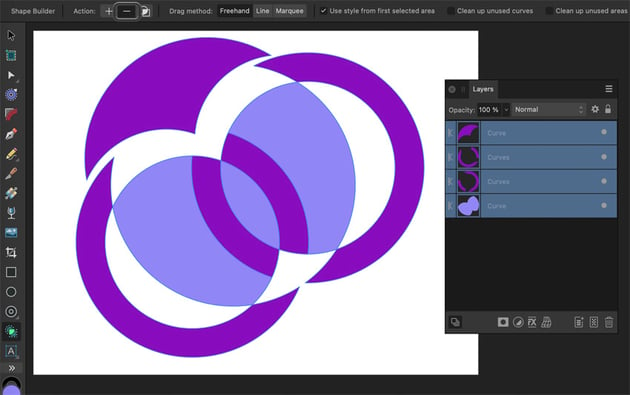
Let’s start with a demonstration of the Plus Icon—combining parts of our shapes here to create a new one. Just click and drag to select parts of the shape. You’ll notice that it creates a new shape in your Layers panel, and you can move and manipulate it independently now.

Step 3
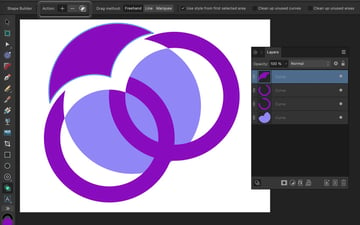
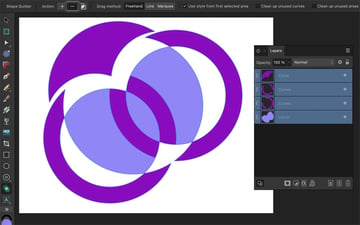
Likewise, the Minus Icon lets us delete parts of our shape. It’s the same process—just click and drag. Here’s an example where parts of the original shapes have been deleted.
Step 4
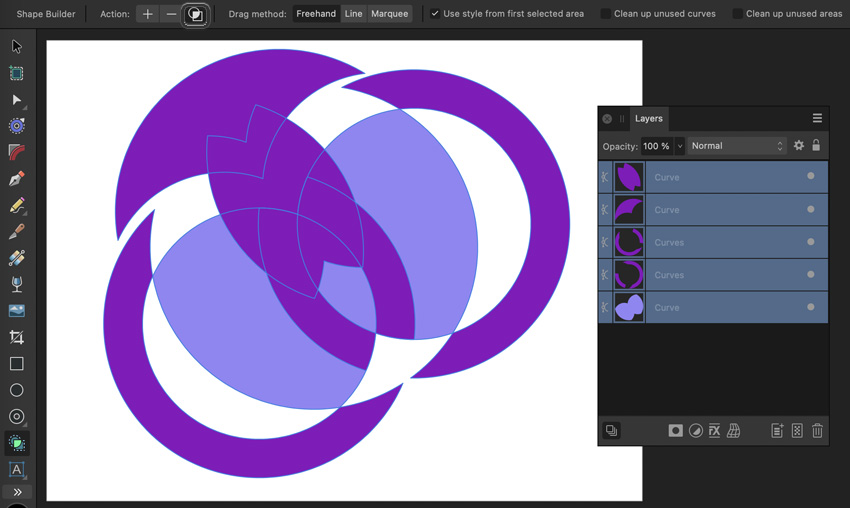
And the Shape Icon acts a lot like the Plus Icon—only this time, the original shape is left intact. In this example, the middle area has been combined into a new shape, but the original shapes are still there too.

What Is It?
Compound Masks bring new, expanded functionality to masks in Affinity Photo 2. Now, you can combine multiple masks, experiment with how they interact with each other, and more. Here’s a quick demonstration of how this feature works.
Step 1
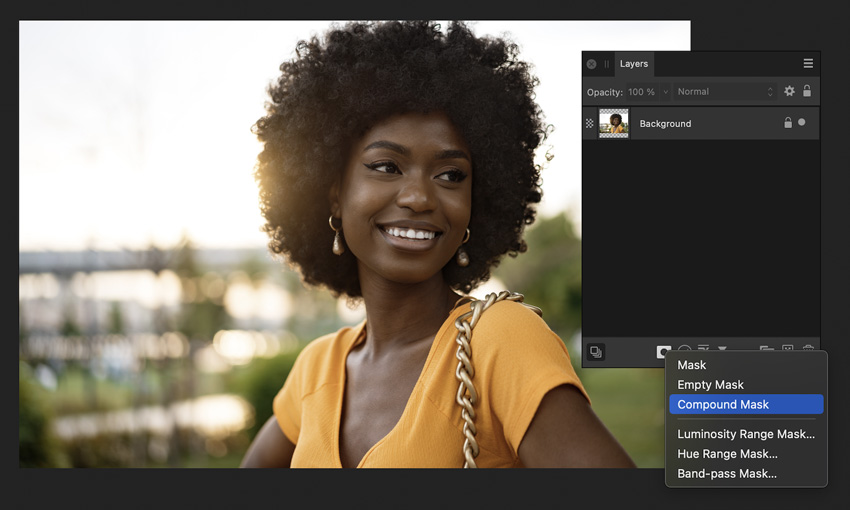
For this demo, let’s use this stock photograph from Envato Elements. We’ll begin by going to the Layers panel (which you can find by going to Window > Layers).
Without the photo layer selected, select Compound Mask.


Step 2
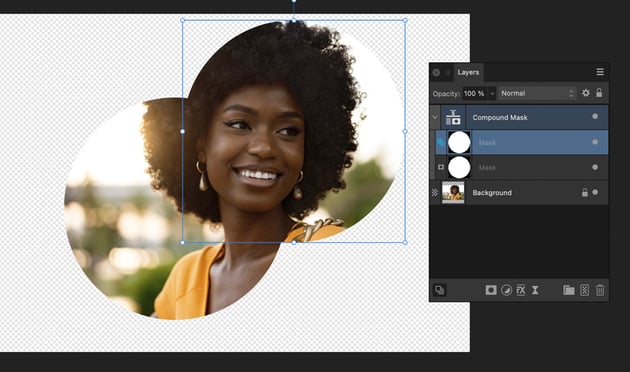
To add to our compound mask, let’s draw an Ellipse. Convert it in the Layers panel via Rasterize to Mask.
In the example below, I’ve duplicated this mask and placed both within my Compound Mask. Simply select your masks and drag them into this space, much like a folder. You’ll notice it treats these masks like a child, with the Compound Mask acting like a folder or parent.


Step 3
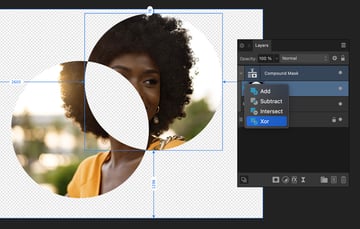
So what’s the big deal? As a sample, click to the left of each of these masks. We get a host of new modes we can use to change the relationship between our masks. Add acts as one would assume, but check out modes like Subtract or Intersect.
This is just a small sample of the possibilities—there could be so many potential uses for combining, creating, and blending different masks together.


Affinity Photo 2: Live Mesh Warp
What Is It?
Mesh Warp isn’t necessarily a new concept—but Live Mesh Warp takes the functionality of Warp and combines it with the Live Filters in our Layers panel. This makes for a powerful combination as we can toggle and adjust our warp, right from our layers. Need to fix it? Just double-click to move your warp points. Let’s take a look at this feature:
Step 1
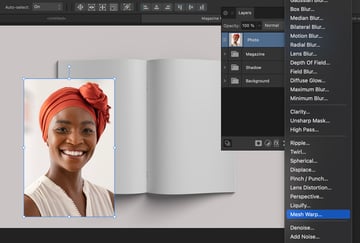
Here I have a magazine mockup template and a stock photo from Envato Elements. I’d like to manipulate this photo so that it looks as if it’s lying on the surface of the page. Let’s experiment with Mesh Warp to create this effect.
Begin by going to the Layers panel and selecting the Live Filters, at the bottom of this panel. From the list of Live Filters, choose Mesh Warp.


Step 2
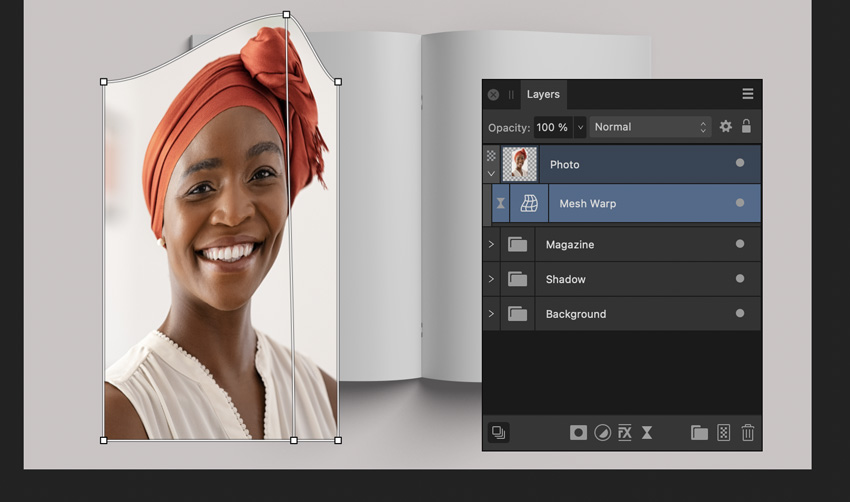
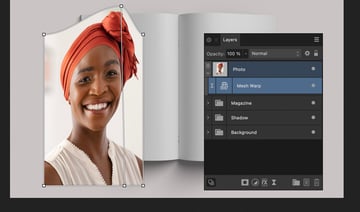
Mesh Warp is simple to use—click and drag on the points inserted into your image to warp it. If you’d like to add more points, simply double-click, and then proceed in the same way—click and drag on the points.
However, take a look at the Layers panel, as shown below. The Mesh Warp is on display here. We can toggle its visibility on and off.

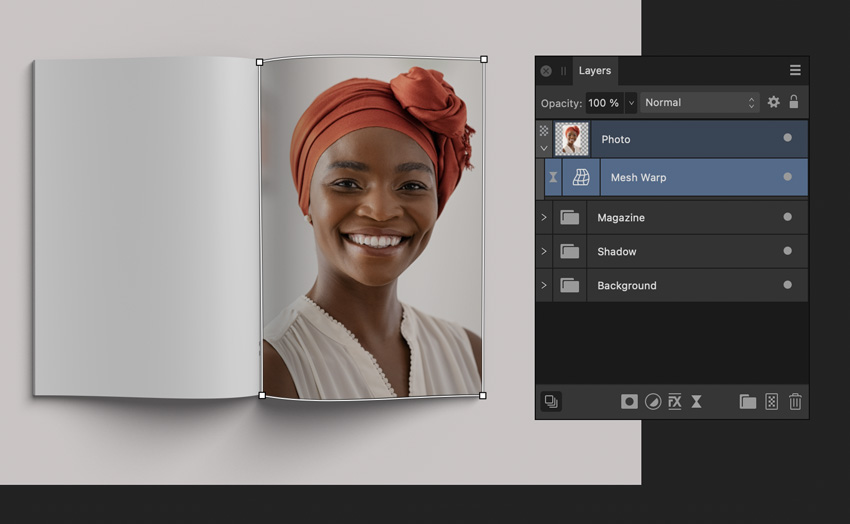
Step 3
Here is a look at my photo, warped to fit the magazine page. However, if you’re not happy with the Mesh Warp you’ve created, you can easily double-click from the Layers panel to adjust your Mesh Warp again. This is very convenient as there’s no need to start over.


Affinity Publisher 2: Style Picker Tool
What Is It?
The Style Picker Tool allows us to copy and paste stylistic aspects of our work. Think of it much like a color picker, but it applies to much more than just color. We can copy things like the font, the color, and more! It’s not limited to text either. Check out this demonstration of how it works.
Step 1
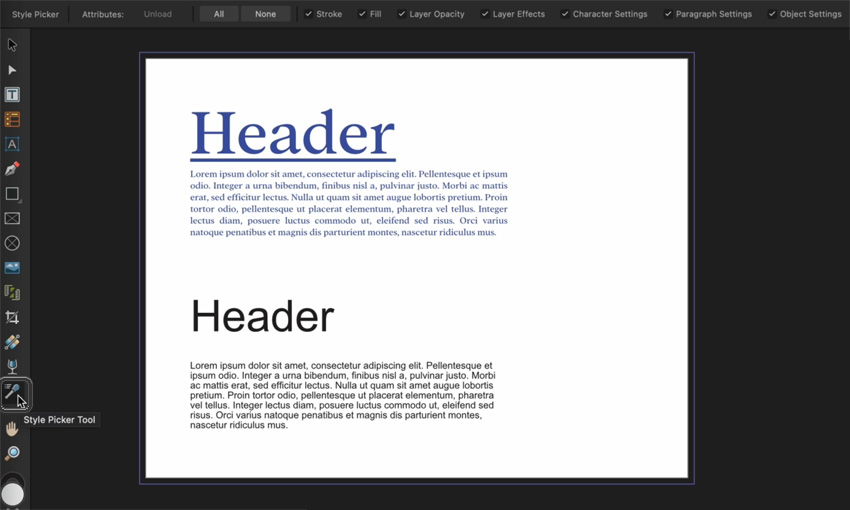
In this demonstration, I’ve got two sections of sample text: one with some stylistic choices applied and one that hasn’t had any aesthetic considerations applied yet.
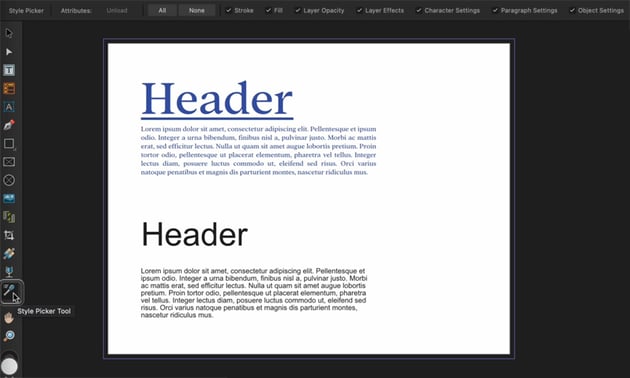
You can find the Style Picker Tool in the Tools panel. Select it to get started.
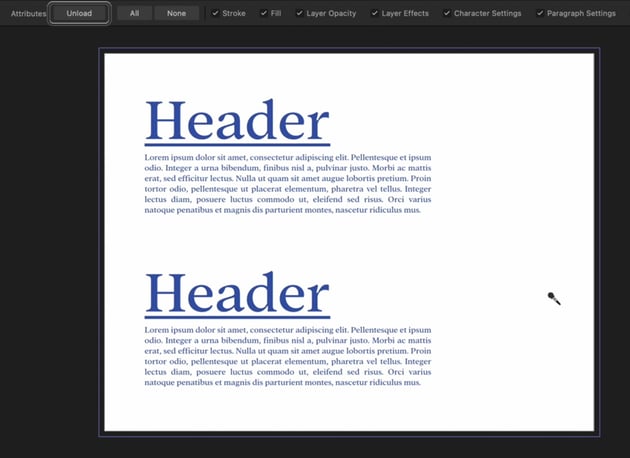
At the top of the software, in the Options, you’ll notice that we can choose the Attributes that the Style Picker Tool will select. This will determine what the Style Picker Tool is “picking up”—the Stroke, the Fill, the Layer Opacity, the Layer Effects, Character Settings, and more. Choose whichever options you’d like to try.
Go ahead and select them all for this demo.
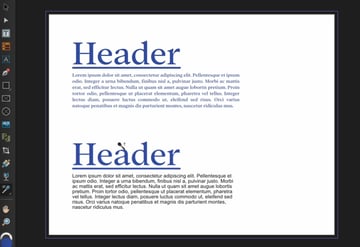
Step 2
To test this tool out, I clicked on the top header. Then, I simply clicked on the bottom header. Check out the result: the style of the top was applied to the bottom one.
It really is that simple!


Step 3
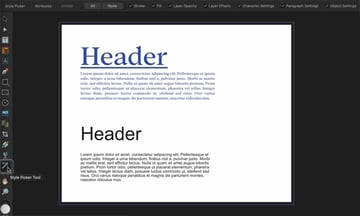
When you’re ready to sample a different part of your design, return to the Options at the top, with the Style Picker Tool selected. Click on Unload to unload the style options you currently have selected.
Then, you can go ahead and select your next element to copy. Proceed as we did before! In this case, I copied the style of my body copy and then applied it to the body copy at the bottom.

Affinity Publisher 2: Books
What Is It?
Books are an exciting addition to Affinity Publisher because they allow us to easily collect and combine multiple Publisher files in one place. We can also easily apply page numbers, sort our content, and more. Here’s a demonstration of the basics.
Step 1
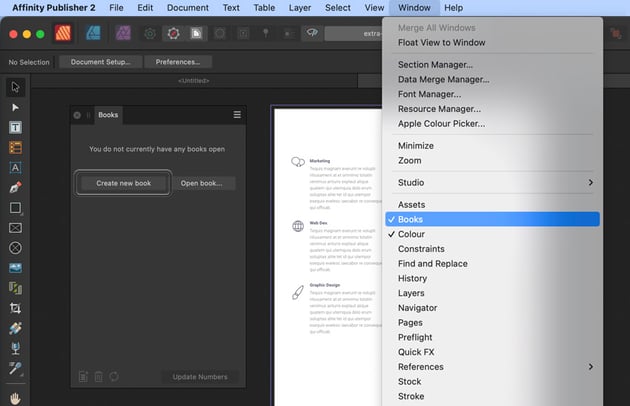
Begin by going to Window > Books to open up the Books panel.
Then, looking at the Books panel, click Create New Book. You can also open an existing Book from this space.

Step 2
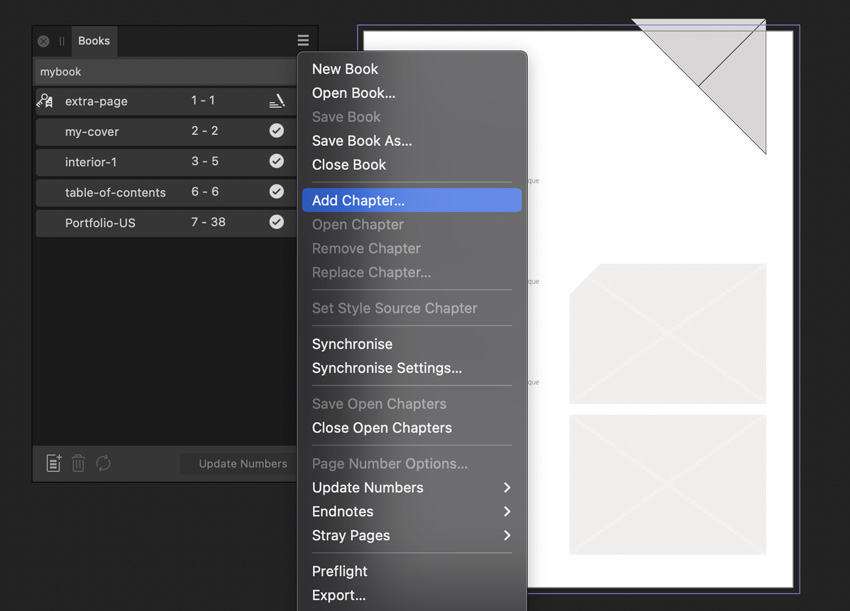
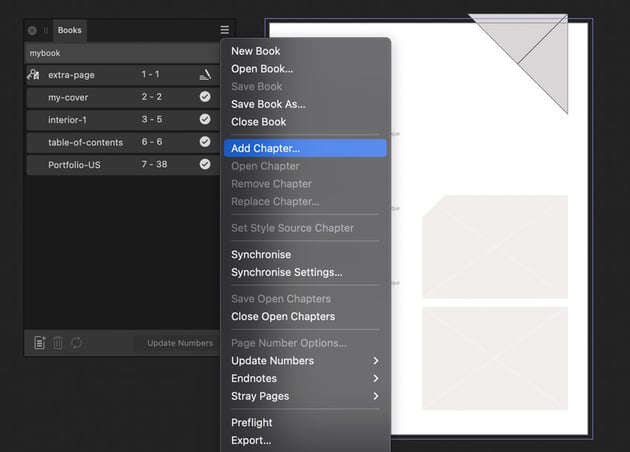
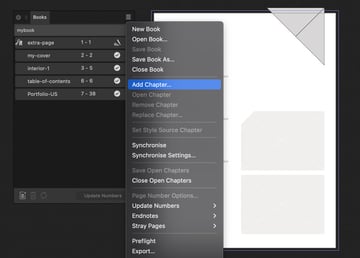
We’ll need to add Chapters to our Book. Affinity Publisher considers each document you add to your book as a “chapter”. Click on the hamburger menu icon from the Books panel and select Add Chapter to add a new Publisher document to your book.
You’ll notice that you can also remove, close, and replace your Chapters (or documents) from this space.
Step 3
The Books panel allows us to easily click and drag to rearrange our content. You can also click on any Chapter here to jump to that particular Publisher document. Easily create and maintain your Table of Contents, page numbers, and more—all from this one convenient space.
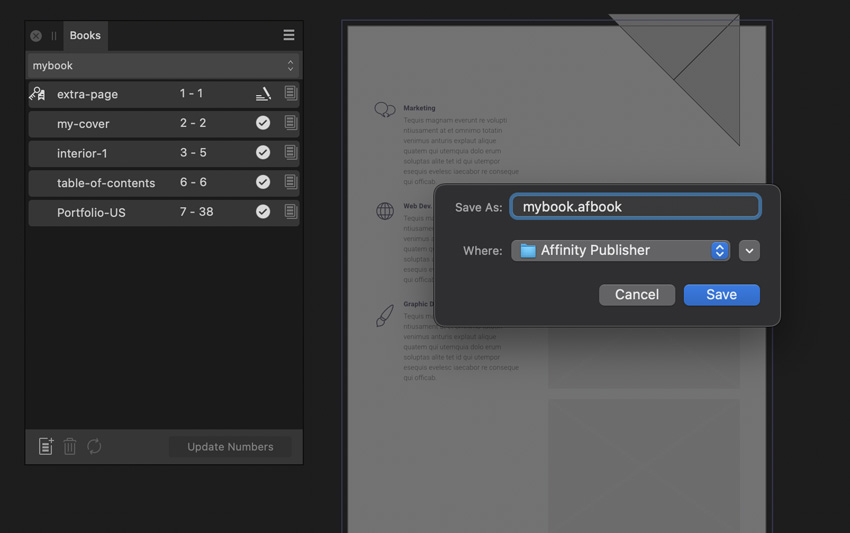
You can also Save this content as an AFBook or Affinity Publisher book file—so you can conveniently open and use this collective space, rather than opening each document individually. To save, just return to the menu icon from the Books panel and choose Save Book As.


What Were Your Favorite Features From the Affinity Version 2 Announcement?
This is just a taste of the awesome new content introduced in the Affinity Version 2 announcement. What were some of your favorite features and updates? Now, more than ever, it’s an exciting time to dig into the Affinity family of software. They are beautifully designed, professional tools with tons of potential—and they are more than viable competitors for many common industry tools.
Check Out These Awesome Affinity Templates
Looking to add to your design library? Check out these awesome resources from Envato Elements—all of them ready to use in one (or more!) members of the Affinity family. With Envato Elements’ affordable pricing, you can download as many templates as you want, all for one low price. Sign up for Envato Elements today.
Why not try out Affinity Version 2 today with a new design template, an illustration, or a new addition to your font library? Check out this selection of professionally designed templates, all included with unlimited downloads.
Brand Manual Design Affinity Template (IDML, INDD, AFPUB, AFPHOTO, AFDESIGN)


This poster template is an awesome choice for displaying a large amount of content in an organized and visually engaging way. It’s ready for your content and available for use in Affinity Designer, Affinity Photo, or Affinity Publisher. No conversion required—they’re native Affinity files.
Book Cover Mockup for Affinity Photo (PSD, AFPHOTO)


The right mockup can really help sell a design. There are so many awesome mockup templates on Envato Elements, and not only are they easy to use, but they come in a variety of formats too. This one can be used in Adobe Photoshop and Affinity Photo.
Affinity Business Card Template (IDML, INDD, PSD, AFPHOTO, AFDESIGN, AFPUB, PDF)
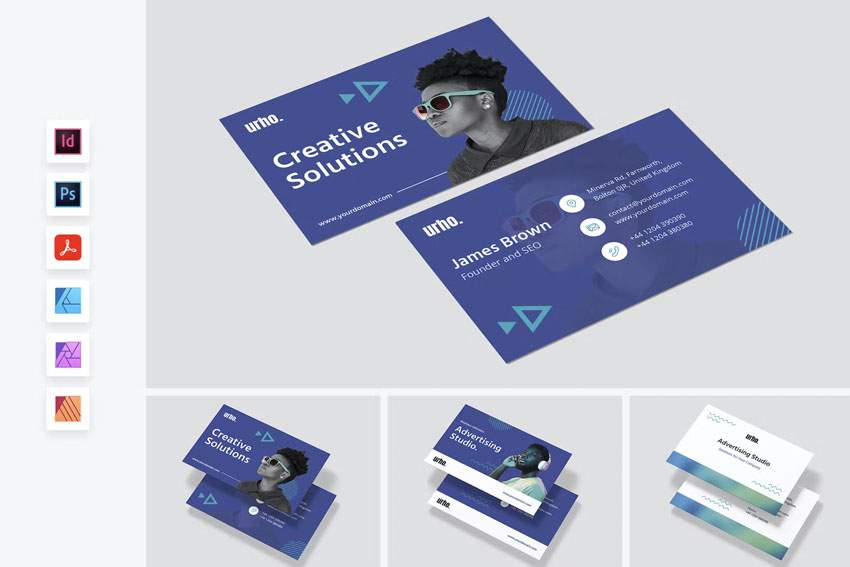

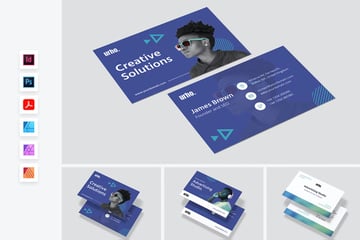
This business card mockup template is the perfect way to check out your business card before you go to print. Open it up and apply your design in Affinity Designer, Affinity Photo, or Affinity Publisher—your choice!
Affinity Instagram Post and Story Template (INDD, IDML, PSD, AFPHOTO, AFDESIGN, AFPUB, FIG, PDF)
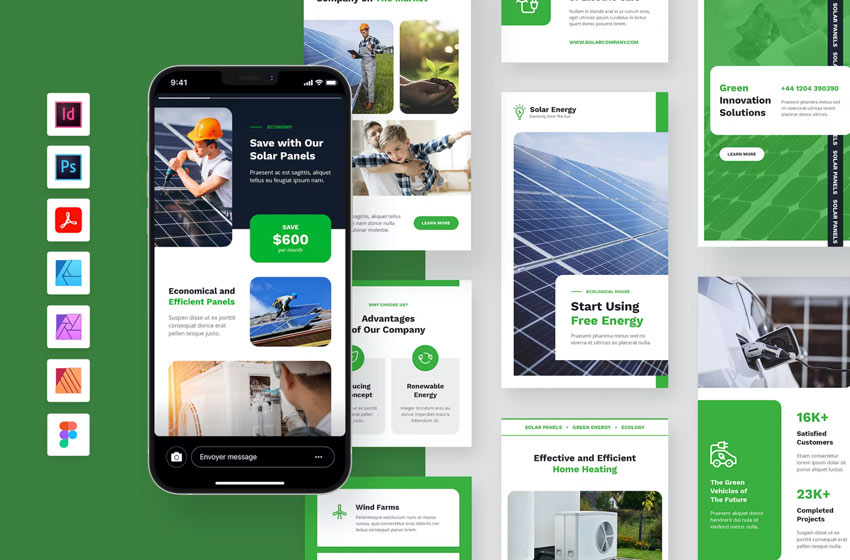
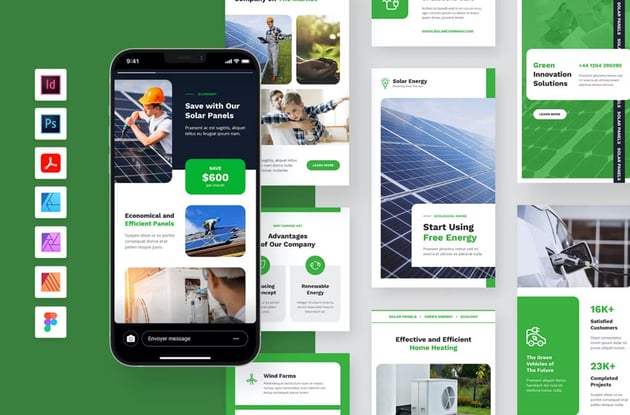
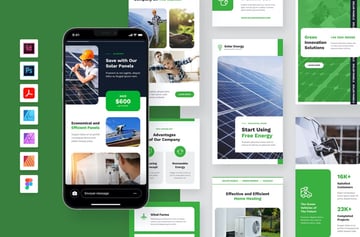
Creating the perfect Instagram posts and stories can be challenging. Why not turn to a template for some extra help? Customize this template in Affinity Designer, Affinity Photo, Affinity Publisher, or any of the other compatible formats included. That’s one of the many cool things about Envato Elements—so many file types are often supported and included.
Product Catalog Affinity Template (INDD, IDML, AFPUB, AFPHOTO, AFDESIGN, DOCX, DOC, PAGES, PDF)

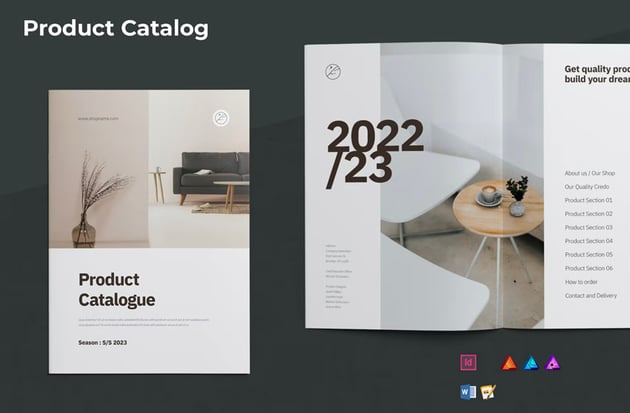

If you need a long-form document, why not try a template like this catalog template? It’s another one available for use for the entire Affinity family—Affinity Designer, Affinity Photo, and Affinity Publisher. Jump right in and add your content to help jumpstart your design process.
Learn More About Affinity Software Today
Love the Affinity family of software? Want to learn more about it? Check out the free Affinity tutorials on Envato Tuts+. There’s no better time to start learning. Give a free tutorial a try today.