I love creating smooth transitions in Figma, both for concepts and final designs. But for extra finesse and control over easing types, you should export from Figma into Adobe After Effects and finish the job there—let me show you!
Smooth(er) Transitions in Figma and Adobe After Effects
Smooth transitions in apps and websites are where motion design can really shine. They enhance communication while bringing a level of delight to the user’s experience.
In a typical UX design workflow, as we close in on the deliverables stage, getting ready to hand files to developers, we refine and perfect the motion in our work. Figma will do a lot of this for us, and we can add labels and comments to communicate what our intentions are. But to create truly smooth transitions, and high fidelity prototypes, we can take our Figma files and move everything across into After Effects.
Interface Transition Example
The video above gives by far the best demonstration of the motion design in this tutorial, but here’s a quick text explanation too.
To demonstrate the improved end result Figma and After Effects can give you we’re going to use this simple UI mockup. It’s a finance app, which shows a user’s balance, shows monthly activity, and has am off-canvas navigation for finding more options.
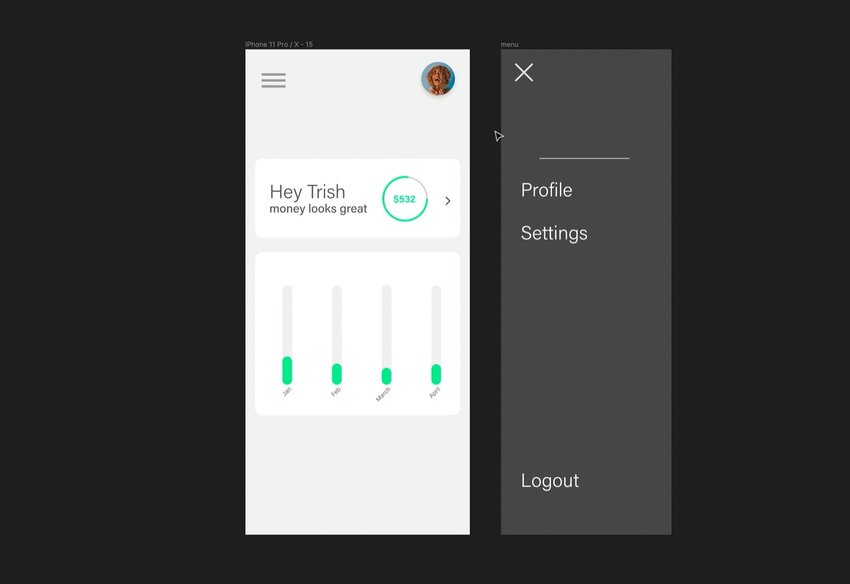
What we’d like to do is build each element of the UI onto the screen one by one, to guide the user in terms of what to look at in what order. We also need the menu block to slide onscreen, and slide offscreen when the user chooses.
Prototype in Figma
The best way to do this in Figma is to work backwards from the end screen. So you can see here I’ve duplicated the screen once to the left, then moved the monthly activity block off screen. I’ve then duplicated that screen, and moved the welcome block off from there.

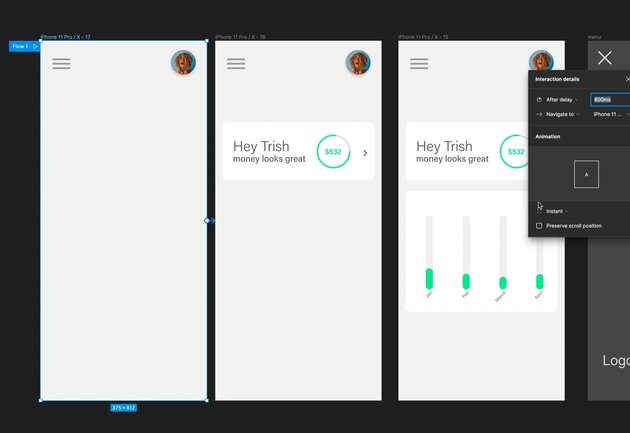
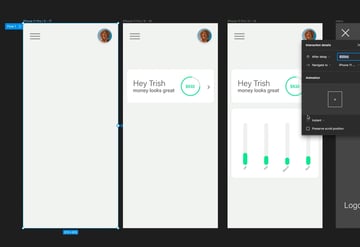
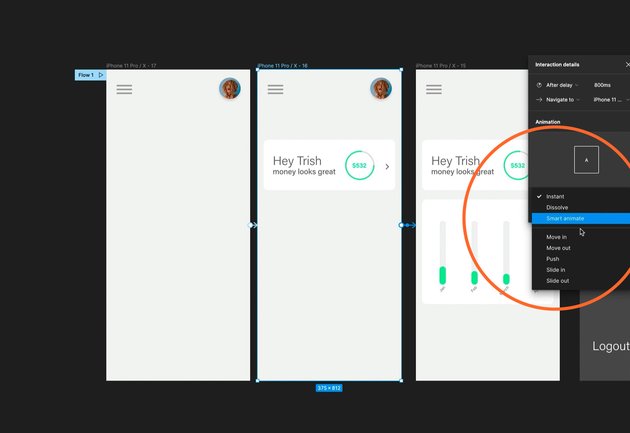
We then click Prototype in Figma’s right sidebar menu, and start dragging arrows to link each screen up. For the first linkage you’ll see I’ve chose for it to be triggered after a delay of 800ms. It’s an instant transition, so won’t need any user interaction to begin.
Set up Navigation Link
The first transitions we created are all triggered automatically, each with a delay to build the screen bit by bit.
The navigation block, however, will transition onto the screen when the “hamburger” button is clicked. So we select On click and choose to Open overlay.
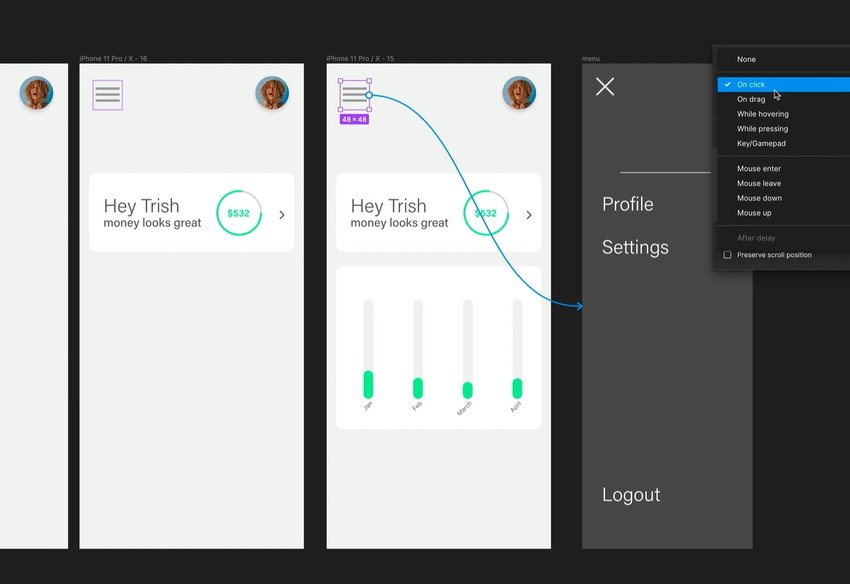
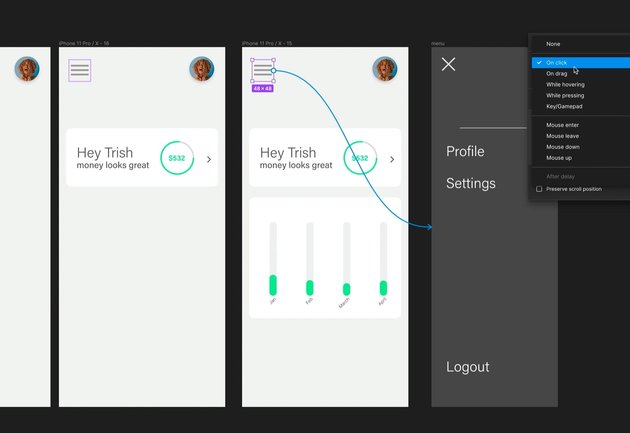
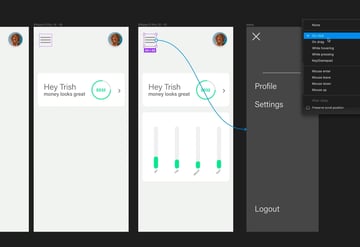
We then set up a Close overlay action on the close button.
Adding Smart Animation to Our Transitions
If you were to run the prototype in Figma now, you’d see that everything happens in order, but that the elements just “pop” onto the screen. There’s no direction and is quite disorientating for users. It’s not really clear where things are coming from, and where they’re going when the user’s done.
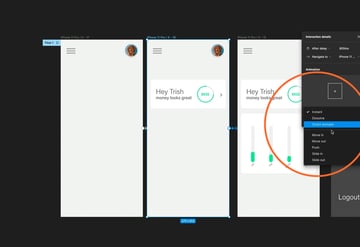
By going back to our arrows in Figma’s prototype designer we can change them from Instant, to Smart animate.
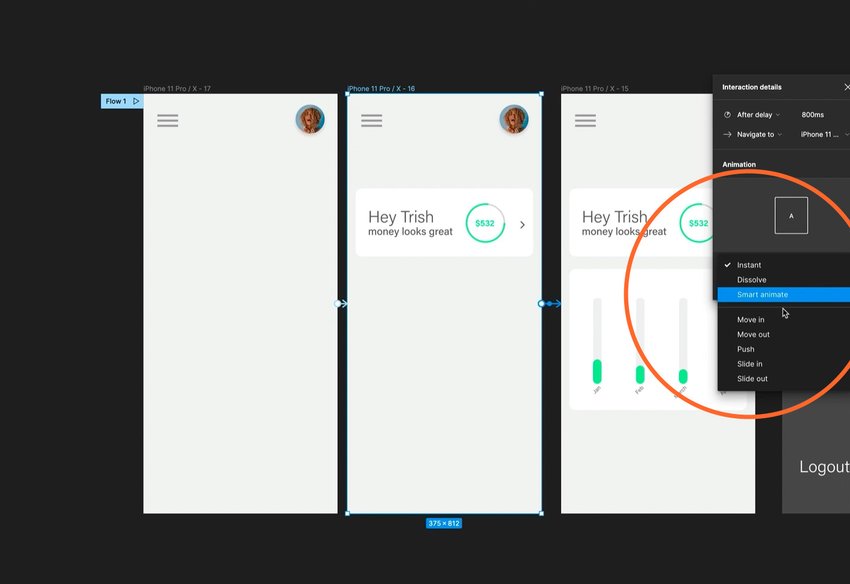
With the addition of this smart motion, it’s now clear where each element has come from.
The smart animate has applied easing to the motion to give the motion authenticity.
Go Further by Specifying the Easing
Easing describes how quickly an object accelerates, achieves its top speed, then decelerates. Without easing in a digital environment, animated elements would move in a linear fashion. They’d begin at their top speed, carry on throughout the animation at that same speed, then simply stop. Easing gives moving objects a more authentic, real-world feeling.
These three charts graphically show the main types of easing you’ll want to use in UI design.

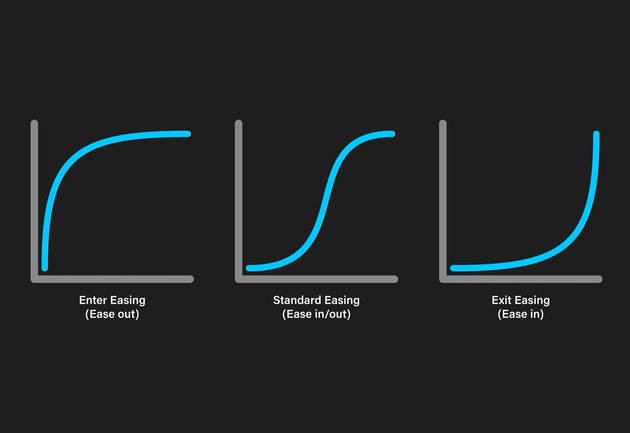
Enter easing is what you’d typically use when bringing something onto the screen. Exit easing is the reverse, for taking things off the screen. Standard easing is what you’d likely use for an element which stays on screen, but moves around for whatever reason.
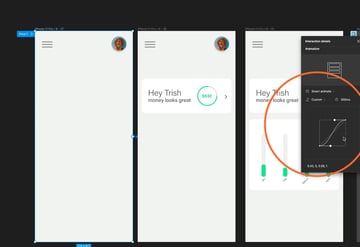
While Figma’s smart animation applies a default of ease in (which is fine for our needs) I prefer designing my motion with greater detail. With a custom bezier curve we can define exactly how quickly our motion gets up to speed, and how quickly it draws to a close.


Overall, this has given the elements in our prototype much more authentic transitions.
Figma (sadly) doesn’t yet allow custom bezier curves for the open and close overlay transitions.
Even Better Transitions in Adobe After Effects
Figma has done a fantastic job of building us an interactive prototype, with reasonably authentic motion, but we can refine things even further using After Effects.
For example, one thing we can’t yet do in Figma is overlap the delayed elements. We have to wait for one transition to complete before another is triggered. This is a shame, as we’d like the screen build to feel like one bog piece of orchestrated motion, rather than separate items.
Export Design From Figma to After Effects
While we don’t have that level of control in Figma, we do have it in After Effects. So a typical UI/UX design workflow would be, as the design nears completion, to move this sort of thing over to AE.
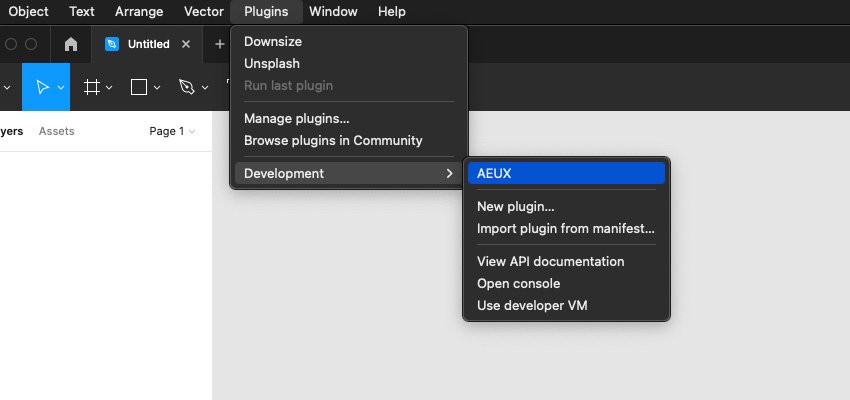
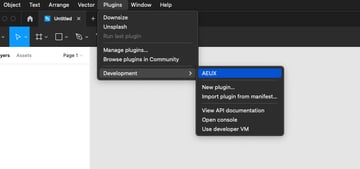
To move our work over we can use a Figma plugin called AEUX, which you can download from the developer’s website and then import to Figma via the Plugins > Manage plugins.. menu. It isn’t yet available via the Figma Community, so once installed you’ll find it under Plugins > Development.

With a couple of clicks you’ll be able to take your Figma file straight over to After Effects, and whilst you might notice some things are a little out of place (you can fix this by repositioning the guilty elements) everything will be neatly arranged in layers along the timeline.


Animating in After Effects
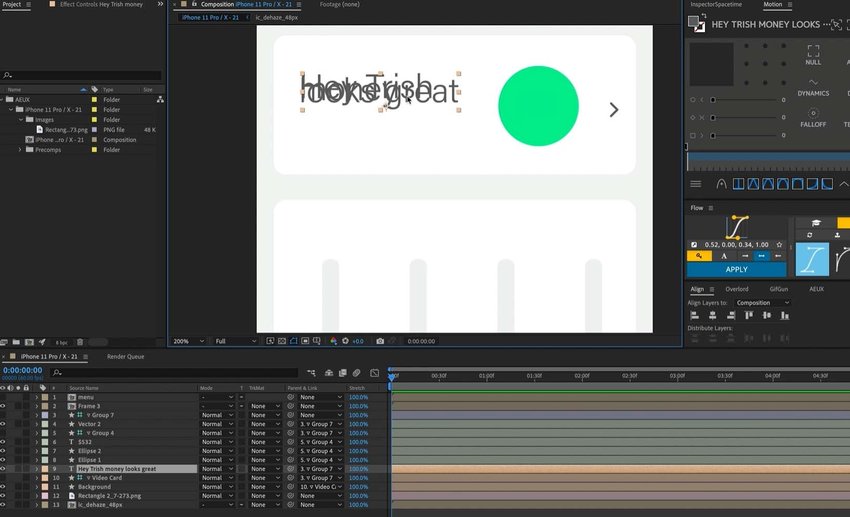
The elements we’ve brought into After Effects are all on their own layers, but none of the motion we created in Figma has been brought over. We have to do that ourselves by adding keyframes along the timeline for each object we want to animate. Let’s animate the welcome and the monthly activity blocks.
- Select the layers/elements you want to animate.
- Hit P for Position and then click the little stopwatch icons to lay down a keyframe wherever the playhead is sitting on the timeline.
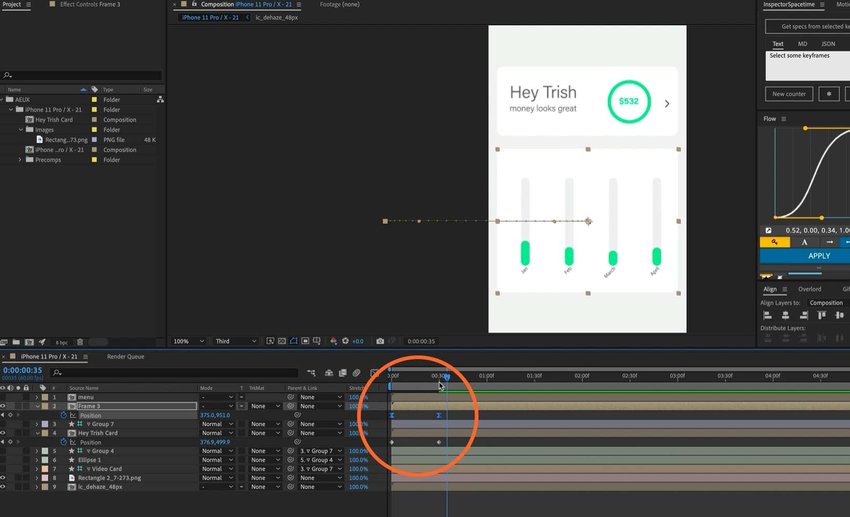
- I add a keyframe at the beginning of the timeline, and a couple of seconds later.
- With 2 keyframes set for each block, move the playhead back to the first keyframes and move the elements offscreen.
- We now have some animation!
You’ll notice, however, that the motion we have is a bit odd. By default AE has added linear easing, which looks very unnatural as we mentioned earlier.
Easy Ease Keyframes
To fix this, select both keyframes from the first object, then hit F9 to turn them into “Easy Ease” keyframes.


This will give our element an ease-in-out motion, but we can improve on that.
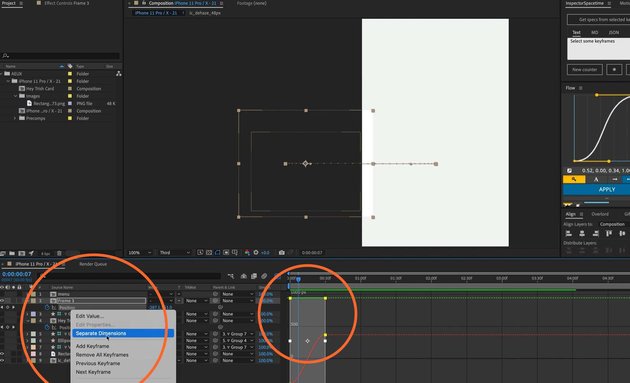
Separate Dimensions
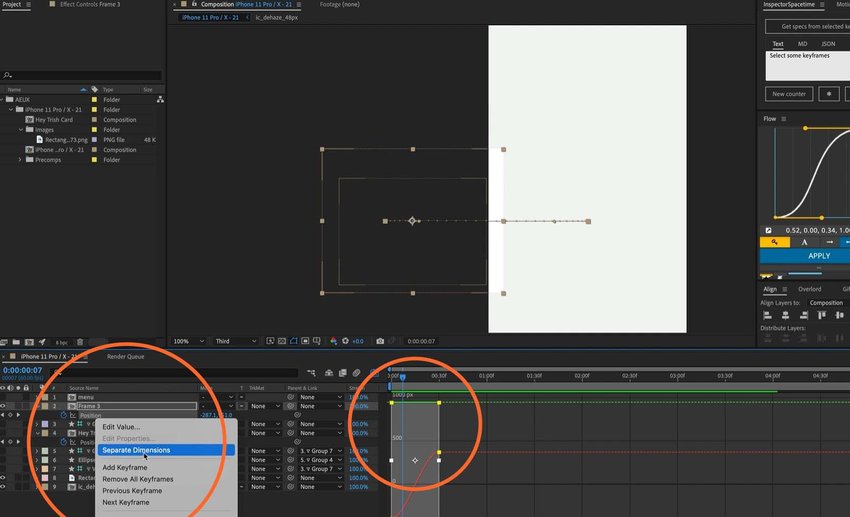
The little chart icon to the top left of the timeline gives us access to the curve which defines the easing type. But we can’t edit it from here because it’s referencing both the X and Y axes. So to get access to play around, we first need to right-click the layer name and go Separate Dimensions. Now, when we click on the X Position we can edit the curve to our liking.
As a final improvement, stagger the monthly activity block so that it enters the screen a little after the welcome block (but before it’s finished moving) and you’ll have much more effective motion design to pass to the developers.
Tip: Flow Plugin for After Effects
To help things even more, I recommend you check out the Flow plugin for After Effects ($30). From the developer’s website:
“Flow brings an easy interface to After Effects for customizing animation curves, without needing to venture into the ageing, confusing graph editor. Gone are the days of slow, heavy expressions, or fighting with speed and influence (what do those even mean?) – just make a curve, hit APPLY and you’re gold!”
With the extra tools Flow brings you can control your curves much better, save your favorite motion curves and apply them to multiple elements.
Conclusion
I hope this has helped you understand the extra finesse you can give your prototypes and motion design, by beginning your work in Figma but then letting After Effects take things to the next level. After Effects helps us get more detail and precision in our UX work.
Learn UX on Tuts+
We have lots of UX video tutorials on Tuts+, from information architecture, through core principles, to motion design, all taught by industry experts. Take a look!