Are you looking for a way to make your Word documents more visual? Try adding SmartArt graphics for the perfect visual touch.
Use SmartArt in Word to communicate your idea with graphics. SmartArt comes with Microsoft Word. SmartArt can save you time when adding high-quality graphics and diagrams.
In this tutorial, I’ll show you how to add Word SmartArt to a template for some added visual interest.
What Is SmartArt in Word?
Microsoft Word SmartArt refers to the graphics that come with Microsoft Word. The SmartArt graphics can be used to represent information and ideas visually.
SmartArt in Word includes graphics like organization charts and Venn diagrams to show specific information. Other graphics can enhance information or lists. Besides MS Word, SmartArt graphics can be used in:
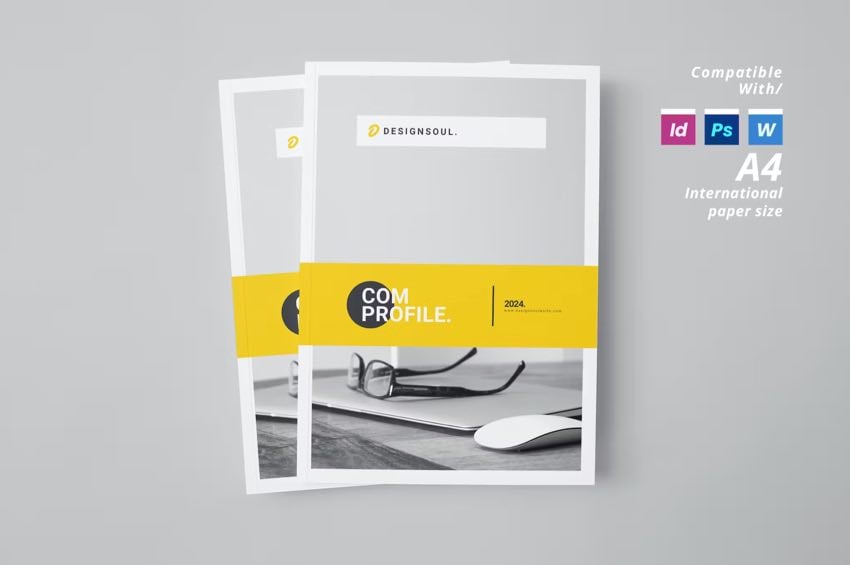


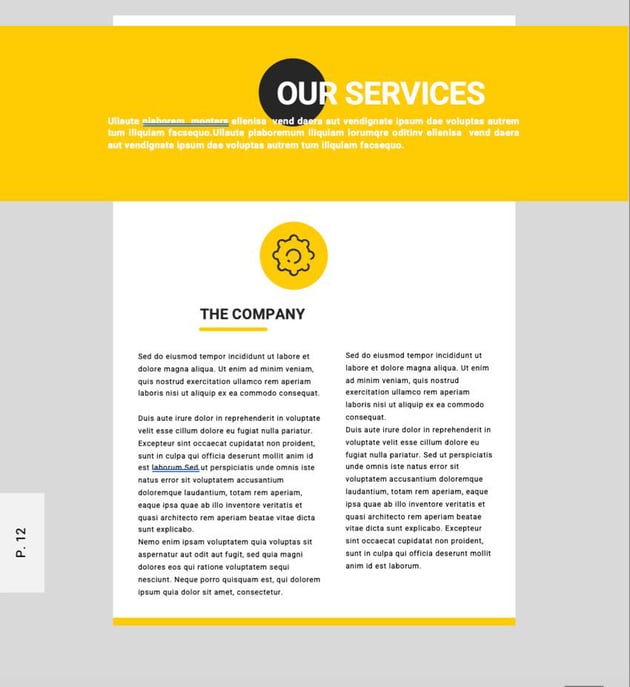
The template used in this tutorial will be the Company Profile Word Template. This template is a company profile that comes with 24 pages. It can be used in Adobe InDesign, Photoshop, and Microsoft Word. This template is A4 international paper size. It comes with picture placeholders, so you can easily add an image of your choice.
How to Use SmartArt in Word
In this tutorial, I’ll use Microsoft Word version 16.82 on macOS. If you’ve got a different operating system or a different version of the software, your results may be different.
Here’s how to use SmartArt in Word:
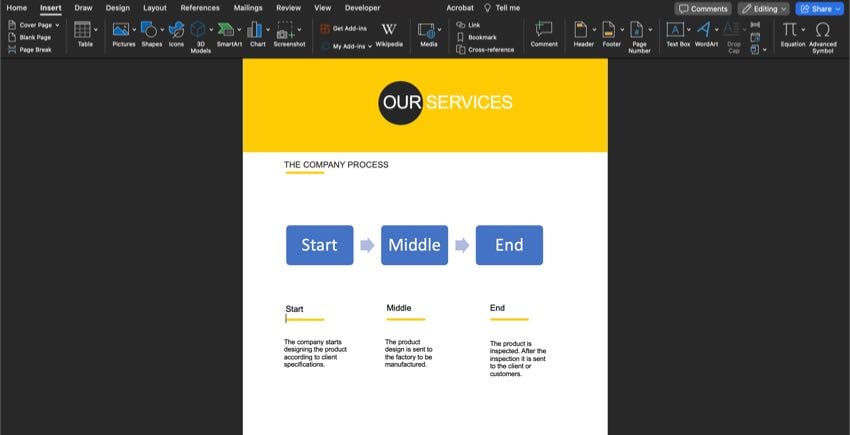
First, we’ll be editing page 11. I’ll edit this page to talk about the process of the services provided to the client. Graphics can draw the reader’s attention to your main point. Let’s get started:


Let’s get started on our Microsoft SmartArt changes:
1. Insert a Graphic
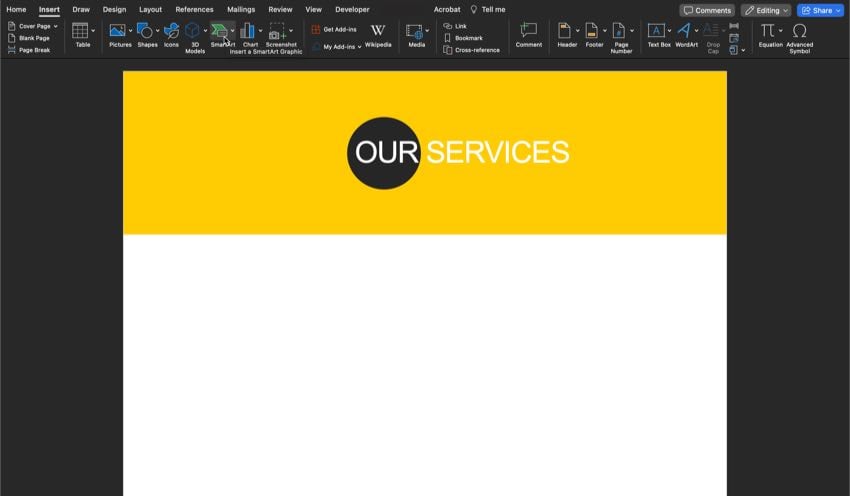


First, make edits so that you can fit your SmartArt. The page above was cleared so that the SmartArt graphic could be added. Later, I’ll add more text.
Next, click on the Insert tab above the ribbon. Next, click the SmartArt button on the ribbon in the Illustration group.
2. Select a Category


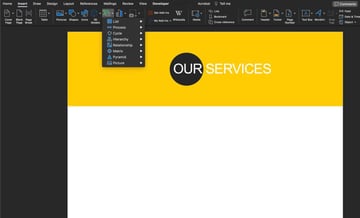
When you click on the SmartArt button, you’ll see eight categories. Each category has many different graphics you’ll have access to once you select a category. The categories are:
- List
- Process
- Cycle
- Hierarchy
- Relationship
- Matrix
- Pyramid
- Picture

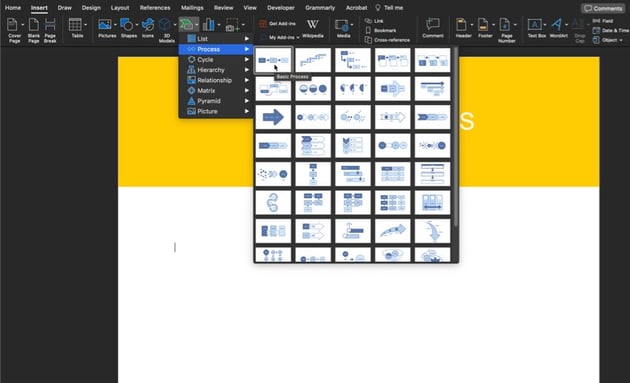
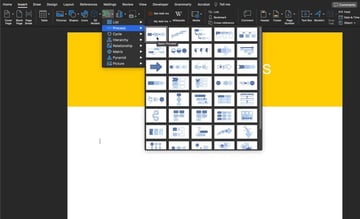
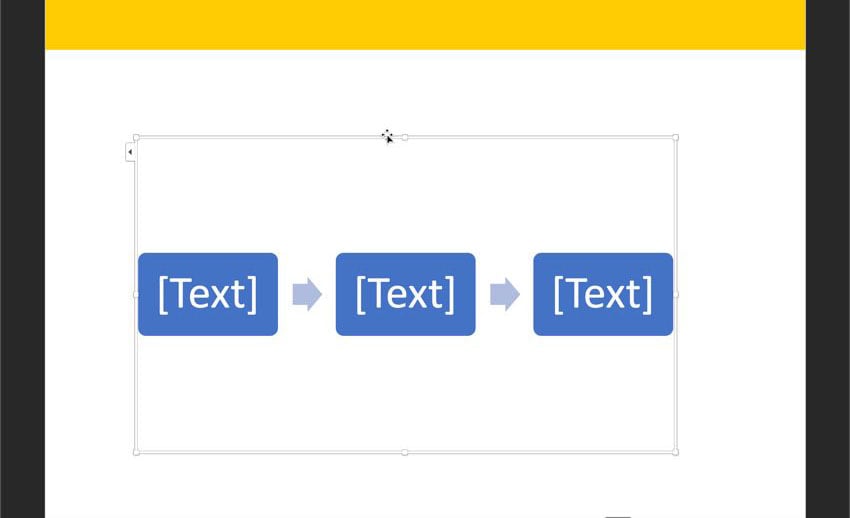
For this tutorial, we’ll choose the Process option. Let’s choose the first Process option, Basic Process, from the Process menu.
3. Adjust the Graphic

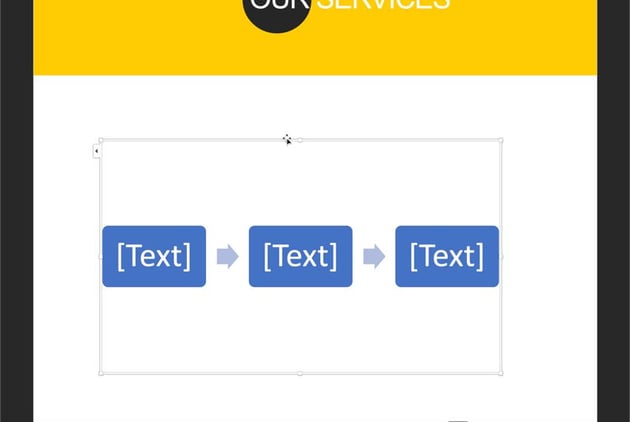

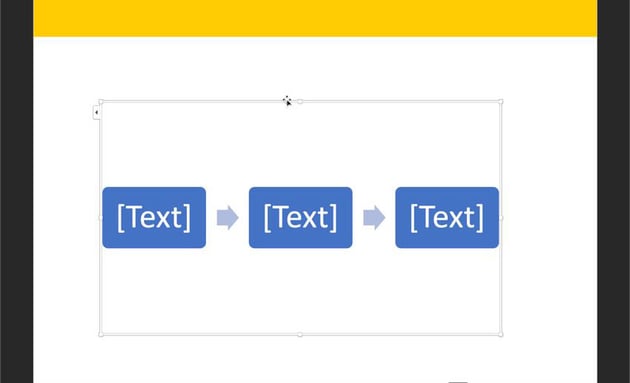
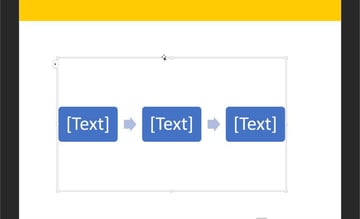
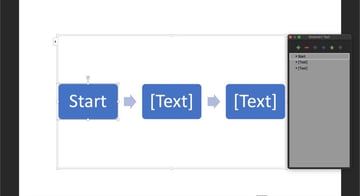
Use the white box around the graphic to adjust or move the graphic. You can move the whole graphic when your mouse turns into the cross arrows. If you move the handles in the corner, you’ll adjust the size of the SmartArt graphic.
How To Add Text to the SmartArt Graphic
After adding a SmartArt graphic, you may want to add text to it. Text can help you explain or label what is going on in the graphic. Here’s what to do:
1. Use the Text Pane


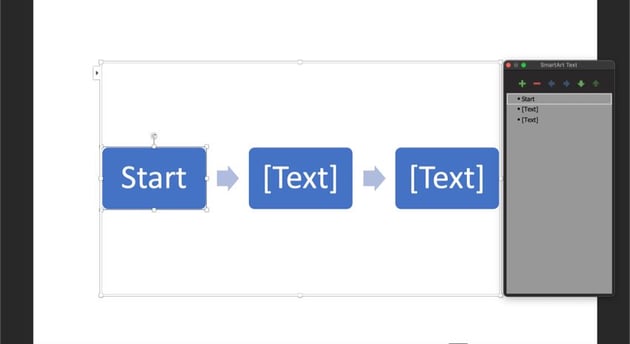
Around your Microsoft Word SmartArt is a white box. Click on the arrow to the left. This opens the SmartArt Text panel.
In the panel, you see bullet points with text next to it. Each bullet point aligns with the SmartArt graphic box. So, the first bullet is the text for the first box in the graphic, the second bullet is the text for the second box, and so on.
2. Enter Text
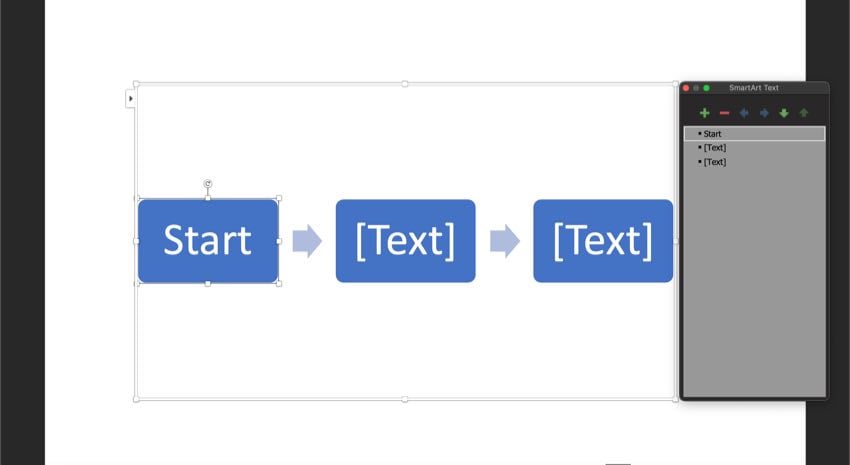
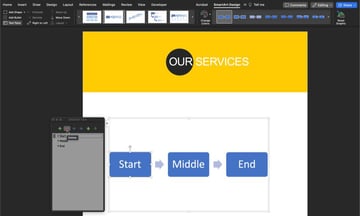
To change the text in Word SmartArt, click the text in the first bullet point. Start typing your text, and it’ll appear in the first box of your SmartArt graphic. Repeat this step for all of the boxes.
How to Add or Delete Shapes
You can add or delete a shape once you’ve added your SmartArt graphic. Here’s how:
1. SmartArt Tools
Open the SmartArt Text box panel. Open this menu by clicking inside a box in your SmartArt graphic. At the top, you’ll see six icons. They are:
- add
- delete
- promote
- demote
- move down
- move up
Click on an icon to change the order of your steps, remove a step, or add a step.
You can also add or delete a shape from the ribbon. First, click on your graphic. Then click on the SmartArt Design tab above the ribbon. You’ll see some new options to the left on the ribbon.
2. Add or Delete a Text Box


To add a new box to your graphic, press the green plus icon in the SmartArt Text panel. Or press the add shape icon on the ribbon (to the left) to add a shape to your SmartArt graphic in Word.
To delete a shape, click on the red minus button in the SmartArt Text panel.
How to Change the Colors
If you want to change the SmartArt Word graphic colors to match your document, you can. Here’s how:
1. Use the Design Tab

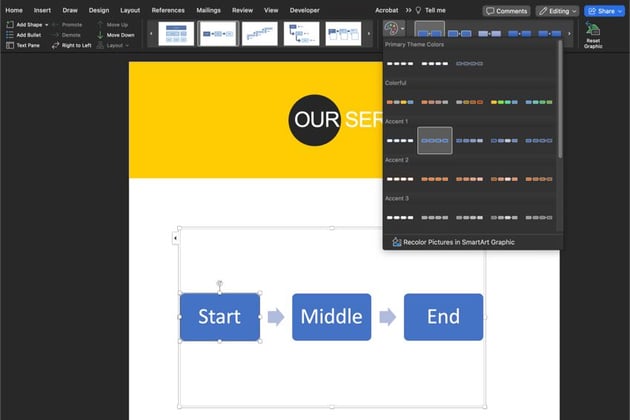

Click on your Microsoft Word SmartArt graphic so that the SmartArt Design tab shows. In the ribbon, you’ll see a Change Colors icon. Click on this icon.
When you click on the Change Colors icon, you’ll see a popup with several color options. Choose the color option that you want.
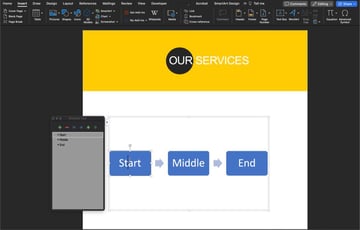
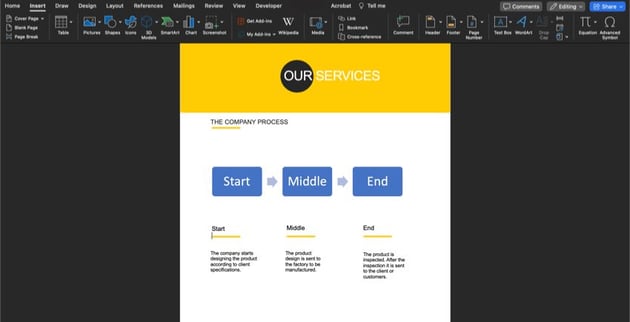
Final Product
Here’s what the template page looks like with the modified Microsoft SmartArt graphic on the page.
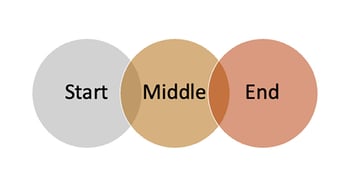
The Microsoft SmartArt graphic above was used to explain a process in this final product. But there are many SmartArt graphics that you could have used. Here’s another type of SmartArt graphic I created for a process showing Venn Diagrams:


Learn More About Microsoft Word
Do you want to learn more about Microsoft Word? If you do, then read these helpful articles:
Plus, don’t miss this article that’s full of Microsoft Word tips.
Microsoft Word Frequently Asked Questions (FAQ)
Want to learn more about Microsoft Word? Here are some common questions and answers:
1. How Do I Create an Outline in Microsoft Word?
Outlines are a great tool to help you sort your thoughts before you start writing. Microsoft Word has Outline View, which helps the user create an outline easily. For more information, read this article:
2. Can You Quickly Insert a Video in Word?
Yes, it’s easy to add a video into Word. Video can help you enhance your document by adding entertainment. You can add a video by adding the link or embedding the video into the document. To learn how to add a video to your Word document, read this tutorial:
3. How Do I Change the Language In Word?
If you want to change the language of Microsoft Word, you can. It can be helpful to use the software in your native language. There are a couple of ways you can change the language. To learn how, read this tutorial:
4. Is It Possible to Change the Default Font?
If you frequently use a font, it might be easier to set it as your default font. Fonts are important and can set the tone of your document. Here’s how to change the default font:
5. How Do I Check the Word Count on My Document?
If you have a word limit that you’re aiming for or want your document to be a certain number of words, then you need to check the word count. You can check the word count of your Word document in multiple ways. For a tutorial on how to check your word count, read this:
Envato Elements Is the Best Source for Microsoft Word Templates (With Unlimited Use)
Do you work in Microsoft Word often? If you create many Word documents, you could benefit from premium templates. Premium templates save you time because you start with a well-designed base. Then, all you need to do is add any text or images in the placeholders. a
If you’d like to add a personal touch to your template, you still can. A good premium template is easily customizable.


To gain unlimited access to premium templates, you need to pay a low monthly fee and become an Envato Elements subscriber. Once you become a subscriber, you can access tons of premium content, such as Microsoft Word templates, fonts, audio, stock images, and much more.


If you aren’t sure what digital assets would work for your project, then try the new AI search feature. It’s easy to use. All you have to do is add your project details in the search box and click search. Then, you’ll be directed to digital assets that will work for your project!
Download a Premium Microsoft Word Template Today!
In this tutorial, we’ve discussed “What is SmartArt” and explained how to use it to enhance a Word template.
If you use Microsoft Word for your projects, then try downloading a premium template today! Using a template will help you save time and make creating a professional final product easier.
So, take advantage of the great deal that is an Envato Elements subscription, where you get unlimited digital elements. Download a premium Microsoft Word template and sign up today!