Do you struggle with a simple circle from the first step of every tutorial? Do your straight lines keep bending, no matter how hard you try? Do you seem to be unable to draw two points with a given distance between? Do your pictures look wrong even after repeating carefully every single step from a detailed tutorial?
These problems may come from a lack of basic skills that are ignored when learning how to draw. In fact, these skills are obvious for someone who’s been drawing a lot, but they also can be easily forgotten after a few years without a pencil in your hand. So are you ready to catch up with the best drawing exercises for beginners?
If you’re looking for a pre-game motivational boost before taking on this challenge, check out the accompanying article, What’s Your Excuse? Why Can’t You Draw?
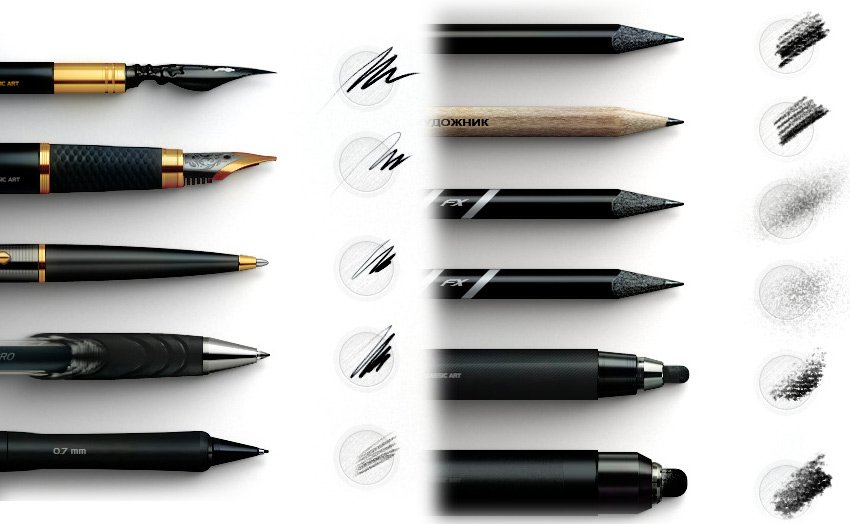
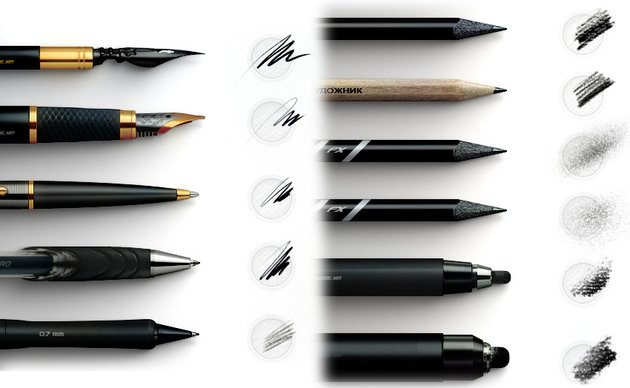
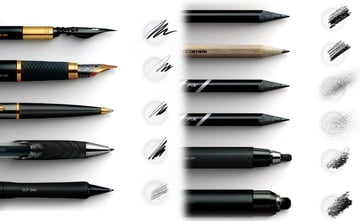
If you’re drawing digitally, perhaps you want your work to look as if it was created with pencil and paper. If this is the case, may we recommend one of the many Photoshop brush sets available on GraphicRiver, including this Classic Art Brush Pack.
1. Break the Straight Line
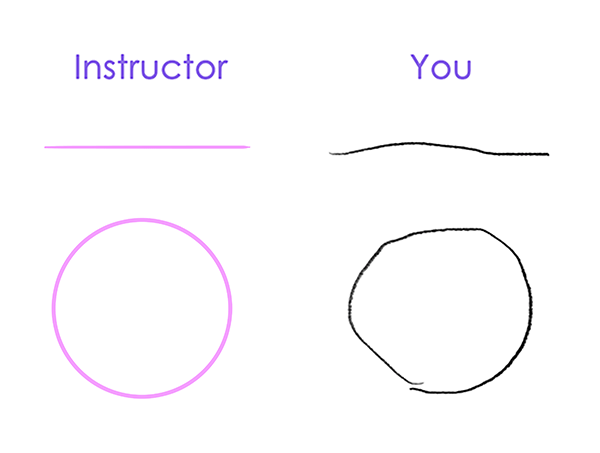
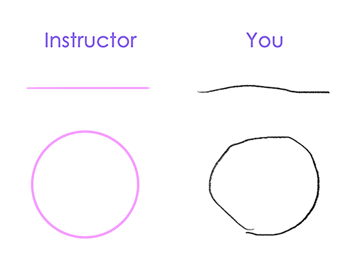
Your problem: you’re not able to draw a straight line/perfect circle.
Step 1
Straight line drawing by hand isn’t real. It exists only in vector, as the shortest way between two points. You can cheat and use a ruler, but most likely your hand will never learn how to draw a perfectly straight, long line. Even if it starts as something perfect, the longer you draw it, the more mistakes can be made. What does it mean?
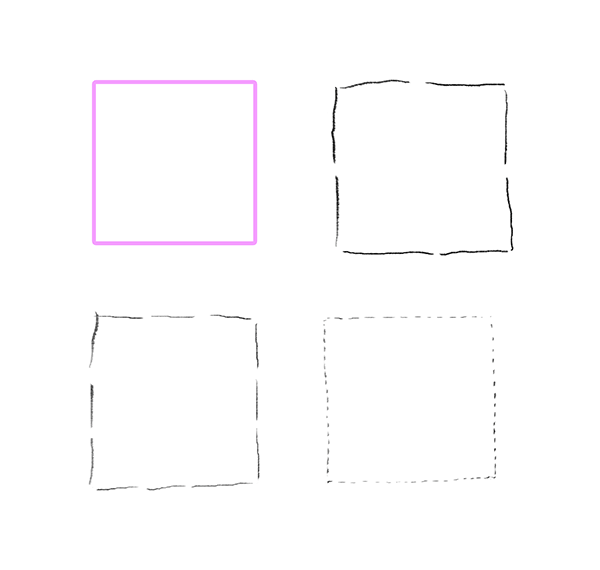
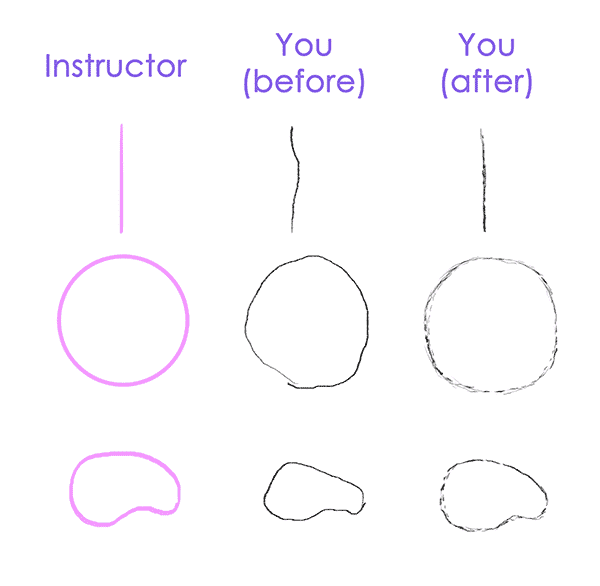
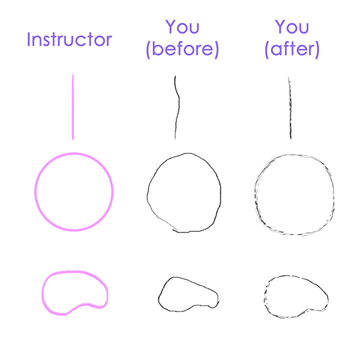
If drawing a long line is almost impossible, we can use short lines that our hand is more adapted for. This way it won’t matter what tool you use to draw straight lines; they’ll usually come out pretty good. Just look at the picture below. The shorter the lines, the closer to the original the picture is.

Step 2
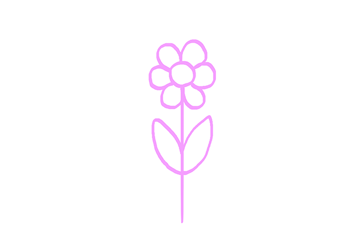
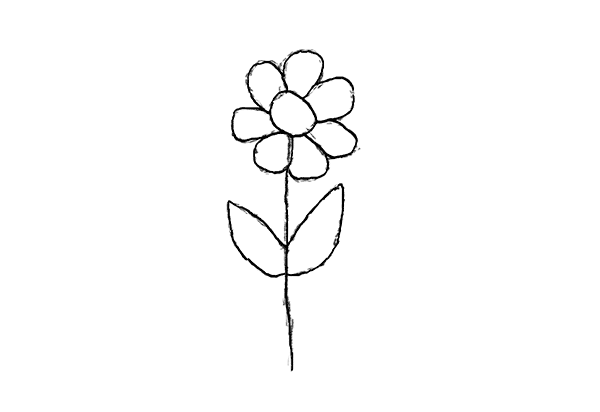
Let’s say you want to draw a flower like the one below. You can see it’s built of a straight line, a perfect circle, and a few curves with precise angles. I guess you can draw it very slowly, very carefully, driving the lines from point to point, with your tongue stuck out and sweat on your face. But… why? Drawing isn’t a chore, it should be fun!

Step 3
Technical drawing (straight lines, perfect circles) requires concentration. It’s about drawing things exactly as they are. There’s no space for creativity or personal style, since style comes from diversity. Is it really what you want to do? Draw the same things exactly the same way all the time?
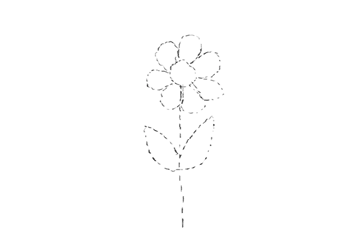
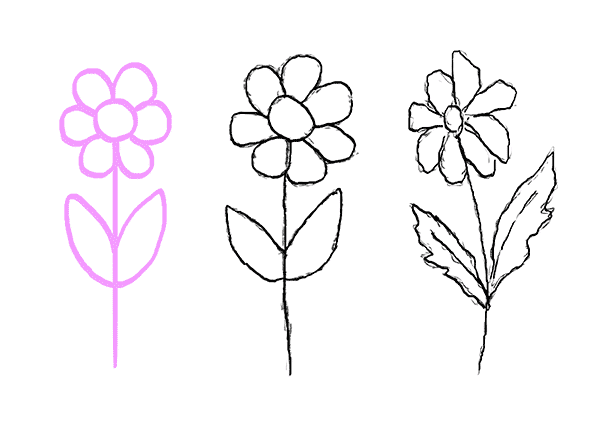
If you do, well, there’s no tutorial for you. Because drawing—creation—is about keeping your hand relaxed while being focused on a final effect instead of creating a series of perfect lines. That’s what you need to learn—how to keep relaxed, sketching quickly and carelessly. Let’s try to draw this flower once again, shall we? But this time, follow these simple rules:
- Divide the long lines into short ones.
- The more curves, the shorter the lines.
- Touch the paper very lightly; don’t press your pencil hard.
- Keep it fast!


Step 4
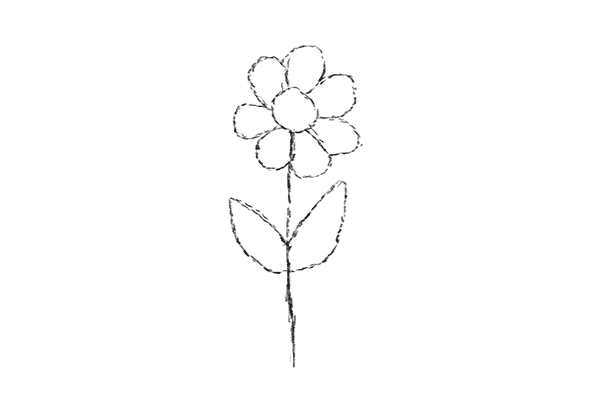
Wasn’t that fun? If you narrow your eyes, it even looks quite done. Now, fill the spaces between the lines with the ones it’s lacking. The rules from the previous step still apply.

Step 5
You can now stress the defined lines with a marker or pressing the pencil harder. This step isn’t necessary; you can skip it.

Step 6
It’s done! It doesn’t look exactly like the original, but you can see some style in it, a bit of your personal character, a real work of your hands! You can notice it even looks more natural than the original, because nature isn’t perfect. What’s most important, once you cross the boundaries, you can easily change everything!
Paradoxically, the less accurate your straight line drawing is, the more natural the results.

Step 7
Now that you’ve learned how to draw a straight line, what should you practice?
- Divide the lines into short ones.
- Draw circles made of short lines instead of long, ever-bending ones.
- Draw lightly—this way, your little mistakes won’t be visible.
2. How to Create Your Own Style of Art
Your problem: you feel you can only draw things other people have already created. Your drawings never look like something that’s truly yours. If that’s true for you, then it’s time to learn how to make your own art style.


Step 1
So you can draw circles and straight lines, right? That’s not really good. You may be stuck in mathematical rules and technical drawing—you’re great at repeating, but not creating. How can you help yourself? Well, the first step of this tutorial is good for you too, but there’s another trick you can use.
As I said before, style comes from diversity. If you’re redrawing a picture carefully, line by line, without adding anything new (because it would be a mistake!), you can’t end up with something different. The original wasn’t yours, and your drawing is just a copy. I don’t say you shouldn’t follow tutorials anymore; you should just be more creative and—paradoxically—less precise when doing it.
How to lose a reasonable bit of precision? Let’s start with this simple exercise: draw a few simple shapes with your hand shaking, as if you were feeling nervous. Do it until you feel your hand is relaxed.
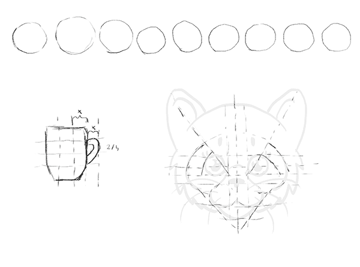
Step 2
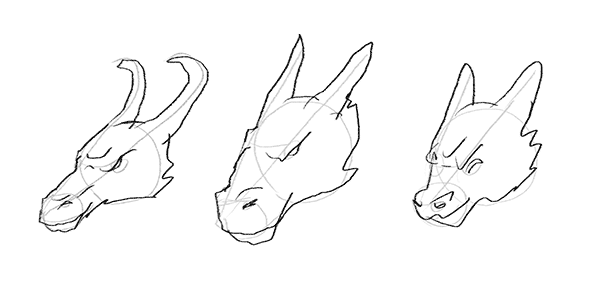
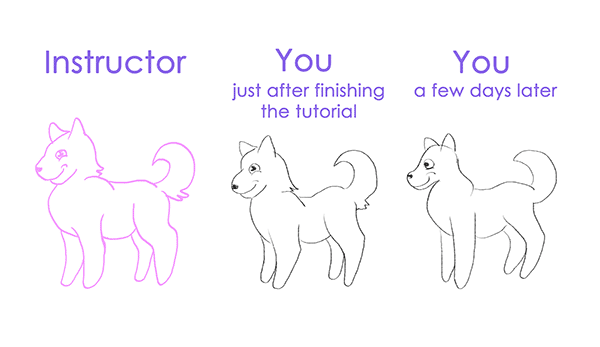
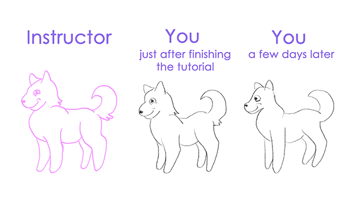
Let’s try this simple tutorial now. Do this the same way as usual, but in Step 4 shake your hand when drawing the final lines. Draw a few of these heads, changing the level of twitch every time.
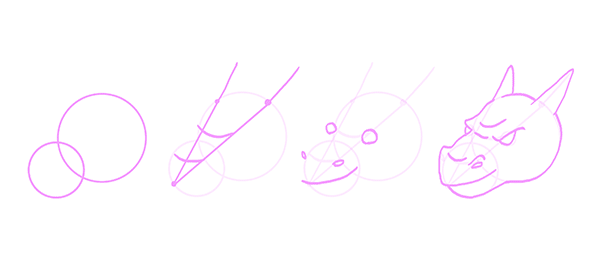
Step 3
Surprised? Every head looks different than the original, but you can recognize what you’ve just drawn. Also, you used the same proportions for them all, yet none of them looks identical. How could it have happened?
When you were learning how to write, your teacher wanted you to repeat lines from a template. You were spending a lot of time drawing (not writing) every single letter as if it was a small masterpiece. Then, with time and experience, you developed your own character of writing, your own style. Your letters look different than mine or your friends’, but still, we can all read what you write. Your style changed because you wanted to write fast—to write down your thoughts, not to draw perfect but meaningless letters.
Apply this rule to your drawings. Think about what you want to achieve, not about the lines. Draw fast, and your personal, unique hand movement will have a chance to shine.


Step 4
There’s another thing that adds up to your style: creativity. Do the same tutorial once again, this time changing the step results to your needs. You’re learning how to draw a dragon’s head, but what if dragons in your mind have longer mouths? No problem! You don’t need to find more drawing exercises for beginners for that. Just adjust the rules to your needs.

Step 5
Alright, so you now know how to make your own art style. What’s next for practice?
- Try to draw things from your environment with shaky, careless lines, without worrying about the effect.
- Sketch a lot! Don’t think about the result, just let your hand practice its natural movement.
- When following tutorials, stay creative—change lengths, shapes, distances, and see where it takes you.
3. How to Measure and Draw Proportions
Your problem: your proportions always look off. You feel unable to draw a given distance without using a ruler or other tools.

Step 1
Incorrect proportions are a huge problem for an aspiring artist. Luckily, it can be overcome if you don’t ignore it. First, what are the proportions, actually?
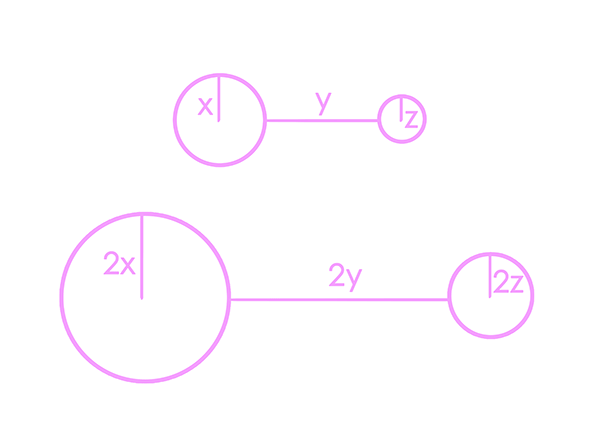
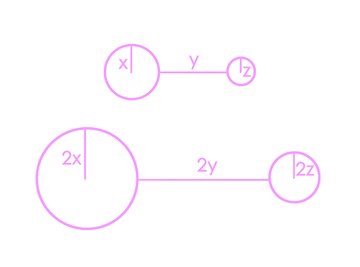
Proportions aren’t a distance measured in some unit. They define the location of an element relative to others. That means that if you want to draw the whole picture (set of elements) two times bigger, all the distances need to be doubled too.
Step 2
Let’s train our eyes to see and redraw proportions. First, try to redraw this picture, but two times smaller:
Step 3
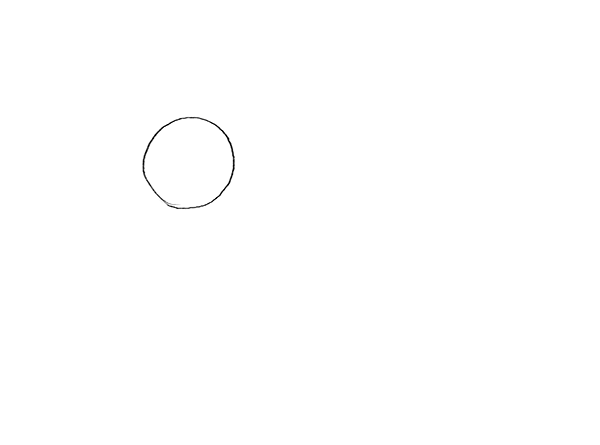
Now, take a ruler and check if you got it right: the distance should be two times smaller than on the screen. And, how’s your result? Probably not very good, if you’re reading this drawing proportions tutorial. Notice that the circles should be two times smaller too, and that seems almost impossible: how can you draw a circle that’s twice as big, if you don’t even know the original size?
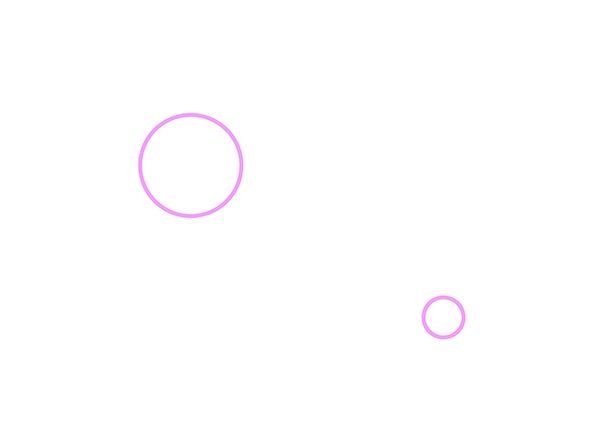
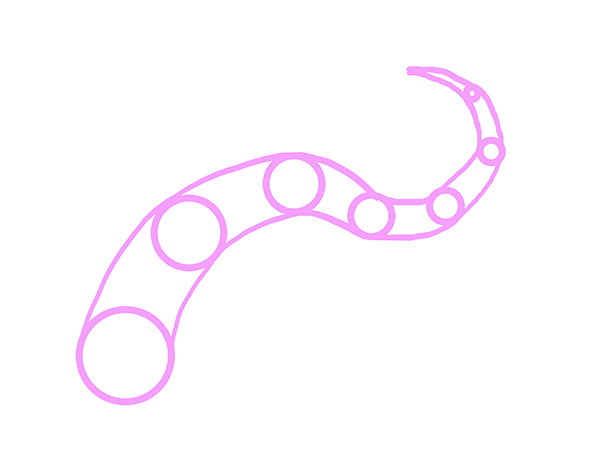
The answer is that we need at least two elements to talk about relativity. No matter what size the first element is, it can’t be unproportional, if there’s only one! So let’s try again. Draw only the first circle.
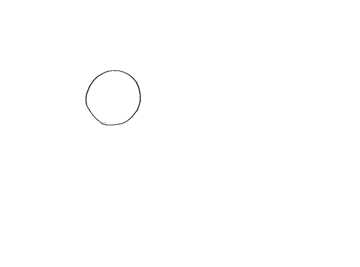
Step 4
Now imagine two lines coming from the center of the circle. There’s a third imaginary line connecting both circles. Can you see what angle it creates? Draw this line on your picture, without adding the second circle for now.
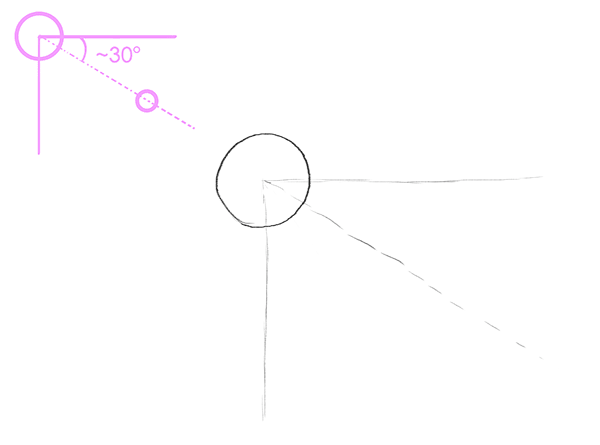

Step 5
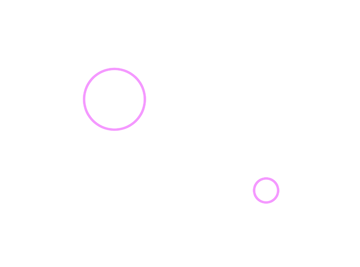
We need to set the distance now. How many circles can be put between both centers in the original? Apply this relationship to your picture. For the first time, it’s best to print the original and draw the other circles physically. Later, you can try only pretending you’re drawing them (keeping the pencil right above the paper/screen and seeing the circles in your mind).

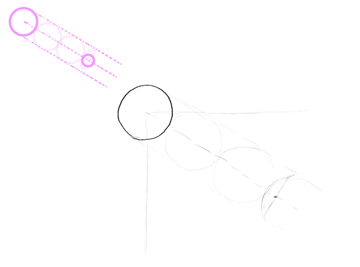
Step 6
It’s almost done! Now we need to check what the size of the second circle is in relation to the big one. A good method for this is to imagine the second circle inside the first one to clearly see the proportions.


Step 7
Done! You can use the ruler once again to see how accurate it is. This method is really good when your eyes aren’t trained to see proportions yet, and with time you may not need to draw the guide elements anymore.

Step 8
You’ve done it! You went through all the steps in learning how to draw proportions. For more practice, do the following:
- Learn to see proportions everywhere. Look around and ask yourself: How long are my fingers in comparison to the palm? How many heads can be put in a row along my dog’s back? What element of the face could fit perfectly between the eyes? This training can be done in your spare time, and it increases your concentration. Also, with time, your eyes will learn to do it without your awareness!
- If you have problems with recreating sizes (for example, you draw two identical circles and they’re always different), don’t avoid practicing it. Draw these two circles as long as you can draw them identically, and then try the same with triangles, squares, and so on. This problem must be solved before doing any other tutorial, since it’s the base of other skills.
- The Internet is full of simple, step-by-step tutorials that don’t teach any real drawing skills, but they’re great for practicing proportions. Start with the simplest pictures for children and move on when you feel more confident. Again, don’t go further before establishing these basic skills. Nothing strong can be built on a weak base.

4. Free Your Hand
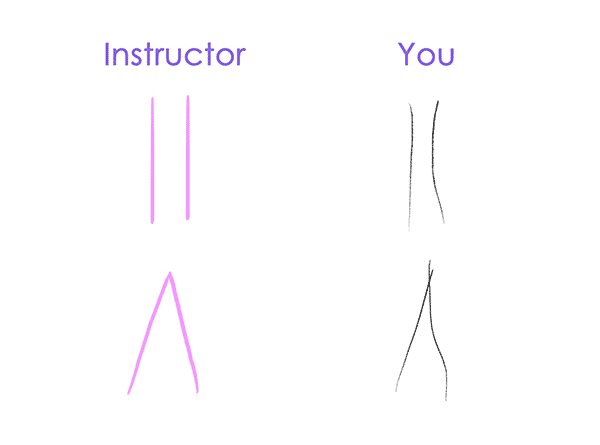
Your problem: you find drawing parallel or concurrent lines very hard. The second line always goes in the wrong direction somehow.

Step 1
This happens sometimes when you’re trying too hard. You want to be precise and, as a result, you draw slowly and carefully, giving your hand more time for mistakes. Try to draw both lines fast: does it change anything? If yes, well, I’m glad I could help! If no, a little training may be needed.
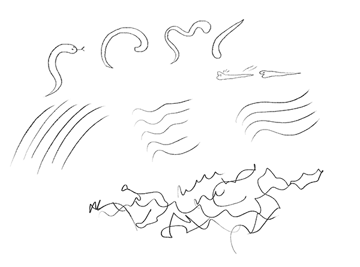
Drawing snakes is the greatest and the most complex training I can think of. It lets you practice proportions, planning lengths, changing size and angles, and, most importantly, it teaches your hand how to move gracefully. If you’re reading this paragraph, you probably have problems with snakes too—they’re thick at one point, then thin and thick again, totally messy and wrong. But we can fix it!
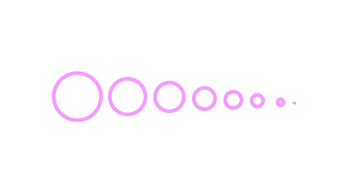
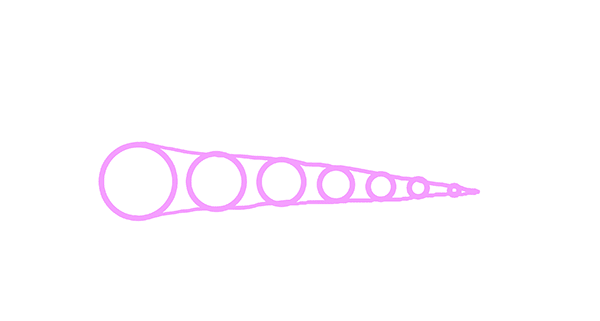
Start with a row of circles, each one smaller than its predecessor. End the row with a single point.

Step 2
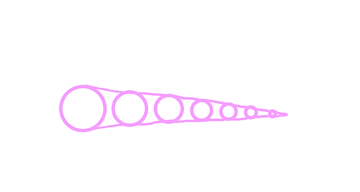
Connect the corresponding ends of the diameters. A simple snake is done! Of course, there’s more to learn.
Step 3
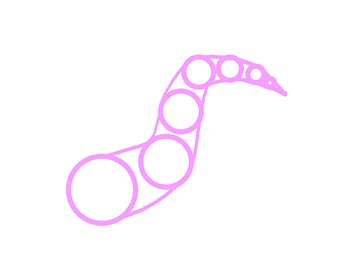
Now draw a series of the same circles, but changing their positions vertically too.


Step 4
Connect them again.

Step 5
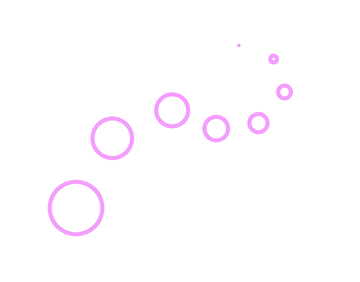
Let’s increase the difficulty level. Do the same as before, but now leave bigger spaces between the circles.

Step 6
Connecting the circles may be harder now, because you need to draw the arches. This is the actual practice. Draw the snakes, long and short, straight and curled, using bigger spaces between the circles every time you see you got it right. If you do this long enough, your hand should learn the proper movement.

Step 7
What to practice?
- Snakes! Draw a lot of them; they’re fast and easy;
- Draw a series of parallel lines and waves as fast as possible. Let your hand feel it’s free!
- Draw wavy lines when watching TV or reading articles on the Internet. It doesn’t matter what you’re drawing, just teach your hand how to move freely and carelessly.

5. Learn What Things Are… And Why They Are
Your problem: you can’t draw from imagination. Everything goes right when you follow a tutorial, but then you can’t remember the steps, or there’s only one pose that turns out OK.
Step 1
Even though the best drawing exercises for beginners won’t help you here, you’ll be glad to hear this isn’t as big a problem as it seems. You only need to change your attitude. The problem is that you learn how to draw lines instead of what the object is. There are two kinds of information:
- Matrix (raster): Where’s the point? What’s it connected to? What’s the distance between them? How many of them occur in a given area?
- Vector: What’s the point for? What’s this point part of? What does this set of points do? How does it influence the other elements?
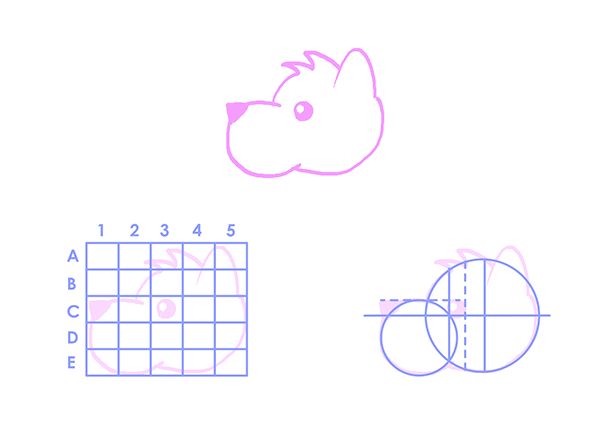
Matrix information is a template to create the same thing all over again. It’s hard to remember, and it’s useful only in a few cases. Vector information is scalable. It means that when conditions change (different pose, size, style), the elements adjust to them, because they’re attached to proportions, not position. Here’s an example:
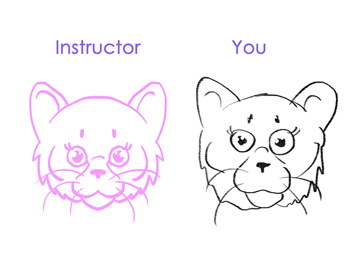
Matrix Dog Head Information
- C1 – nose
- C3 – eye
- C1-E3 – mouth
- A3-E5 – head (etc.)
Vector Dog Head Information
- The head is made of two circles: a “brain case” and a mouth.
- The mouth is a bit higher than the middle of the brain case.
- The eye is circular, and it starts at the middle of the brain case, touching the mouth.
- The nose is on the tip of the mouth, and it’s as big as the eye (etc).

If you’d like to change something, for example open the mouth, matrix information fails. It’s fixed, scalable only in terms of size, and it’s even more useless when you want to create a pose in 3D space. How can you learn in vector, then?
Step 2
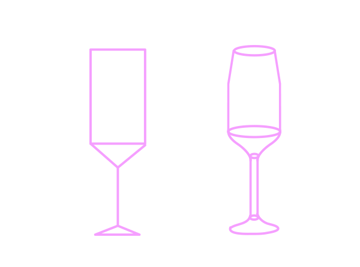
Take an object and analyze it. There are two ways of thinking you can use now (I’ll use a glass as an example):
- The glass is made of a rectangle, then there’s a flat triangle under it, a quite long line, and a flat triangle again.
- The glass is made of an oblong container with a circular section where wine is poured. The upper part of the container can be bent to the inside, to stop the bubbles from slipping away. The bottom of the container melts gently into a thick leg. The leg then melts into a circular support.
What do you think? Which way better describes the essence of a glass? The first one is fast and great when you start your adventure with drawing, but it will only let you draw this particular position. You may try to go into a 3D world, learn perspective, add some motion, and suddenly it turns out you don’t really know how to draw a glass.

Step 3
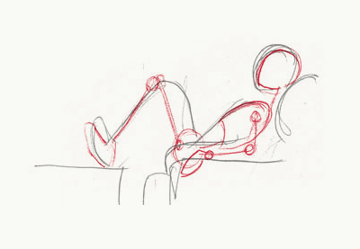
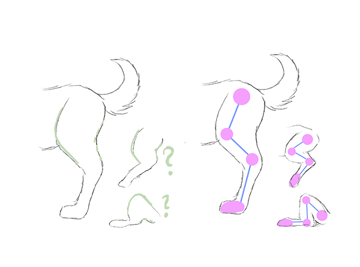
Another example is anatomy. You may learn the curves of a body in one pose, but it doesn’t tell you anything about what the same body looks like when running/sitting/fighting. A simple “why” has never been that powerful. Why is this part bulging? What’s it used for? Why is it long/short? Why is this part connected to some particular one?

Step 4
What to practice?
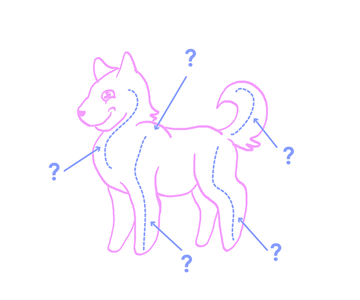
- Stop thoughtlessly copying the lines you’re seeing. Try to understand the object as a whole. If you understand why it’s built and drawn like this, you’ll be able to modify it and create something that’s truly yours, without breaking the rules.
- Analyze objects even when you’re not drawing. In a queue, in a bus, waiting for someone—look around and ask yourself: why does it look like this? What’s its purpose? With every answered “why”, you’re extending a huge base of vector information in your head. You’ll be surprised how much it helps!

Now You’re Ready to Draw!
If you’ve followed the tutorial carefully, after some practice you should be able to follow intermediate tutorials flawlessly. While these drawing exercises for beginners may seem boring, they’re essential and need to be learnt. If you tried them and they seemed trivial, that’s great, you’re ready! But if you had some problems, it’s really better to stop here and practice until you overcome them.
More Useful Drawing Resources
If you want the best simple drawing tutorials and exercises for beginners, stick right here on Envato Tuts+! Our instructors have put together many helpful guides that will help you develop your skills. Here are just a few to get you on your way:
 Drawing100 Easy Drawing Tutorials for Beginners and Beyond!
-
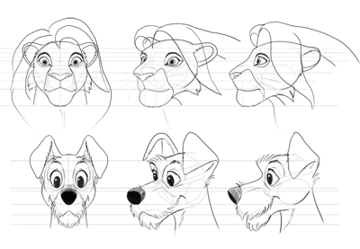
DrawingHow to Draw Disney Animals
-
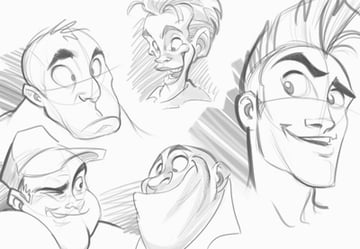
ComicsCartoon Fundamentals: How to Draw a Cartoon Face Correctly
-
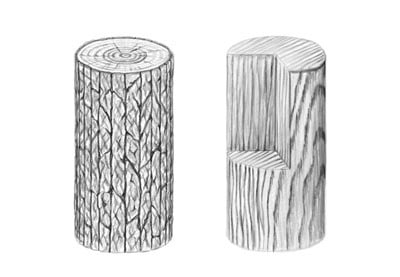
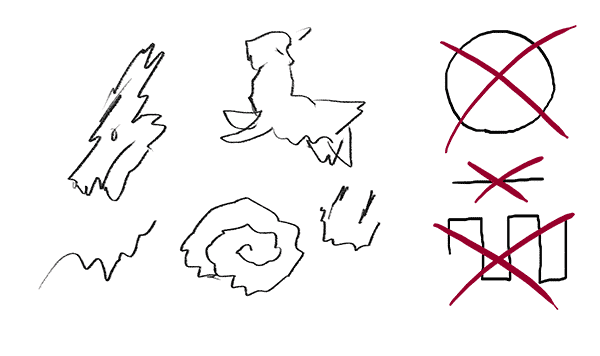
DrawingHow to Draw Wood
-
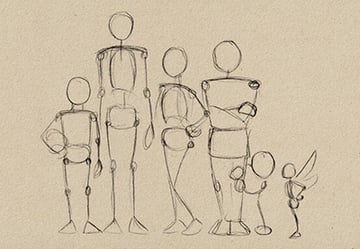
Human AnatomyHuman Anatomy Fundamentals: Basic Body Proportions
-
DrawingHow to Draw a Heart
-
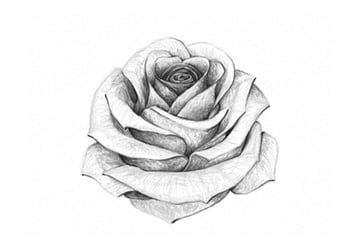
DrawingHow to Draw a Rose
-
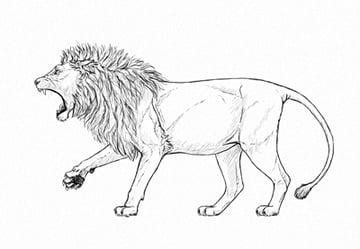
AnimalsHow to Draw a Roaring Lion Step by Step
-
Fan ArtHow to Draw Pokémon
-
AnimalsHow to Draw a Peacock