Got a few gaps in your images that you wish weren’t there? Or maybe you just want to experiment with some new textures? Photoshop’s Generative Fill is exactly what you need. In this quick tutorial, we will cover how to use Generative Fill in Photoshop as well as where to find it. Let’s get started!
What You’ll Learn in This Photoshop Generative Fill Tutorial
- How to access Generative Fill in Photoshop
- Where is Generative Fill in Photoshop?
- How to use Generative Fill Photoshop
Follow along with us over on the Envato Tuts+ YouTube channel:
How to Access Generative Fill in Photoshop
Wondering how to access Generative Fill in Photoshop? As of July 2023, Photoshop’s Generative Fill tools still can only be accessed in the beta version of Photoshop. However, anyone with access to Photoshop through a Creative Cloud plan can download the beta Photoshop version.
To access Generative Fill in Photoshop, follow these steps:
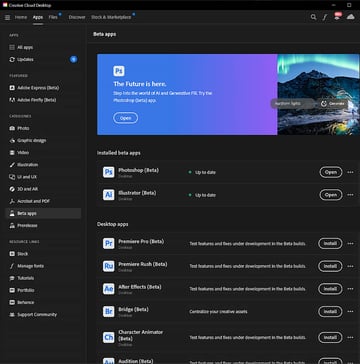
- Launch the Creative Cloud desktop app, which you used previously to download and update Photoshop.
- Navigate to the Apps section in the upper menu.
- In the side menu, locate and click on Categories.
- Look for Beta Apps and select it. You will find all the beta versions of various Adobe products.
- Proceed with the installation of the beta version of Photoshop.
- Once installed, you can now enjoy Photoshop with Generative Fill.
You will only have access to Generative Fill while you’re in the beta version of Photoshop.


How to Use Photoshop AI Generative Fill
Step 1
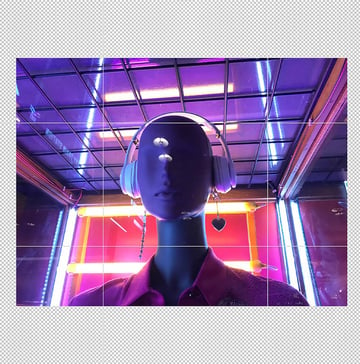
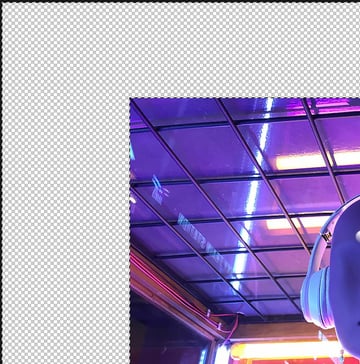
First, let’s learn how to use Photoshop AI Generative Fill to extend an existing image. Start by using the Crop tool to increase your canvas size to however big you want your image to be.


Step 2
Next, hold Control/Command and click your image’s layer. This will create a selection around the layer. Go to Select > Invert to Invert the selection.

Step 3
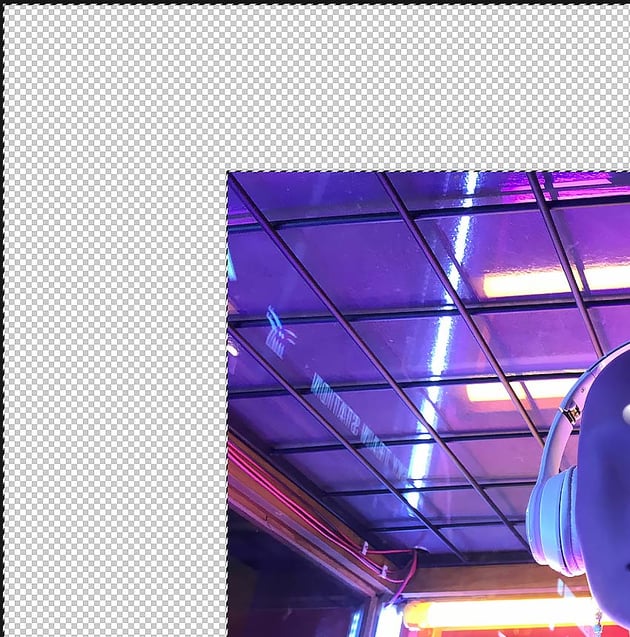
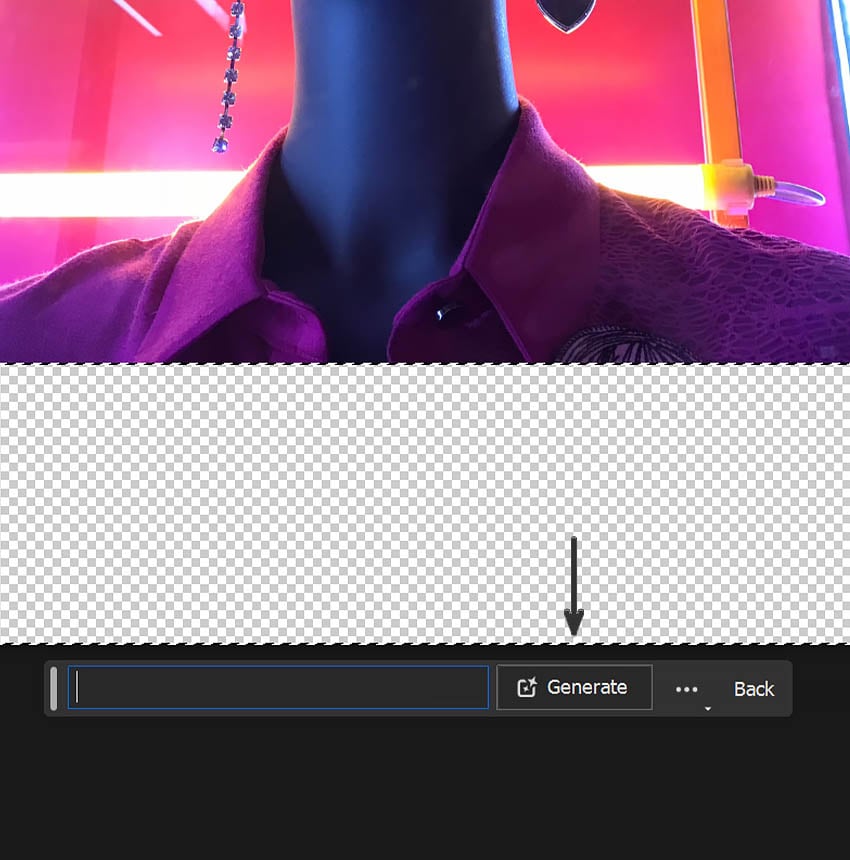
Hit the Generative Fill button, keep the prompt box empty, and hit Generate.
When we generate without a prompt, Photoshop will use the existing pixels as a reference and attempt to fill in the empty space.


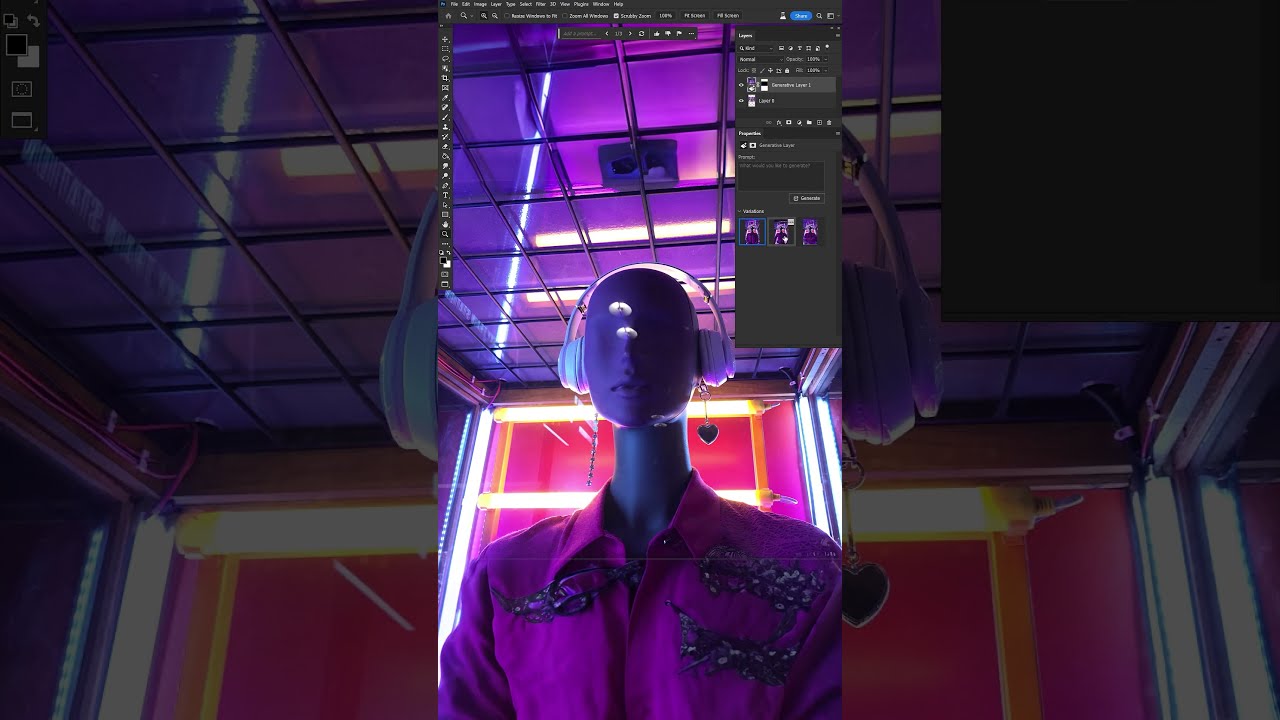
Step 4
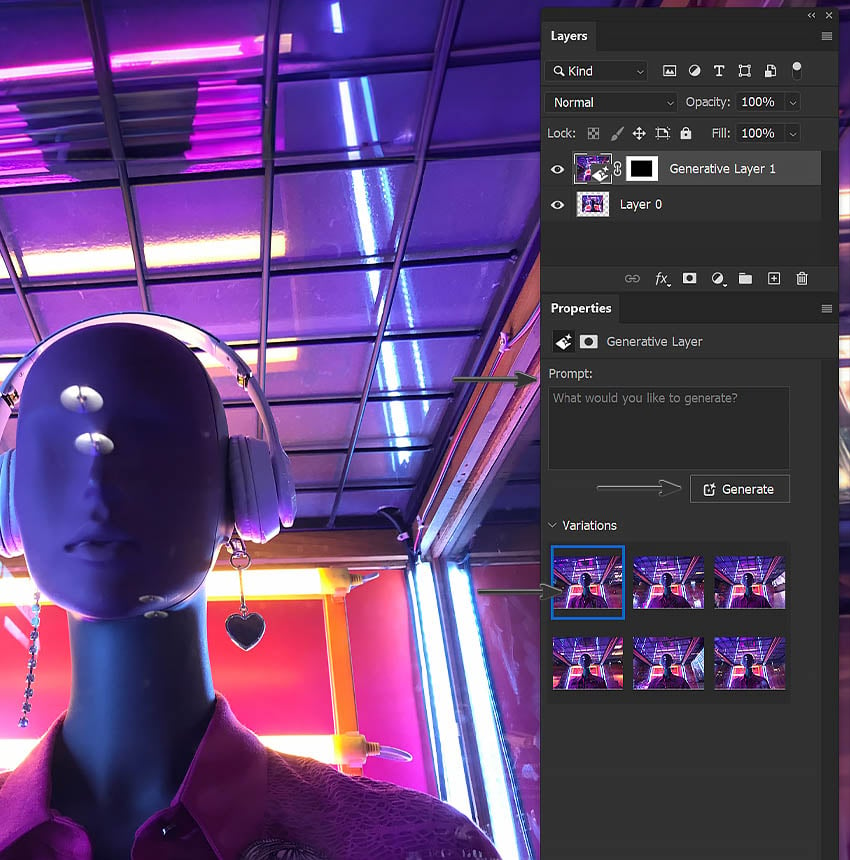
Once generated, Photoshop will give you three variations to choose from, found in the Properties panel while the Generative Layer is active.
If you don’t like any of the variations, you can continue to generate more by hitting Generate. You can also edit your prompt.
Your variations will stay saved for as long as your Generative Fill layer stays intact. Your prompts will also be saved on any variation it was used to generate.


Step 5
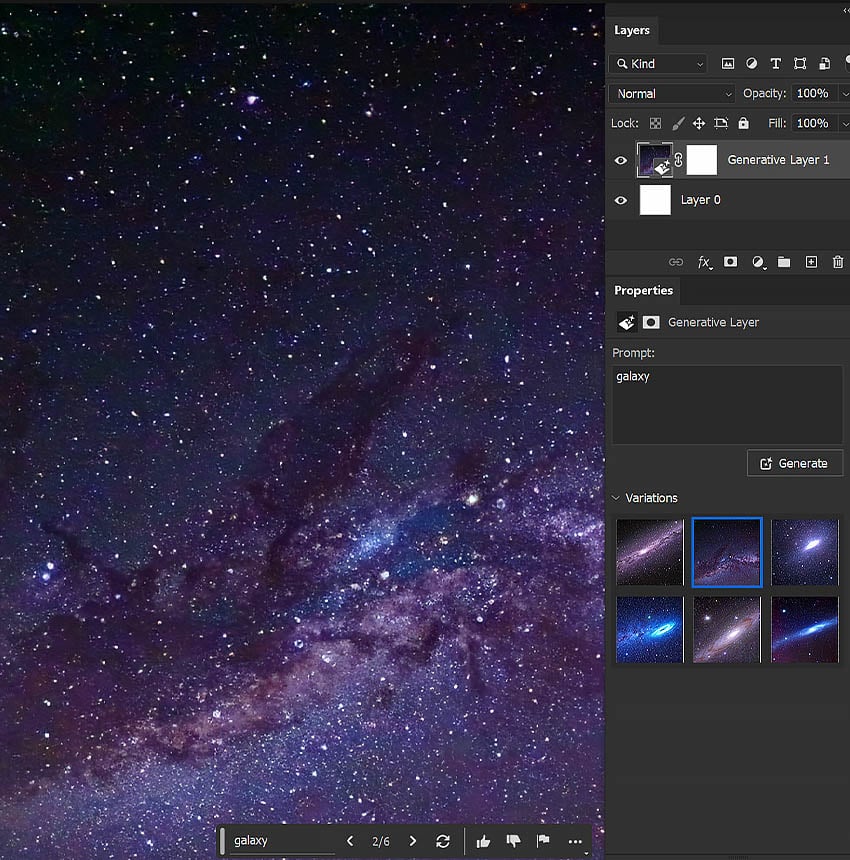
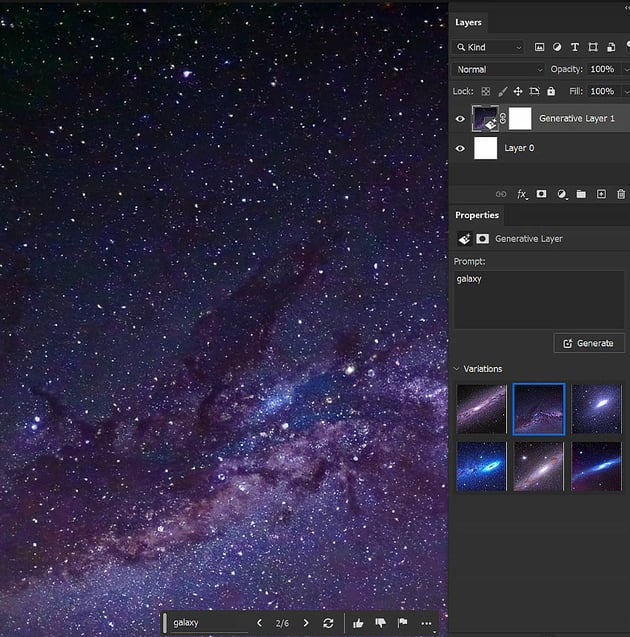
You can also create a New Canvas, select the whole blank canvas using the Rectangular Marquee Tool, and use Generative Fill to generate a new image from nothing by typing in a prompt. Below, I used the prompt “Galaxy.”

Step 6
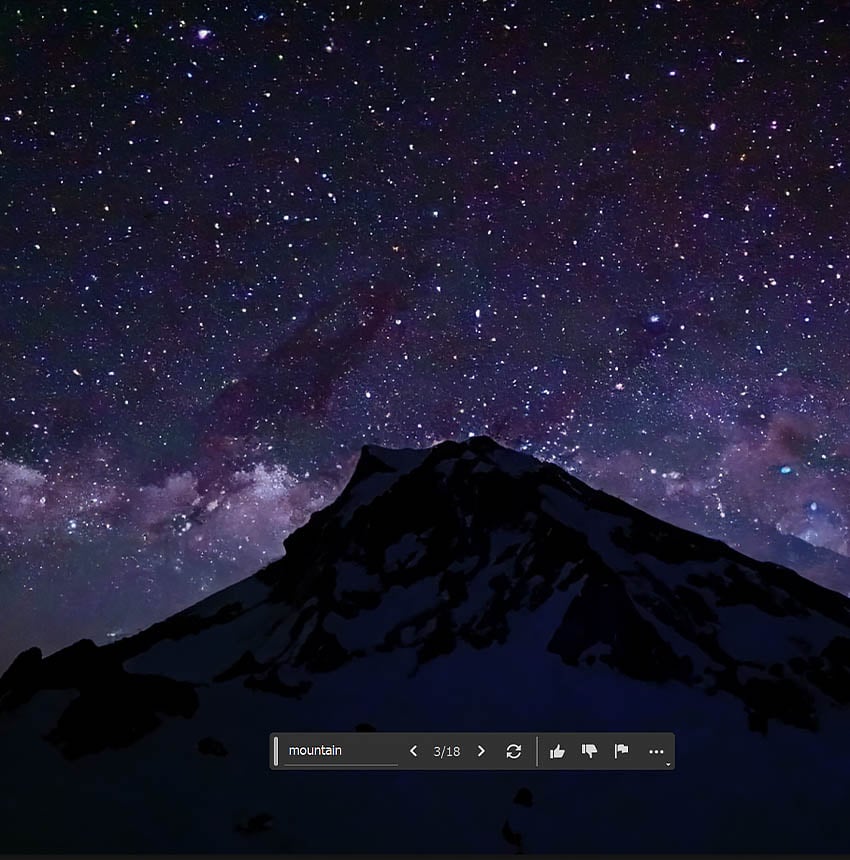
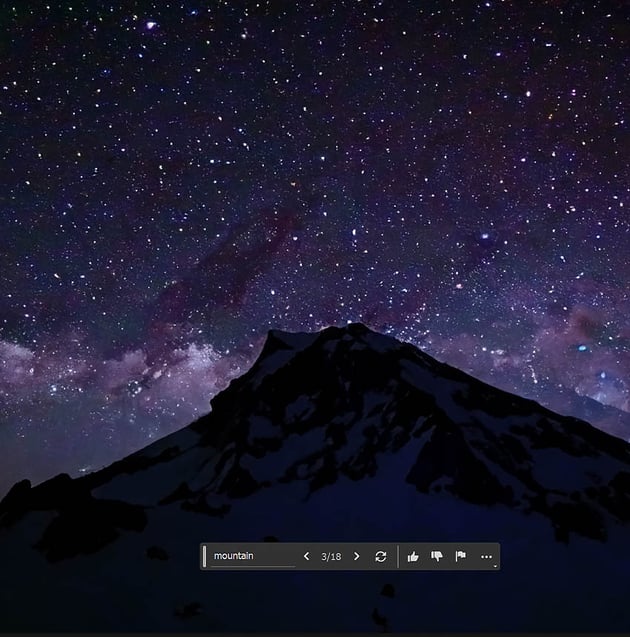
We can also use the various selection tools to select specific parts of an image to generate specific objects. Below, I used the Rectangular Marquee Tool to select the bottom third of the canvas and used Generative Fill with a prompt of “mountains.”
You can use any select tool, and you can create as many Generative Fill layers on top of one another as you need.
Generative Fill layers can take up a lot of space in both your computer’s memory and SSD or hard drive, so I recommend rasterizing the layers once you’re happy.

That’s It!
Photoshop with Generative Fill is an absolute game-changer. From quick edits to extending images or creating complex composites, Photoshop Generative Fill is going to superpower your photo editing. Remember you can use any of the selection tools, so you can pinpoint the exact size and location of the object you want to be generated, and once you’re happy with the filled content, simply rasterize the Generative Fill layer to keep Photoshop running smoothly.
Now that you’ve completed this Photoshop Generative Fill tutorial, why not explore a variety of other AI graphic design and photo effect tutorials?