Motion graphic templates are called MOGRT files in Adobe apps. They’re common tools for Adobe After Effects. But picture this: you’re a Premiere Pro user, and you want to work with MOGRTs.
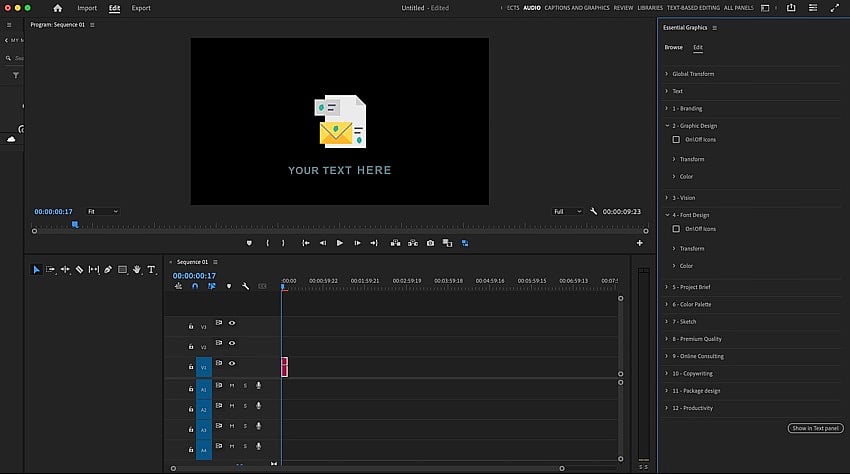
It’s all possible in Premiere Pro. In this tutorial, you’ll learn how to organize motion graphics in Adobe Premiere Pro. Contrary to popular opinion, you don’t need After Effects to use MOGRTs! I’ll show you how to import MOGRTs into Premiere. Then, we’ll explore how to organize your new collection.
What are MOGRTs in Premiere Pro?
As mentioned, MOGRTs are motion graphics templates. These are the animated graphics commonly seen in popular videos. A MOGRT Premiere Pro may include lower thirds, transitions, text animations, and more. In essence, they are files that package visual motion effects. By editing a MOGRT, you can bring these effects to your next video.
Now, let’s learn how to import a MOGRT in Premiere Pro!
How to organize motion graphics in Premiere Pro (step by step)
Organizing MOGRT Premiere Pro files is easy. To show how to do it, let’s use a MOGRT template pack from Envato Elements. You can download it if you’d like to follow along with our tutorial.
1. Open the Essential Graphics panel
You’ll want to begin by choosing a template like the one above. Then, you’ll need to import MOGRT Premiere Pro files. Start by having your MOGRT template files downloaded.
Then, launch Premiere Pro on your computer. You’ll find yourself in the main Edit view. It’s one of three major panels in Premiere: Import, Edit, and Export. The Edit view is really where the magic happens. And it’s where you’ll go to import MOGRT files. Although it’s tempting to click Import, MOGRT files aren’t handled like normal media in Premiere Pro.
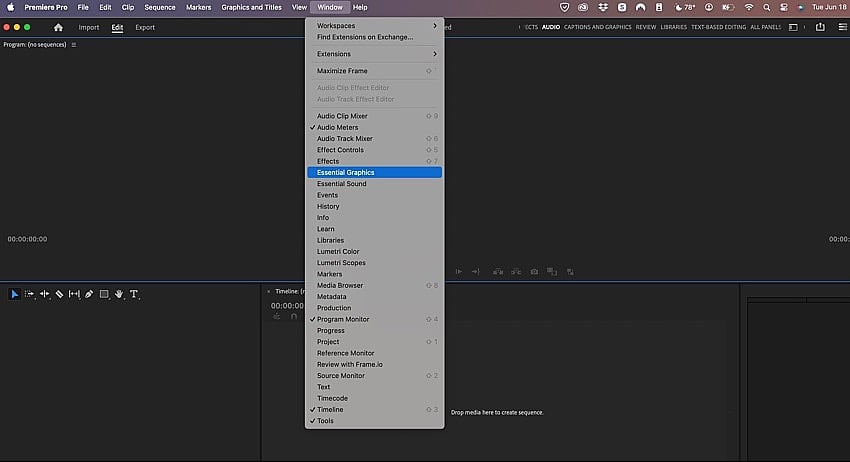
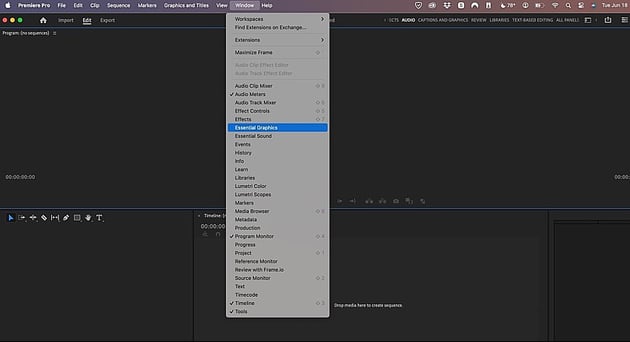
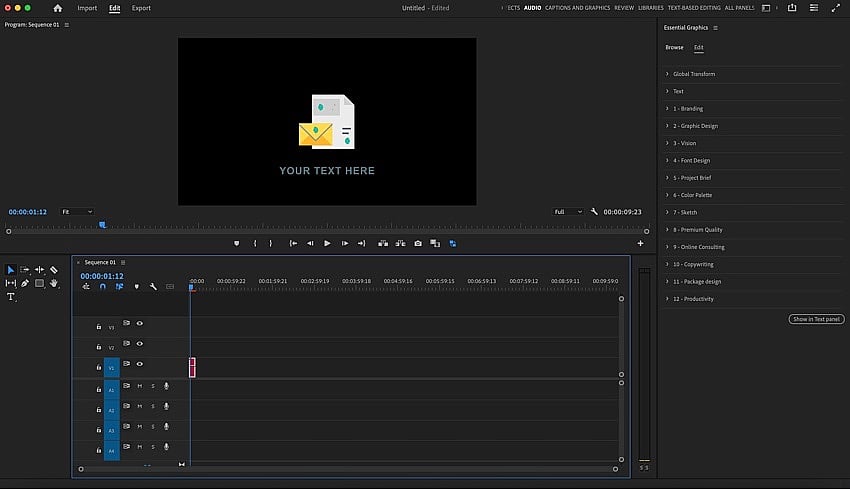
With the Edit tab selected, open the Essential Graphics panel. If it’s not in view by default, go to the Window dropdown. This is found at the very top of your Premiere Pro screen. Click Window, and from the list of options there, choose Essential Graphics.
2. Import MOGRT files
When you click Essential Graphics, you’ll see the panel appear. In Premiere Pro, it’s structured as a sidebar menu on the right side of your screen. Think of the Essential Graphics panel as the control center for MOGRT effects and templates in Premiere Pro. Again, it differs from the normal Import process that you’d use for audio or video.
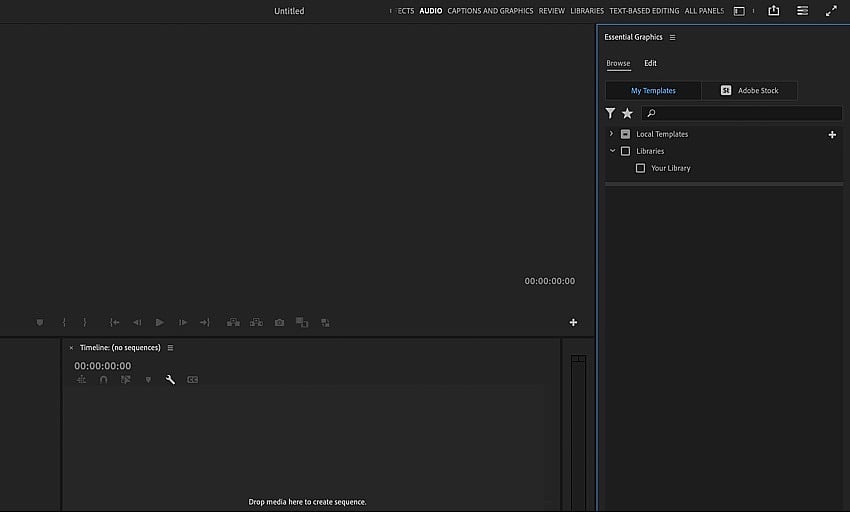
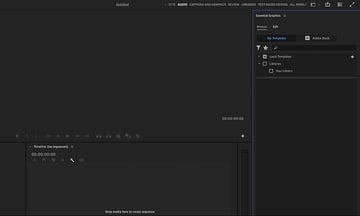
On the Essential Graphics panel, you have two options. Either way, you need to be on the Browse tab on the Essential Graphics panel. Then, click on the My Templates tab. The My Templates group controls any MOGRT templates that you’ve imported into Premiere.
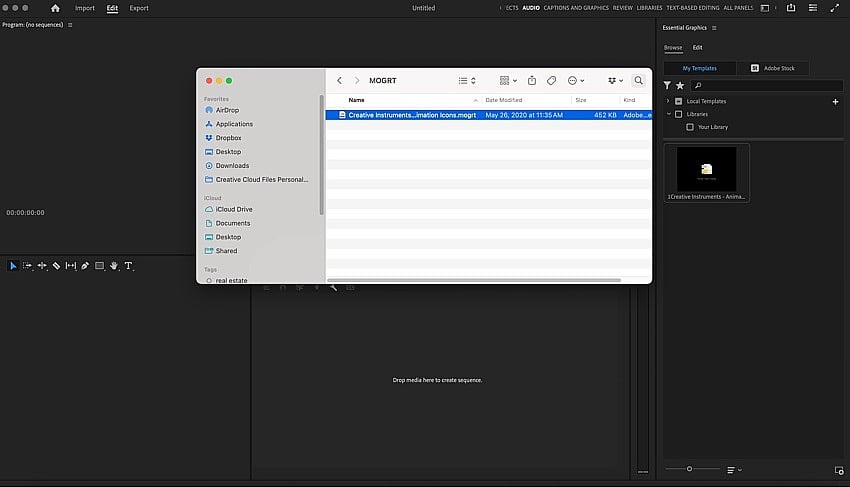
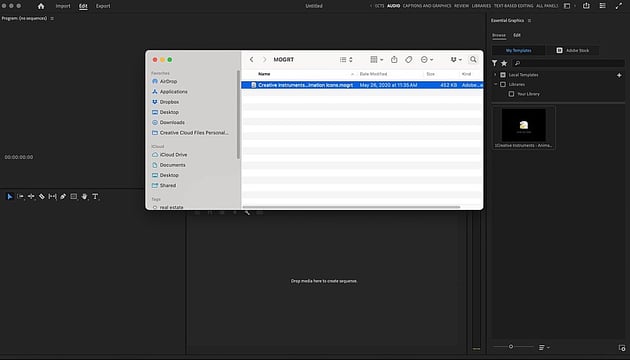
To import, click on the + icon next to Local Templates. A file browser will launch. Browse to the downloaded MOGRT files on your computer, click on them, and press Choose. The MOGRT files will be imported into Premiere!
The second, easier way to add templates is to drag and drop them into the open space on the bottom half of the Essential Graphics panel. In a flash, they’ll be imported! This saves you the step of opening a file browser.
Ready to use your MOGRT templates? Easy! Drag them onto your Timeline at the bottom of Premiere Pro. You’ll see them appear. The Essential Graphics panel, on the Edit tab, controls the effects you can edit.
3. Create a new library
Now that you’ve imported a MOGRT template, you’re ready to go. But what if you have many of your own MOGRTs? How do you stay organized?
My favorite method is to group MOGRT files into libraries in Premiere Pro. Libraries are smart collections that help you store and organize media in Premiere Pro. This includes MOGRTs.
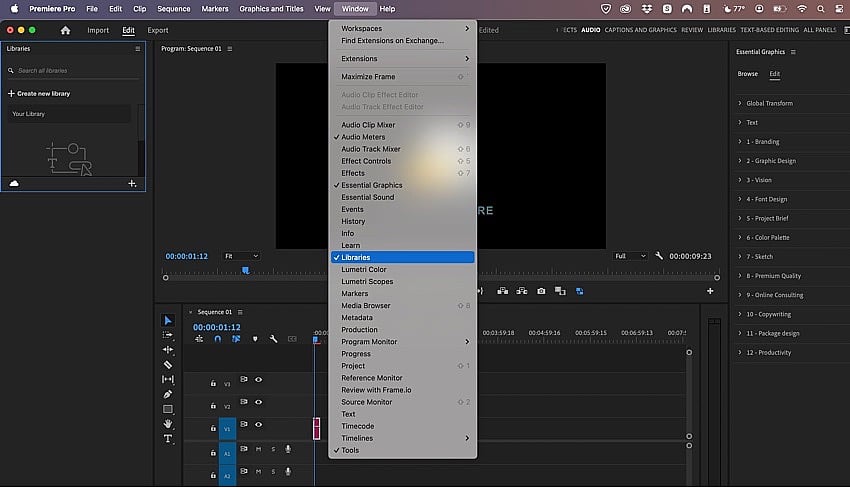
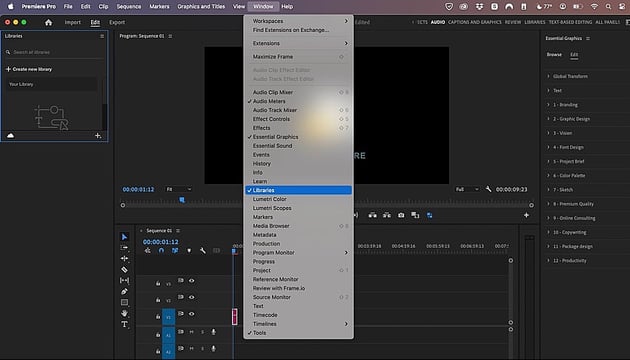
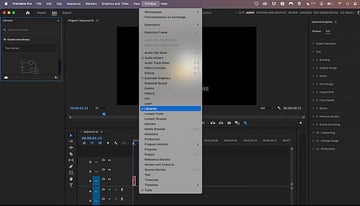
To create your own MOGRT library, open the Libraries panel. You can find it by going to Window > Libraries. It will open on the left side of Premiere Pro.
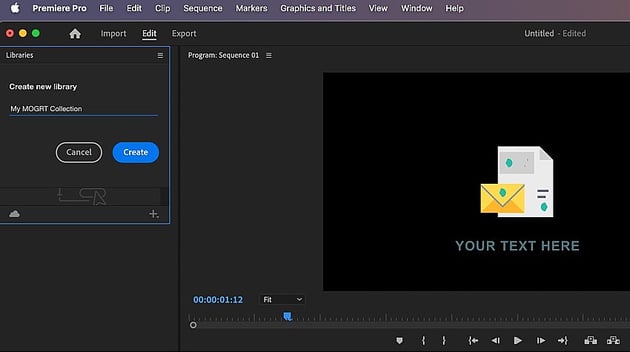
On the Libraries panel, click Create new library. Give it a name, and then click Create. You have your first Premiere Pro library, ready to help your MOGRTs stay organized!
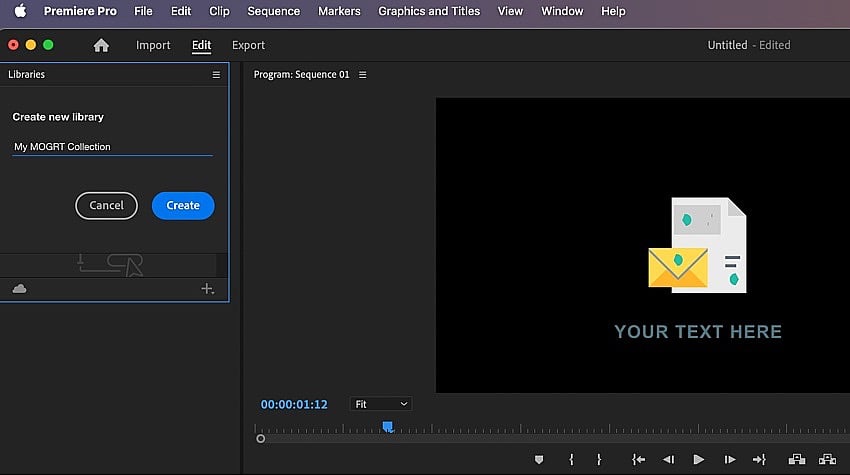
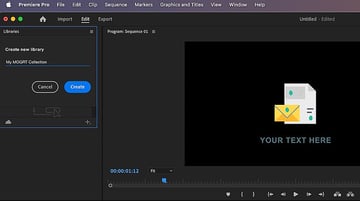
4. Add MOGRT templates to the library
Finally, you’ll need to add MOGRT templates to the library that you created. Return once again to the Essential Graphics panel. Right-click on a MOGRT template thumbnail.
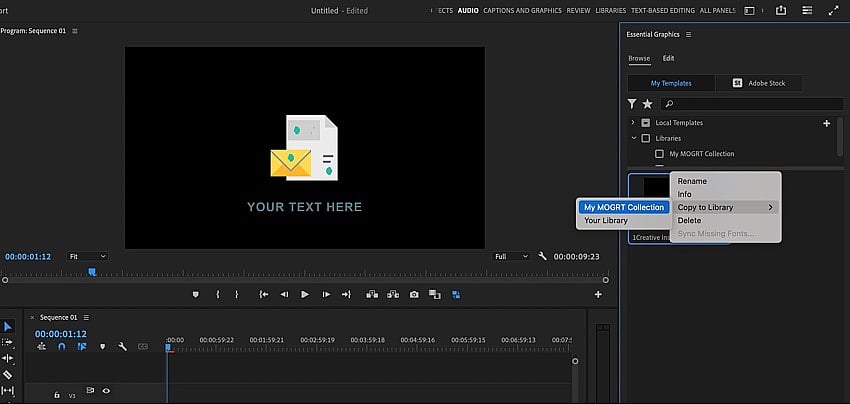
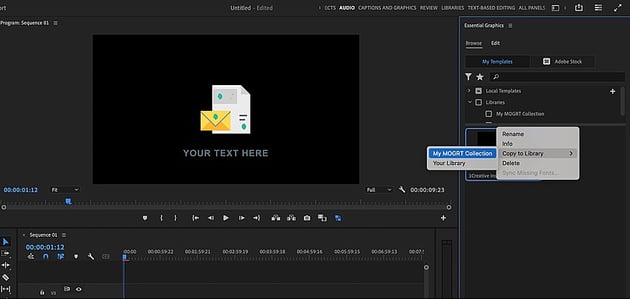
From the list of options, hover over Copy to Library. In this menu, you’ll see the name of your new library listed. To add your MOGRT to this library, click on the name. Now, you have a fully indexed and accessible MOGRT collection underway!
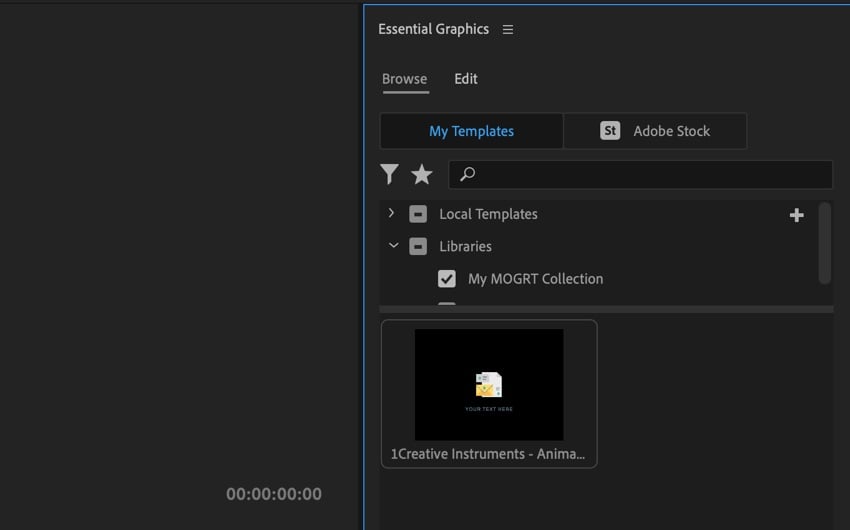
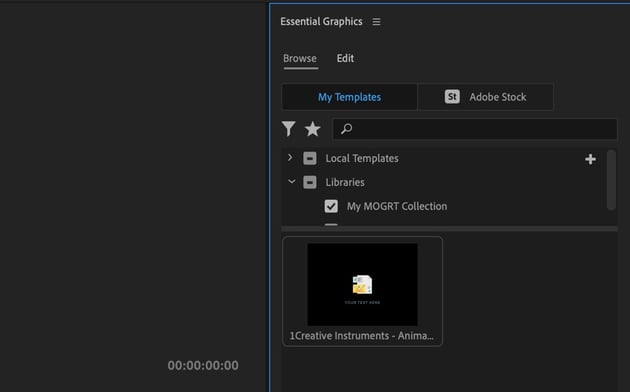
Libraries are viewable on the Libraries tab. You can also find them in the Libraries group on the Essential Graphics panel. It’s an easy way to group and classify MOGRT templates however you want.
Learn more top Premiere Pro tips & tricks
A MOGRT Premiere Pro template helps you create amazing motion graphics and effects. But it’s just one of countless editing tools that you can use in Premiere Pro. Below are some top tutorials from the Envato Tuts+ library. They’re here to help you upgrade your Premiere Pro skills in moments!
Add and organize MOGRTs in Premiere Pro today
In this tutorial, you learned how to use MOGRT Premiere Pro templates. By importing them on the Essential Graphics panel, you can start using them quickly. And with Libraries, you can organize your MOGRT collection in Premiere Pro.
Motion graphics open up a new world of editing possibilities, and they’re amazingly easy to add and organize in Adobe Premiere Pro with these steps.