
There are a variety of ways of keeping in touch with people who visit your websites.
You can encourage them to become subscribers by adding a Subscribe widget. You can use the Jetpack plugin to make it easier for existing WordPress.com users to keep up to date. Or you can encourage people who visit your website to sign up for a mailing list.
Mailing lists are often dismissed as an outdated form of marketing. Changes to data protection laws (not least of which the GDPR) and the supposed demise of email mean that many marketers and website owners are reluctant to use a mailing list to maintain contact with their visitors and customers.
But mailing lists, when done well, can be surprisingly effective. The reason they can be unpopular is that in the majority of cases, they aren’t done very well at all. I’m sure you’ve signed up to lists and all you’ve received is adverts for new products or sales, or maybe you got nothing until GDPR kicked in and you suddenly got a rash of emails form companies you didn’t know you’d signed up for, asking you to resubscribe. If you were anything like me, you didn’t.
I’m not going to get into the nuts and bolts of how you make your mailing list work in this post: there are plenty of sources of information and a whole industry making money from courses and books on the subject.
Instead, what I’ll show you is how to make it easier to gather newsletter signups on your WordPress site, by linking your website to your MailChimp mailing list.
MailChimp, like all the other big newsletter providers, has a WordPress plugin. This plugin lets you connect a signup form to your MailChimp account so that when someone signs up, their information is added to your list without you having to do anything. This means you can set up an automation for new subscribers (something you really should do if you want your mailing list to work), and they’ll receive the first email within moments of signing up.
Ready? Let’s get started.
What You’ll Need
To follow along, you’ll need:
- a WordPress site with admin access
- a MailChimp account with a list set up
So let’s work through the steps.
Installing the MailChimp Plugin
Firstly, you’ll need to install the MailChimp plugin to be able to connect your website to your mailing list.
In your WordPress dashboard, go to Plugins > Add New. Type mailchimp into the search box and you’ll see the MailChimp plugin:

Install and activate it in the normal way and then you can set it up to link your website to your list.
Configuring the Plugin to Link to Your Mailing List
Now you need to get your site to link to your mailing list, via the plugin settings.
A new item will have appeared in the admin menu, called MailChimp for WP. Click on that to see the MailChimp settings screen:

Here you need to provide your API key from MailChimp. Click the link in the settings screen, which will redirect you to your MailChimp account. Log in to that if you aren’t already logged in, and you’ll see the API Keys screen.
Copy the API key from that screen and paste it into the API Key field in the plugin settings screen in WordPress. Click the Save Changes button.
A list of your mailing lists will now appear at the bottom of the settings screen (scroll down if you can’t see it). Your MailChimp account is now linked to your website.
Creating the MailChimp Form
Next you need to create the form that people will use to sign up to your mailing list.
Still in the WordPress admin, go to MailChimp for WP > Form. This is where you set up the form.
Note: If you want multiple forms or you want to add people to groups within your lists, you’ll need the MailChimper Pro plugin, which gives you more configuration options and flexibility.

Type in a name for the form and select the list it will link to. Click the Add New Form button and your form will be saved.
If you want to edit your form or change which list it links to in the future, you can do this via the Settings tab on the Form page. You can also add extra fields via the Fields tab. If you’re comfortable editing the code, you can do this to give yourself more flexibility. If not, just use the buttons. And if things go wrong, you can always delete the code and start again by adding fields using the buttons!

If you want to edit any messages or notifications, you do this via the Messages tab. Editing the signup notification is a good idea as you can personalize the message, tell people to check their inbox, let them know what to expect from your mailing list and reassure them that you won’t share their email or spam them.
Adding the Form to Your Site
When it comes to adding the signup form to your site, you have two options: you can use a block to add it to a page in your site, or you can add it to a widget.
Which you choose is up to you (you might want to do both). I prefer to use a text widget in my sidebar to direct people to my signup page and add the form there. This means I can provide more information about the freebie I’m offering in return for signups on my landing page.

So let’s take a look at both options.
Adding the MailChimp Form to a Landing Page
First, let’s add the form to a page. Even if you’re also using the widget, you should do this anyway. This is because you need a page to send people to using SEO or advertising.
Note: I’m assuming you’re using a recent version of WordPress with the block editor. You’ll need this to be able to add the block.
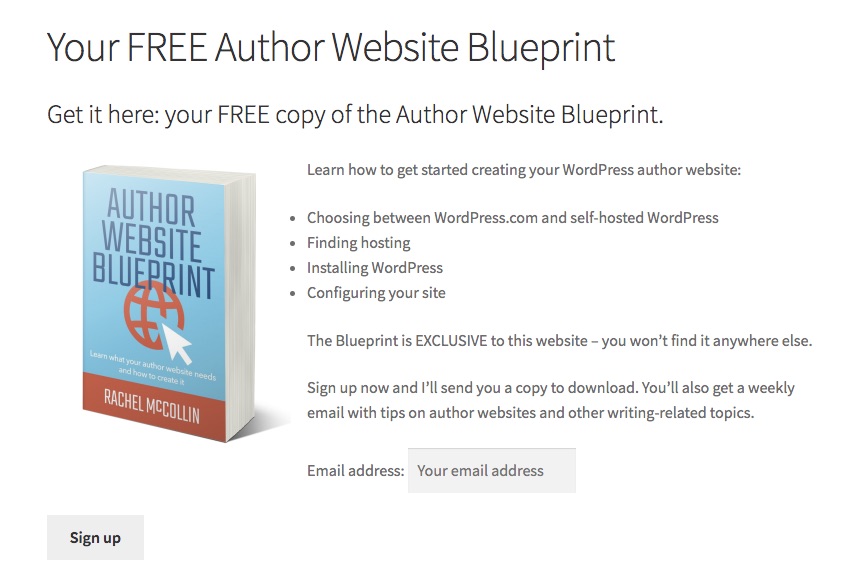
Start by creating a new static page. Add some text to this to encourage people to sign up or tell them something about your freebie. You might also add a photo of your freebie.
It’s a good idea to offer something free in return for signing up to your newsletter, as it will increase conversions. This is anything that can be downloaded and shouldn’t cost anything for you to deliver to the new subscriber. It could be a guide, a short course or a coupon. If you’ve set up an automation sequence in MailChimp, the first email will include details of any coupon of offer, or a link to somewhere they can access the freebie.
Now add a new block by clicking the + icon, then select Widgets > MailChimp for WordPress Form. A form will be added to your page.
There isn’t much you can do to customize the look of the form: it will take its styling from your theme. If you’d rather customize the form, use the MailChimper Pro plugin to create bespoke forms for mailing list signups.
Once you’re happy with your form, you can publish your post and then link to it from your home page banner and from a widget in the sidebar.
Adding a Text Widget
To encourage people to access your signup page, it’s a good idea to add a widget to your sidebar encouraging people to click through. This should include an image of the freebie and a clear call to action.
In the WordPress admin, go to Appearance > Widgets or open the Customizer and select and select Widgets.
Select the widget area you want to add the link to (I recommend using the sidebar widget area and placing this widget at the top).
If you’re in the Customizer, click the Add a Widget button. Scroll down and select the Text widget.
If you’re in the Widgets screen, find the Text widget on the left and drag it over to the sidebar widget area on the right.
You can now type your text into the widget and add an image too, as well as the all-important link.

In the Customizer, the widget you’re creating will be previewed on the right of the screen. When you’re happy with it, click Publish and it’ll be saved. If you’re using the Widgets screen, click Save to save your widget then go to any page on your site to check it.
Adding the MailChimp Widget
If you decide to add a signup form directly to the sidebar of your site, you can do this using the MailChimp widget.
Go to Appearance > Widgets (or open the Customizer and select Widgets) to see the widget editing screen. Which widgets you have available to you will depend on your theme, but most themes will have a sidebar, which is the most common place to put this widget.
Find the MailChimp Sign-Up Form widget in the list on the left and add it to the widget area where you want it to appear. Edit the title of the widget – this is what people will see.
Now save that and check your site. You should see a shiny new mailing list signup in your sidebar.
OK, so maybe it isn’t all that shiny. In fact, on my site its pretty dull. Which is why I prefer to use a text widget instead, as I can add images and text to that and encourage people to sign up.
Thats it! People can now sign up to your mailing list on your website.
Linking Your Mailing List to Your Website Will Help You Get More Signups
Linking your mailing list directly to your WordPress site makes it easy for people to subscribe to your newsletter and saves you the work of manually adding new subscribers if you simply used a contact form.
If you follow the steps above, you’ll have a landing page on your site, plus a way to either access that page or to sign up directly via the sidebar.
Don’t forget to make sure you have an autoresponder email set up to welcome people to your mailing list and deliver the freebie. Test that the process works by signing up to your mailing list via your website and checking you receive the correct email.
And now all you need to do is direct people to your website and watch your mailing list grow!
Also, if you want to use custom plugins but you’re not comfortable tinkering with servers and prefer to have someone do it all for you, consider managed WordPress hosting. Thanks to Envato’s partnership with SiteGround, you can get up to 60% off managed WordPress hosting.