Found some of the best Procreate brushes, but not sure how to install or use them? In this tutorial, we’ll look at installing and utilizing Procreate brushes, as well as some customization basics. We’ll wrap up with a demo of a newly installed brush set.
Please keep in mind that Procreate and an iPad Pro are required for this tutorial. For reference, I’m using an Apple Pencil.
What You Will Need
You will need the following resource in order to complete this project:
Ready to get drawing? Let’s begin!
Follow along with us over on our Envato Tuts+ YouTube channel:
1. How to Install Procreate Brushes
Step 1
First, you’ll want to download your brush—let’s dig into how to download Procreate brushes, because it’s not always as straightforward as you might think. I know I found myself scratching my head a few times, the first time I did it.
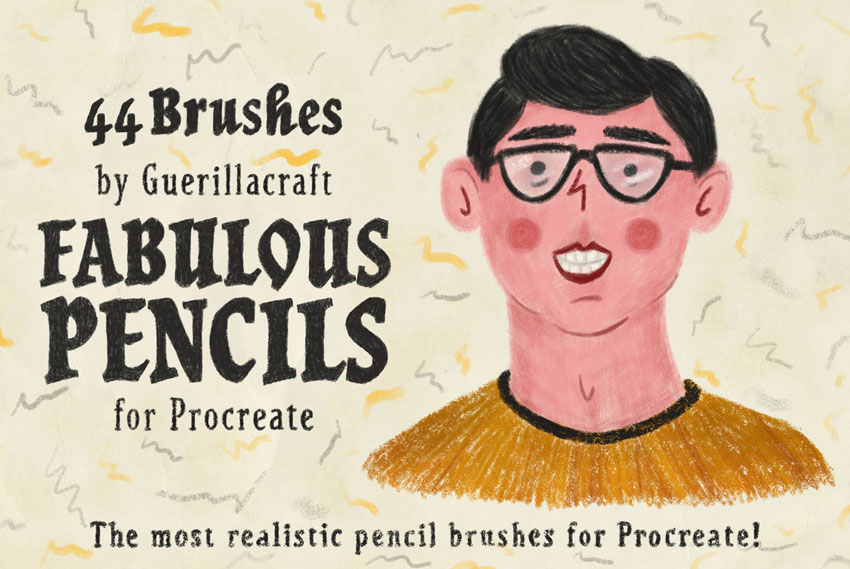
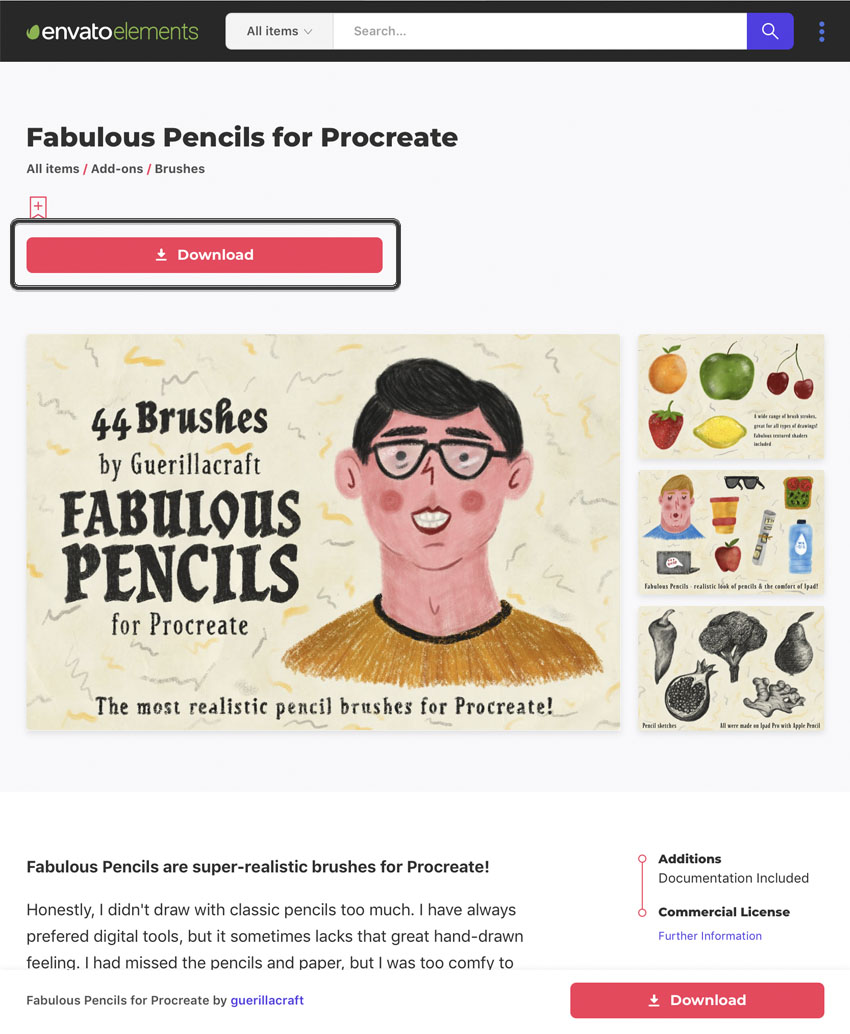
As an example for this tutorial, I’ll be using Fabulous Pencils for Procreate, a lovely, textured brush set by guerillacraft. You’re welcome to follow along with this brush set, or try another one!
Step 2
Downloading things on an iPad is a little different from a desktop or laptop, so let’s start there—especially if your brush file is distributed in a zip file.
In my example, below, I’m going to tap to download—this will vary, depending on the brush you want to install and where you’re installing it from. However, the process should be generally similar!
Step 3
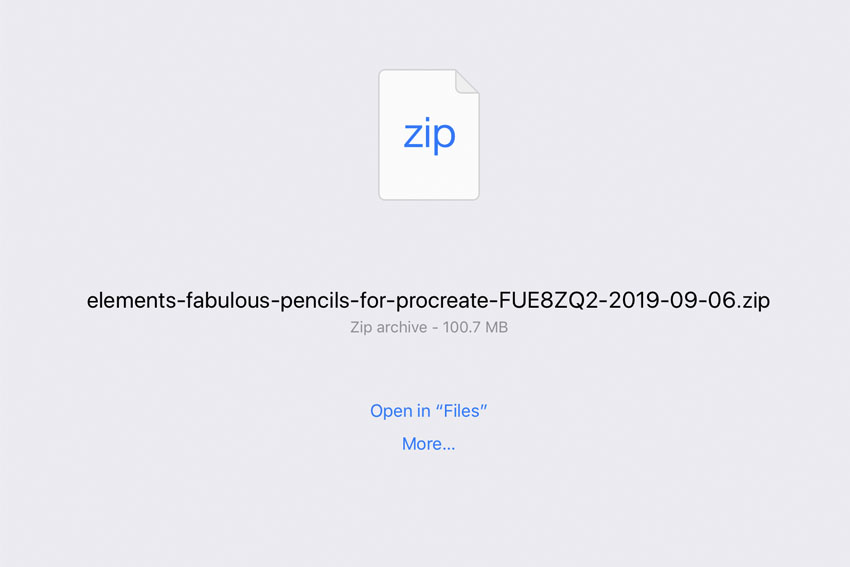
Once you’ve accepted any download terms that may be applicable to your brush, your file will download.
This is what my browser gives me. Select Open in “Files”.
Step 4
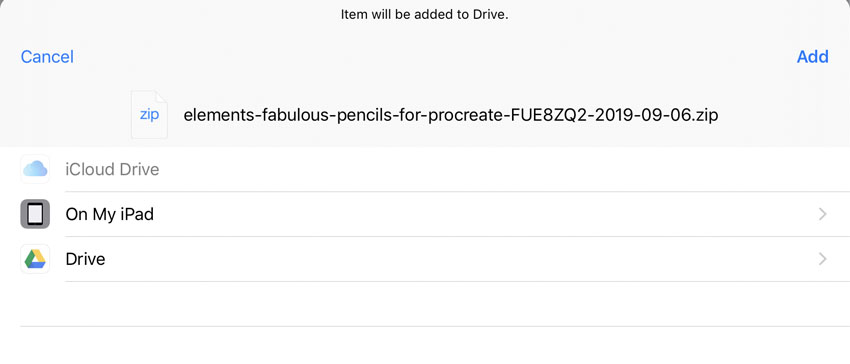
Now, I’m going to save the zip file, containing my brushes, somewhere on my iPad.
On a side note, I personally like to have some kind of cloud saving service handy, so that if I find a brush that I want to try out while I’m on my laptop, desktop computer, or smartphone, I can easily access it on my iPad, too!
In this case, I’m going to choose On My iPad.
Step 5
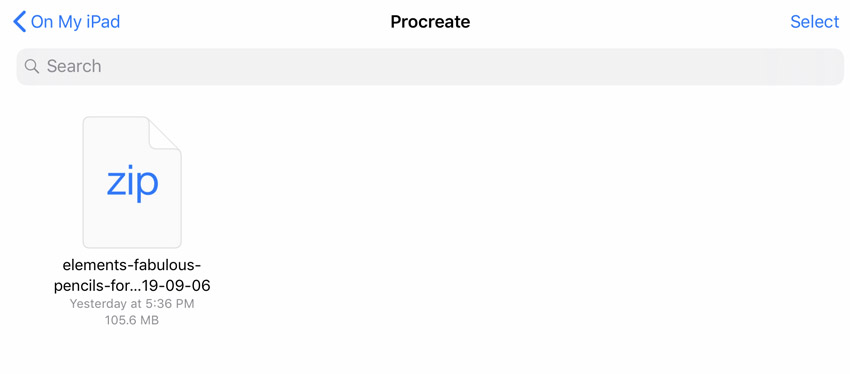
Now, locate the file on your iPad.
Here’s an example of what mine looks like, on my device. I saved the zip file associated with this brush set to my Files, in a folder called Procreate.
Step 6
Since it’s likely that any brush you’ve downloaded has come in some kind of compressed zip file, let’s go through that process, too.
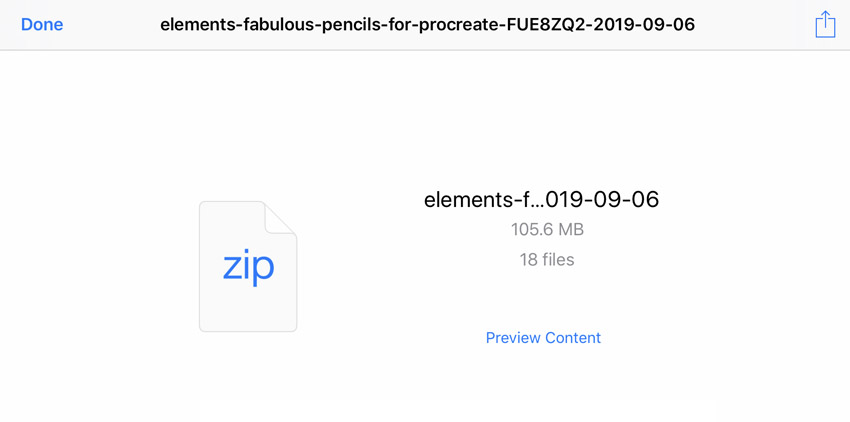
You’ll know if it’s a zip file because the file itself has a big “ZIP” on it. If you see the Procreate logo instead, then it’s likely a Procreate Brush file. You can then jump ahead to Step 9.
Tap on the zip file. You’ll notice that it then gives you the option to “Preview Content”.
Tap on Preview Content.
Step 7
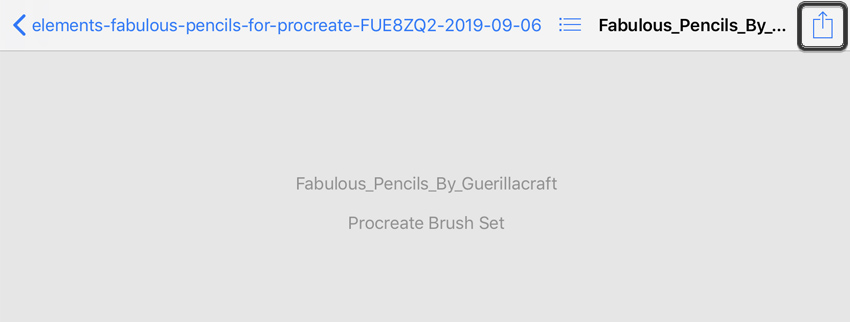
Then, you can swipe to preview the contents of the zip file, if you like. There’s nothing to visually preview with the brush file itself, so it just displays the file name.
Tap on the Share Button.
Step 8
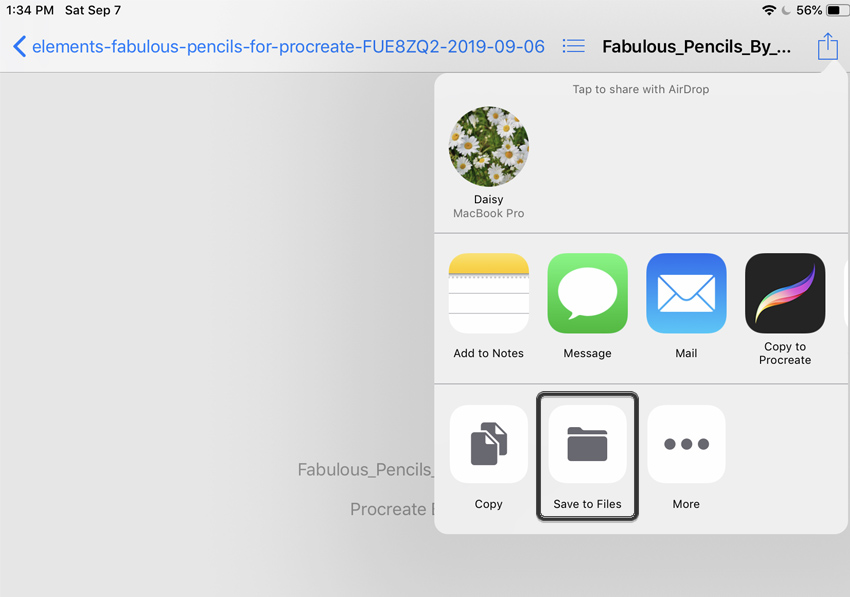
This opens up a list of places where we can send our brush file. I chose Save to Files to unzip the Procreate brush set to my iPad’s storage.
You’ll be prompted to save the file wherever you like—this could, for example, be your favorite cloud service or your iPad’s storage. Your choice there—just make sure to note where you put it.
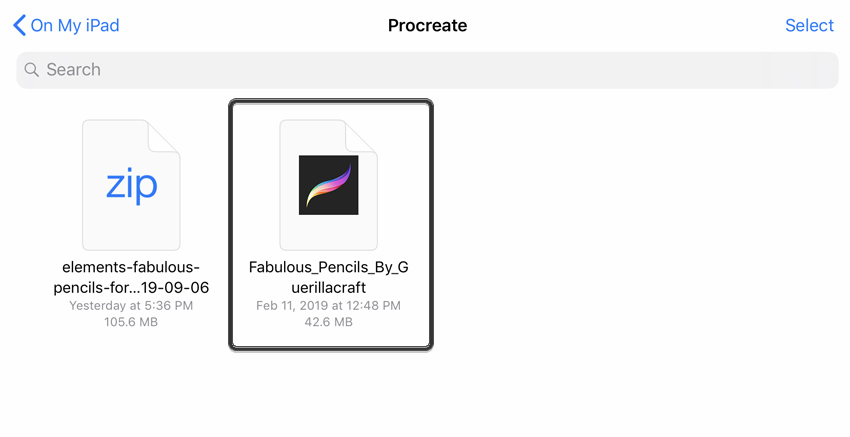
Step 9
Now, here’s the Procreate brush file. Simply tap on it, and it will automatically load right up into Procreate! Easy, right?
Step 10
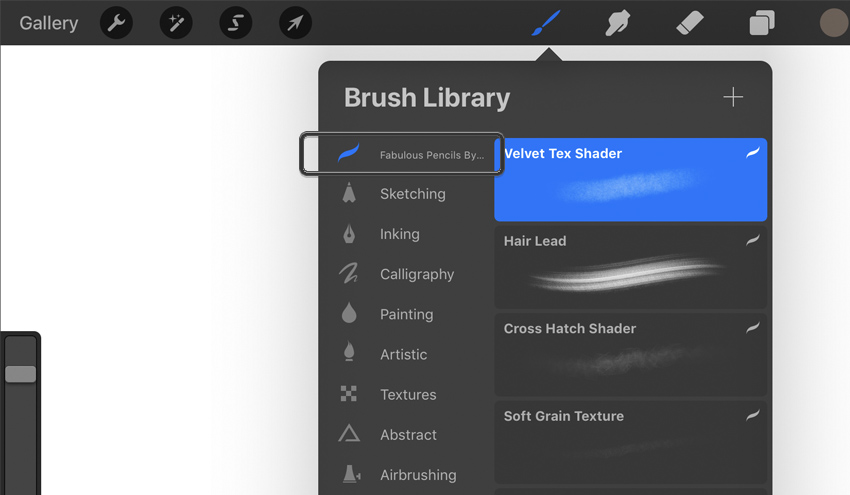
So, how do we find our newly installed Procreate brushes?
Open up your Brush Library and look at the list—there it is, in its own new section. They’re all installed and ready to use.
2. How to Customize Procreate Brushes
Step 1
Using a brush is more than just installing it—we need to know how to work with it via the many Procreate brush settings. So here’s a brief overview of how to customize your newly installed brushes, so you can get the most out of them!
First, keep the two sliders on the left-hand side of your screen in mind. The top slider is your Brush Size. The bottom slider is your Brush Opacity.
These are two settings that I adjust frequently, while I’m drawing.

Step 2
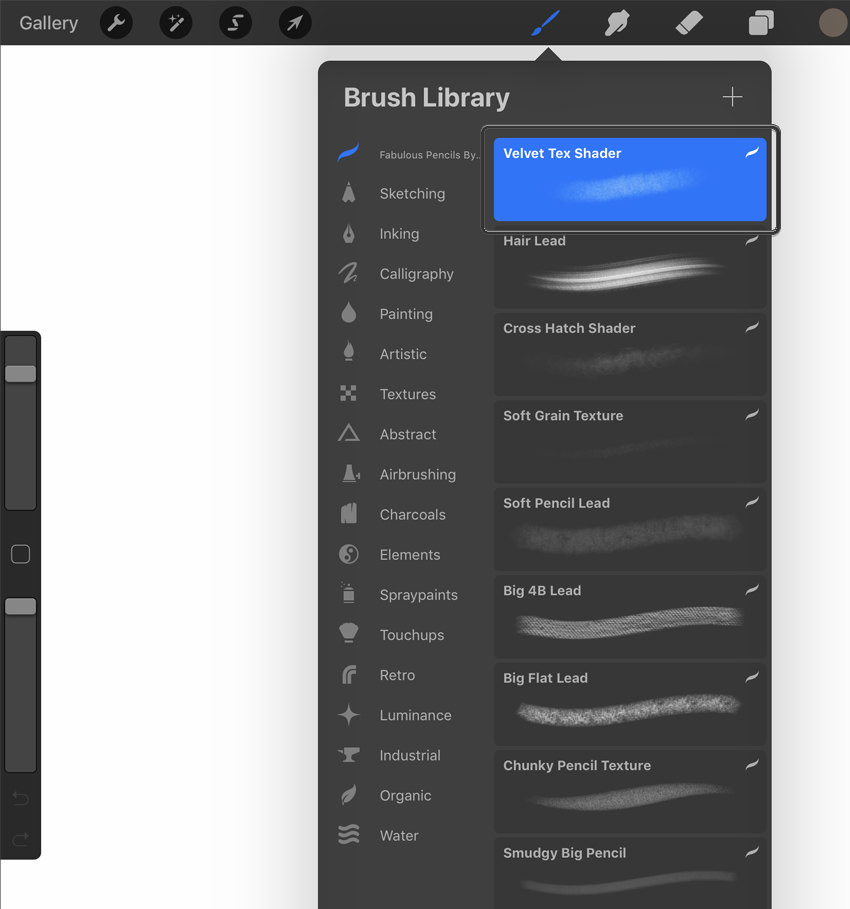
Looking at your brushes, you can customize a brush by tapping on it.
Let’s try this out with our newly installed brush set, Fabulous Pencils for Procreate. I selected that group of brushes, and now I’m going to customize Velvet Text Shader.
Tap on the brush to customize its settings.
Step 3
Now, we’re “inside” the brush—this is where you can adjust and fine-tune the brush to your liking. While these brushes are wonderful just as they are, you might find little things that you’d like to tweak, like the brush’s maximum size, for example.
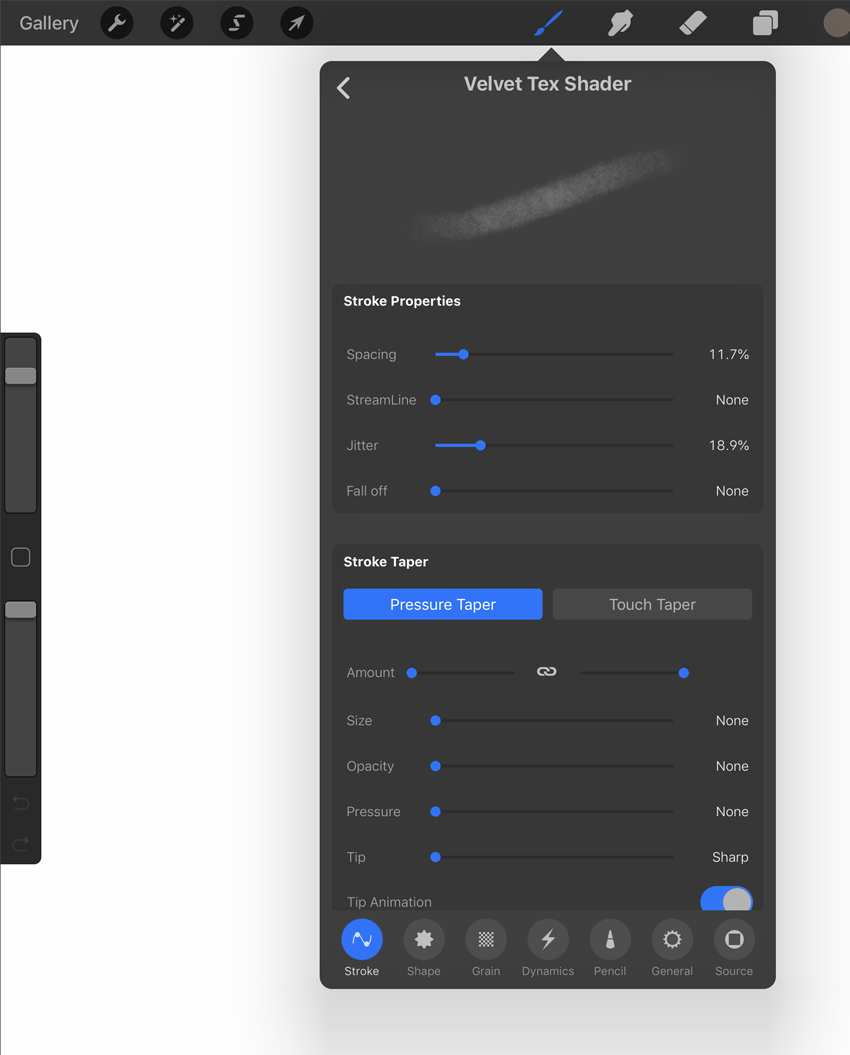
Step 4
You’ll notice that there are a lot of options here to go through. Procreate lets you do some wonderful, in-depth customizations when it comes to brushes.
I could write a whole separate tutorial on this subject—and I did! If you’d like a more in-depth look at how to create and customize Procreate Brushes, I’ve written another tutorial on that! Feel free to check it out!
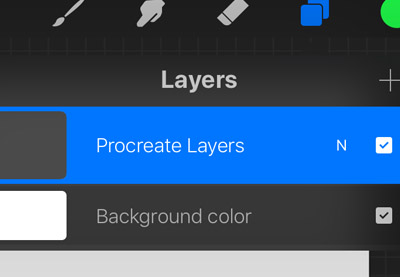
I’ve also written up a tutorial specifically about Procreate Layers, if you’d like a more in-depth look at that part of the software!
3. How to Use Procreate Brushes
Step 1
Now, let’s take a look at how to use the Procreate Brushes that we just installed!
In this demonstration, I’ll be using the Fabulous Pencils for Procreate brush set, from earlier in this tutorial.
I’ll specify which brush from the set I tried out, by name, so if you’re interested, you can try out that brush too. Remember, you can find these brushes in a group, in your Brush Library.
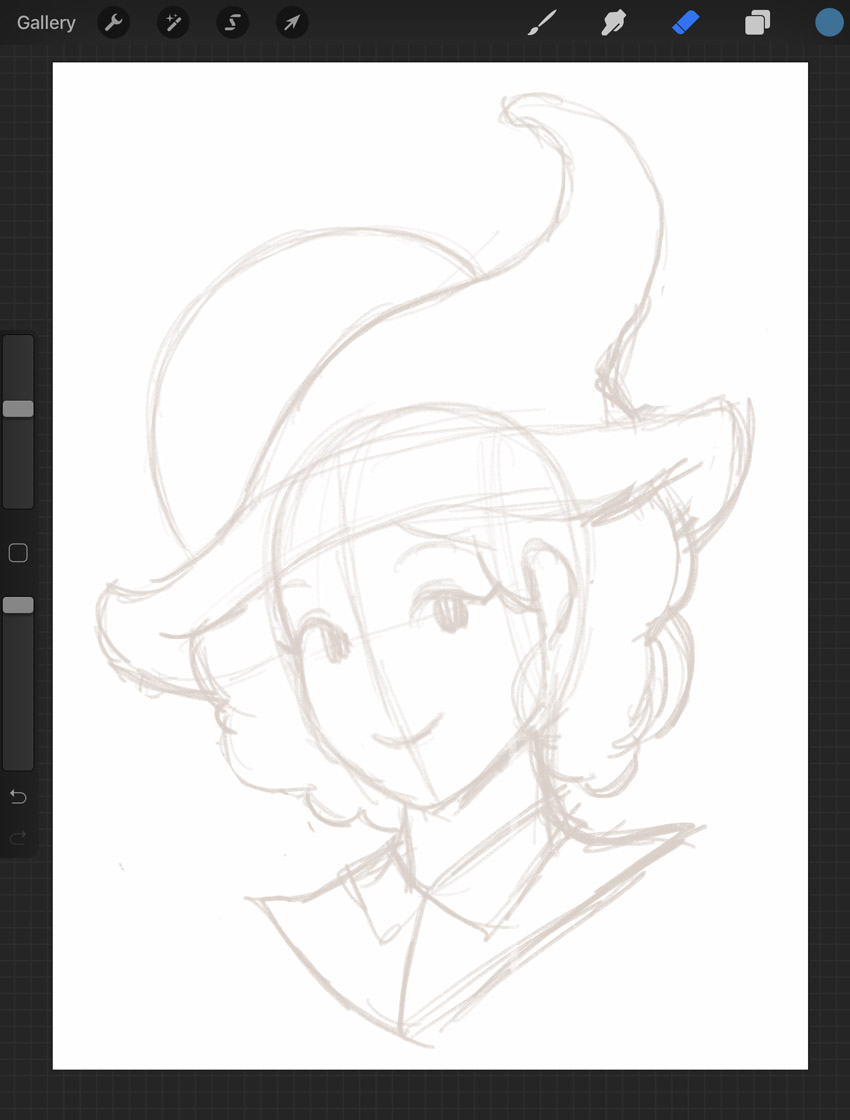
First, I started out with a rough sketch using Sussie B’s Pencil. It’s a really nice brush with an organic, graphite feel. I really like it!
Step 2
Then, I used the Big Chunky Lead brush to fill in the shapes I’d drawn on a New Layer. This way, I can save my sketch, but still use it as a guideline.
I like to isolate different pieces of my colors on separate layers, for organization purposes.

Step 3
However, some features, like the general placement of the facial features, were covered up by my initial, flat colors. So I lowered the opacity on my flat colors so that I could, again, refer to my initial sketch.

Step 4
This allowed me to put down a more refined version of the facial features. I tried out Frankie & Bonnie’s Pencil from this Procreate brush set for this part!
Step 5
At this point, I started to refine my work. I created a New Layer and refined the shapes until I came up with something I was happy with—added some more hair, adjusted the shape of the face.
I found these brushes to feel very organic and easy to work with. It felt very much like working with real media—but with the benefit of layers and undo!
Step 6
I added a rough background using Big 4B Lead, one of the larger brushes in this Procreate brush set.
Step 7
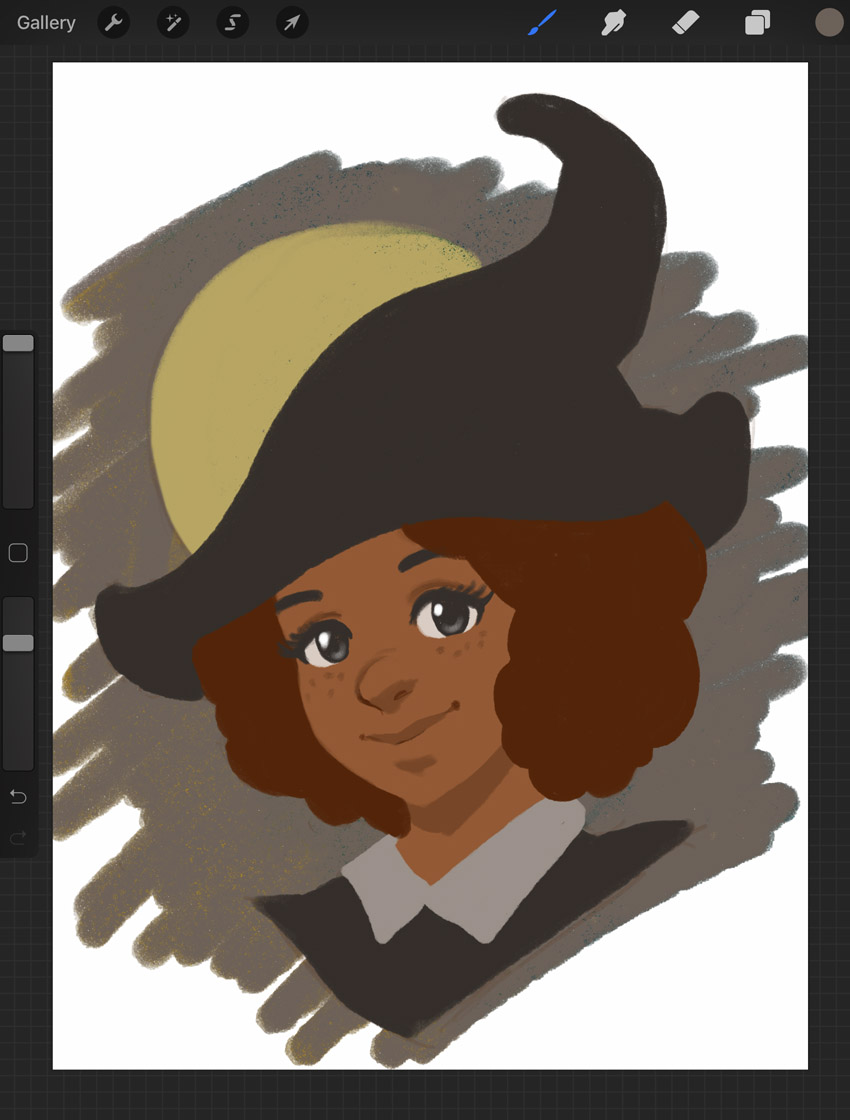
Now, time to experiment with some lighting! I decided to add a shadow on the right-hand side, and I settled on a blue-ish color. I used the Big Chunky Lead brush!
I did this on a New Layer with the Blending Mode set to Multiply. This way, the blue affects my flat colors.
If you’re curious about Procreate Layers and Blending Modes, check out this tutorial!
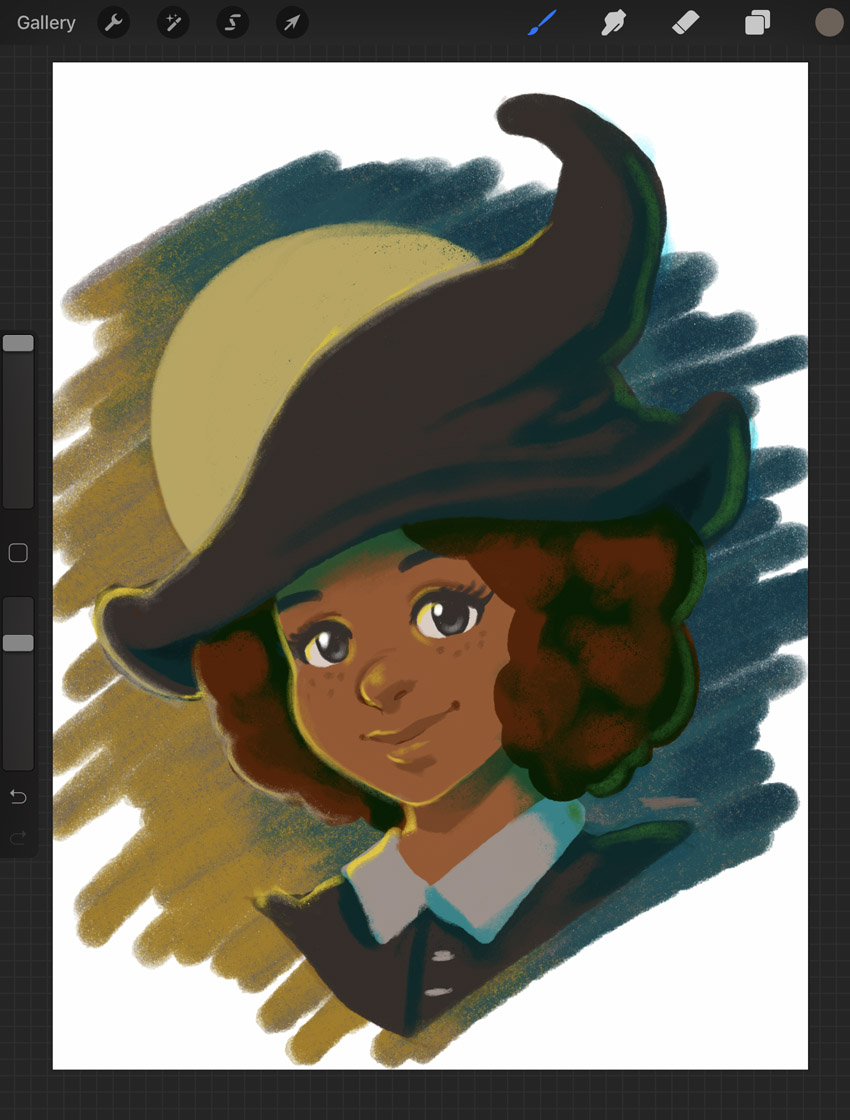
Step 8
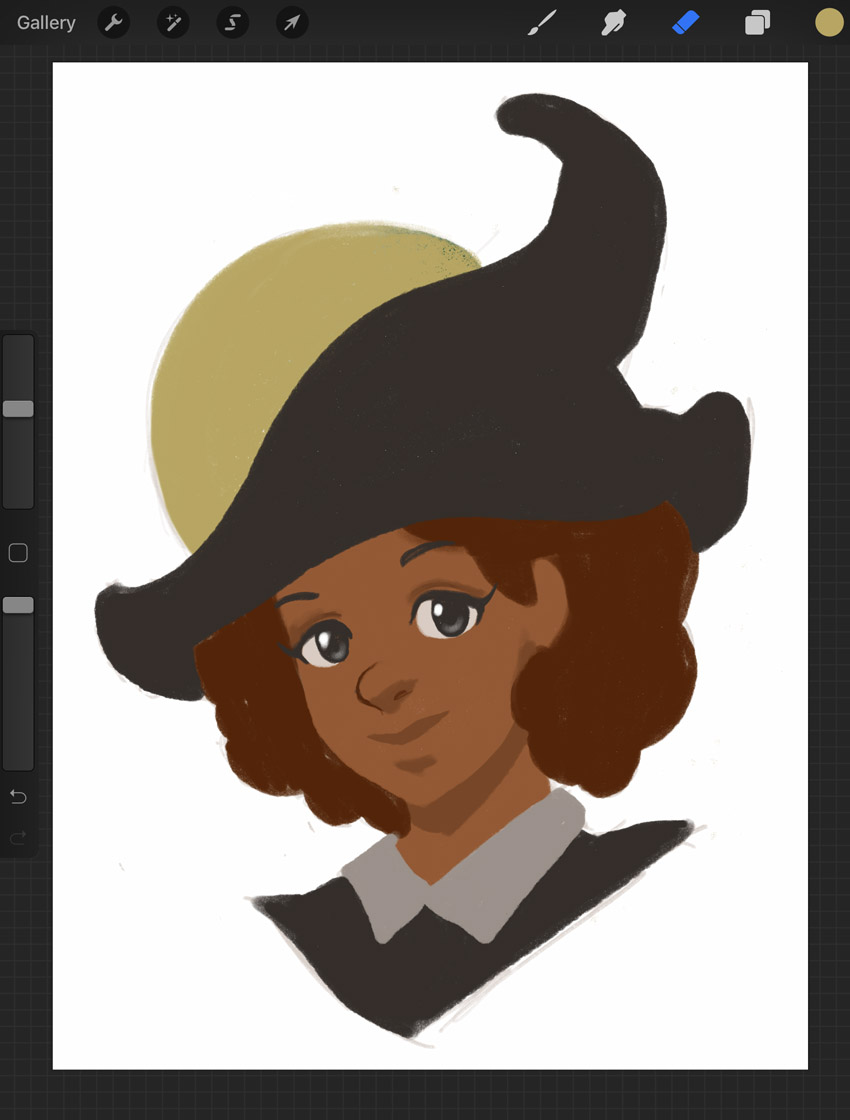
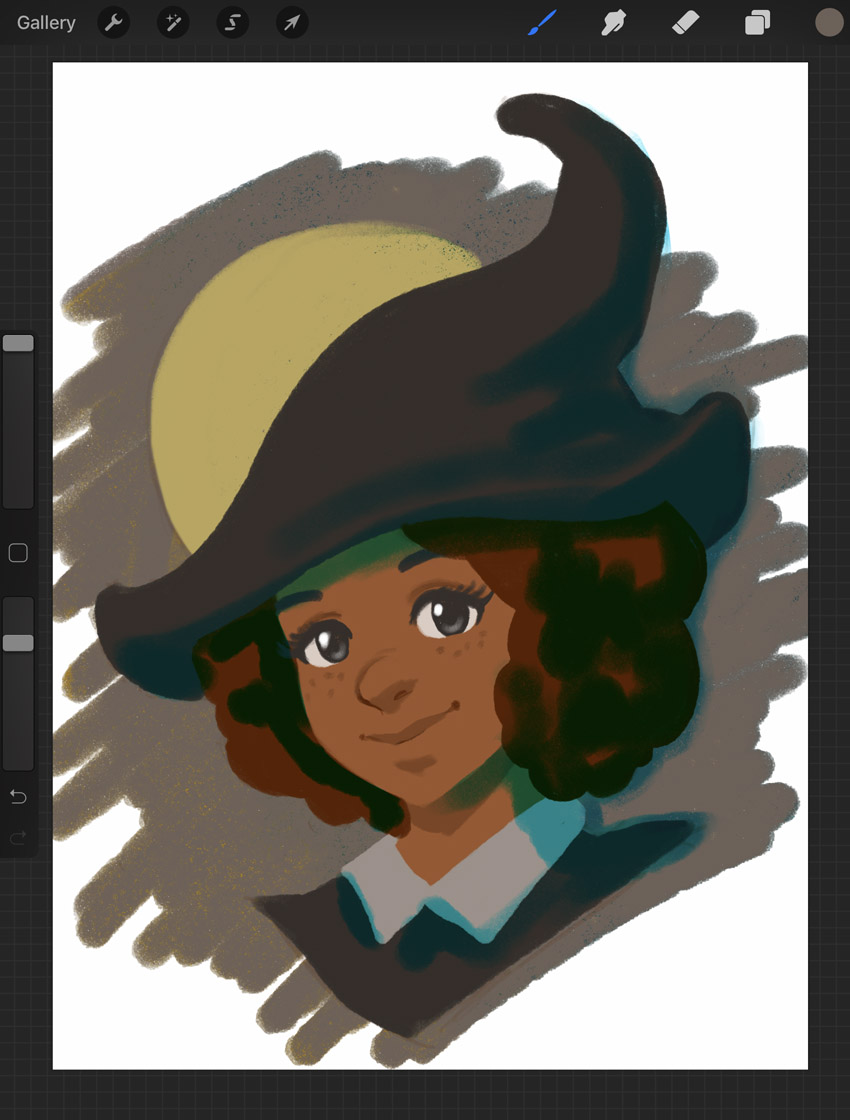
Then, I wanted some light on the opposite side. I decided on a yellowish color.
Again, I did this on a New Layer. Sussie B’s Pencil was a great fit for this one, at a larger brush size.
Step 9
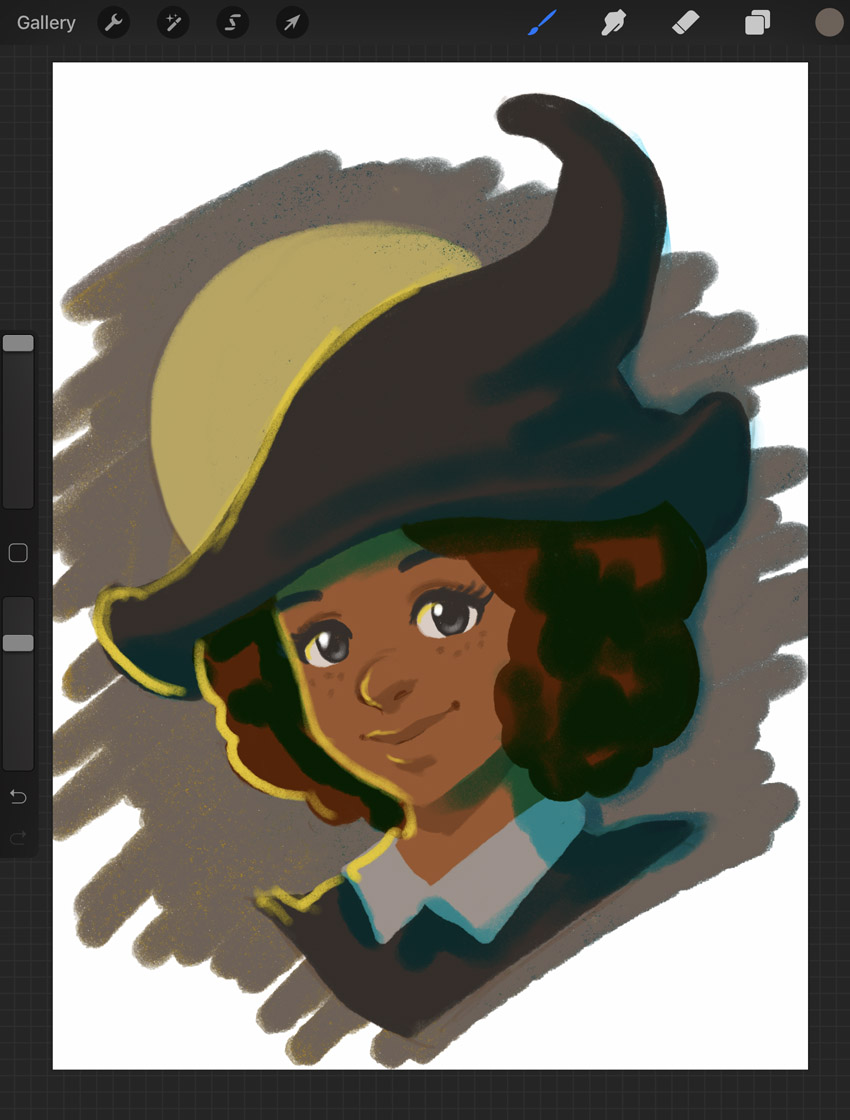
I added a little reflected light on the right-hand side, again using the Big Chunky Lead brush.
I like to use the Eyedropper Tool to lift surrounding colors and paint on top of my work—as I did here with the fluffy, afro hair. I found Soft Pencil Lead to be a nice brush for blending, and Sussie B’s Brush works well, at larger sizes, for harder lines.
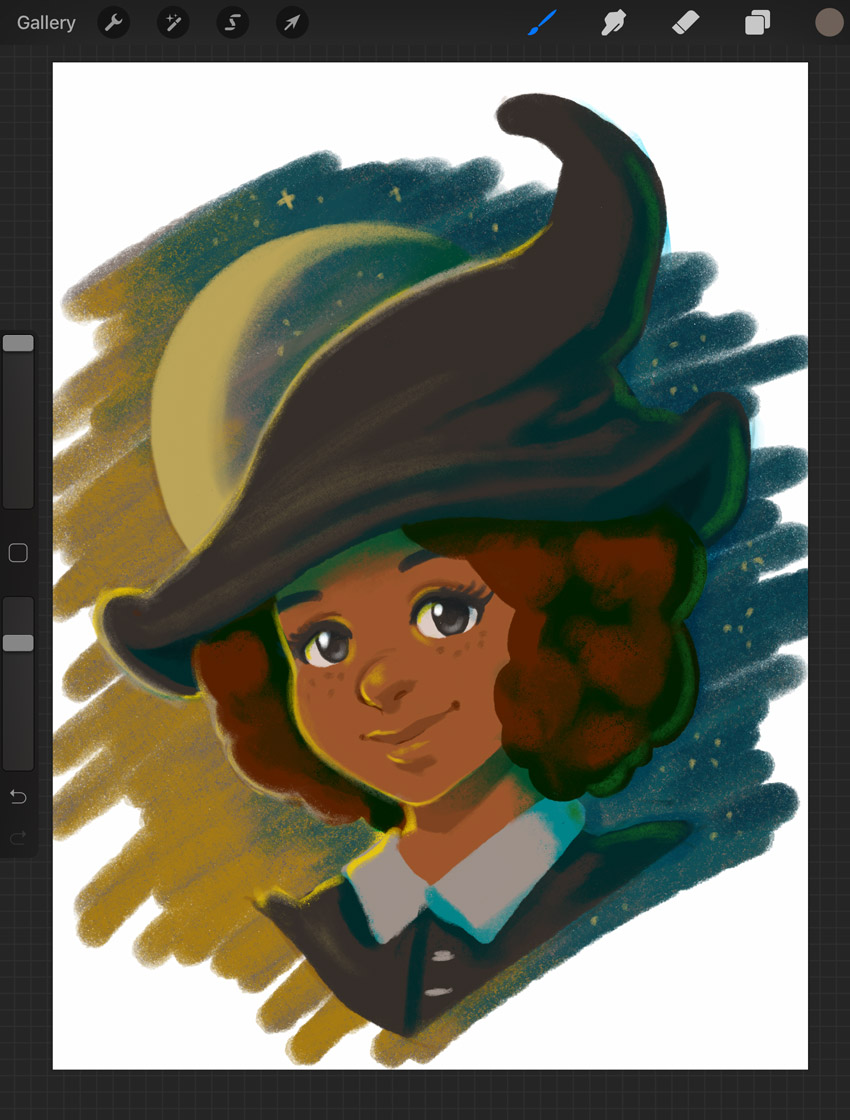
Step 10
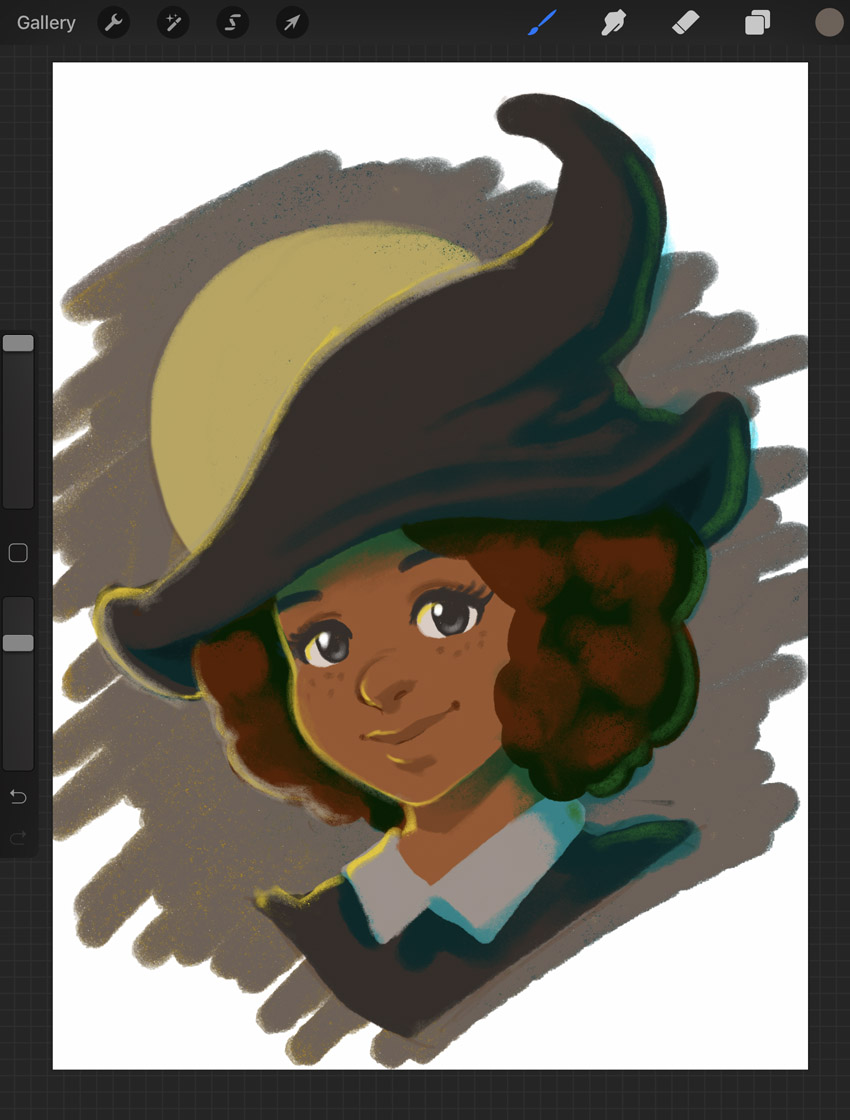
I decided to change up the background, to better work with the colors I was experimenting with—a cool blue on the right, yellow on the left. Big Flat Lead was a great choice for this. I really enjoyed how easily these brushes blend.
I also added some subtle light to the facial area using Sussie B’s Pencil—can you tell I’m really fond of that one, in particular?
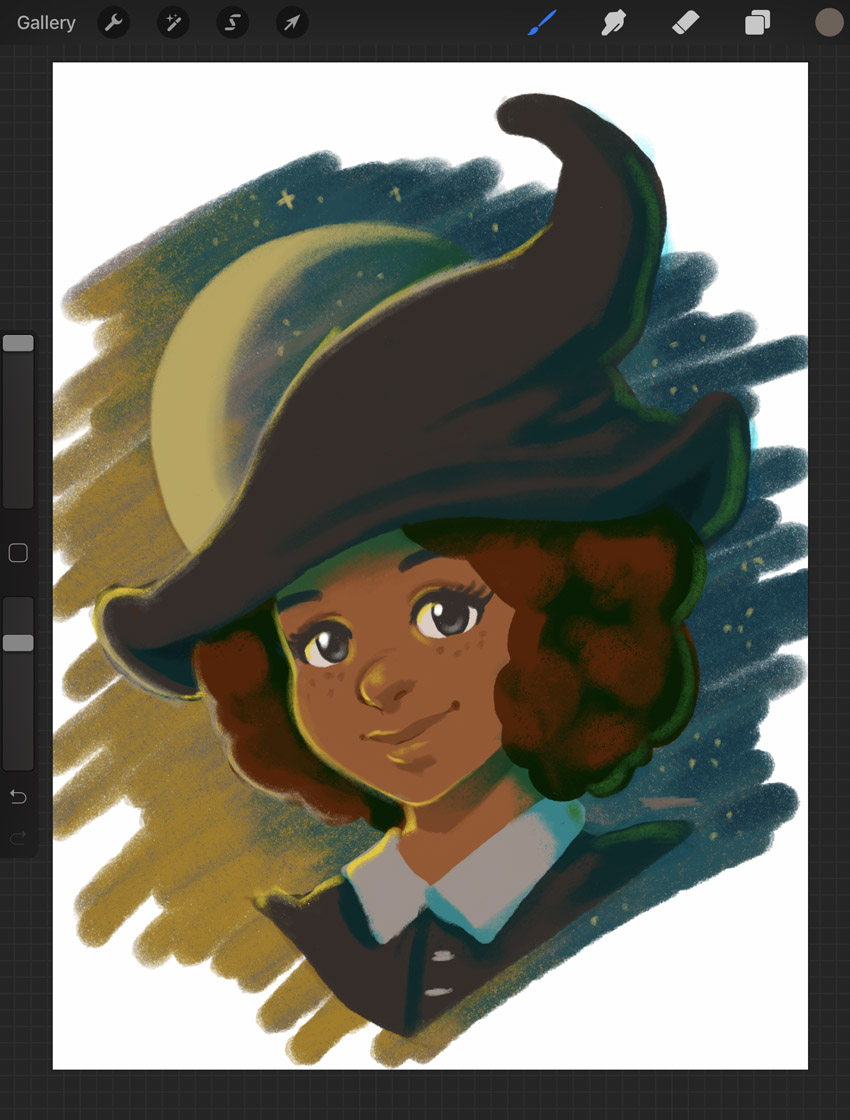
Step 11
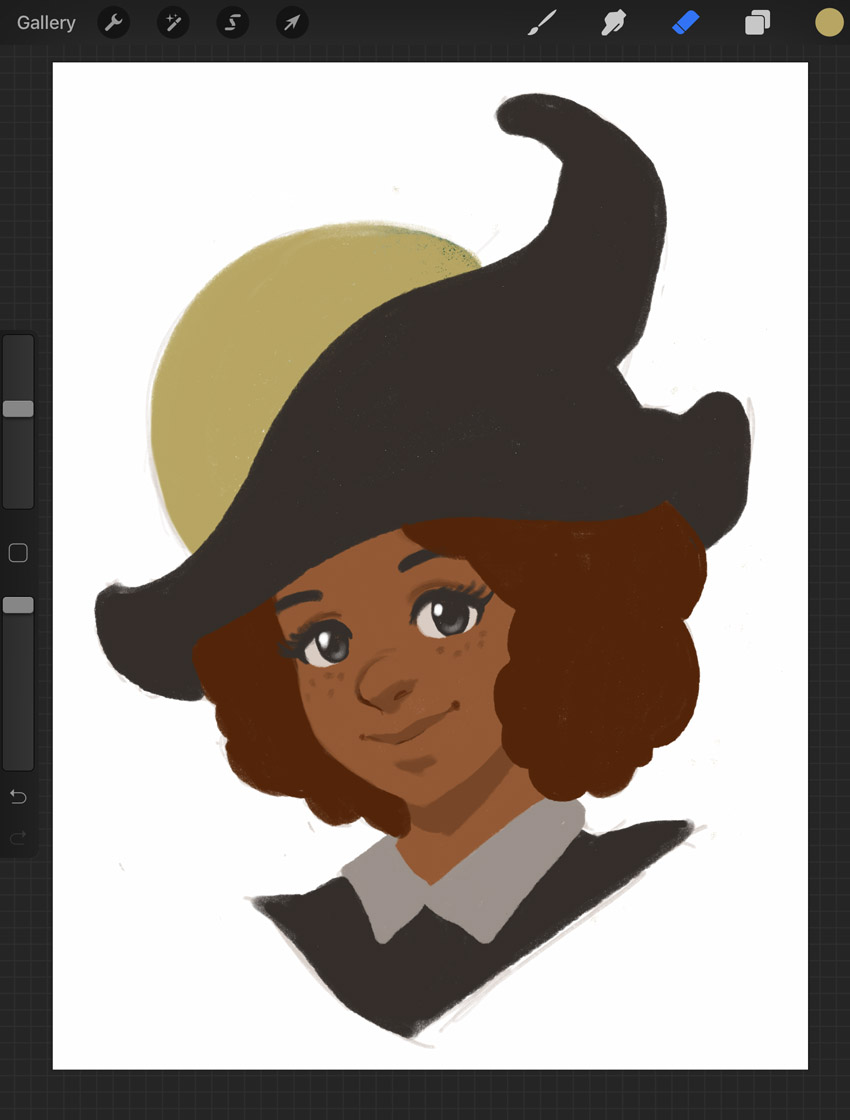
I added some stars in the background. They’re rough little pencil marks—just placed about for an extra touch of night sky. I tried out Trisha’s Pencil for this one!
Step 12
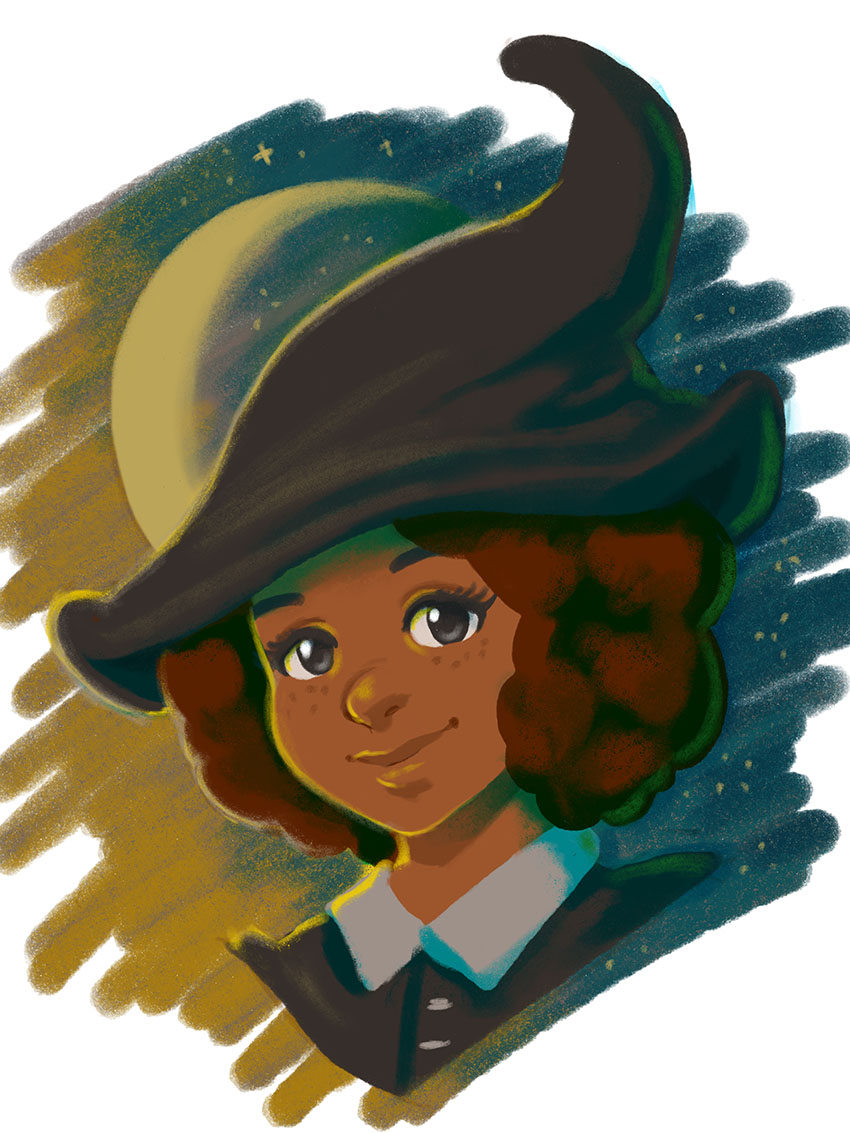
When I was happy with my work, I flattened the character art and cleaned it up with the eraser. I decided I wanted to keep things relatively relaxed and textured, but there were a few places I thought just needed a little tidying up!
And There You Have It!
Thanks so much for exploring how to install and use Procreate brushes with me! I had a lot of fun with this demonstration—and honestly, I’m excited to use this brush set again! It was really user-friendly and fun to use.
Good luck with your creative projects, and happy drawing!
If you’d like to follow the process of this illustration, it’s available on the Envato Tuts+ YouTube channel:
If you enjoyed working with this Procreate Brush, here are some others to check out and experiment with!
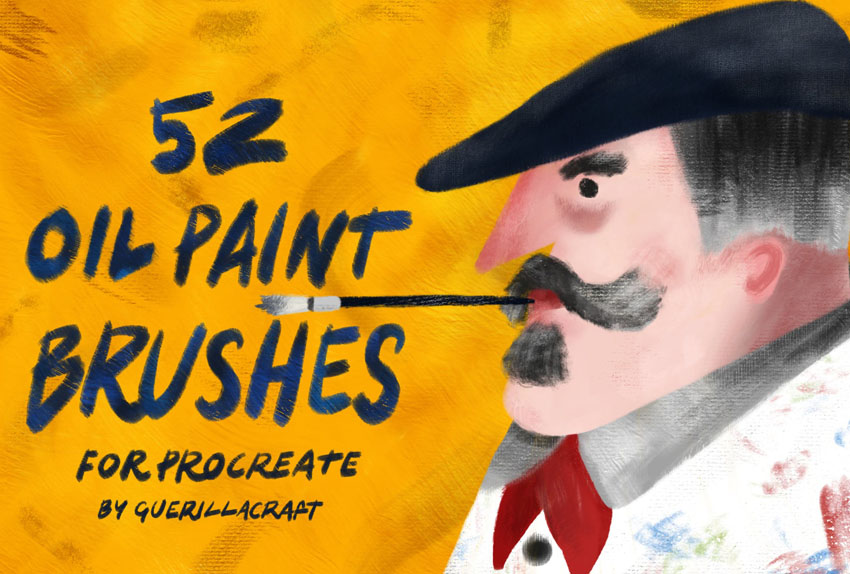
Oil Paint Brushes for Procreate
These Procreate Brushes are a lovely addition to any collection, especially if you’re a fan of texture! They’re by the same author as the artist who made the brushes we experimented with in this tutorial, too!
Shader Brushes for Procreate
I absolutely love the texture in these Procreate shader brushes. They could work for such a wide variety of styles and projects!

Auld Inks for Procreate
62 brushes—that is a lot of brushes to experiment with, right? And with such interesting texture, these ink Procreate brushes are so much fun to experiment with.
Fabric and Paper Procreate Brushes
I love texture—it’s so fun to experiment with. This set is all about texturing with fabric and paper. There are plenty of versatile applications with this one, a great addition to anyone’s collection!
Procreate Brush Calligraphy
I love hand-drawn type—and Procreate is an awesome tool for experimenting with it, too. This brush set is right up your alley, if calligraphy is your jam!
If you enjoyed this tutorial, here are some others to check out!