* { box-sizing: border-box; } body {margin: 0;}*{box-sizing:border-box;}body{margin-top:0px;margin-right:0px;margin-bottom:0px;margin-left:0px;}
If you want to add new brushes for Sketchbook Pro, you need just a few steps! In this short tutorial I’ll show you how to import brushes into Sketchbook Pro using my own custom Sketchbook brush pack.
What You’ll Learn in This Sketchbook Pro Brushes Tutorial
- How to import brushes into Sketchbook Pro
- Where can you find the newly installed Sketchbook brushes
- How to put your new Sketchbook Pro brushes on the main palette
- How to manage your Sketchbook brush packs
What You Will Need
Sketchbook Pro brushes come in the .skbrushes format. You’re going to need one of those to follow this tutorial. If you don’t have any Sketchbook brush packs, I’ve created a nice collection of fur brushes for Sketchbook that you can use for free! You can download it here:
1. How to Import Brushes Into Sketchbook Pro
Step 1
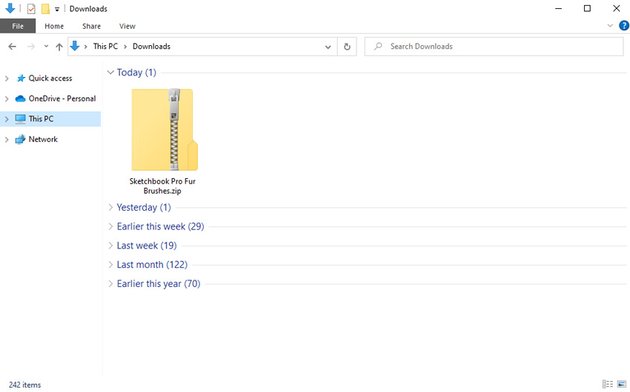
Download your Sketchbook Pro brush pack and locate it on your disk.


Step 2
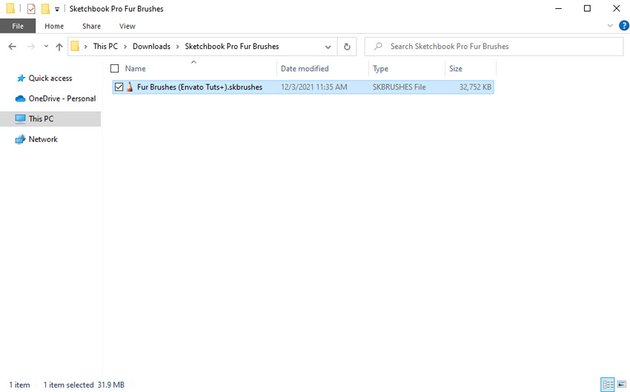
If it’s a .zip or .rar file, make sure to extract it until you see the file in the .skbrushes format. To extract an archive in Windows, just right-click the file and select Extract All.


Step 3
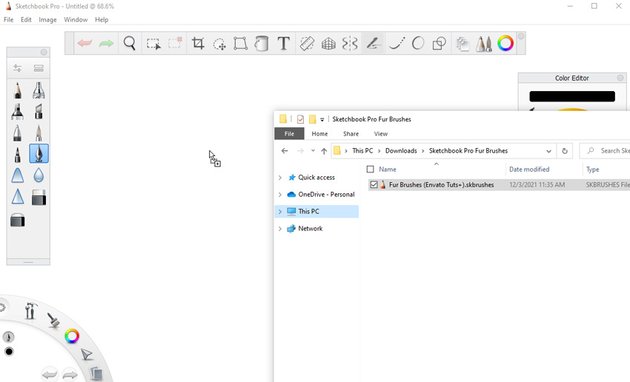
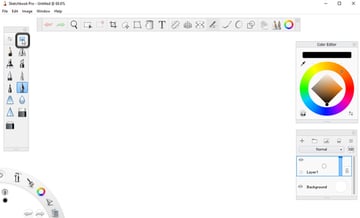
Open Sketchbook Pro and drag the .skbrushes file into the canvas.

Step 4
Open the Brush Library.


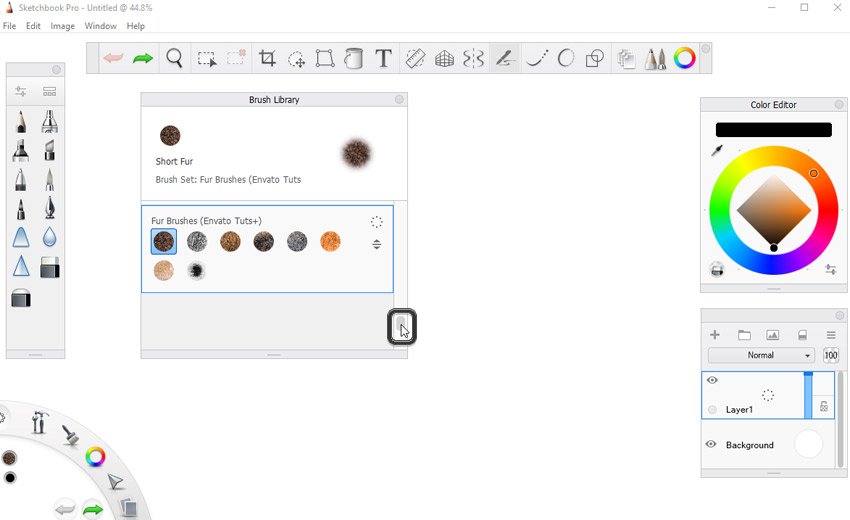
Step 5
Scroll down. At the very bottom of the list, you’ll find your new brush set!
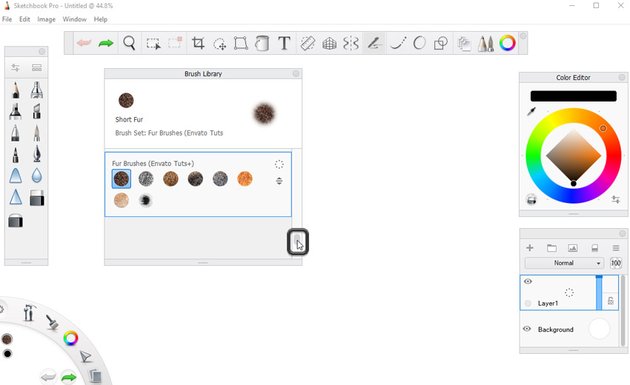

Step 6
If you want to put the new brush set in a different place on the list, click and drag the two-arrows icon on the right.
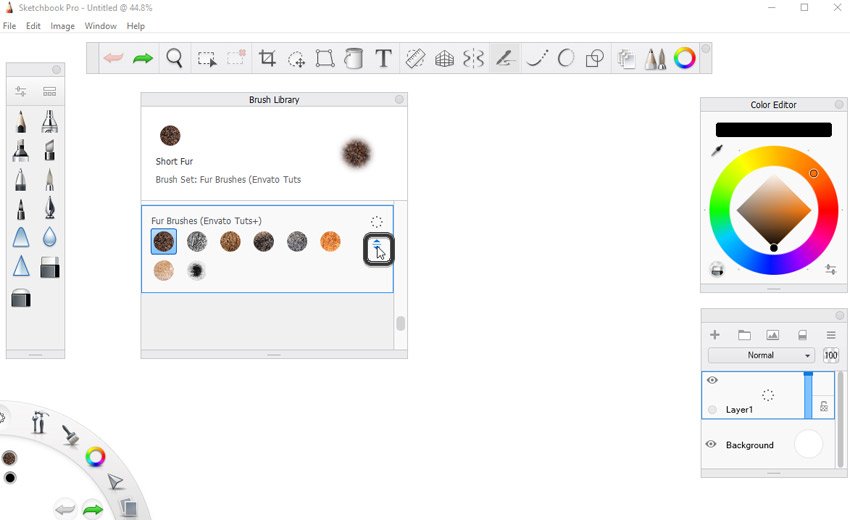


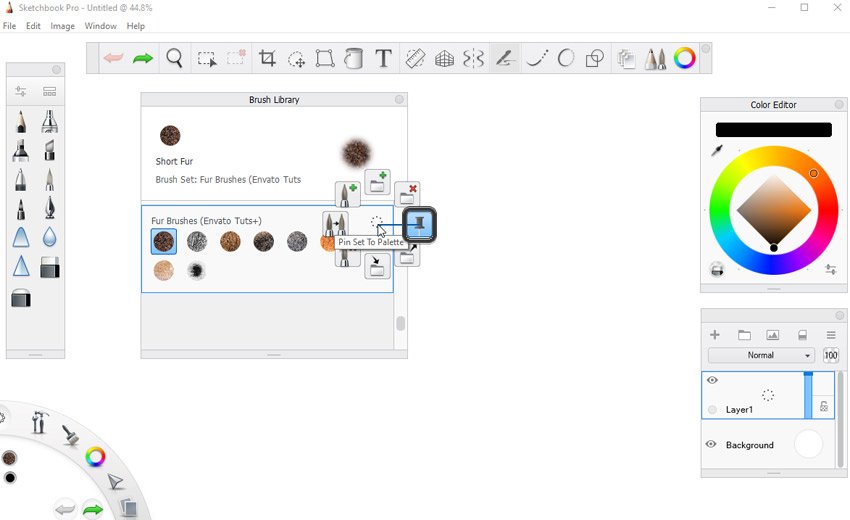
Step 7
If you want to use the new brush set as your main brush palette, click and hold the circle icon in the upper-right corner. Then point to the pin icon on the right.

Step 8
If you like some of the brushes in the set, and you want them to become a part of the brush set you use the most often, here’s what you can do. Click and hold the chosen brush. When it “jumps” under your cursor, drag it to its destination and let go.


That’s All!
Now you know how to import brushes into Sketchbook Pro. I hope you’ll find your new Sketchbook brush set very useful! And if you want to learn how to use your new brushes after you’ve uploaded them, check out this tutorial.


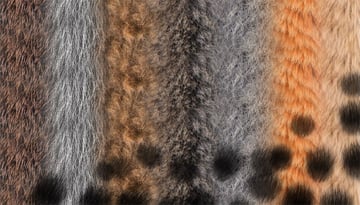
Photo Textures for Your Sketchbook Brushes
Because Sketchbook Pro supports full-color brushes, you can use any photo as a base for your brushes. In fact, this is how I created the brushes in the Sketchbook brush pack used in this tutorial! I found all my photo textures on Envato Elements. If you like them and would like to use them in their full resolution for your project, here’s where to find them:
Real Texture of Brown Bear Fur
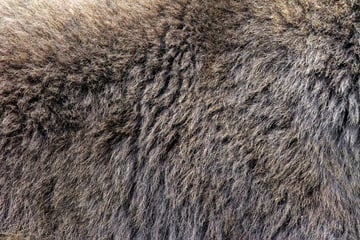
I used this texture for the Fluff brush, but this photo has potential for multiple different brushes! Although it’s a photo of a bear, I think it would work nicely for a wolf as well.
Trendy Brown Artificial Fur Texture


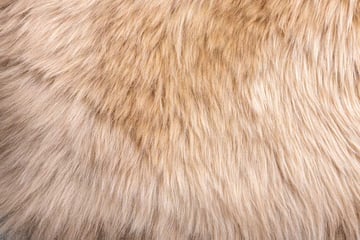
This fur may be fake, but it’s impossible to tell! I used this one for my Smooth brush. It’s a nice, universal texture that will work for most animals.
Macro of a Dalmatian Puppy Fur
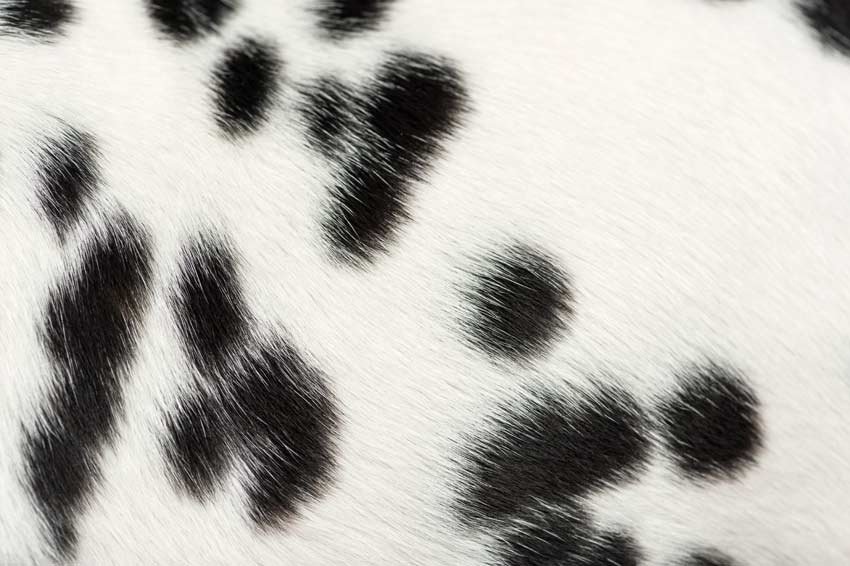
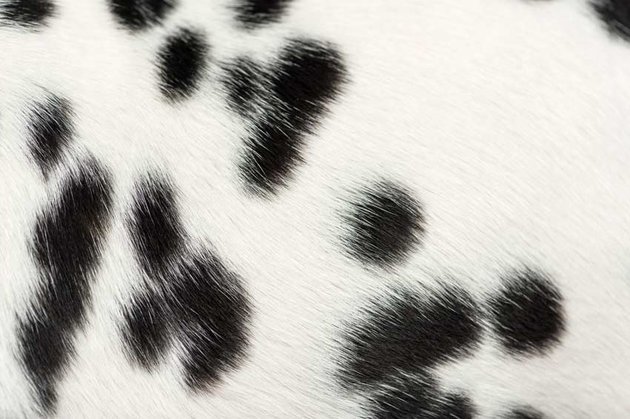
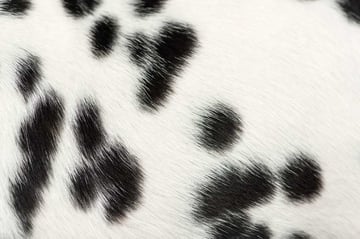
I used only one spot for my Spot brush, but if you want to create a more realistic pattern, this whole texture will help you achieve this effect.
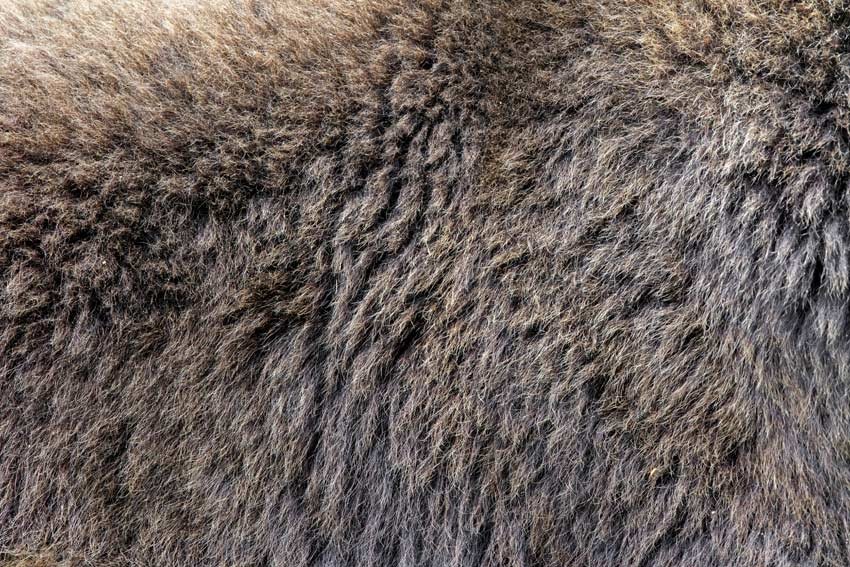
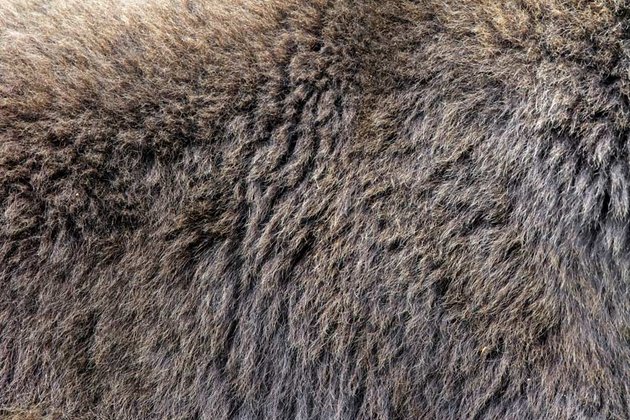
Real Fur Bison Skin Texture

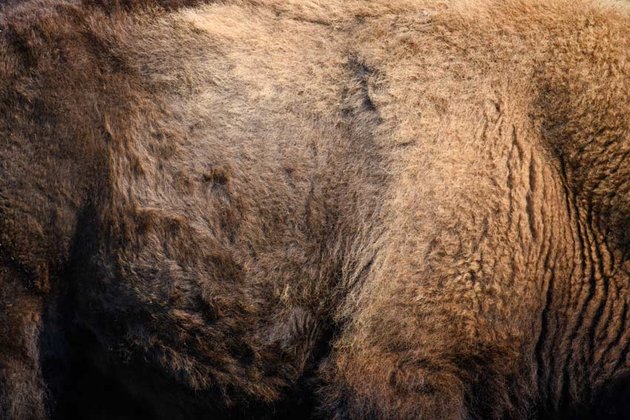
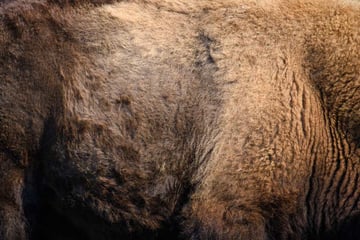
Although there’s a brush called Wool in my set, I didn’t actually use a photo of a sheep. My model was this bison! It’s a great photo, with a variety of textures that would make some nice brushes.
Close-up of a Hairy Ginger Cat
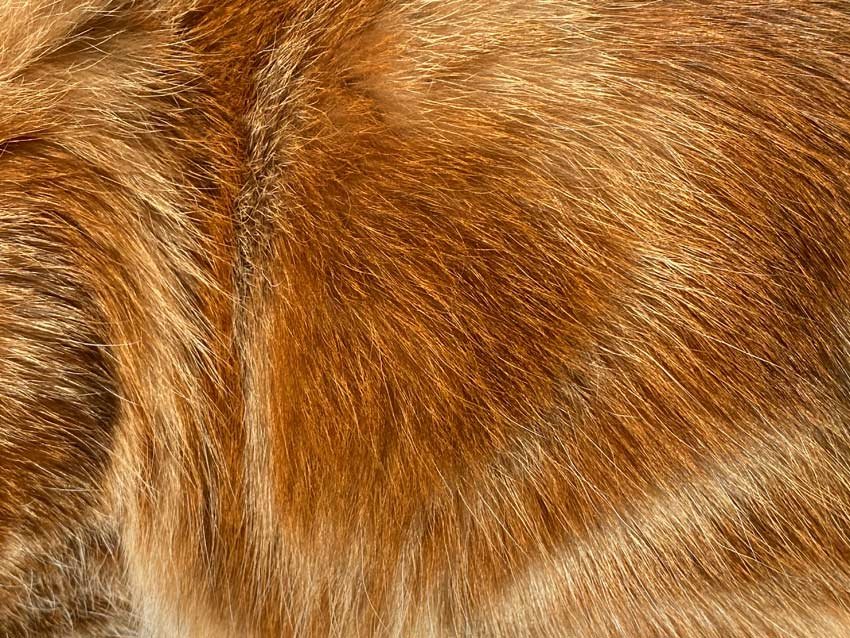
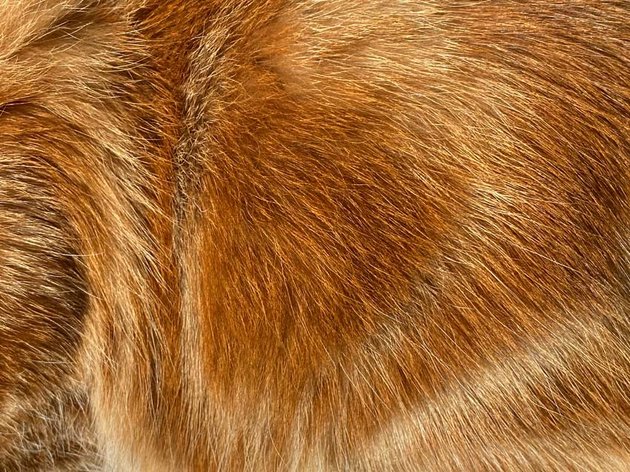
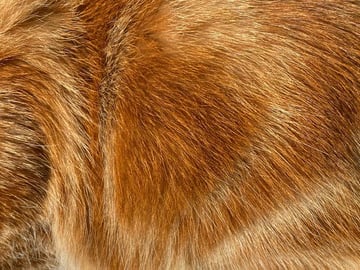
Can you recognize this photo? Probably not, because I turned it to grayscale to create a more universal Long Fur brush. However, I’m sure you can find some use for this beautiful golden coat as well!
Here are some other textures I used:
- Orange Cat Fur Texture for the Thick brush
- Real fur Mouflon skin texture for the Short Fur brush
- Real fur bison skin texture for the Undercoat brush
Want to Learn More?
If you’re interested in digital drawing and painting, you may also enjoy these tutorials:
 Digital PaintingHow to Create a Photorealistic Digital Painting in Sketchbook Pro
-
SketchBook ProThe Beginner’s Guide to Sketchbook Pro
-
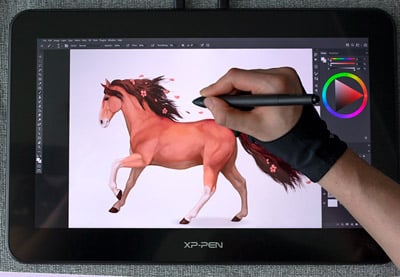
Digital PaintingHow to Use a Graphics Tablet in Photoshop
-
Adobe PhotoshopHow to Draw in Photoshop
-
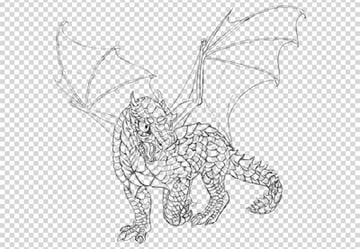
Line ArtQuick Tip: Remove the White Background From Line Art in Adobe Photoshop
-
Graphic DesignA to Z of Graphic Design Software: InDesign, Affinity Designer and More! (Free & Premium)