In this tutorial, you’ll learn how to etch glass with your Cricut machine, and we’ll also learn some fun uses for etched glass vinyl projects. This Cricut glass etching tutorial will teach you everything you need to know about what you need for your etching project as well as how to etch into glass.
We’ll be using fonts and designs from Envato Elements and combining them to make the most gorgeous design that would be a perfect fit for any Cricut wedding gift ideas!
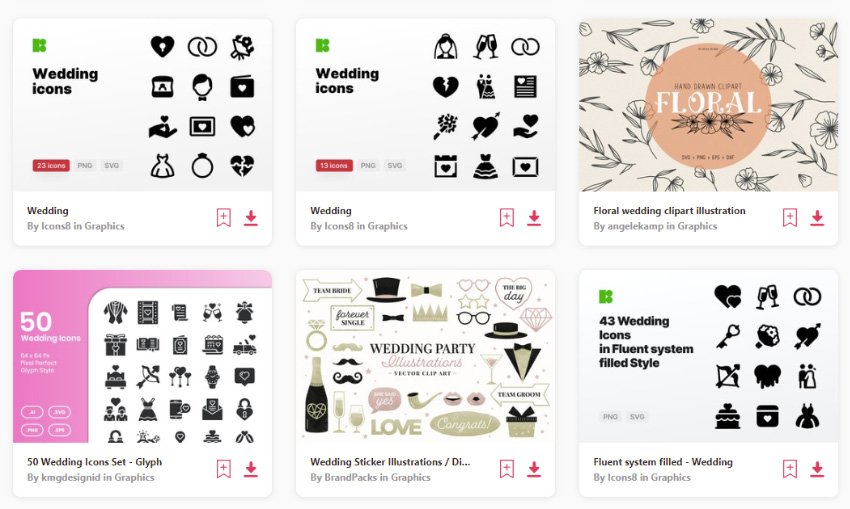


Learning how to make a glass etching stencil is the perfect way to not only learn how to make bride and bridesmaid wine glasses, but also to class up your own wedding! It is a very popular Cricut wedding project, as it is so versatile and easy to do.
If you want to follow along with this tutorial in video format, you should visit the Envato Tuts+ YouTube channel! You can watch my last video on how to make stencils for etching glass with your Cricut and this brand new video on how to etch glass with Cricut Maker:
What Is Etching?
Etching is the process of permanently frosting the outer layer of glass. Etching cream is an acid, and when it is applied to a glass item, the acid essentially eats away at the outer layer of the glass, causing it to look frosted. It is a permanent method of applying your design onto your glass, and cannot be removed once it has been done, so you will need to make sure that you are careful when using the etching cream, so that you don’t get the etching cream where you don’t want it to be!
What Kind of Glass Do I Need to Use?
If you want to etch glass with your Cricut, you will need to use a glass item that isn’t tempered glass. What this means, is that the glass isn’t a special type of glass to not scratch as easily from extended use. Usually, high-end glassware like Pyrex has been specially treated to make it last longer and not scratch as easily. Because of this special treatment of the glass, it is resistant to the type of acid that etching cream is made from, and even if you leave the etching cream on for hours, it will have no effect.
What Supplies Do I Need to Learn How to Etch Glass With Cricut?
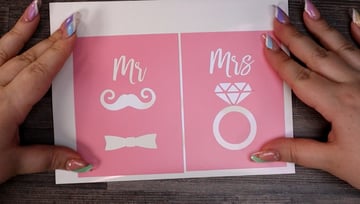
Choosing a Cricut Etching Glass Design
When choosing a design to use for etching glass with Cricut, there are a few things you need to keep in mind. Etching is a single-layer project, so we will need a design that doesn’t have multiple colours, but rather a design that is simple black on white or features two main contrasting colours.
I have put together a collection of designs for a wide variety of Cricut wedding projects for you to choose from. Most of these designs will work very well for many etched glass vinyl projects. Be sure to take a look through all of the projects and choose the perfect one for your Cricut wine glass ideas!
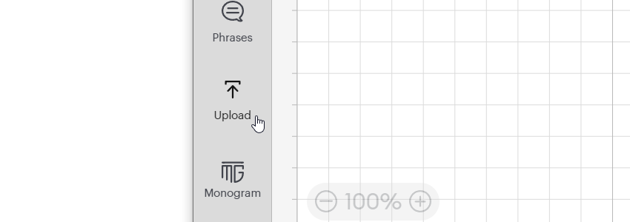
1. How to Upload Your Design to Cricut Design Space
Step 1
Once you have saved your downloaded files from Envato Elements, open up Design Space with a new canvas, and click on Upload.

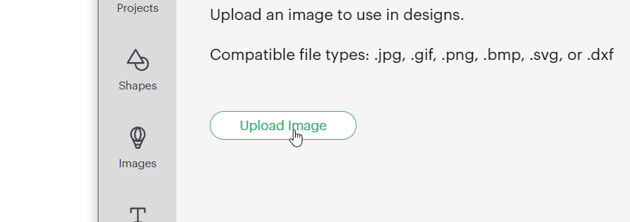
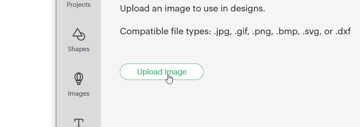
Step 2
Click Upload Image to select the image you have chosen for your wine glass ideas for this Cricut project.

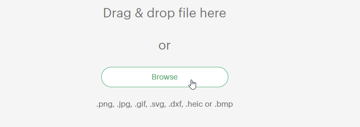
Step 3
You can either drag and drop the file you want to upload to use to etch glass with your Cricut, or you can browse and search for it.


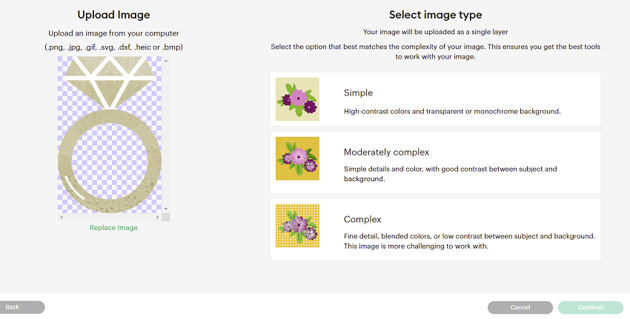
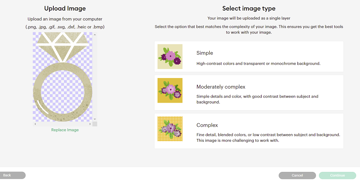
Step 4
Select the image type based on what you are uploading. Simple is for images like the one we are using: high-contrast colours (like black and white) and a transparent or see-through background.
Moderately complex is for relatively simple details and images with good contrast.
Complex is for images that are like pictures with proper backgrounds, with little contrast between the image and the background.
I used Simple to show you how to make a stencil for etching glass with Cricut. Click Continue.

Step 5
Now it’s time to remove the background from the Cricut wedding gift ideas image. Most of the background is automatically not there because it is a transparent PNG, but in between the triangles of the diamond is a light brown section that we will need to remove.


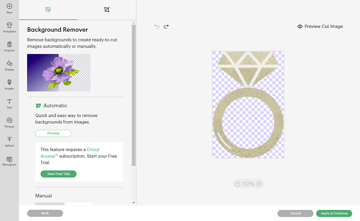
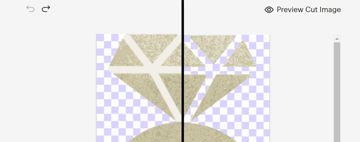
Step 6
Hover the mouse over the areas you want to remove, and click. Below is a before and after image of what you should see after you remove the sections you don’t want anymore.


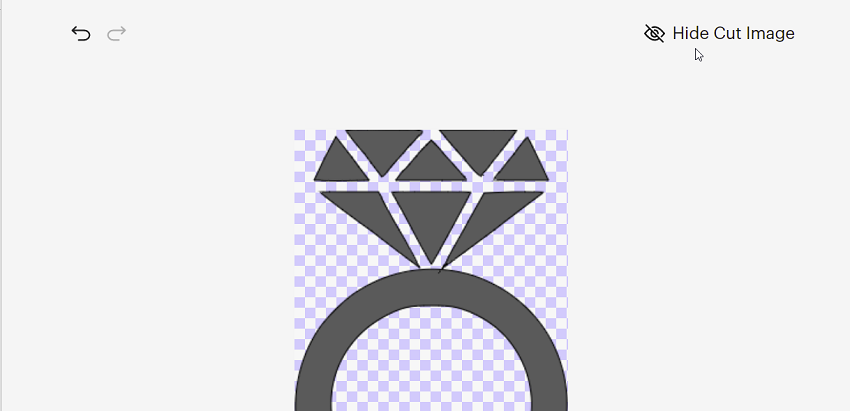
Step 7
Always click Preview Cut Image to make sure that you have clean lines and that your design looks how you want your Cricut etching glass project to look. You can click Hide Cut Image to go back and make any changes you need to.
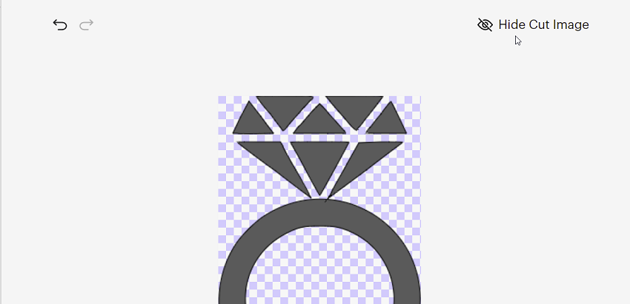

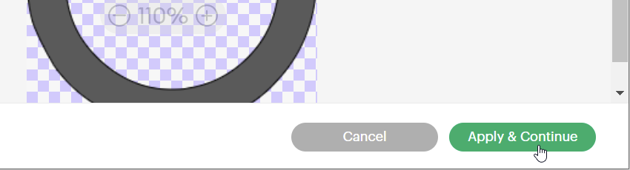
Step 8
If you’re happy with your image, you can click Apply & Continue.


Step 9
We just need the outline of this image, not the colour, so I have added it as a Cut Image. You can also rename and add tags to the image, like “Cricut wine glass ideas”, to make it easier to find later.

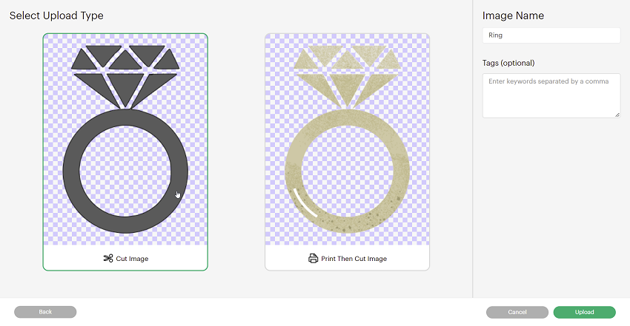

Step 10
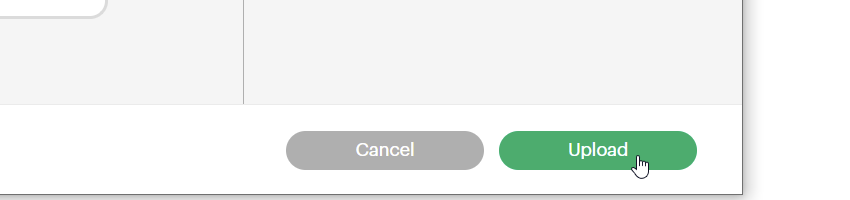
Once you have added all those elements, click Upload.

Step 11
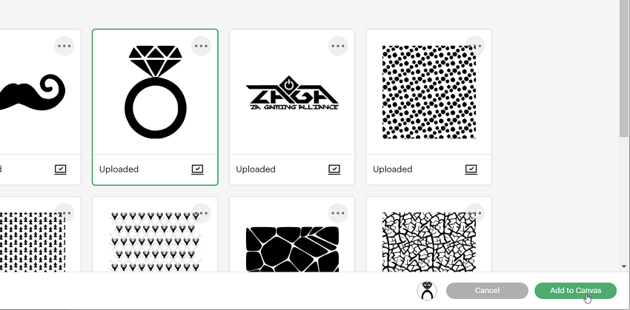
Once it has been uploaded, it will show under your Recent Uploads. Click on the image, and click Add to Canvas.


2. How to Make a Stencil for Etching Glass
After uploading your image to Cricut Design Space, you need to know how to make that image into a stencil for etching glass. You can follow this example or transfer the skills and learn how to make bridesmaid wine glasses.
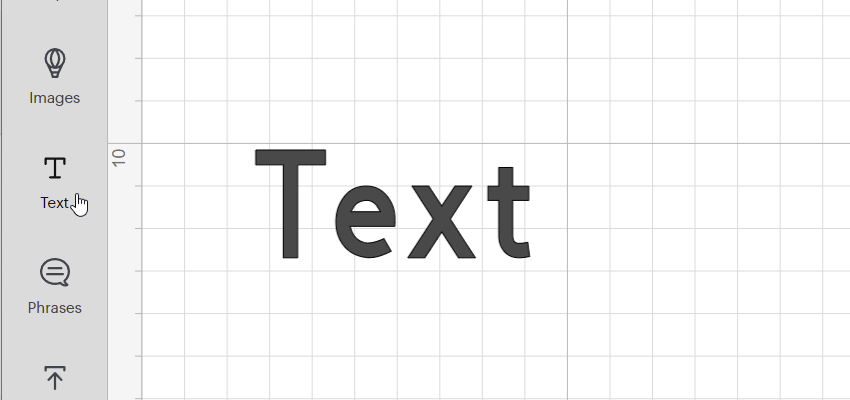
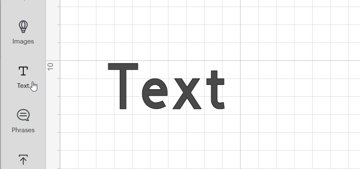
Step 1
Click on Text to add some text to the canvas.

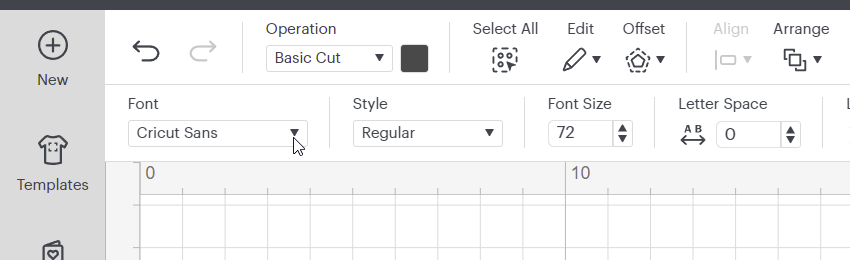
Step 2
Just above the canvas on the top right of the screen, you can click on the Font dropdown to change the font.

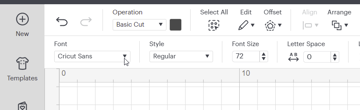
Step 3
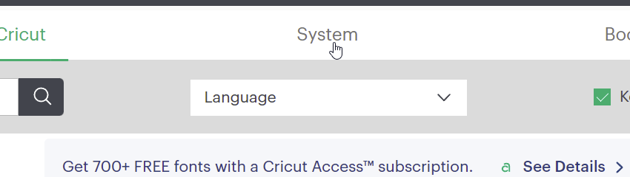
Click on System in the middle to show all the fonts you have loaded on your computer.


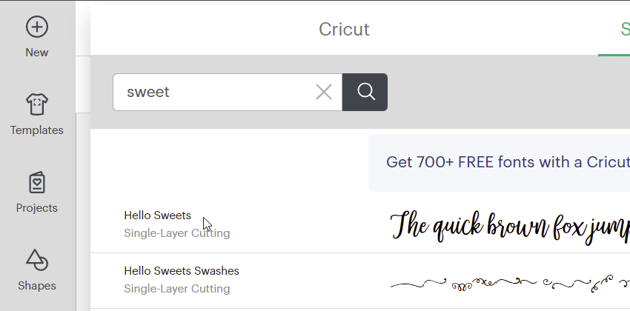
Step 4
In the search bar, type the name of the font. I’ve typed “sweet” as it is part of the Hello Sweets font, which is a perfect font for all your Cricut wedding project ideas.


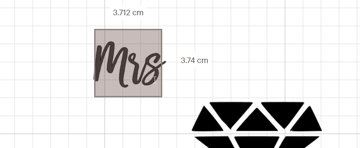
Step 5
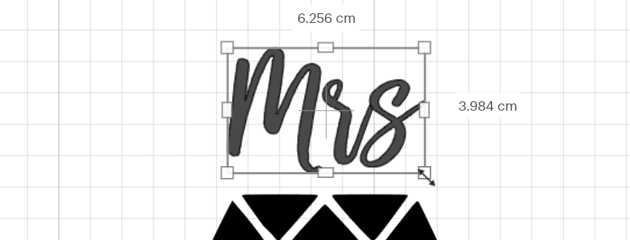
Double-click on the word and type in what you want etched on your personalised wedding wine glasses. I have used “Mrs” in this example.


Step 6
Make the word bigger and in proportion to the rest of the design by hovering over one of the boxes on the edge of the word.


Step 7
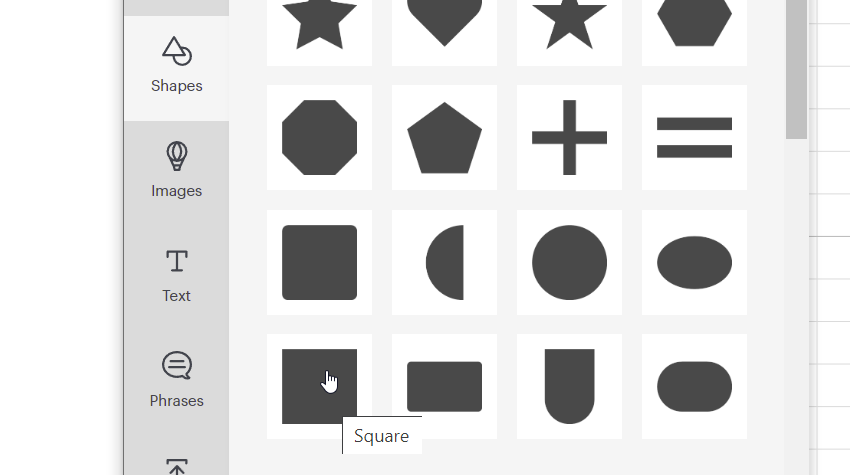
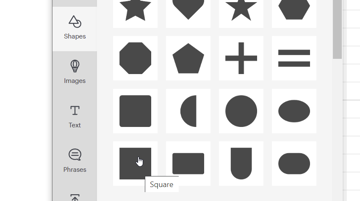
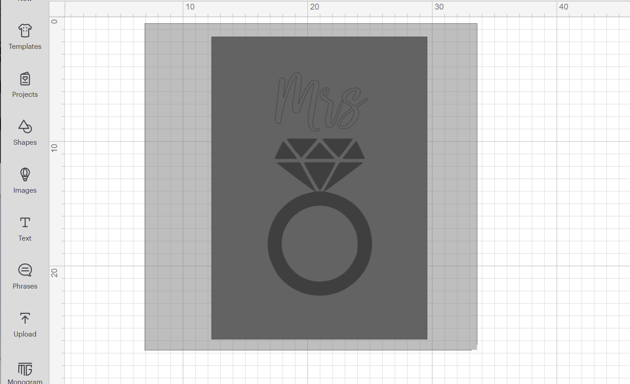
Add a square to the canvas by clicking on Shapes and selecting a Square.

Step 8
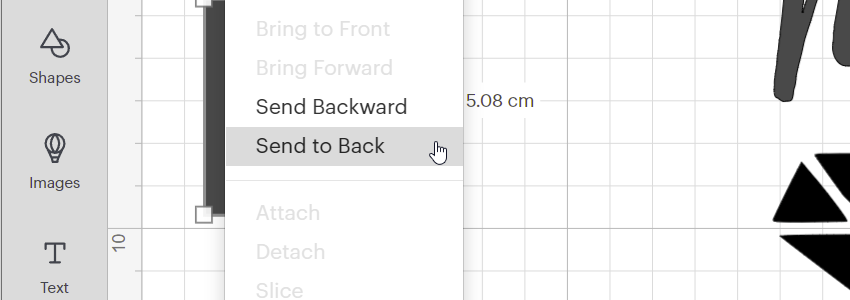
Right-click on the square and click Send to Back so that we can move the shape and see the design on top of it.


Step 9
Next, we need to make the square fit around our design to create our glass etching stencil. First, we need to unlock the proportions to change the size of the square, so click on the padlock.


Step 10
Next, resize your shape to ensure that it has enough space around the entire design so that we won’t get etching cream on the rest of the glass we are trying to etch.


Step 11
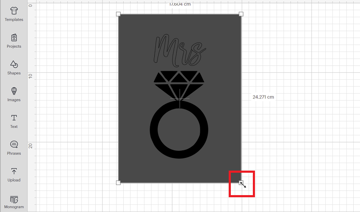
Click and drag to highlight everything you have made while learning how to etch glass with Cricut Maker.


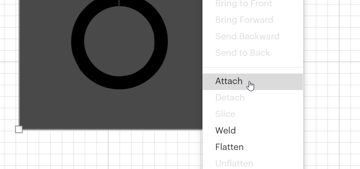
Step 12
Now we need to prepare to cut the design, so in order to keep everything exactly where we’ve put it, we need to right-click on everything we have selected, and click Attach.


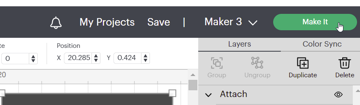
Step 13
Resize the entire design to the size you need it to be, and you are ready to cut it!


Now that you have learnt how to make a glass etching stencil in Cricut Design Space, we are going to learn how to etch into glass. This next step is the process of cutting your design and applying it to your glass item. You’ll learn more about the actual process of how to make personalized bridesmaid wine glasses, or any other Cricut wedding ideas!
Of course, I am using a Bride and Groom approach in this tutorial, but there are so many Cricut wine glass ideas, so the sky is the limit here when learning how to make stencils for etching glass. You can take this same process and learn how to make bridesmaid wine glasses too.
3. Cutting Your Design for This Cricut Glass Etching Tutorial
Step 1
Once your design is completely set up and you are ready to cut it, click the Make It button.


Step 2
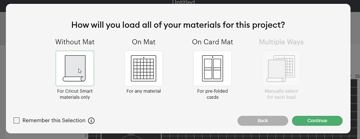
Select Without Mat for matless cutting, or On Mat if you are cutting with one.


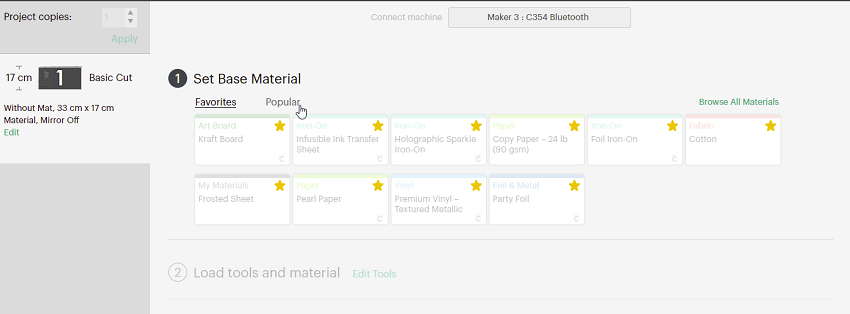
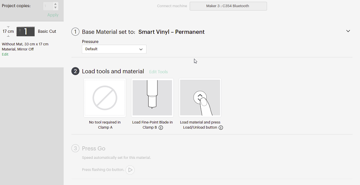
Step 3
Choose the type of material you will be cutting for this Cricut wine glass tutorial—remember to always do a small test cut with a small shape before cutting your main project! I will be using Smart Vinyl – Permanent from the Popular section.

Step 4
Once you have selected your material, you can load it into the machine, and you don’t need to be in Design Space anymore.
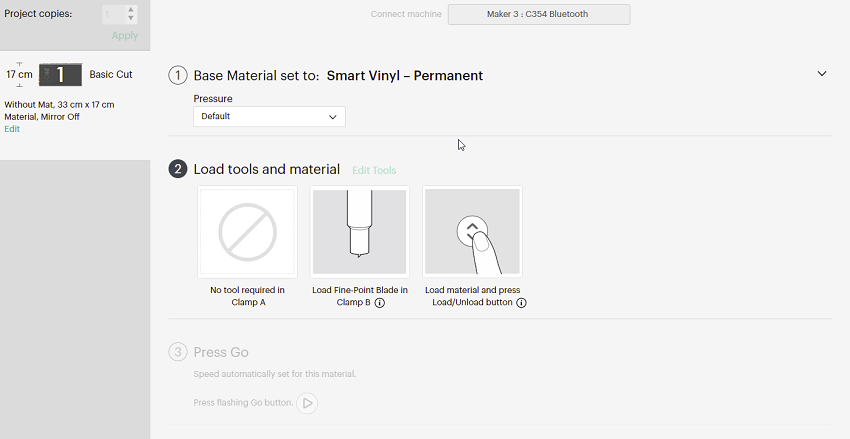
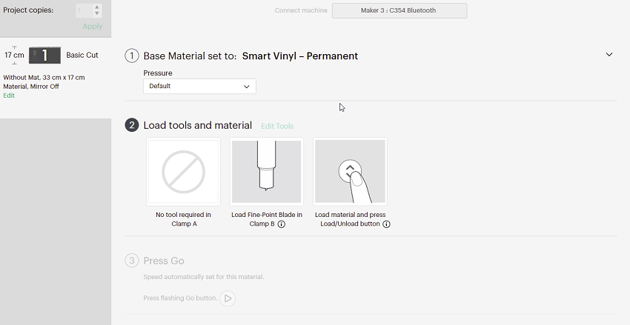
Step 5
Load your material into the machine by pressing the up and down arrow button (load/unload), which will be flashing.
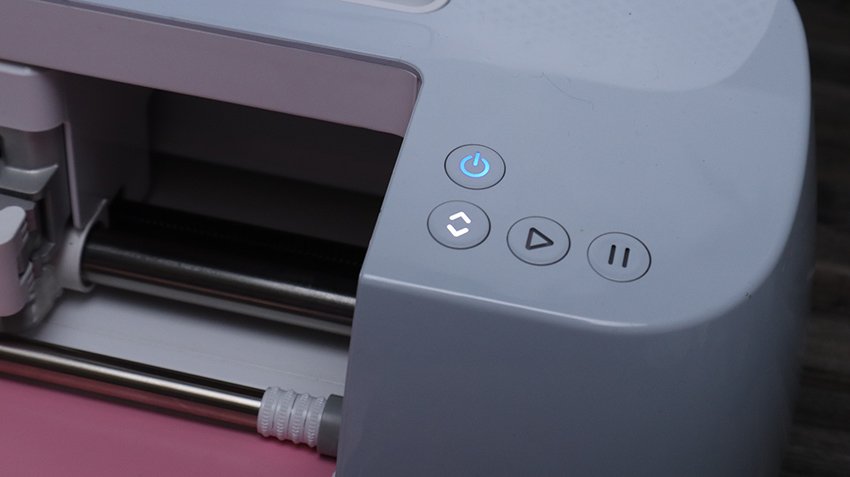


Step 6
Start the cut by pressing the Play button, which will only start flashing once you have loaded the material and it’s ready to cut.


Step 7
Before unloading, once your machine has finished cutting, use your weeding tool to check that your material has been cut correctly. If not, press the Play button again to run the cut for a second time. If your material has been cut correctly, click the unload button. You don’t want to have to recut your vinyl completely in this Cricut wine glass tutorial!

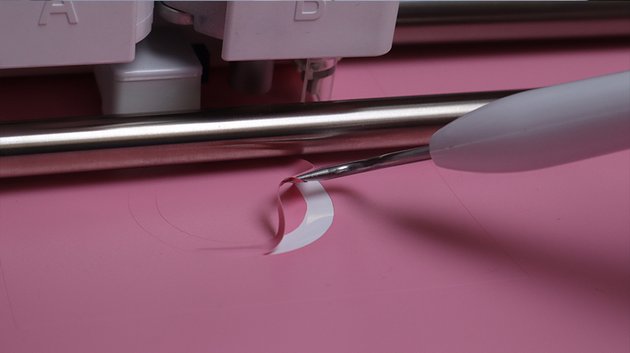

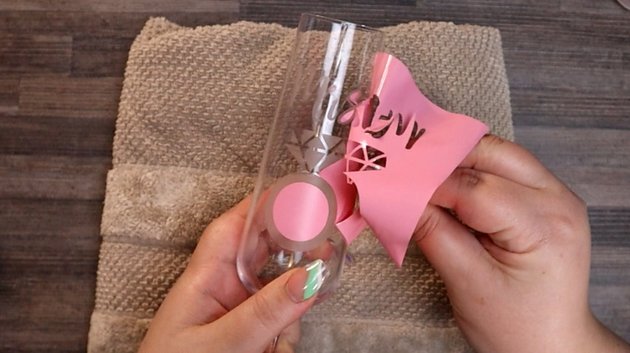
Step 8
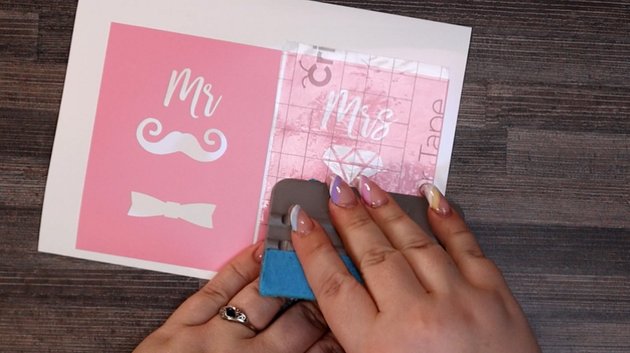
Remove the inside parts of the vinyl (weeding) – these are the parts we want to have exposed to the etching cream, so it should look the opposite of what you may be used to.

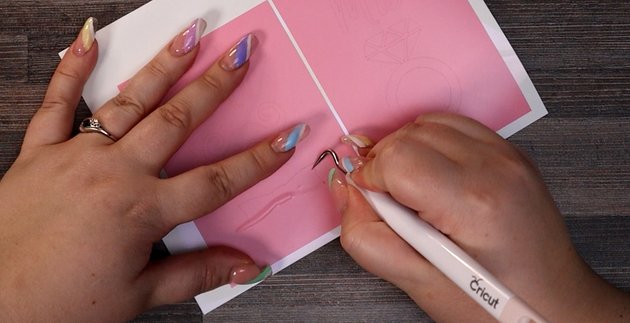
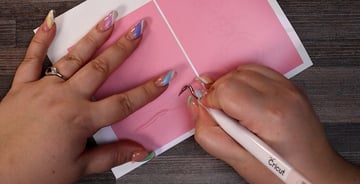
Step 9
Double-check your weeded design to make sure you’ve got all the bits removed.


Step 10
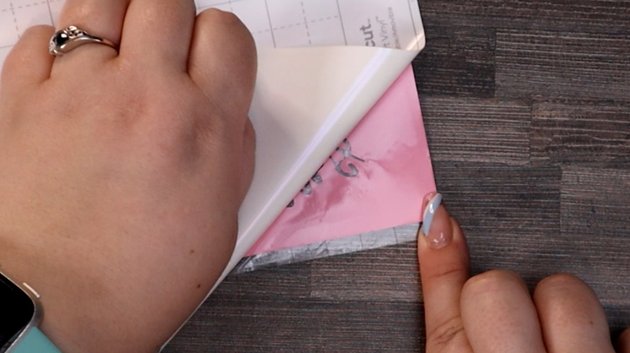
Apply transfer tape to your design, using a squeegee to adhere the transfer tape to the vinyl properly.


Step 11
Flip your vinyl over and slowly remove the backing from the vinyl, leaving the sticky side exposed on the table.


Step 12
Lay your glass on a rolled-up towel, and clean it thoroughly with an alcohol swab.

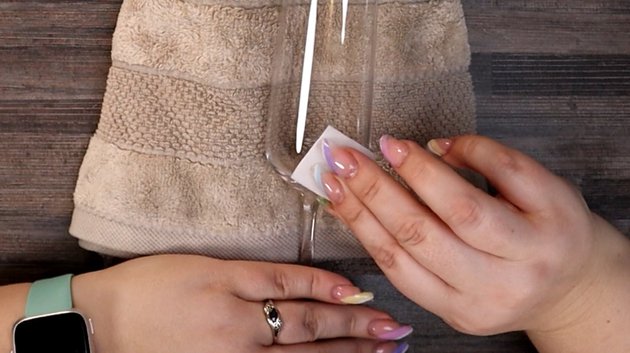

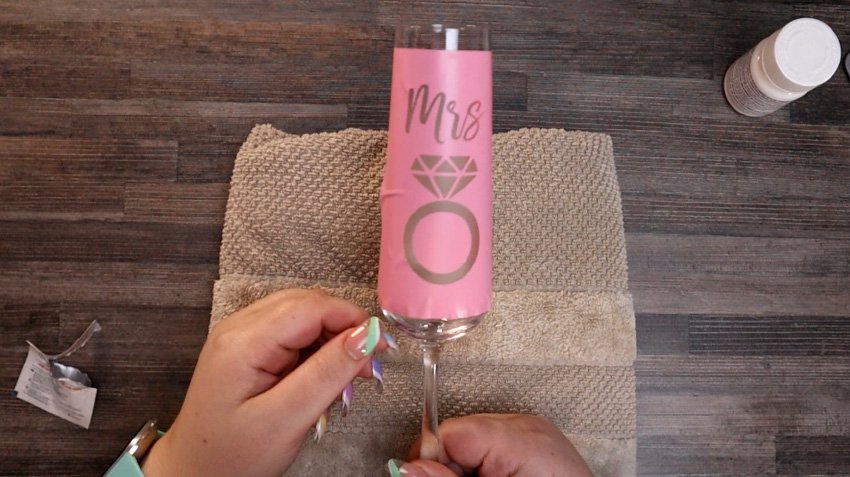
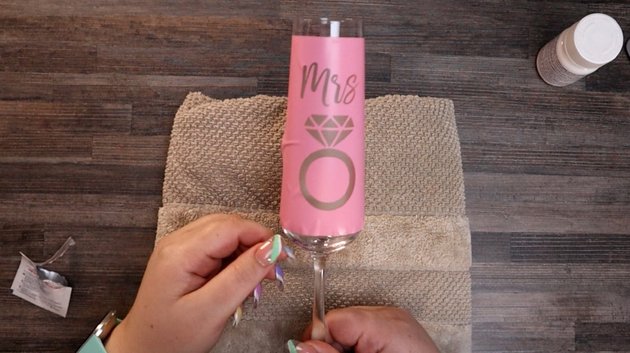
Step 13
Hold your glass up and apply the vinyl from the back – this allows you to much more easily line up the vinyl to make sure that your Cricut etching glass project will be level.


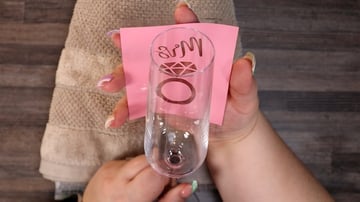
Step 14
Firmly burnish (squeegee) the vinyl onto the glass, carefully removing any bubbles—make sure the vinyl is properly stuck to the glass. Any gaps or places where the vinyl isn’t lying down correctly will affect your end result.


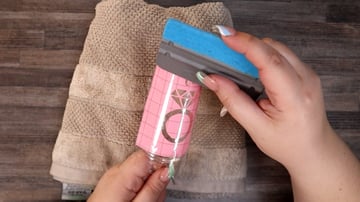
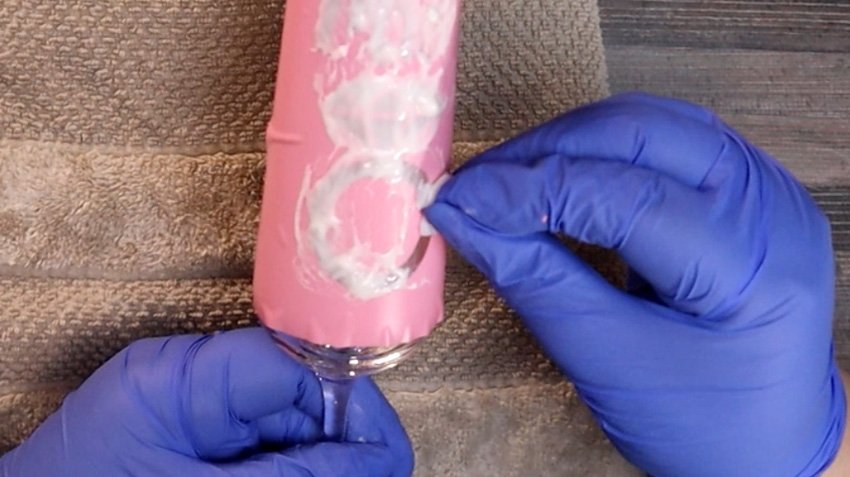
Step 15
With your gloves on, start gently applying the etching cream. Start with a thin layer across the entire area first, adding more cream later. Be careful to not get etching cream over the edge of the vinyl because it will leave a mark on whatever parts of the champagne glass it touches.

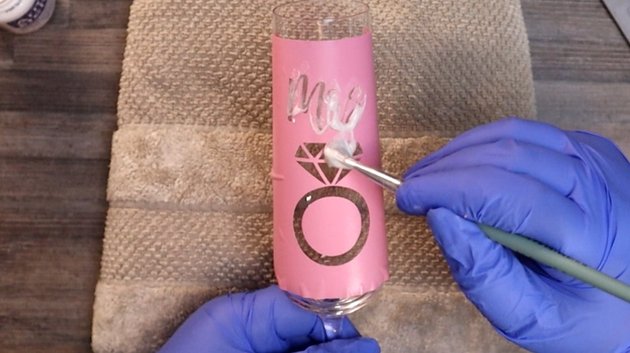
Step 16
Move the etching cream around the design for the next few minutes, trying to have an even amount of cream across the design at all times. Any areas with very thin layers of cream will not etch properly, and your end result will look patchy.


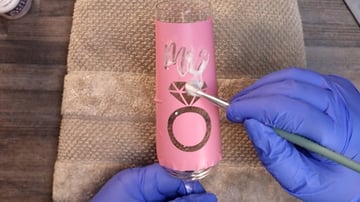
Step 17
After five minutes or so, remove the etching cream from a small area near a corner, and wipe it down with an alcohol swab or damp cloth to see what the result looks like. If it looks patchy, repeat step 16 a few times.


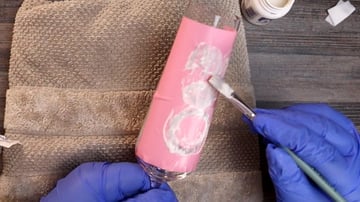
Step 18
if the result looks as if it has an even etch, you can remove the etching cream by rinsing it under the tap thoroughly enough to remove any cream that may have dried on your glass. We are so close to the end product and seeing many more wine glass ideas for you to make on your Cricut!

Step 19
Carefully remove the vinyl from the glass once it is dry, and you have now successfully learnt how to etch glass with a Cricut Maker or similar machine!


Now you can see why it is popular and why you want to learn how to make stencils for etching glass. It is an easy process, so once you have completed it a few times, you will be etching everything in sight and creating so many more etched glass vinyl projects!
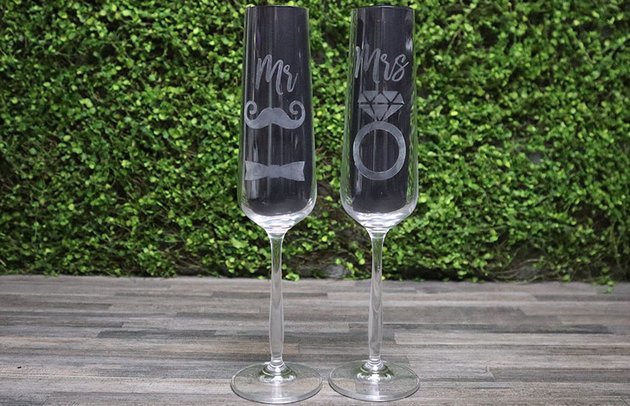
Congratulations!
I’m sure your finished result is amazing. It should look something like this.

If you still want to learn more about Cricut Design Space and some more skills or projects, check out some of these articles that will help you hone your skills and make more things!