SVG animation is a great alternative to using animated GIFs on the web, but it’s not always easy. In this tutorial I’m going to explain how you can easily animate SVGs using an online tool called “SVGator”.
SVGator allows you to import SVG files, then animate individual elements within those SVGs.
Animate SVGs With SVGator
A Quick Introduction to SVGator
You can find SVGator by visiting www.svgator.com.
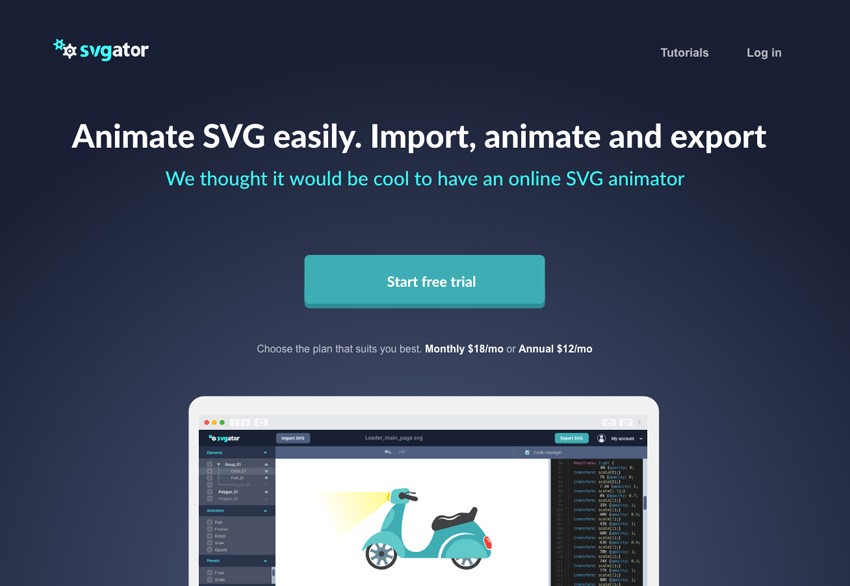
SVGator is an online SVG animation tool, a subscription for which (at the time of writing) costs $18 per month, or $12 per month if paid annually. A 7 day free trial is available so you can take a look before committing. It’s super easy to use, doesn’t require any coding skills, and is cross-platform.
Upon logging in you’ll be shown all the projects you have saved. You can duplicate them, delete them, download them, or you can edit them in the animation editor. The editor UI will be familiar to you if you’ve ever used Adobe Animate, After Effects, or any video editing software. The main stage holds your animation, whilst a timeline shows your layers and keyframes along the bottom:
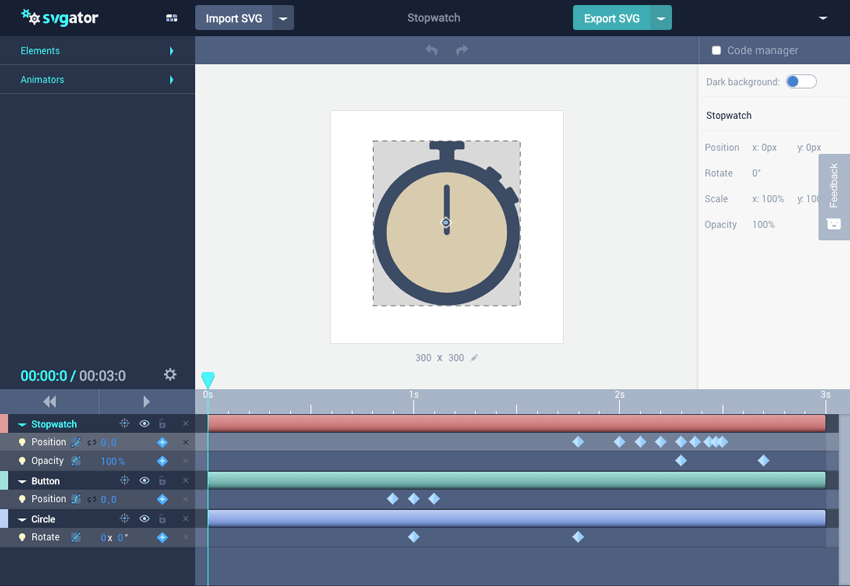
The left hand panel is home to the Elements tree, showing the elements within the SVG, and on the right you have some more options, plus a code editor which shows you the code you’re creating.
1. Enough of All That, Let’s Animate Something!
We’re going to use SVGator to animate a couple of graphics from Envato Elements. The first is from Professional Networking Icons:

Begin on the dashboard page of SVGator by hitting Import New. Upload your static SVG file and watch as a new project is created.
In the Elements panel of the animation editor you’ll notice a dropdown of all the elements contained within the SVG file. They might not be optimally named, but you can improve that by making sure the SVG’s layers are all named properly in Adobe Illustrator (or your editing software) before you import the project.
2. Select an Element to Animate
You can select an element to animate either by clicking it in the Elements list, or clicking the element itself on the stage. Hitting the + button next to the item will add a layer to the timeline. Here we’ve chosen the large cog, which has a bizarre layer name (but that doesn’t matter):

3. Select an Animator
With our element added to the timeline, we now need to select an Animator from the list. Available options are:
- Position
- Rotate
- Scale
- Opacity
Whilst our element is selected we’ll hit Rotate, then we’ll select the easing type we want:

We can also set the properties of this animation, but first we need to create some keyframes on the timeline.
4. Create Some Keyframes
A keyframe is a point on the timeline where certain properties change. Add one to your element’s timeline by hitting the + button:

Then move the scrubber (playhead) to a further point along the timeline and add another keyframe. With this second keyframe selected we can edit the rotational properties of our element. Here we’ve stated that by the second keyframe our element should have rotated once (we can also specify the degrees of rotation if we prefer).

Click the play button and you’ll see your animation loop.
5. Repeat For the Second Cog
Now add another Animator to the timeline for the smaller cog. Do exactly what we did for the first in order to complete the animation.
With the animation complete, you can export the final SVG ready for use on the web.
6. More Complex Animation
If you watch the video, you’ll see that I take another graphic from Envato Elements: Country Landscape and then animate it. Here’s the final result:

The process is the same as we covered: identify elements to animate, add Animators, place keyframes on the timeline, change the easing and the properties, then export! There are more elements in this looping animation (SVGator supports a maximum of 300), but see what you’re now able to do by trying to recreate this country landscape scene.
Conclusion
SVGator offers a simple way to create SVGs for the kinds of animations you might typically turn to GIFs for. It gives you fine control, allows you to save and edit projects, and the end results are scalable and super lightweight. Give it a try and let us know what you think!