

If you’re embarking on the journey of video editing, you’ll soon discover that two of the most fundamental skills in your toolkit will be cropping and zooming. This guide is designed to walk you through the process of mastering these essential techniques in DaVinci Resolve, a software revered by professionals in the world of video editing.
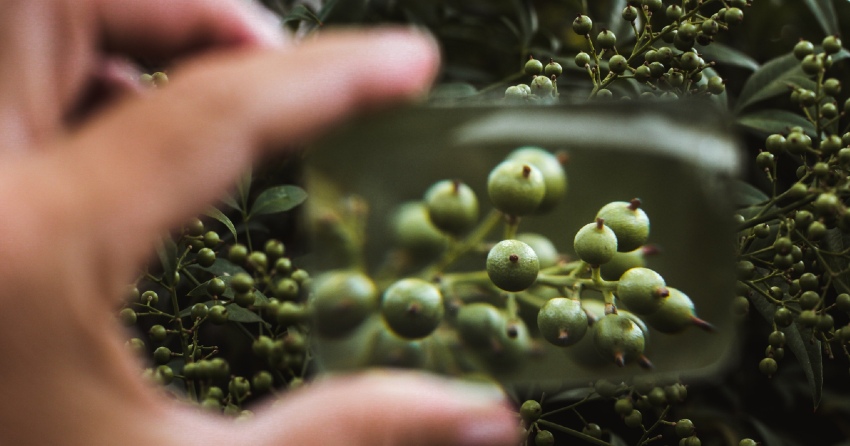


Zoom In on Object Image for article on how to crop video DaVinci Resolve
Laying the Groundwork
Before we delve into the nitty-gritty of cropping and zooming, it’s important to set a solid foundation by understanding what these terms mean in the context of video editing. Let’s start with cropping. In essence, cropping a video allows you to eliminate any unnecessary or unwanted outer areas from the video frame. This can be particularly useful when you want to draw the viewer’s attention to a specific part of the video or eliminate distracting elements.
On the other side of the coin, we have zooming. Unlike cropping, which removes parts of the video frame, zooming allows you to magnify a particular section of the video. This technique is often used to highlight specific details or moments within the video. When used effectively, zooming can create a sense of intimacy and immediacy, pulling viewers closer to the story you’re trying to tell.
Why Cropping and Zooming Matter
Now, you might be wondering, why are these techniques so crucial in video editing. Well, both cropping and zooming play a significant role in shaping the viewer’s experience. They allow you to control what the viewer sees and when they see it, guiding their attention and influencing their perception of the video content. By strategically using these techniques, you can emphasize key moments, create visual interest, and even influence the mood and tone of your video.
In the subsequent sections, we’ll dive deeper into the steps of cropping and zooming a video in DaVinci Resolve. But before we do, remember that these techniques are just a small part of the vast world of video editing. If you’re serious about mastering this craft, consider checking out Envato Elements. With access to millions of pieces of professional-grade digital content, it’s a resource that can truly elevate your video editing skills.


Envato Elements Website Thumbnail for DaVinci Resolve and how to crop video tutorial.
How to Crop a Video in DaVinci Resolve
Learning how to crop a video in DaVinci Resolve is an essential skill for every budding video editor. The process is straightforward and can be mastered with a bit of practice.
Begin by opening your project and navigating to the “Edit” page.
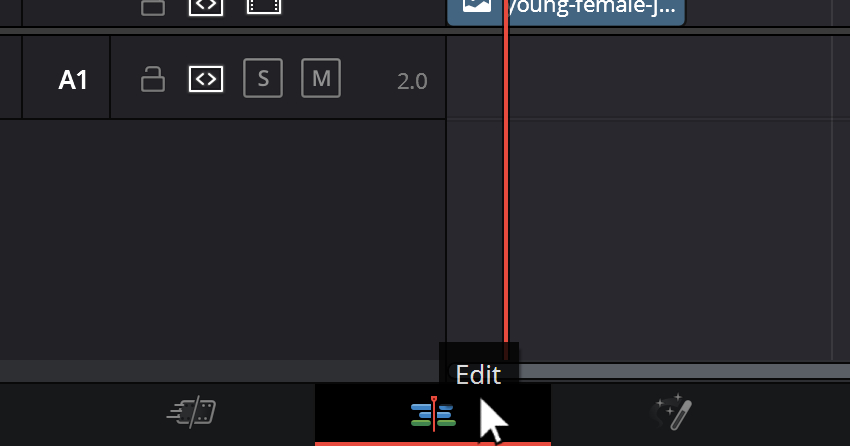
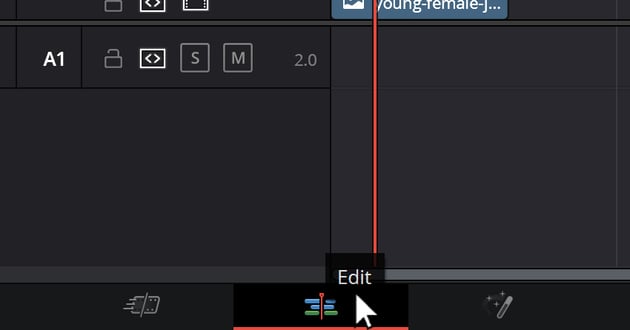
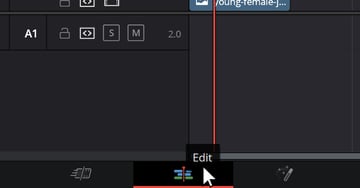
Edit screen for DaVinci Resolve article on how to crop and zoom
Here, you’ll find your video clips arranged on a timeline. Select the clip you wish to crop. You want to make sure you have the correct clip selected so that your cropping adjustments apply to the right section of your video.

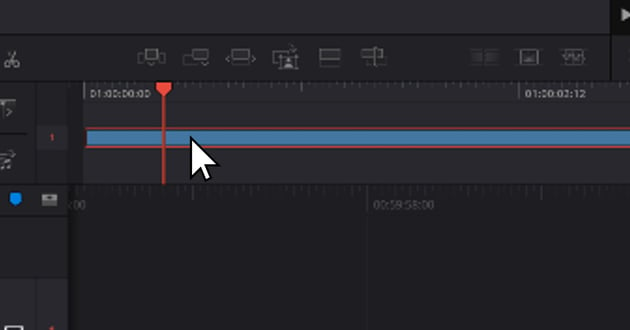
User clicking on timeline object for article on how to crop video in Davinci Resolve.
Click on the ‘Effects‘ button to reveal the effect palette.


User clicking on effects for tutorial on how to crop video in DaVinci Resolve.
Click on the ‘Effect‘ Menu Item on the bottom left side, and then click on the ‘Adjustment Clip‘ Option.
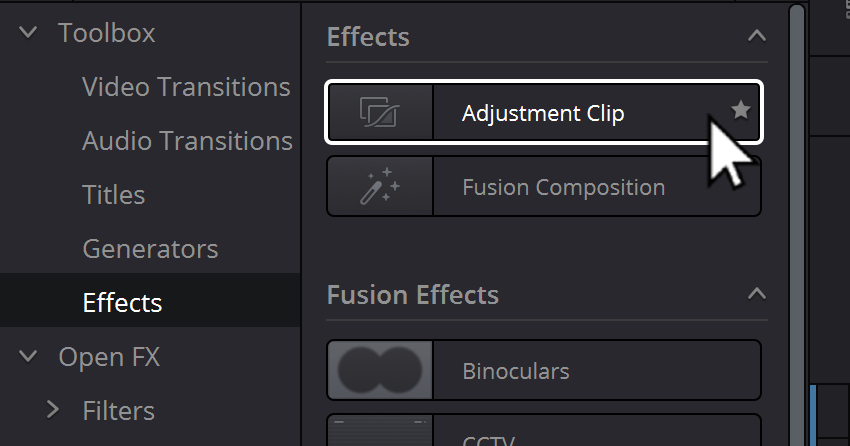
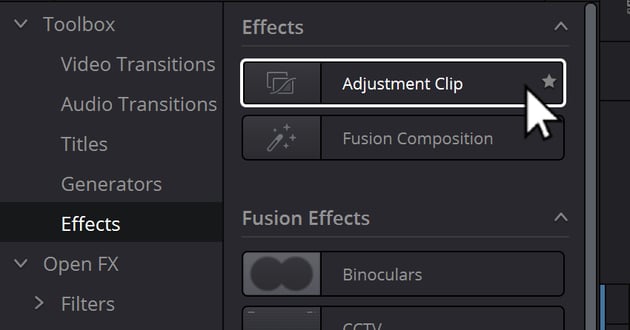

User clicking on adjustment clip for article on how to crop video in DaVinci Resolve.
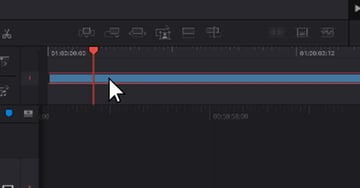
Drag ‘Adjustment Clip‘ to the timeline over the location where you want to add the zoom effect and adjust the length.
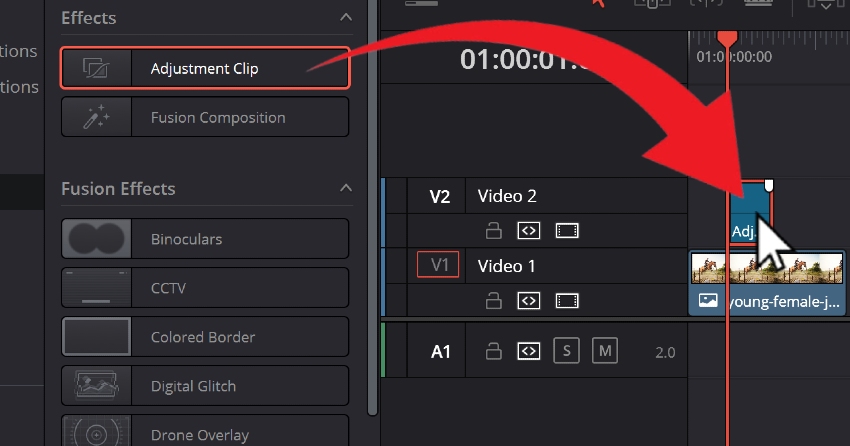

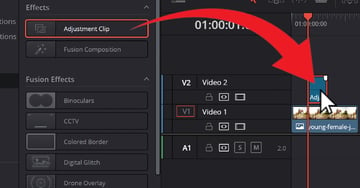
User draggig adjustment clip for DaVinci Resolve tutorial on how to crop video
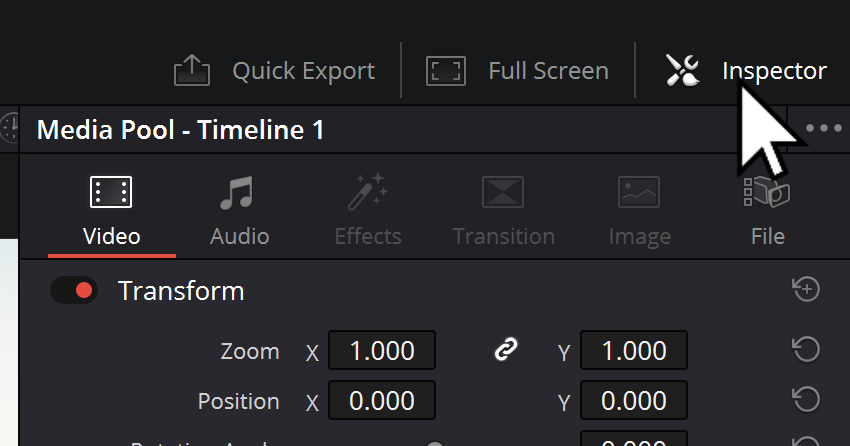
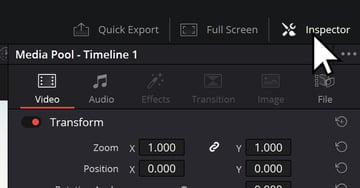
With the Adjustment clip selected, locate the “Inspector” tab — typically found on the top right corner of your screen. This handy tool gives you access to various settings and parameters that you can adjust to manipulate your video clip. It’s something like a control panel, allowing you to tweak and fine-tune aspects of your video.

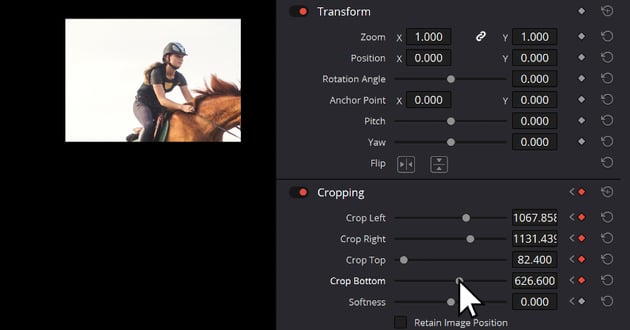
In the Inspector, look for the “Cropping” label and click to open it. Here, you’ll find parameters labeled left, right, top, and bottom. Adjusting these parameters will crop the corresponding edges of your video, allowing you to remove any unwanted sections. Remember, cropping is all about precision. Be sure to take your time and adjust each parameter carefully to achieve the desired effect.


User clicking cropping options for how to crop video in DaVinci Resolve
Once you’ve found the desired crop, you can adjust the ‘Softness‘ and add a nice gradient to your crop.
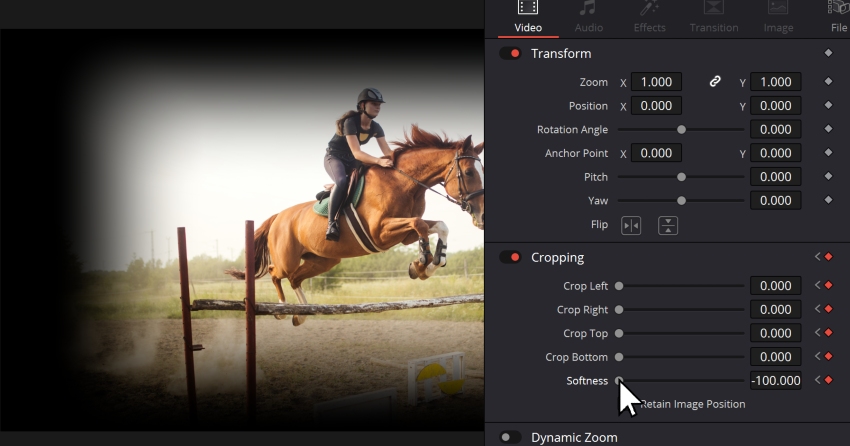


User increasing softness for how to crop video in DaVinci Resolve.
But what if you want to focus on a specific area in your video? That’s where the Transform menu comes in handy. Within this menu, you’ll find an option labeled “Zoom“. Contrary to what you might expect, adjusting the zoom doesn’t simply magnify your image. Instead, it effectively crops into your image, allowing you to highlight a particular area. This technique is incredibly valuable when you want to draw attention to a specific object or person in your video.
If you’re new to video editing, all of this might seem a bit daunting. But with practice, you’ll find that cropping in DaVinci Resolve becomes second nature. As you continue to develop your skills, consider subscribing to Envato Elements. With access to millions of pieces of professional-grade digital content, it’s a resource that can truly take your video editing projects to the next level.


User clicking zoom settings for How to crop video in DaVinci Resolve.
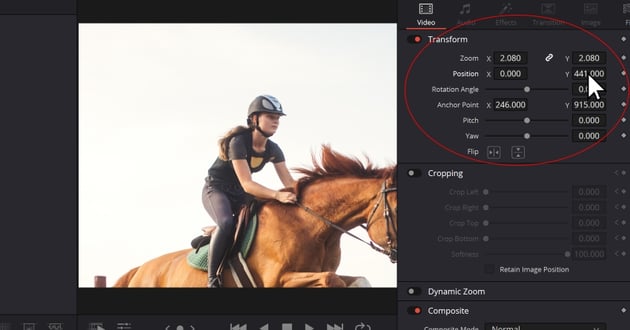
In the Inspector Window, you’ll find a setting labeled “Zoom“. Here, you can manually type in a number for the zoom, with higher numbers resulting in a closer zoom. Alternatively, you can adjust the zoom by clicking and holding on the number and dragging it up or down. This method allows you to visually see the changes as you make them, which can be helpful for beginners.
However, if you want more control over your zoom, DaVinci Resolve offers the dynamic zoom feature. This powerful tool allows you to specify the area you want to zoom in on, making it ideal for highlighting specific elements in your video. To use this feature, select the Dynamic Zoom option in the Inspector Window, then define the start and end frames of your zoom on the viewer.
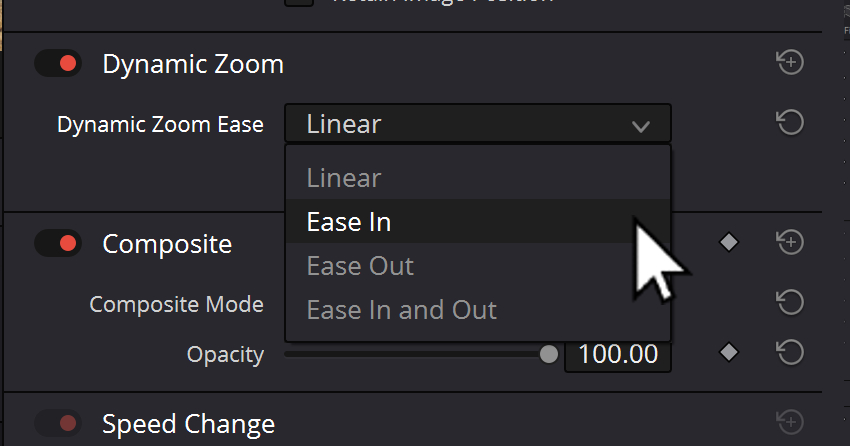
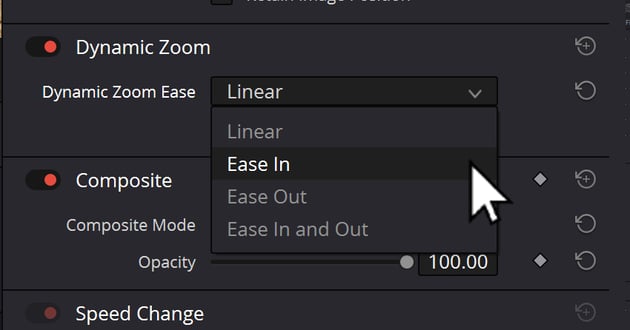
User activating dynamic zoom for DaVinci Resolve tutorial to crop video.
But what if you want to zoom in on a moving object? For this, DaVinci Resolve has a tracking feature. With this, you can track a specific object throughout a clip and keep it in focus while the rest of the video zooms in or out.
To track an object, you want to first select the clip you would like to work with, and move your playhead to the exact moment you want to start, In the ‘Inspector‘ tab, adjust your zoom settings, then click on the diamond next to ‘Transform‘. This starts your first keyframe.
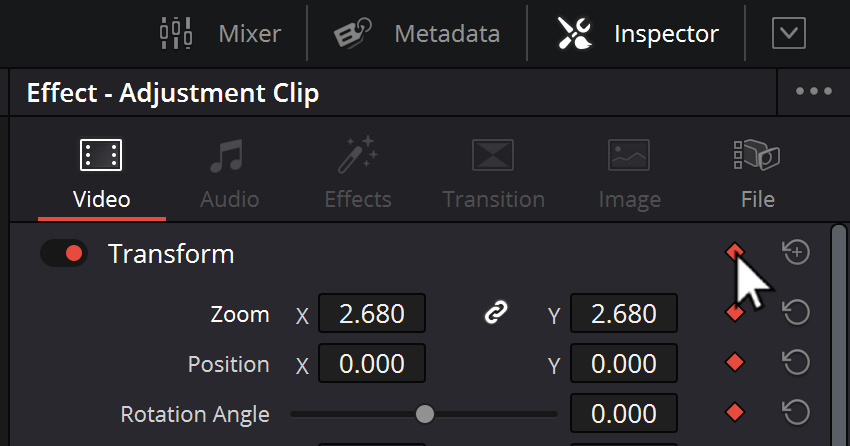
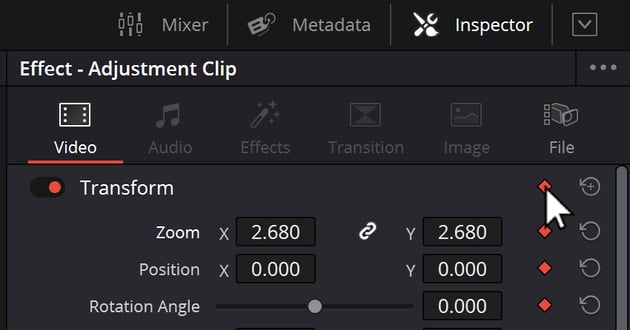
User clicking on key frame start for DaVinci Resolve crop and zoom tutorial.
This starts the keyframe of the transformation. Then press the ‘Right-Arrow‘ on your keyboard to move forward, frame-by-frame, until something substantial changes. Repeat the process until you have completed all the frames of your zoom.
Mastering the art of zooming in DaVinci Resolve might seem daunting at first, but with a little practice, you’ll soon be able to add dynamic and engaging zoom effects to your videos. And remember, the key to great video editing lies not just in the technical skills, but also in the resources you use. That’s where Envato Elements comes in. With access to millions of pieces of professional-grade digital content, it’s a one-stop shop for all your video editing needs.
Tips and Tricks
Learning to crop and zoom effectively takes practice. Here are a few tips to improve your skills:
- Experiment with Different Values: Don’t be afraid to play around with different cropping and zooming values. Experimentation will help you understand how each parameter affects your final video.
- Use Adjustment Clips: These allow you to apply effects without altering the original clip. This is especially useful when you want to apply the zoom effect to specific parts of your video.
- Master Shortcuts: Learning keyboard shortcuts can significantly speed up your editing process. For instance, Shift+9 opens the Project setting menu.
Conclusion
Cropping and zooming are essential skills for any video editor. Mastering these techniques in DaVinci Resolve can greatly enhance the quality of your videos, making them more engaging and visually appealing. Remember, practice makes perfect, so don’t be discouraged if you don’t get it right the first time.