
In this tutorial about Affinity Designer 2, we’ll learn what an artboard is and how you can easily add and customize one. We’ll also go over how to add reference images, which we’ll use later in the course.
If you like design video tutorials, check out the complete Affinity Designer 2 course from the Tuts+ YouTube channel or the Affinity Designer for Beginners course page.
Watch the Lesson: Artboards and References

1. What Are Artboards in Affinity Designer?
First, let’s talk about what exactly artboards are in Affinity Designer.
- Artboards help you turn a single-page document into a multi-page, multi-product project. They’re useful if you’re working on a branding concept, social media posts, campaigns, or book covers, just to name a few examples.
- Their size can be based on presets or customized to your particular needs.
- You can move, resize, and rearrange artboards just like any other object.
- You can export artboards individually or print them together or separately, but they’re saved together in their parent document.
2. How to Create a New Document

On the first lesson of this course, we got to know the Affinity Designer interface. Now, to learn about artboards in Affinity Designer, first we’ll need to create a document, and we’ll go from there.
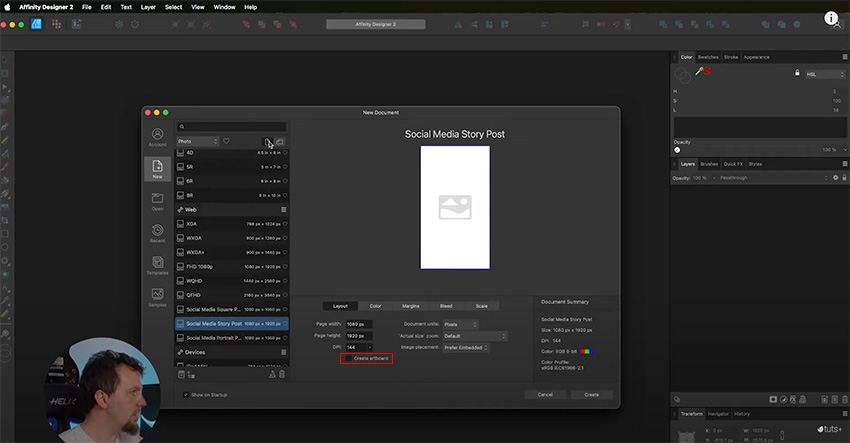
Go to File > New and select the web presets. In this course, we’ll be creating a social media post, so scroll down to Web and select Social Media Story Post. Set it to Portrait orientation. Leave the settings at their defaults and click Create.
There’s a checkbox at the bottom to create an artboard as well. We’ll leave it OFF since we’ll learn how to create an artboard once we start the document.
3. How to Create an Artboard in Affinity Designer
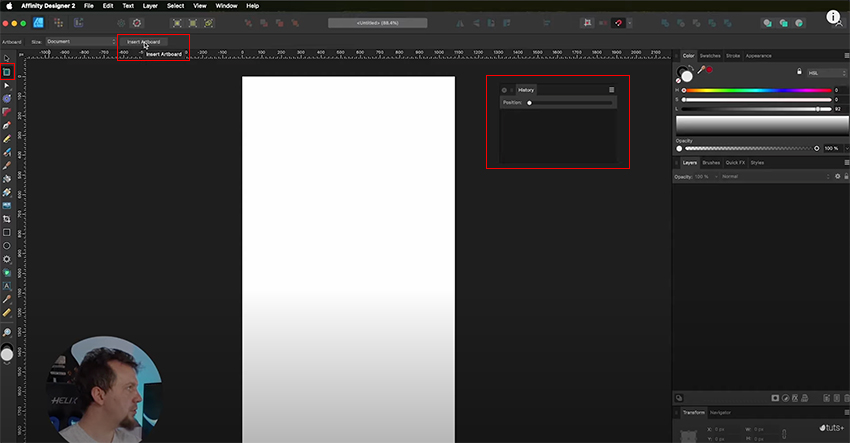

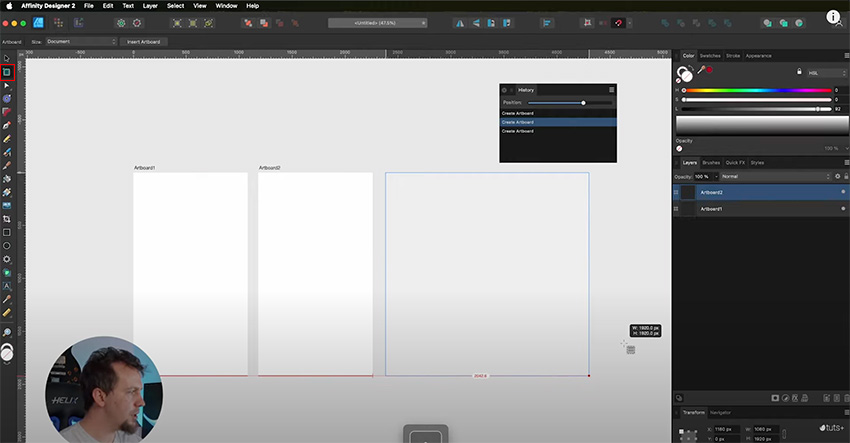
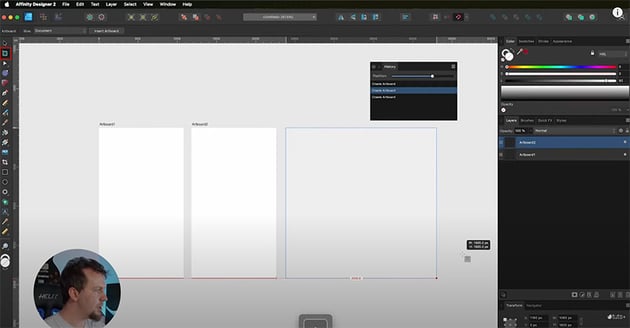
There are many ways to create an artboard. With the Artboard Tool from the left toolbar active, the fastest way is the Insert Artboard button located in the context bar.
You can click it multiple times, and it’ll create artboards in the same dimensions as the document default.
The History panel can be very useful to keep track of what you’ve done in your document. You can drag it from the bottom right corner to the work area to keep it in sight.
4. How to Resize an Artboard in Affinity Designer
To create a custom-sized artboard, select the Artboard Tool from the toolbar and just click and drag the cursor to create it. Hold Shift while creating it to keep it proportional to your existing artboards.

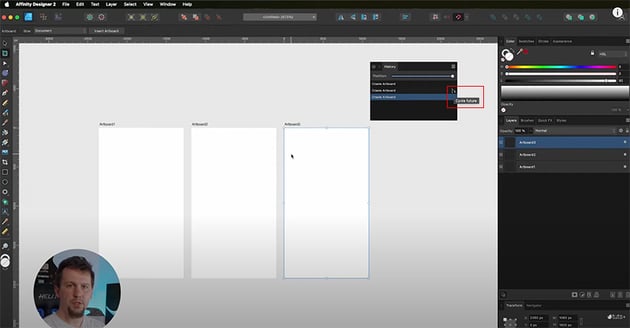

Use the Cycle Future option on the History panel if you want to explore and choose a different version of a change you’ve done.
In this project, I deleted the last artboard and created a different custom one. With Cycle future we can go back and choose which version we want to go forward with.
5. How to Add Reference Images


To show you how to add reference images, I’ll go back in the History panel to work with only one artboard.
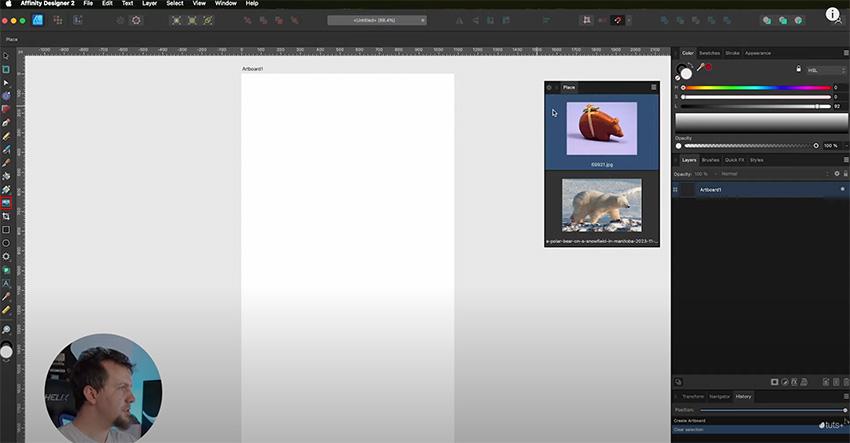
Click on the Place Image tool in the left toolbar, and this will open a window where you’ll select the images.
Select all the images and click Open. They will be placed in a stack where you can select which image you want to place. As you click and drag to place them, they’ll be removed from the queue.


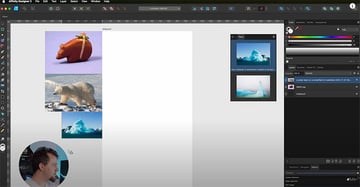
If you simply click once on the artboard, this will add the image directly there at full size. To avoid this, click on the image, and then click and drag to create a box outside the artboard to control the size of the image you’re placing.


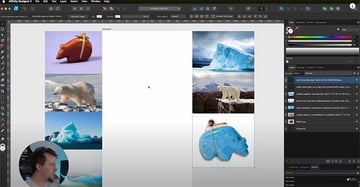
Once we’re done placing the images around the artboard, we can start working with them as we wish. In the following tutorials, we’ll cover how to use different tools on these images.
Explore More Affinity Designer 2 Tutorials and Resources
Here we learned how to add artboards in Affinity Designer, how to create multiple artboards in Affinity Designer, and how to add reference images. This knowledge will be useful for all your future projects! Don’t forget to check out the following articles on Envato Tuts+ and the Envato blog to learn more about this awesome software.