
Washed out matte effects seem to be really popular in the Photography scene at the moment. These effects look particular cool when combined with warm vintage tones to add a classic nostalgic feeling to your images. Follow this step by step tutorial to process and transform your shots in Photoshop to create a warm washed out vintage matte effect using non-destructive editing.
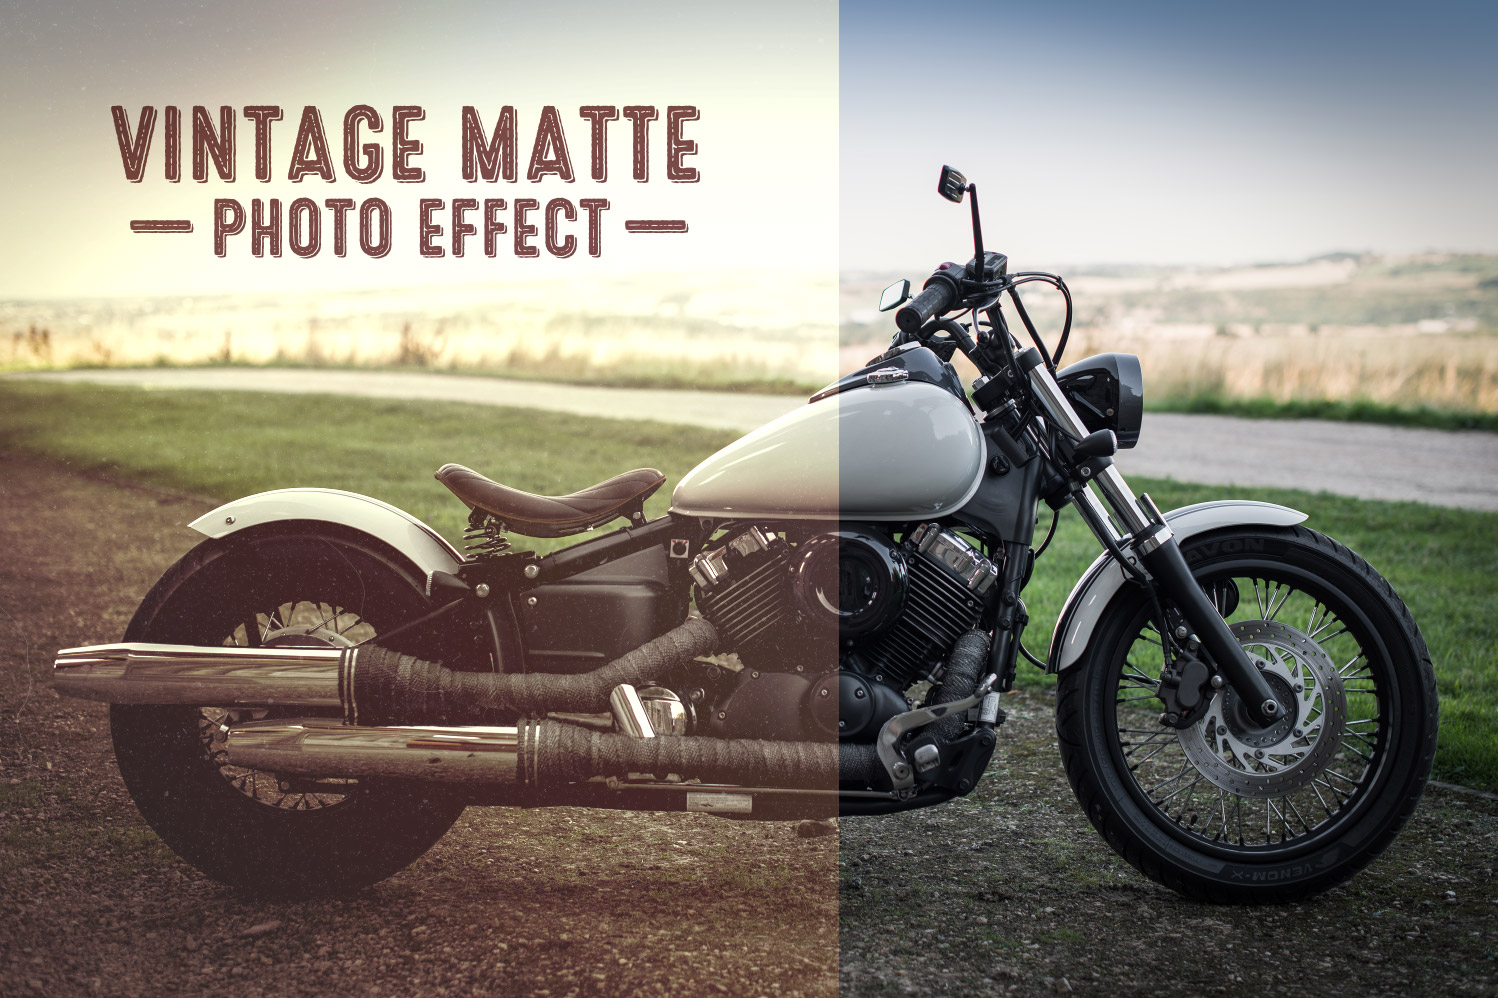
The photo effect we’ll be creating gives your images a warm colour cast with washed out contrast, taking inspiration from early analogue films. The effect is produced by building up Photoshop’s adjustment layers and blending modes to stack multiple levels of manipulation.
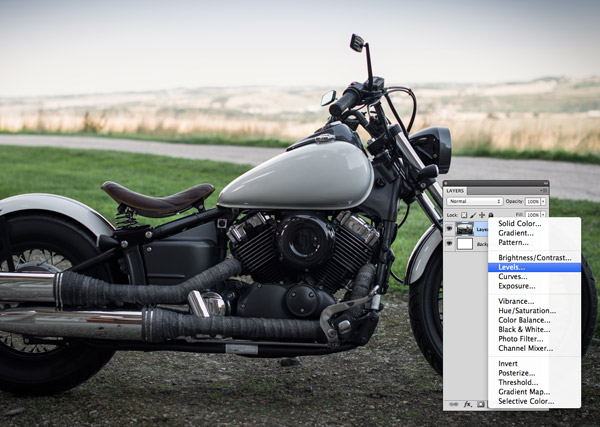
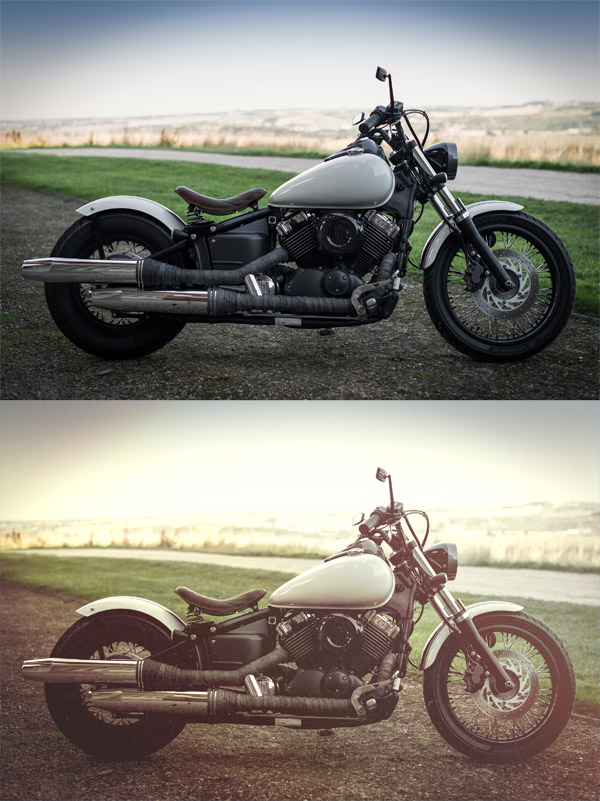
Open up your base image in Photoshop. I’m using a photograph of my motorcycle for this tutorial. By default it has realistic colours and contrast, but a vintage matte effect would complement the classic styling of the bike nicely. Begin by adding a Levels adjustment layer by selecting the option from the adjustment layer icon at the bottom of the Layers panel.
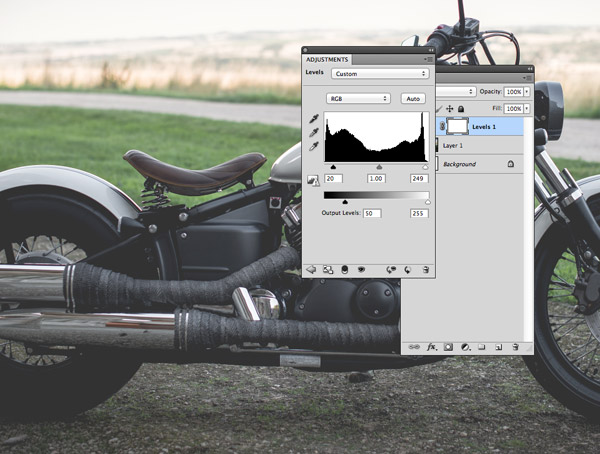
Drag the black handle for the Output Levels slider inwards to reduce the contrast and wash out the shadows of the image. Tweak the highlights and shadows in the normal Levels histogram to bring back some darkness to the blacks and brighten the whites.
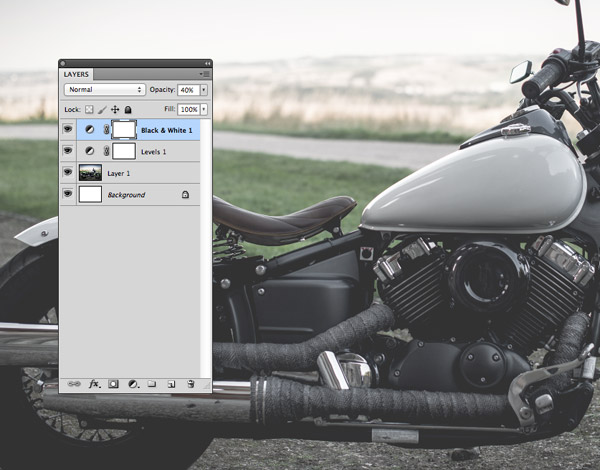
Next, add another adjustment layer. This time select the Black and White option. Leave the default options but reduce the opacity of the layer to around 40% in order to allow some of the original colour to show through, adding to the washed out look.
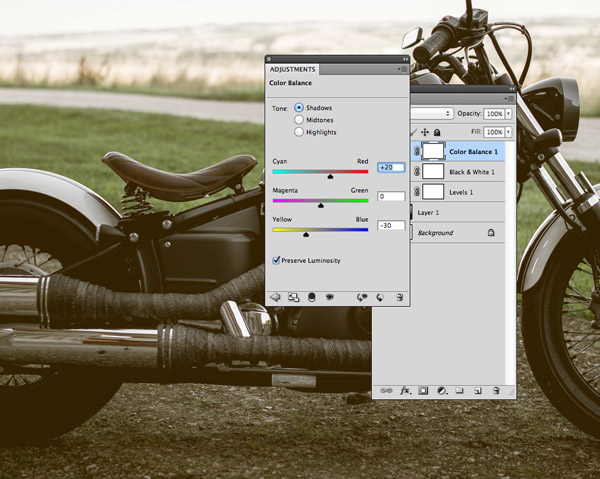
Apply some warm tones to the image by adding a Color Balance adjustment layer. Start with the Shadows selection and increase the Reds to around +20 while adding more Yellow at around -30. Make sure the Preserve Luminosity option is checked to achieve the best result.
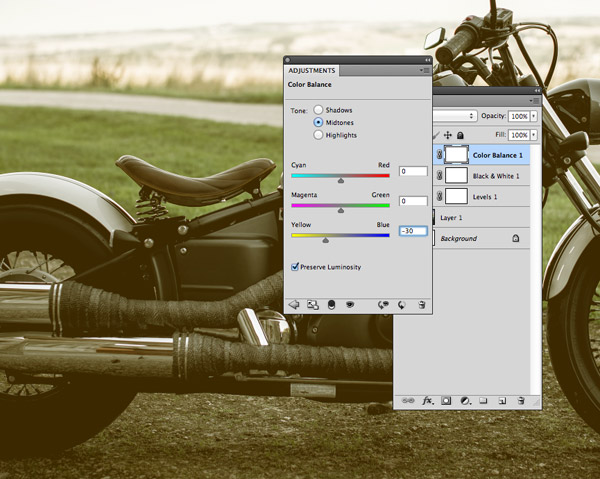
Switch over to the Midtones and Highlights selections and increase the Yellow to +30 on these channels to really warm up the image with golden tones.
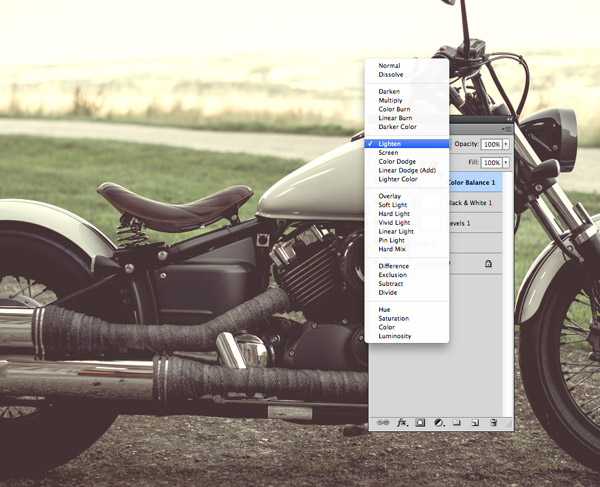
Change the blending mode of the Color Balance layer to Lighten to allow the yellows to interact with the original tones, warming up the entire image.
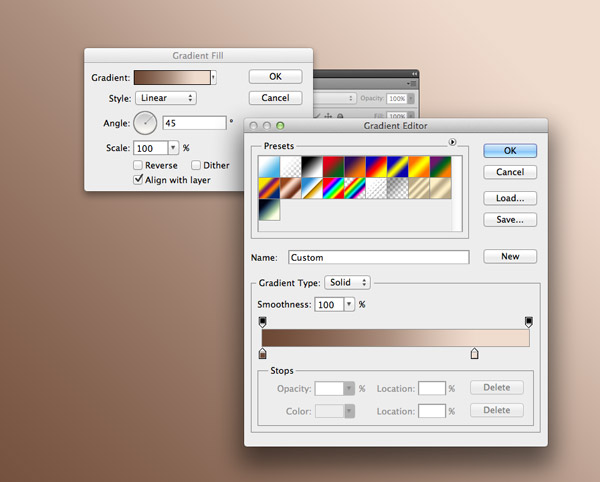
We can add more golden tones by adding a gradient overlay using mid to light brown colours. Here I’ve selected #5b3c2c and #efdbcd. Adjust the angle to 45° to flow the gradient diagonally across the canvas.
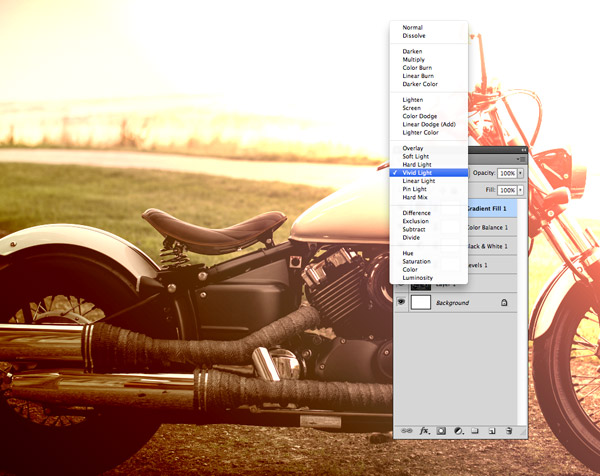
Change the blending mode of the Gradient layer to Vivid Light to allow the brown tones to add vibrant highlights to the image.
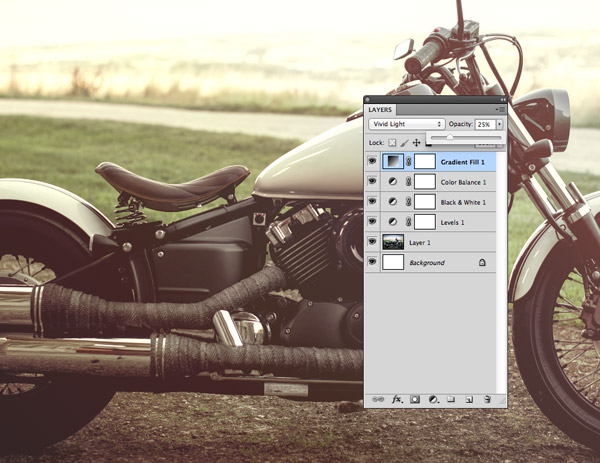
Reduce the opacity of the Vivid Light gradient to tone down the effect and leave a subtle colour cast.
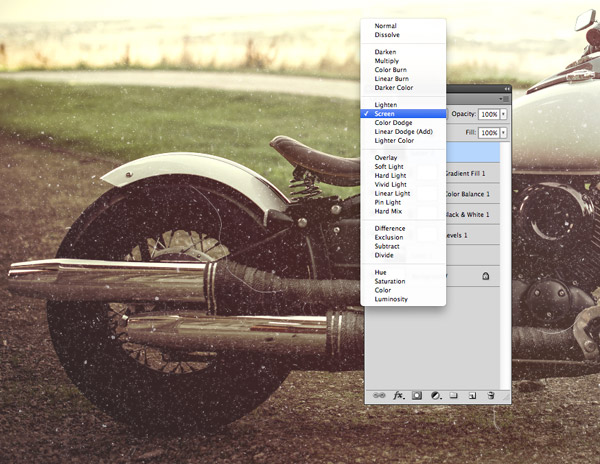
No vintage effect would be complete without some grit & grain to give the image an old, aged look. Download and open one of my free dust & scratches textures. Change the blending mode to Screen to render the black background transparent, then reduce the opacity to 30% to leave subtle distress marks.
The final vintage matte effect gives the image a much more traditional look with washed out, warm golden yellow and brown tones. Each step of this effect is created using adjustment layers, so the individual manipulations can be fine tuned to provide the best result for your image.