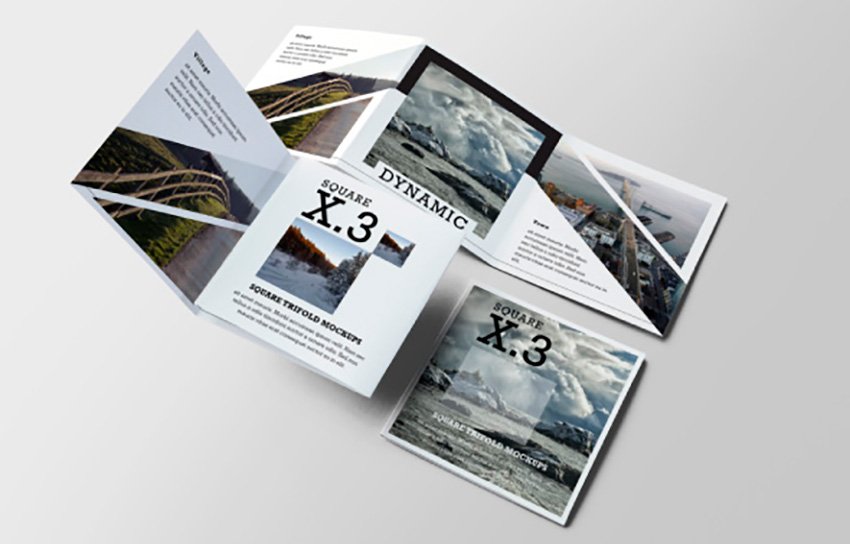
If you’re looking to present your latest design project or establish a portfolio of your work, a good square trifold brochure mockup is a fantastic start! You’ll learn everything you need to know in this easy-to-follow square brochure mockup tutorial and will walk away with design skills that you can apply straight away.
In this mockup brochure square tutorial, you will learn how to create a brochure mockup from scratch in Adobe Photoshop. You get familiar with smart objects and adjustment layers and learn how to create a realistic page turn effect.
If you want to skip the tutorial and get right to the good stuff, grab a square PSD mockup from Envato Elements, like this one. Let’s jump into the tutorial so that I can teach you how to create a brochure mockup in Photoshop.


What You’ll Learn in This Square PSD Mockup Tutorial
- How to set up smart objects
- How to create the pages for a square brochure mockup
- How to mockup a page turn effect
1. How to Set Up Smart Objects
Step 1
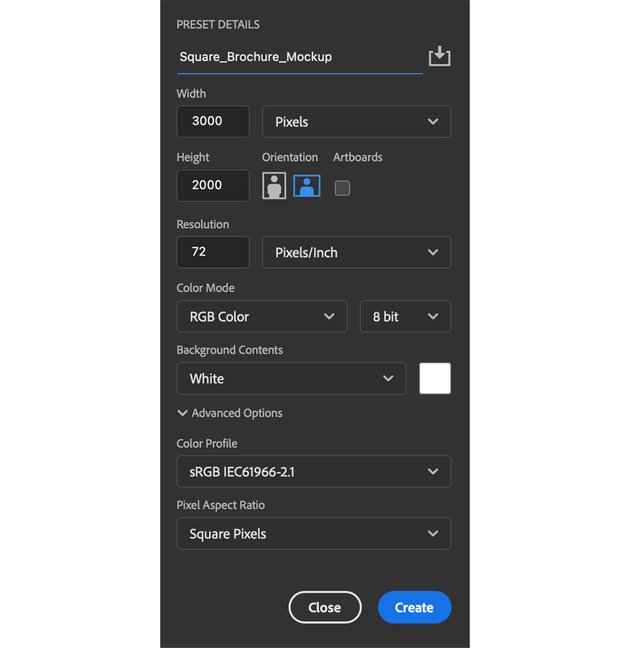
Open Photoshop and create a new document, File > New. Name this file Square Brochure Mockup.


Step 2
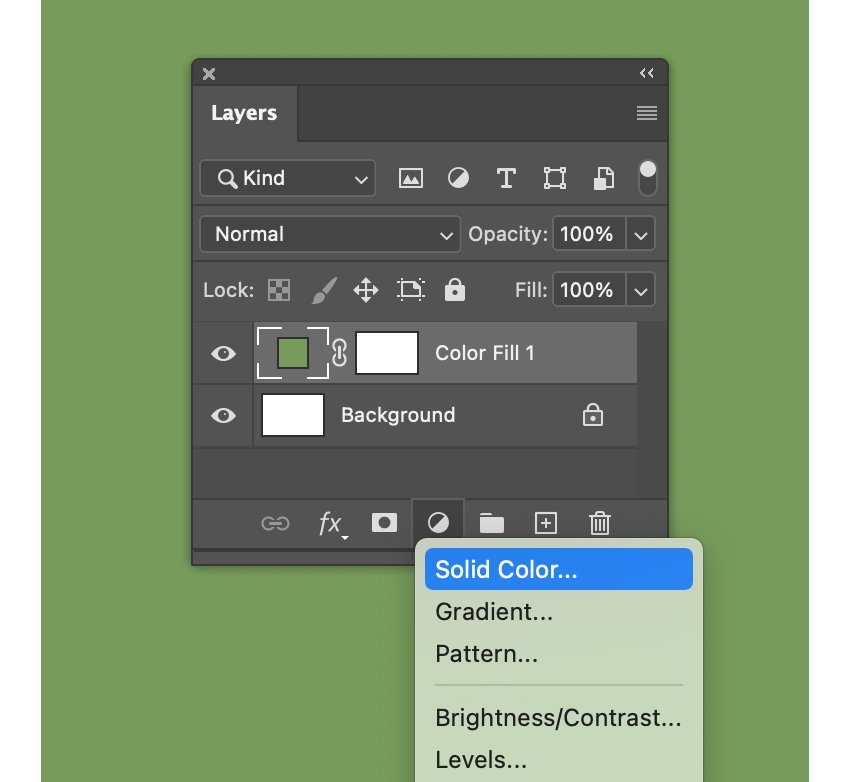
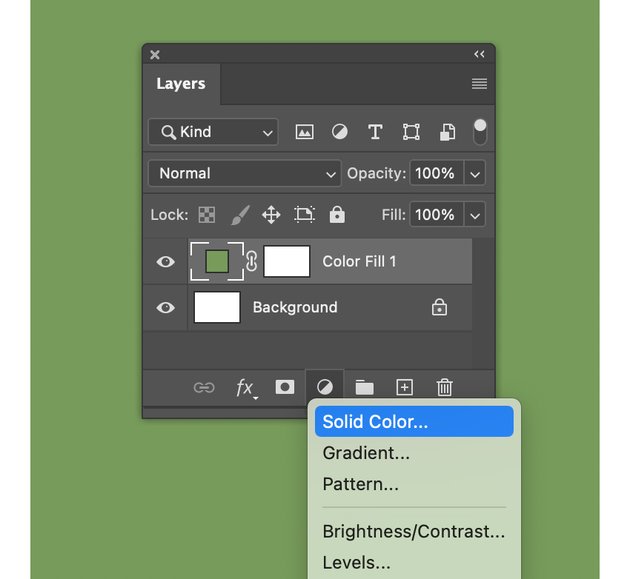
Create a new Solid Color fill adjustment layer for our square catalog magazine mockup using the color #779b5b.

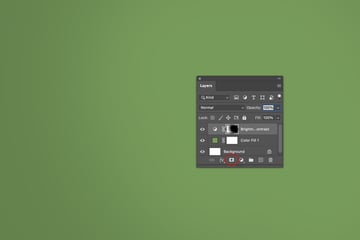
Step 3
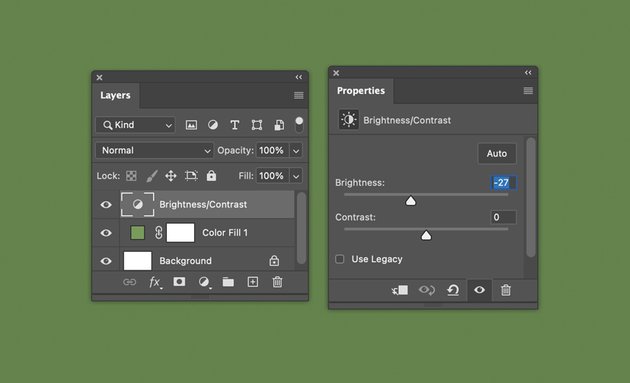
Add a Brightness/Contrast adjustment layer in the Layers panel. Change the Brightness to -27 and leave the Contrast at 0.


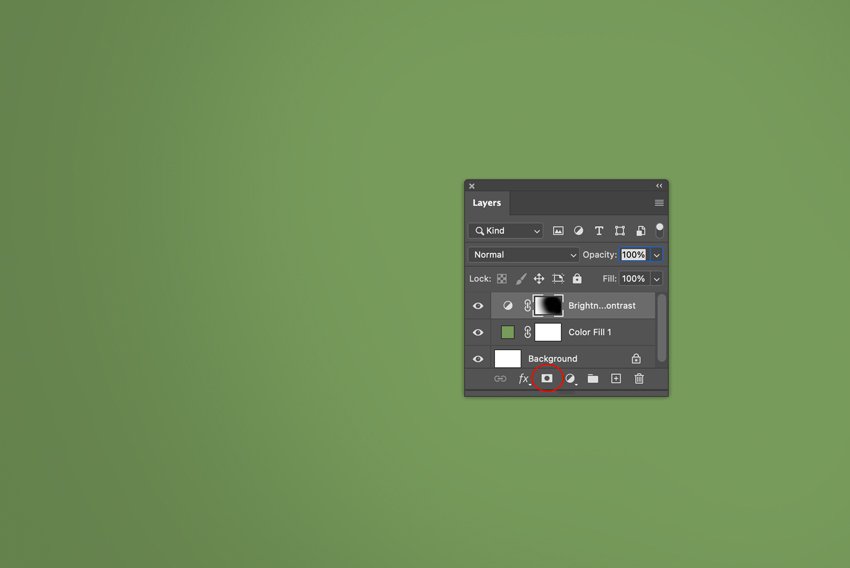
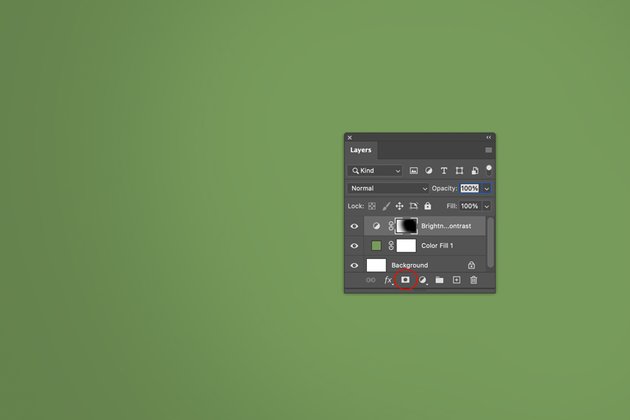
Step 4
Create a layer mask (highlighted in red) and use the Brush Tool (B) to mask out the upper right corner of the canvas. Use a 2000 px soft brush.
2. How to Create the Pages for Your Square Brochure Mockup
Step 1
Create a 2400 px x 2400 px square using the Rectangle Tool (U). Name this layer Cover. Right-Click the Cover layer and Convert to Smart Object. Resize the Cover layer by 40% by pressing Command-T.


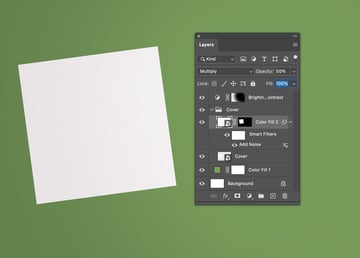
Step 2
Place the Cover layer into a group (folder icon) in the Layers panel. Create a new Solid Color adjustment layer and fill it with #ffffff. Right-Click this Solid Color layer and Convert to Smart Object. Go to Filter > Noise > Add Noise and change the Amount to 7% and Distribution to Gaussian, and make sure Monochromatic is checked.


Step 3
Make an active selection from the Cover layer by Command-Clicking the Cover thumbnail in the Layers panel. Select the Color Fill layer that we just added noise to, and create a layer mask. Change the layer mode to Multiply and the Opacity to 50%.


Step 4
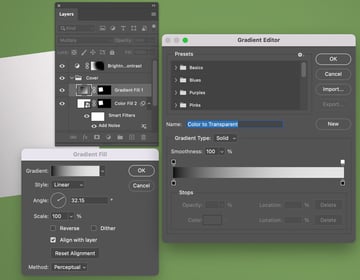
Create a new Gradient Fill layer above the Color Fill. Change the layer mode to Multiply and the Opacity to 24%. Use the color #0c0b0b and create a transparent gradient.


Step 5
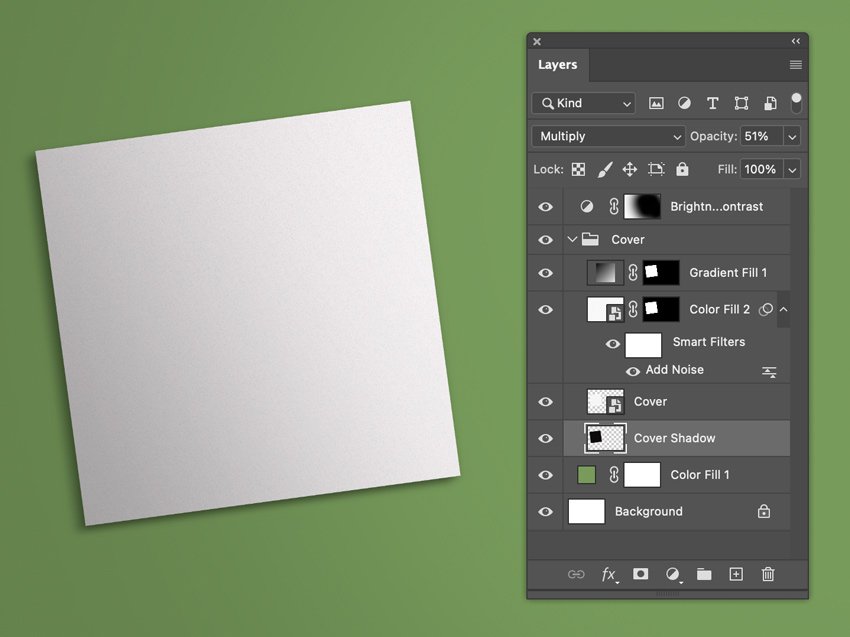
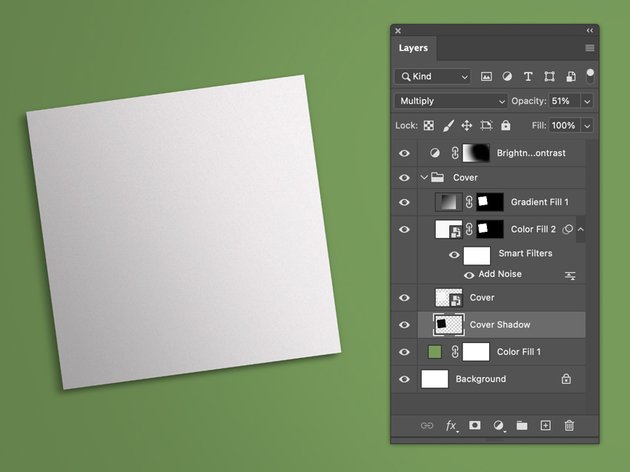
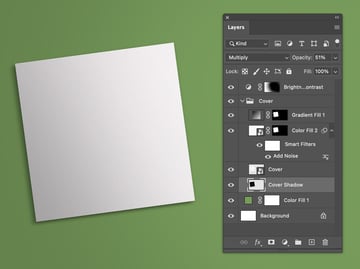
In our mockup brochure square template, create a new layer underneath the Cover layer and name it Cover Shadow. Make a selection from the Cover thumbnail and fill it with #0c0b0b. Go to Filter > Blur > Gaussian Blur and change the radius to 9 px. Add a Motion Blur by going to Filter > Blur > Motion Blur. Change the Angle to 23° and the Distance to 42 px. Change the layer mode to Multiply and change the Opacity to 51%.
Step 6
Create another 2400 px x 2400 px square using the Rectangle Tool (U). Name this layer Inside Left. Right-Click the Inside Left layer and Convert to Smart Object. Resize this layer 40% by pressing Command-T.

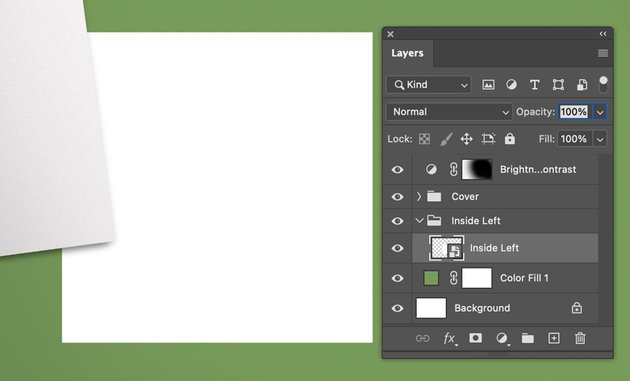

Step 7
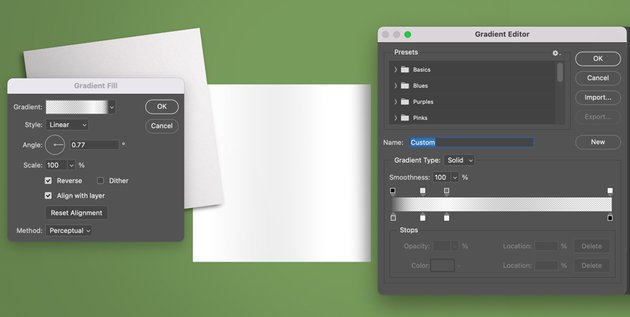
Add a Gradient Fill adjustment layer using these settings:
- Style: Linear
- Angle: 0.77
- Scale: 100%
- Reverse: Checked
- Align with layer: Checked
- Method: Perceptual
- Color Stop #1:
#636362(Opacity 100%) - Color Stop #2:
#ffffff(Opacity 16%) - Color Stop #3:
#ffffff(Opacity 65%) - Color Stop #4:
#0c0b0b(Opacity 0%)
Change the layer to Multiply with an Opacity of 49%. Add a layer mask by selecting the Inside Left layer thumbnail, and select the mask icon in the Layers panel.


Step 8
Use the Rectangle Tool (U) and create a vertical rectangle (74 px x 960 px) and place it underneath the Inside Left layer. Move it a few pixels to the left and change the color fill to #e9e9e9.


Step 9
Repeat these last couple of steps by creating another 2400 px x 2400 px square and naming it Inside Right. Create a vertical rectangle layer, name it Left Pages, and change the color fill to #afafaf. Place the Left Pages layer underneath the Inside Right layer.
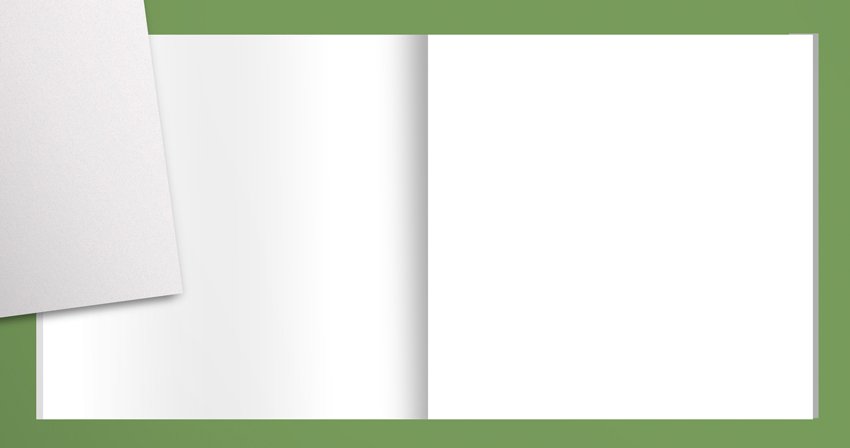


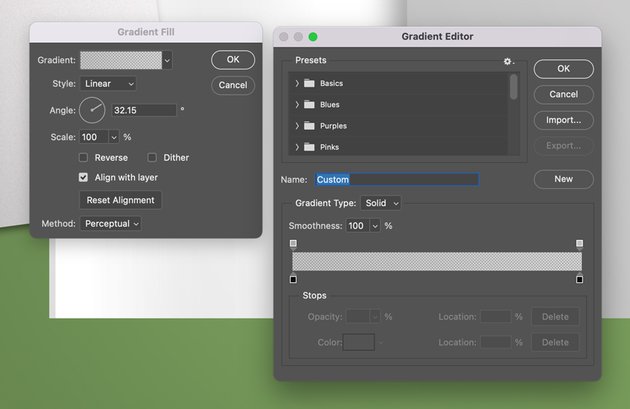
Step 10
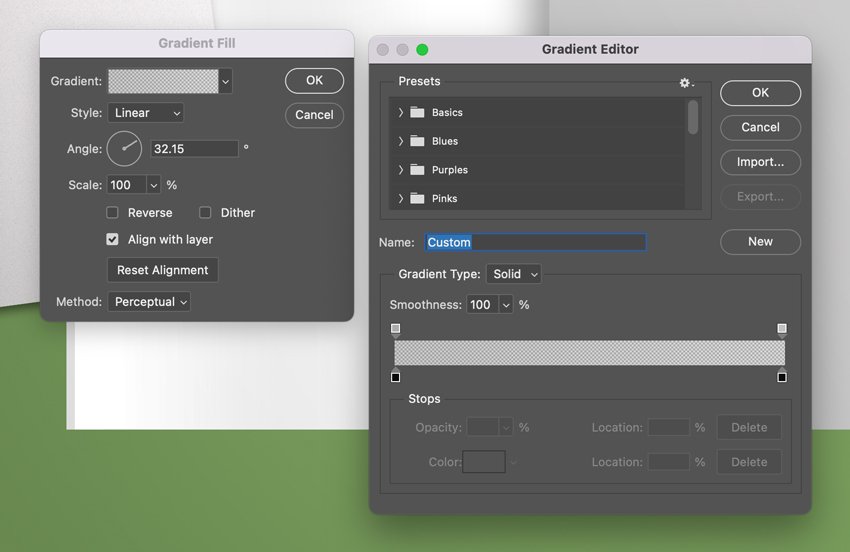
Create a Gradient Fill adjustment layer above the Inside Right layer. Use these settings:
- Style: Linear
- Angle: 32.15
- Scale: 100%
- Align with layer: checked
- Method: Perceptual
- Color Stop 1:
#0c0b0b– Opacity 40% - Color Stop 2:
#0c0b0b– Opacity 30%
Change this layer to Multiply with an Opacity of 65%.

3. How to Mock Up a Page-Turn Effect
Step 1
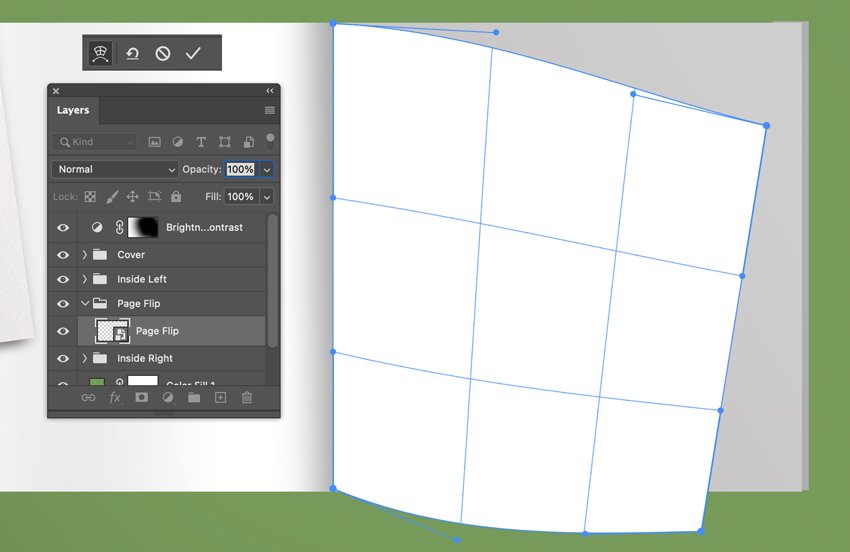
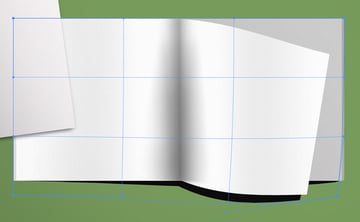
Create another 2400 px x 2400 px square using the Rectangle Tool (U). Name this layer Page Flip. Right-Click the Page Flip layer and Convert to Smart Object. Resize this layer 40% by pressing Command-T. Go to Edit > Transform > Warp and adjust the page flip so that it looks like the image below.


Step 2
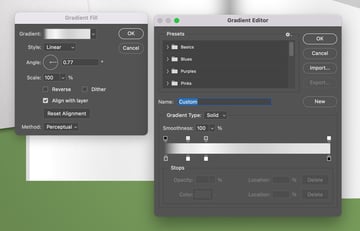
Add a Gradient Fill adjustment layer above the Page Flip layer and apply a layer mask. Use these settings:
- Style: Linear
- Angle: 0.77
- Scale: 100%
- Align with layer: Checked
- Method: Perceptual
- Color Stop 1:
#636362(Opacity 100%) - Color Stop 2:
#ffffff(Opacity 16%) - Color Stop 3:
#ffffff(Opacity 65%) - Color Stop 4:
#0c0b0b(Opacity 0%)
Change this layer to Multiply with an Opacity of 49%.


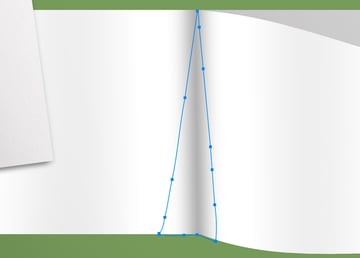
Step 3
Use the Pen Tool (P) and create a triangular shape in the center of the brochure mockup.
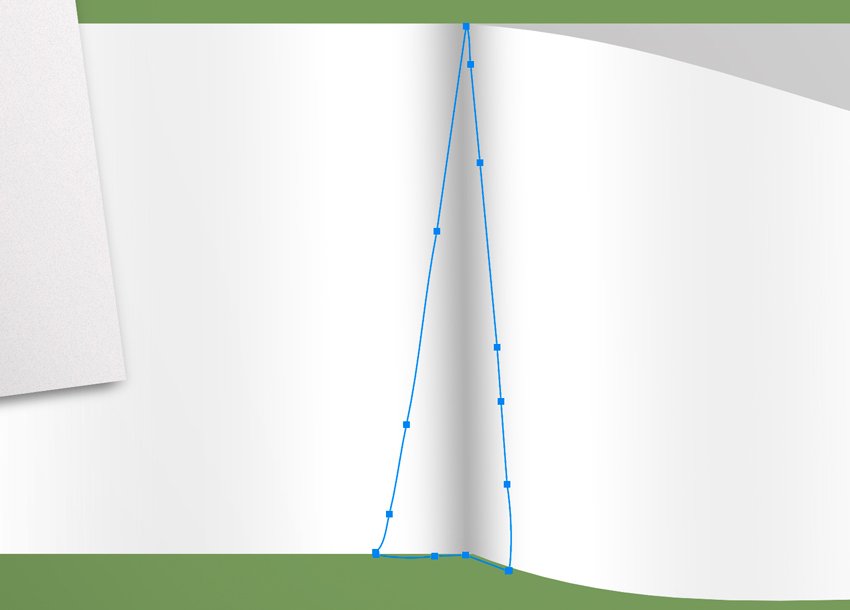

Step 4
Right-Click the pen path with the Pen Tool (P) and select Make Selection. Make sure the Feather Radius is set to 0 pixels and the Operation is set to New Selection. With a soft #0f0e0e 300 px brush, create a shadow down the center of the pages. Name this layer Center Page Shadow.


Step 5
Change the Center Page Shadow to Multiply with an Opacity of 50%. Apply a Motion Blur by going to Filter > Blur > Motion Blur. Use an Angle of 1° and a Distance of 222 pixels.


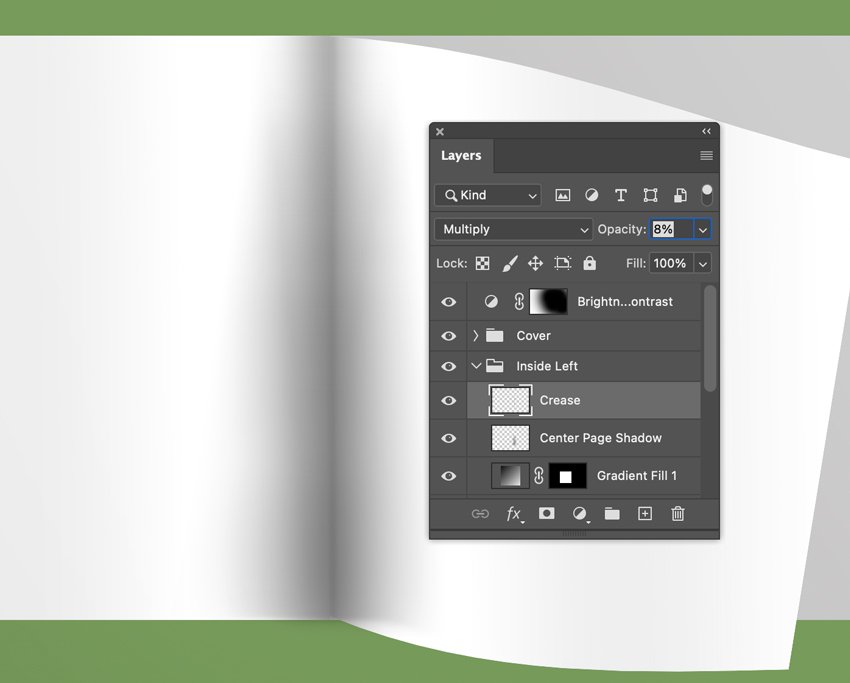
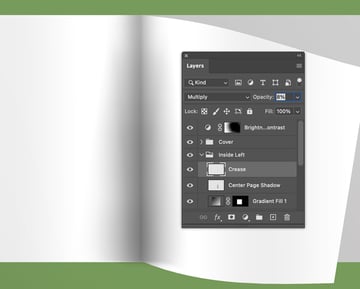
Step 6
Darken the center pages by creating a new layer and naming it Crease. Use a 20 pt #0f0e0e soft brush and make a vertical line straight down the center. Change the layer to Multiply and the Opacity to 8%.

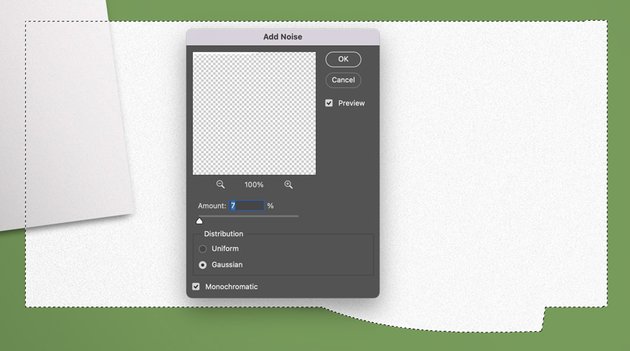
Step 7
Select all of the center pages by Command-Clicking each page’s thumbnail. Add Noise by going to Filter > Noise > Add Noise. Change the Amount to 7%; Gaussian and Monochromatic should be checked. Change the layer mode to Multiply with an Opacity of 50%.


Step 8
Select all of the pages again to make an active selection and create a new layer for the shadow. Fill this with #0c0b0b. Name this layer Shadows.


Step 9
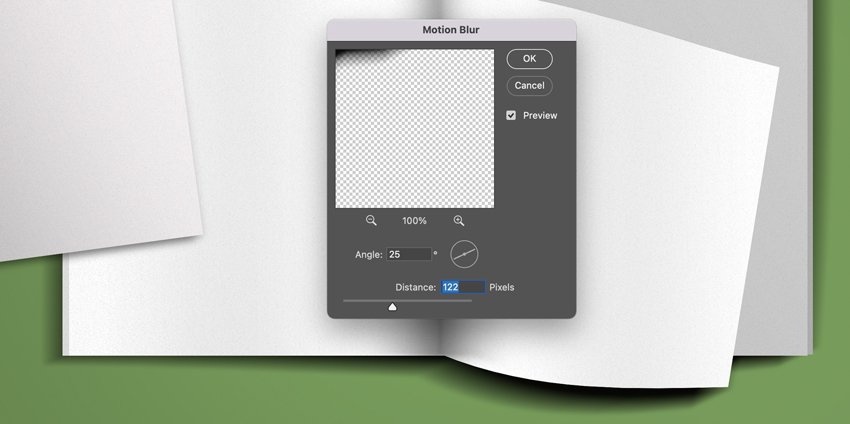
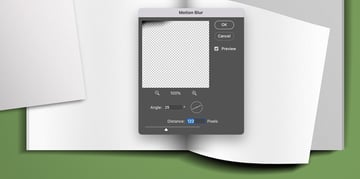
Change this layer to Multiply. Go to Filter > Blur > Gaussian Blur and change the pixels to 3.8. Apply a Motion Blur by going to Filter > Blur > Motion Blur and change the Angle to 25° and the Distance to 122 pixels.

Step 10
Change this layer’s Opacity to 50% and resize it (Command-T).
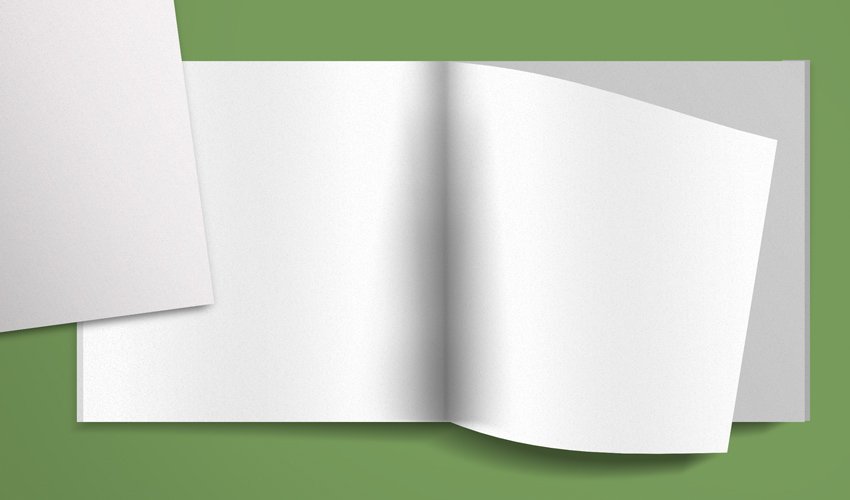


All Done!
Congrats! You just completed my tutorial on how to create a brochure mockup from scratch in Photoshop. Complete your square trifold brochure mockup by placing the pages of your square brochure inside each of the smart objects. Use this mockup to create your own square brochure mockups. You’ll be displaying those beautiful designs in no time.


7 Brochure Mockup Downloads
With this list of brochure mockups available on Envato Elements and GraphicRiver, you’ll be able to personalize your own square brochure mockup designs in seconds! Turn these professional-quality designs into a high-quality final product in no time. The best part? You get unlimited downloads! The possibilities are endless with this list of five brochure mockup downloads.
1. Brochure Mockup Vol. 3 (PSD)
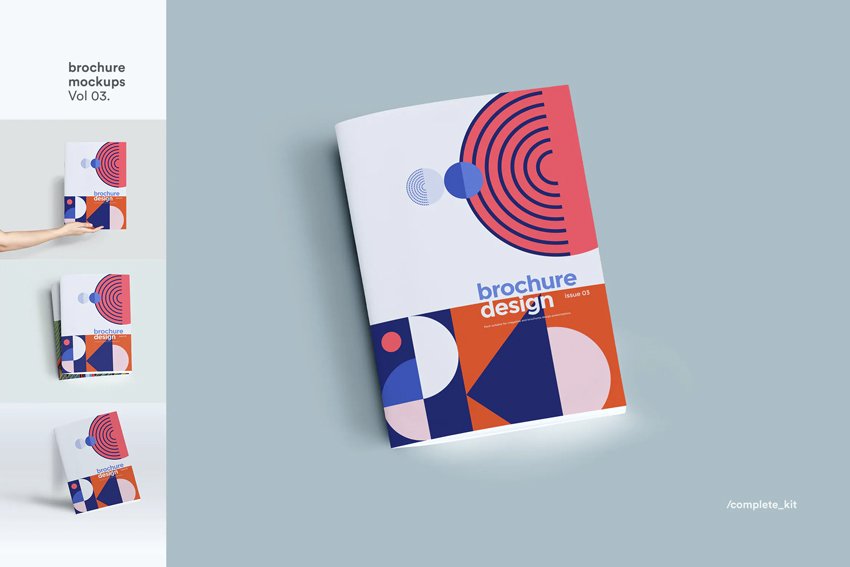


This brochure mockup is perfect for any designer looking to present their work in a beautiful, realistic way. You can customize the brochure mockup with your own designs using Photoshop. It’s an easy way to display your work and get feedback from clients or friends.
2. 4 Fold Square Brochure Mockup

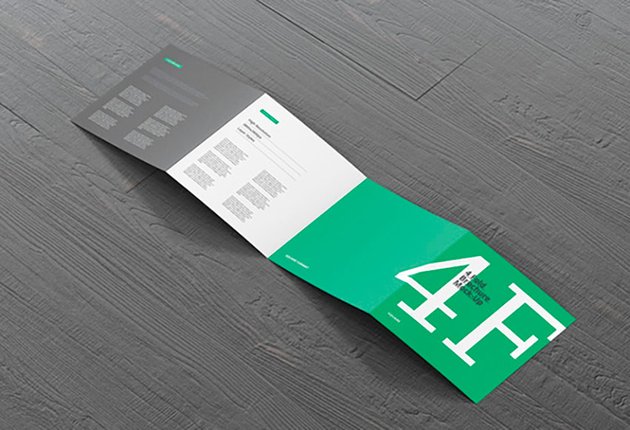

Creating your own 4-fold square brochure mockup from scratch can be a complicated process, but this template makes it easy. Just use the smart object placeholders to drop in your own content, and choose from the 11 layouts and three different backgrounds and styles provided.
3. Catalog Brochure Mockup (PSD)


A professional-looking product requires a professional-looking presentation. But it doesn’t end there. Designers need to make sure that their work is being seen in the best light possible, and that’s what this catalog brochure will help you accomplish.
4. Landscape Brochure Mockup (PSD)
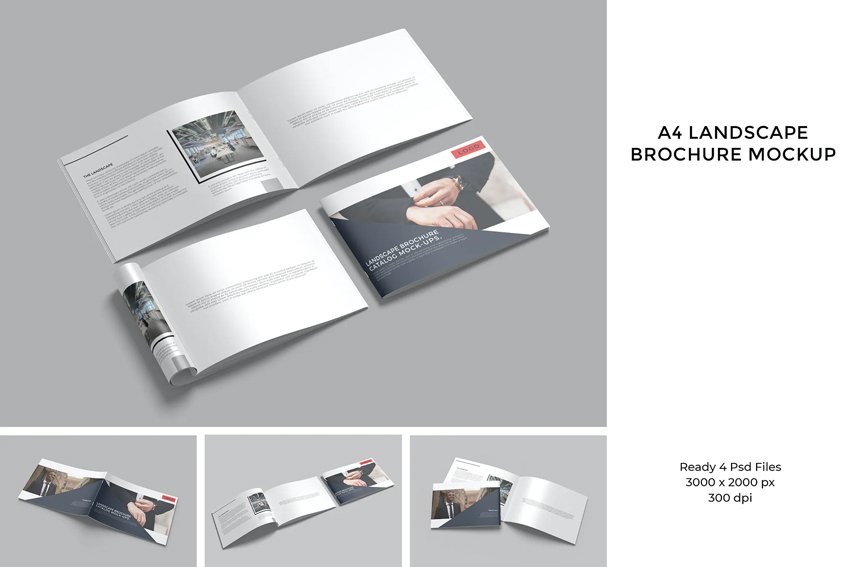
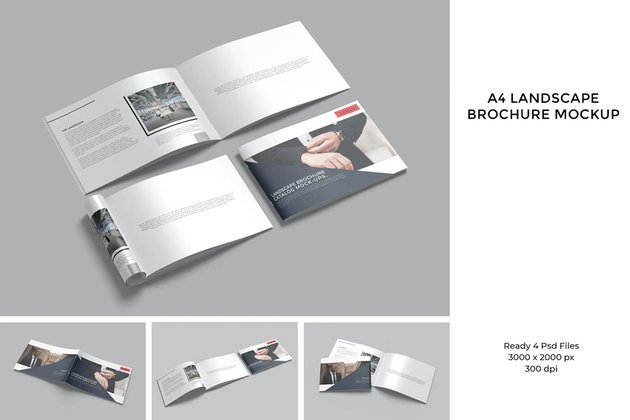
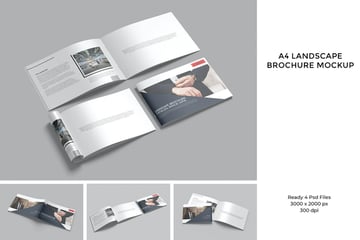
Customize your design and get the attention you want with a modern and professional landscape brochure mockup. It is easy to edit—just drag and drop your designs onto this template! Use this template to create a beautiful mockup for your brochure in no time.
5. Square Tri Fold Brochure Mockup
With seven positions and six backgrounds to choose from, this square tri-fold brochure mockup gives you so much flexibility to create the perfect way to show off your brochure design.
6. Square Brochure Mockup (PSD)

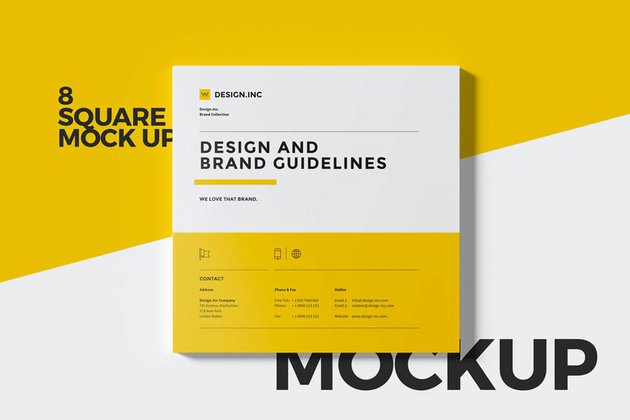
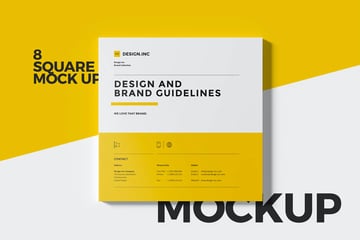
No more guessing if your design will be a success. Use this square catalog magazine mockup to customize and present your design in an appealing way. Edit this design in Photoshop, drag and drop your designs, customize the background color, and place your own text—it’s easy to use! Spend less time on designing and more time on selling.
7. Bifold Brochure Mockup (PSD)
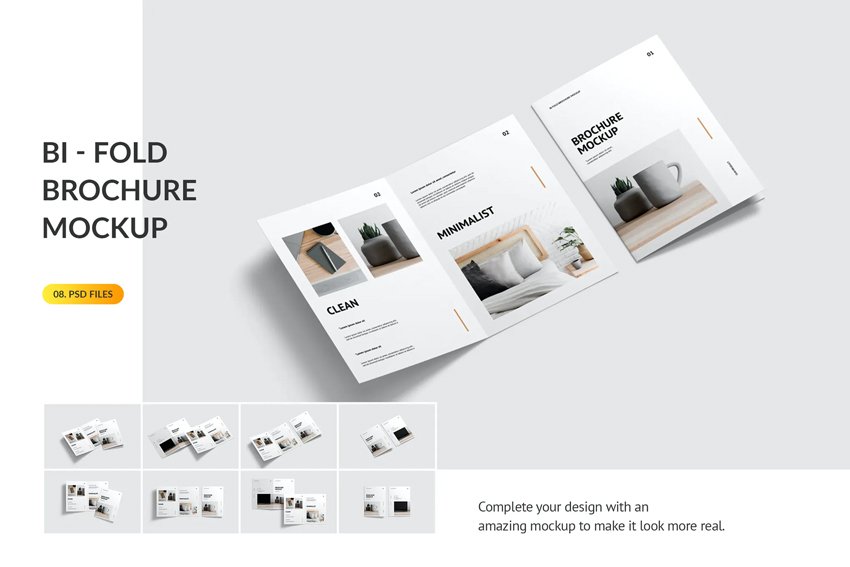
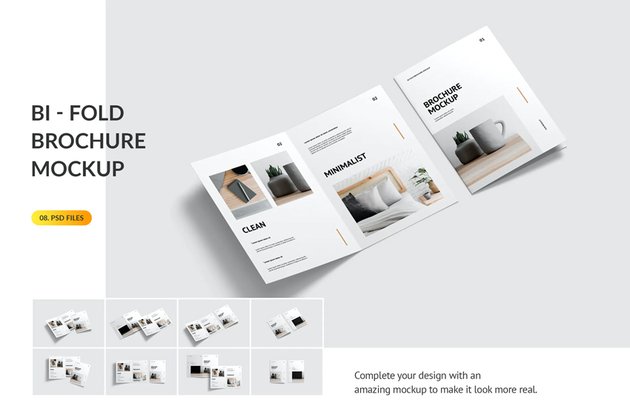
Start creating stunning brochures in less than five minutes. With this bifold brochure mockup, you can easily create and present your design in a professional, high-quality manner, without a designer’s help.
Create More Mockups With These Resources!
It can be frustrating searching the internet for hours on how to create something in Photoshop. No need to keep searching because this list of resources will help you advance your skills in no time.