In this quick tutorial, you’ll learn how to add page numbers in Affinity Publisher. Affinity Publisher can number pages for us—no need to do all that manually. It’s simple to insert a page number; Affinity Publisher makes the whole process a breeze.
But why bother with page numbering? Affinity Publisher can number pages for us, so we don’t have to do it page by page. When we add page numbers, Affinity Publisher can update and keep hundreds of pages number for us, all without any extra effort.
Ready to learn how?
1. How to Add Page Numbers in Affinity Publisher
Step 1
To fully take advantage of the Affinity Publisher page number functionality, you’ll need to work with a multi-page document. This demonstration uses this Affinity Publisher template.
Note, you can add page numbers in Affinity Publisher both to a Master Page and to a normal active page in your document. The process is the same for both. For this demonstration, we’ll do so within a Master Page.
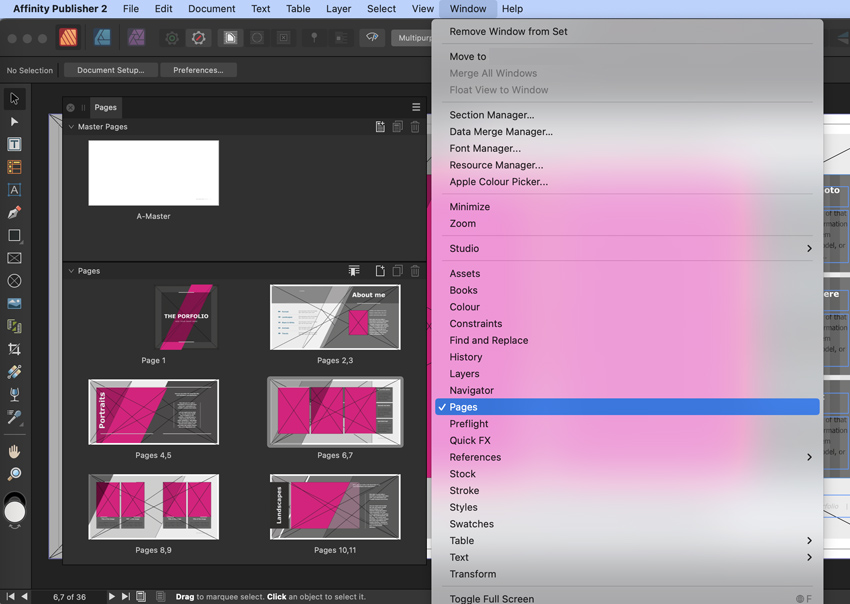
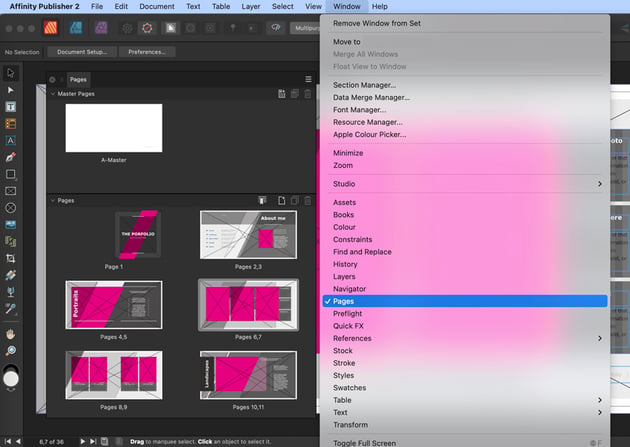
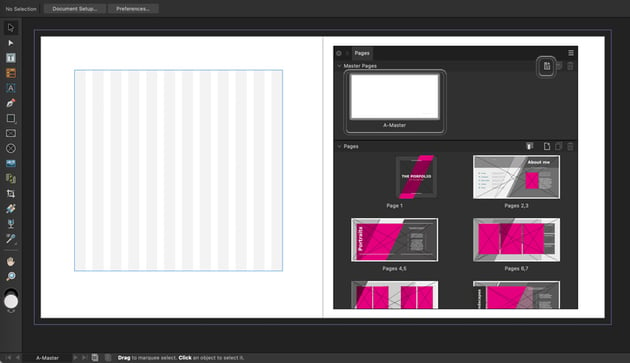
Begin by opening your Pages panel by going to Window > Pages. The Pages panel (shown below) gives us a thumbnail overview of all of the pages in our document.
This is where the Pages panel is located in Affinity Publisher 2. In older versions of Affinity Publisher, you can find it via View > Studio > Pages.
Step 2
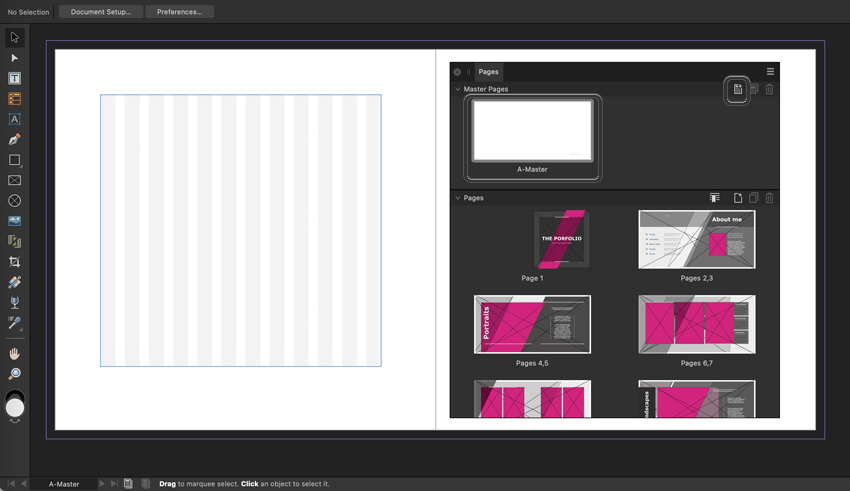
Your Master Pages are located at the top of the Pages panel. You can expand and contract this part of the panel.
Click on the Master Page thumbnail, in the Pages panel, to begin editing this Master Page.
If your document doesn’t have any Master Pages, you can add them in the Pages panel. Click on the Add Master button in the top-right corner.
Step 3
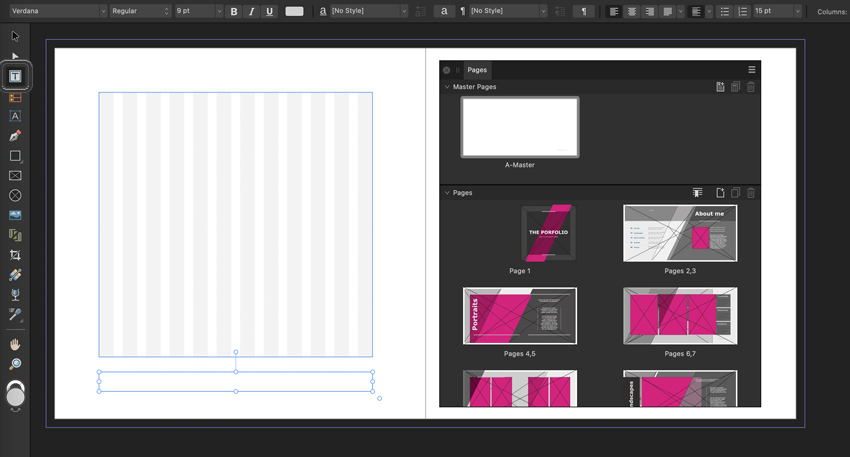
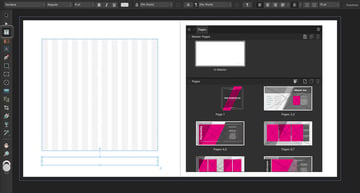
Start by selecting the Frame Text Tool in your Tools panel. Then, click and drag to create a new text frame. This is where we’ll insert our page number.
Step 4
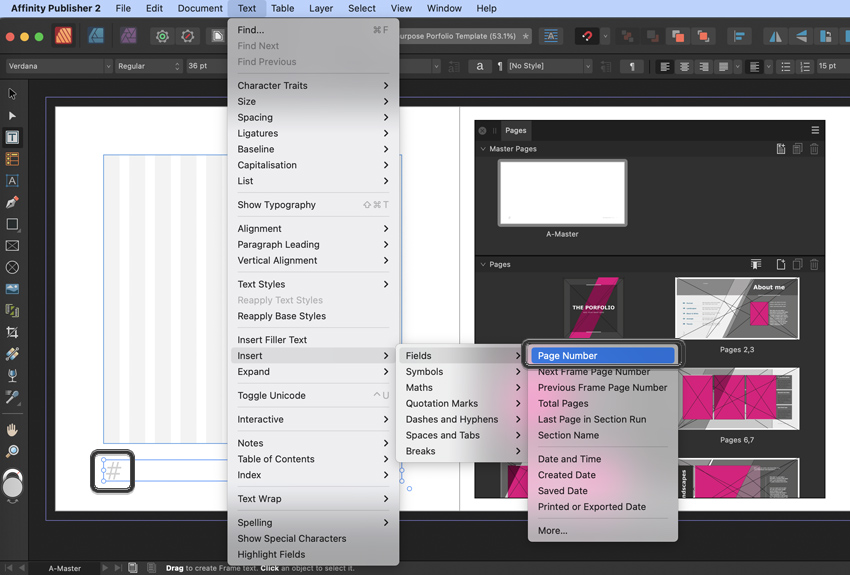
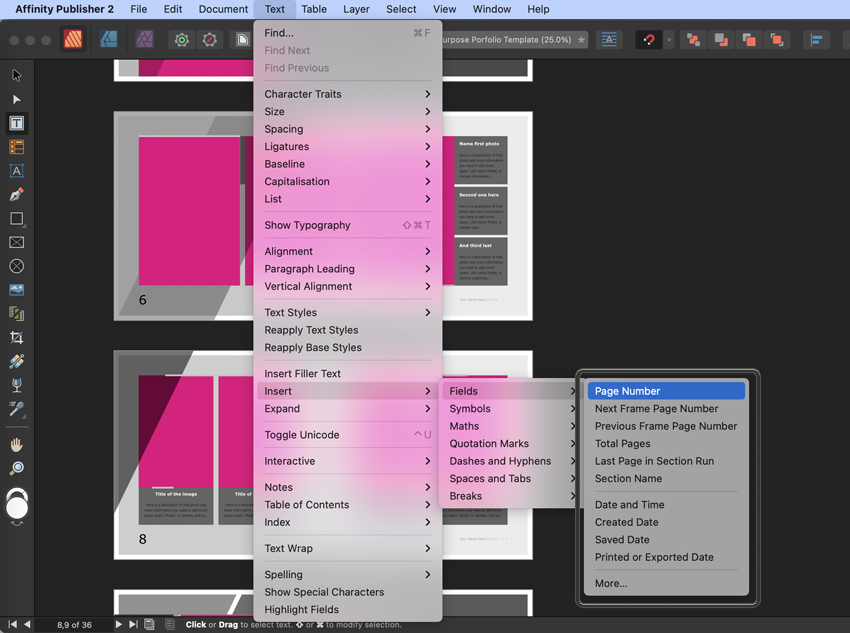
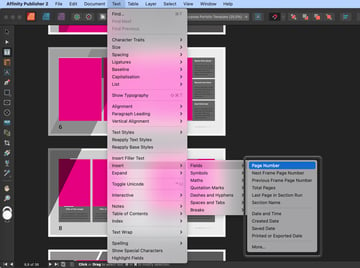
Next, with your text frame selected, go to Text > Insert > Fields > Page Number. This menu is where you’ll be able to insert a page number in Affinity Publisher.
Since this demonstration is in a Master Page, you’ll notice that the page number is displaying as “#”. This is because we’re editing a Master Page in Affinity Publisher. Page-number-specific content will appear on each respective page. You can style this text just as you would other text in your document.
Step 5
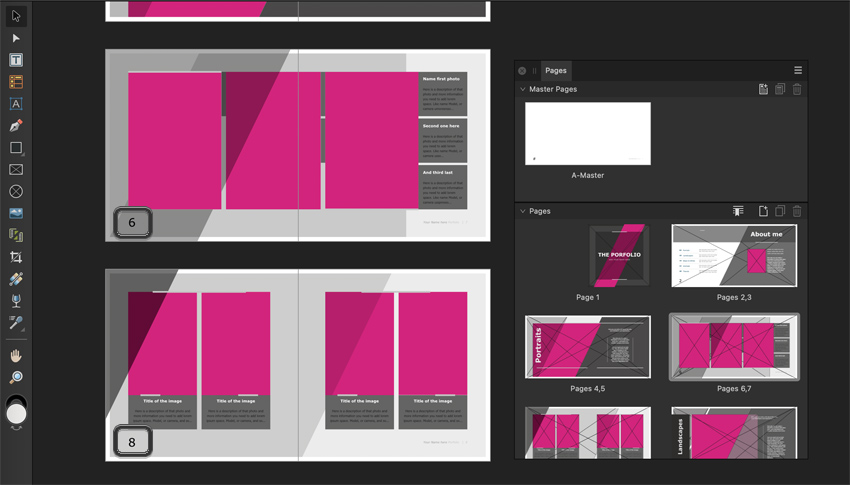
Here’s what this looks like on the active pages that rely on this Master Page. Affinity Publisher will number pages automatically for us now.
You’ll notice that each page has a corresponding, correct page number, reliant on the placement and styling from our Master Page.

Step 6
Looking at page numbering, Affinity Publisher has a few other helpful page number options under Text > Insert > Fields > Page Number.
You can add things like the next and previous page numbers, the date, and more. Insert them into your document in the same way.
Now You Know How to Add Page Numbers in Affinity Publisher
No need to struggle with page numbering; Affinity Publisher makes it easy. Dynamic page numbers take the effort out of numbering your larger documents. Now that you know how to add page numbers in Affinity Publisher, you can add them to any design project you like. Good luck with your next project!
Check Out More Free Affinity Publisher Tutorials
Want to learn even more about Affinity Publisher? There are plenty of free Affinity Publisher tutorials to check out here on Envato Tuts+. Why not start another tutorial right now?