If you want to learn how to remove blemishes in Photoshop, this short tutorial will show you two very simple techniques.
Learn how to remove blemishes in Photoshop
Step 1
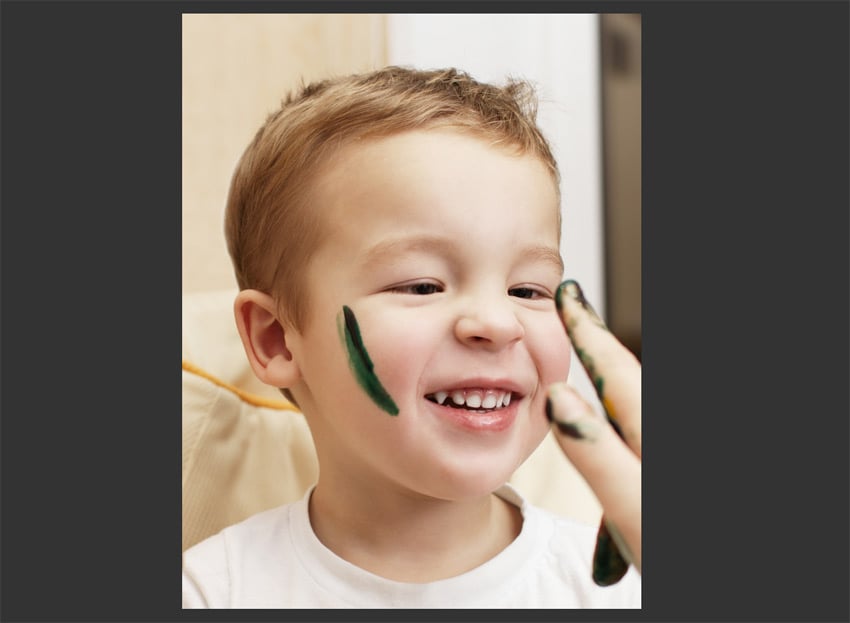
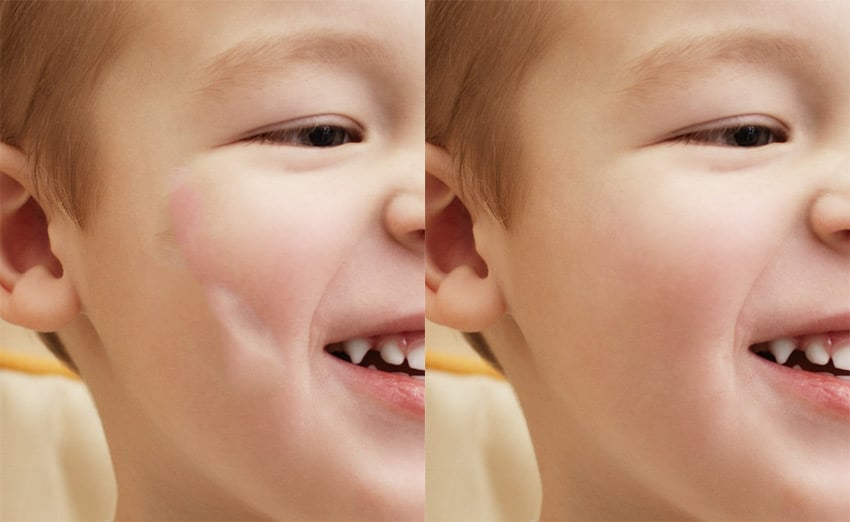
Open your photo. You can use this photo of a child with some paint on their face if you want to follow my steps directly.

Step 2
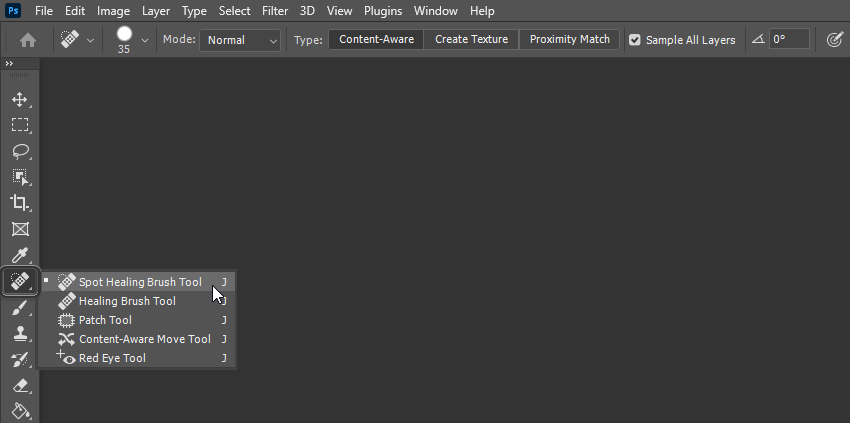
Take the Spot Healing Brush (J). Set its type to Content-Aware.


Step 3
Use the [ and ] keys to adjust the size of the brush to the size of the blemish. Then click (if the blemish is small), or drag (if it’s bigger/longer).
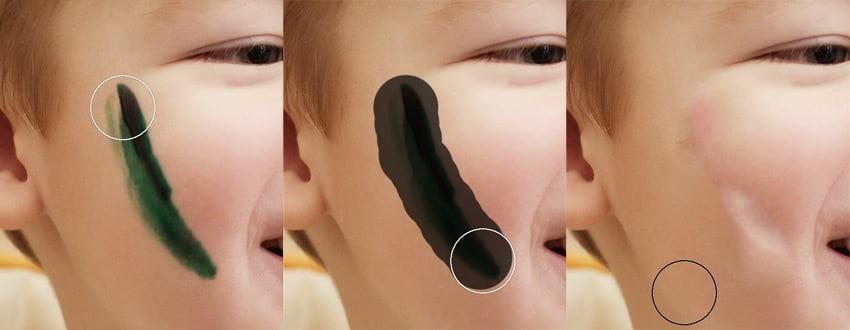


Step 4
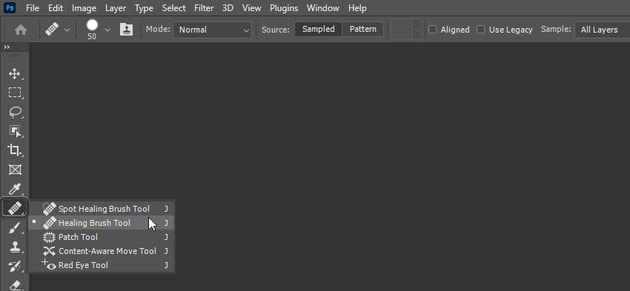
In many cases, this will be enough to remove the blemish. However, if you’re not happy with the result, it’s possible to adjust it further. Take the Healing Brush Tool (J) this time. Set the Diffusion to 7 and Source to Sampled.
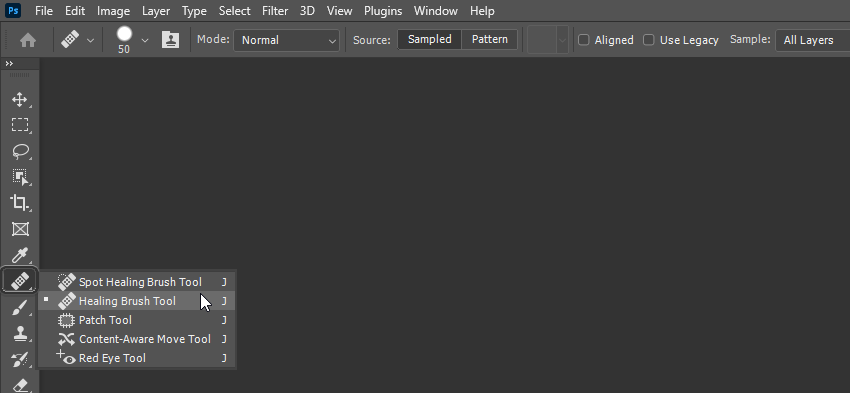


Step 5
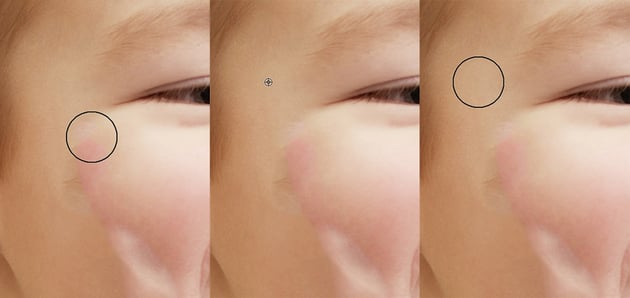
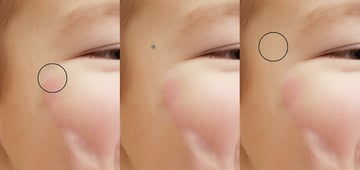
Adjust the size again. This time, place your brush over a part of the affected area, and look around. Is there any part of the skin that would look perfect here?
Move your brush there, hold the Alt key, and click—this will load the image into the brush.
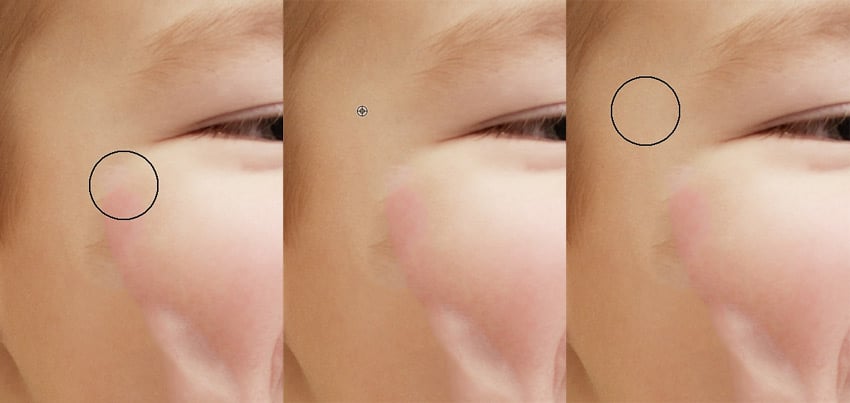
Step 6
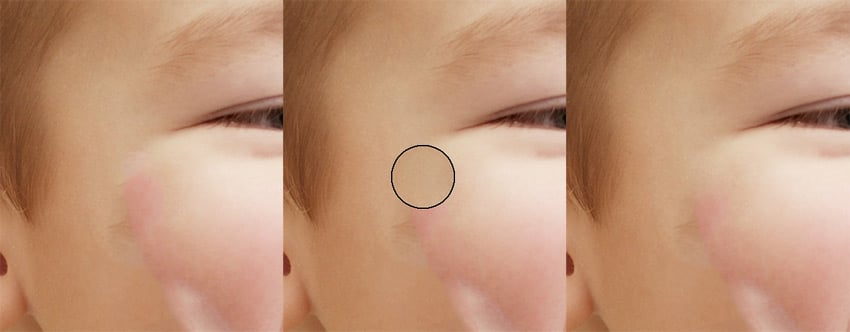
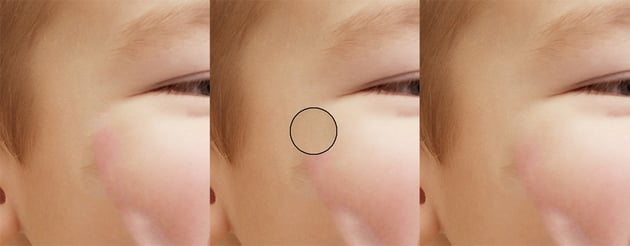
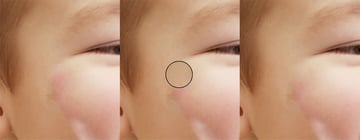
Then move back to the affected area and click. The image loaded into the brush will be transplanted into this area!
Step 7
Continue using the Healing Brush tool until you cover the whole affected area with new skin. To get the best results, move slowly and change small areas at a time. When loading the brush, look for the parts of the skin with similar coloration and texture. It may also be good to look at the original image to use it as a reference.
Step 8
If you used both these methods and you’re still not happy with the result, you may need a more advanced method for Photoshop blemish removal called “frequency separation“. It’s especially useful if the blemishes you want to remove are particularly big, the skin has a very visible texture, or the lighting is uneven across the face. In this case, you should try my other tutorial explaining this technique:
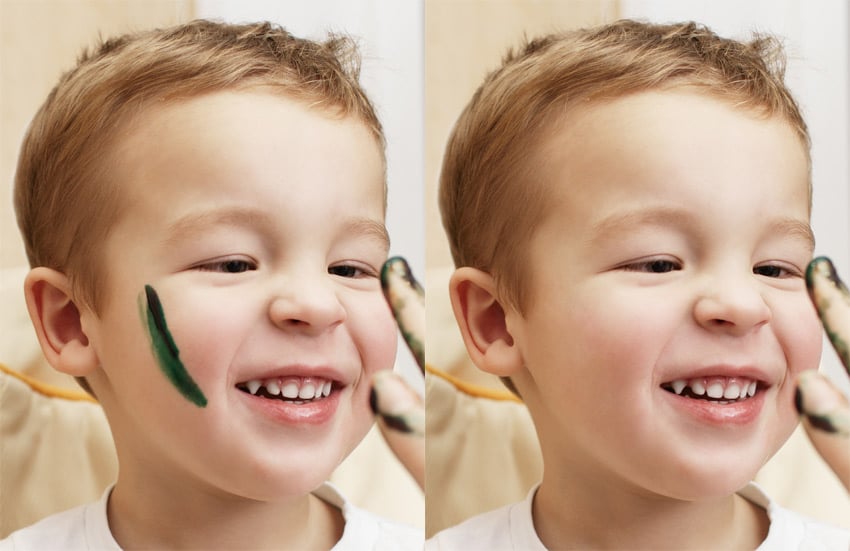


Removing blemishes in your photos can be easy. Whether it’s a quick touch-up or something a bit more involved, you can handle it right in Photoshop or let smart AI tools lend a hand.
If you enjoyed this tutorial on how to erase blemishes in Photoshop, you may also like our other Photoshop tutorials and courses: