
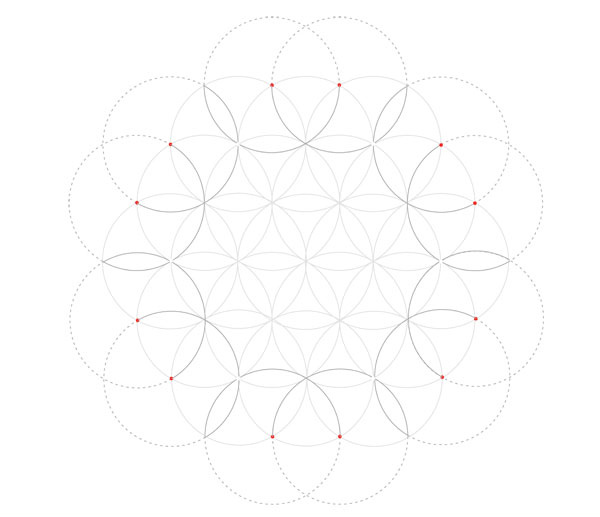
This Islamic tiling pattern is atypical in its use of curves, as most of the traditional designs are made up solely of straight lines (even though circles are used extensively to create the underlying grids).
It is based on the seven-circle grid which we learned to draw in more detail in our early lesson, Working With 6 and 12. Here I am again limiting the construction to seven circles, but the grid can be extended indefinitely.
1. Prepare the Seven-Circle Grid
Step 1
Draw a circle and the six circles around its periphery.

Step 2
Add the next ring of circles.
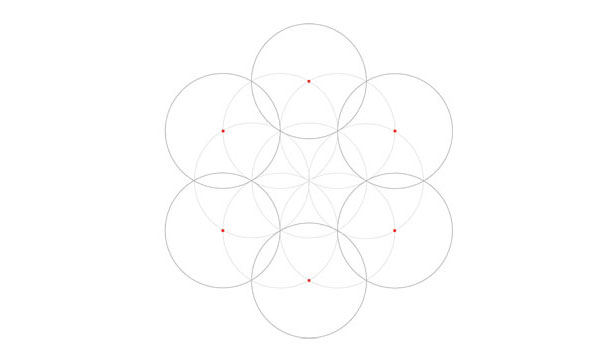
Step 3
Add the next six circles.

Step 4
Draw just one more level, only marking the arcs inside the previous circles, so that all the points we need are marked on the circles.
Step 5
The completed seven-circle grid.

2. Draw Two Sets of Diagonals
Step 1
Draw a hexagram (highlighted in blue) inside each of the seven circles, extending their lines throughout the diagram. This creates the first set of diagonals.
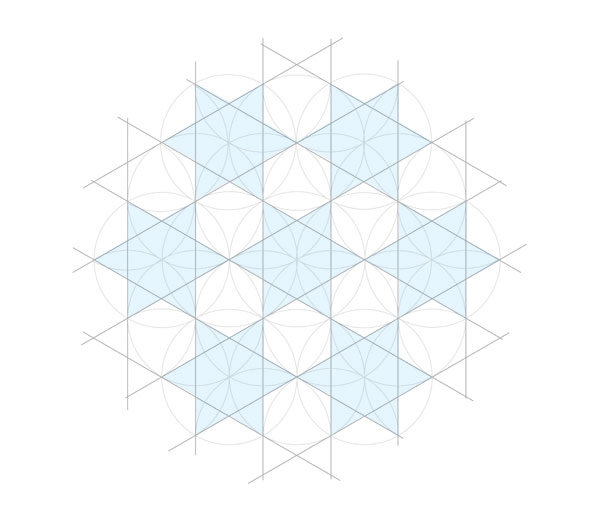
Step 2
Since these lines are final, we’re going to ink them now, so we can see more clearly.
Step 3
In the central circle, note the hexagon formed by the diagonals above. Draw the hexagram inscribed in this hexagon, extending its lines throughout the diagram.

Step 4
Repeat step 3 in each of the other six circles. This creates the second set of diagonals.

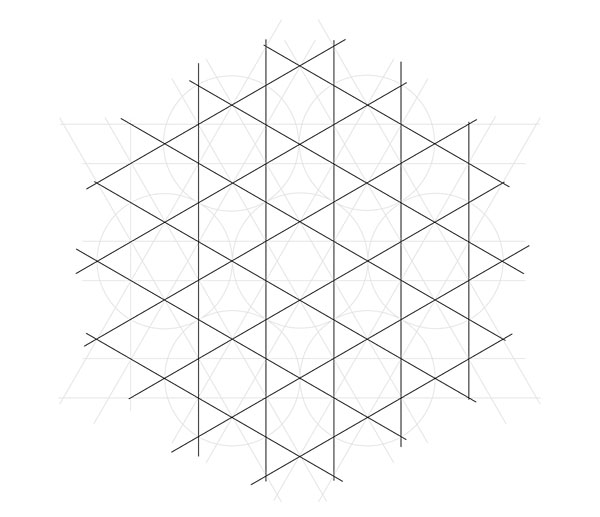
3. Draw Radiating Guidelines
Step 1
In the central circle, note the hexagon formed by the diagonals above. Draw the circle containing the hexagon (it passes through each of its points).

Step 2
Draw the following radiating lines through the centre of the circle. Three of them pass through the points of the smaller hexagon (or hexagram), and three pass through the points of the larger hexagon (or hexagram).

Step 3
Repeat steps 1-2 in the other six circles.

4. Draw the Final Hexagons
We now need to draw and ink the hexagon that enclose each of our seven circles. We’ll start with the central row.
Step 1
Draw the lines tangent to the top and bottom of the three circles. The parts that we need to ink stop at the radiating lines as shown.

Step 2
Circle the following points to make the next step easier.

Step 3
From the ends of the lines drawn in step 1, draw down two sides of each hexagon through a circled point, as shown. The sides stop at the horizon line.

Step 4
Complete the hexagons.

Step 5
Repeat steps 1-4 with the other two rows of circles.

5. Draw the Arcs
Step 1
Zooming in on one of the hexagons we just inked, bisect the distance between the two points shown. Open your compass to the measure shown in dashed blue, which is half the distance between the points.

Step 2
Never changing the measurement, draw all the circles shown. The trios of circles (in blue, red and pink) will be tangent to the six central circles (in green and purple).

Step 3
The circles are then partially inked as follows. Note how the black line moves from the central circles to the trio where they are tangent, and where the trio circles stop against a straight line.

Step 4
Draw and ink these circles throughout the entire pattern. Construction is completed.

6. Finishing
Version 1
Rub out all the pencil, and here is the result:

All that’s left is to colour it. There are plenty of fragments in this pattern, allowing for quite subtle colouring.

Version 2
If you ignore step 3.1, where we inked the first set of diagonals, and rub out these lines in the final, the result has a slightly different feel:

Here is a coloured version. You could leave out other lines to create even more variations.

It is possible to revise any traditional pattern by reintroducing curves to it, and this tutorial gave you a feel as to how. Next month we will conclude this series with one last tiling pattern of complex construction.