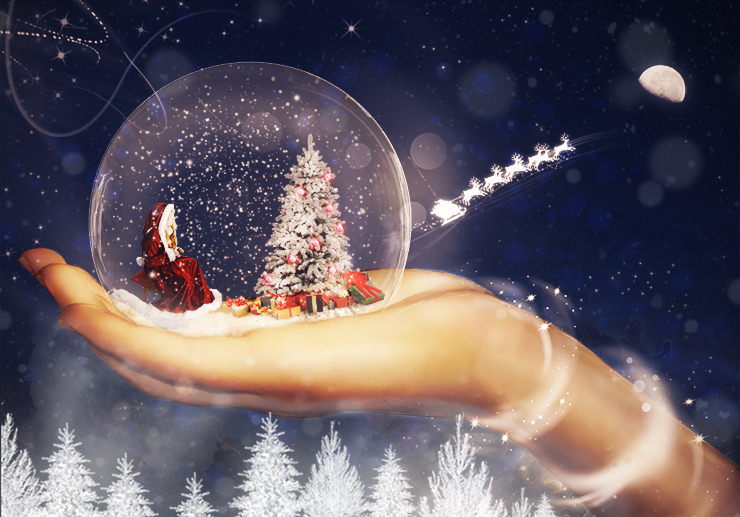
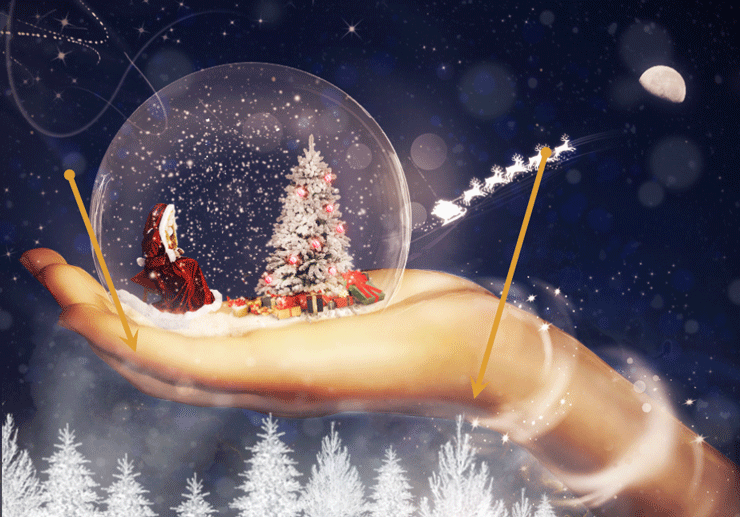
Learn how to create this fantasy Christmas scene with Photoshop. You will use a variety of brushes and images in order to achieve a pleasant final result. Let’s start!
What you’ll be creating
In this tutorial you will create a winter fantasy scene. In order to follow this tutorial you will need Photoshop CS3 or newer.

Tutorial Resources
- Nebula – Pixabay
- Background – zememz
- Moon brush – ischarm-stock
- Ribbon Brush – rozairo
- Christmas Brush – flina
- Hand – marchetooo
- Bubble – lieveheersbeestje
- Snow Drops Brush – frostbo
- Tree1 – camelfobia
- Ornaments – 32cherry
- Tree2 – iamszissz
- Girl – MoraNox-Stock
- Snow Patch Brush – frostbo
- Abstract brush – Edelihu
- Fantasy Light brush – KeepWaiting
- Mist Brush– Ideasplayer
- Snow Texture – emilyemilybeth
- Tree Brush – redheadstock
Step 1
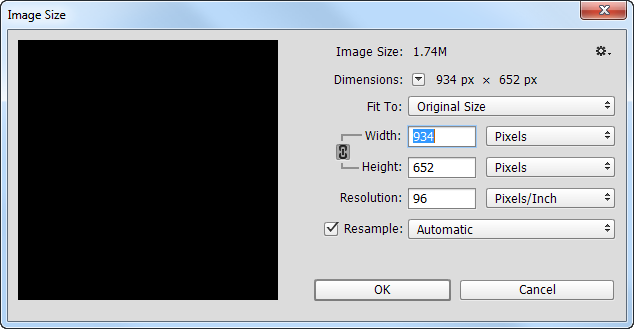
Create a new document 934 x 652 pixels. Fill the background layer with black (Set the foreground color to black and press Alt + Backspace).
Step 2
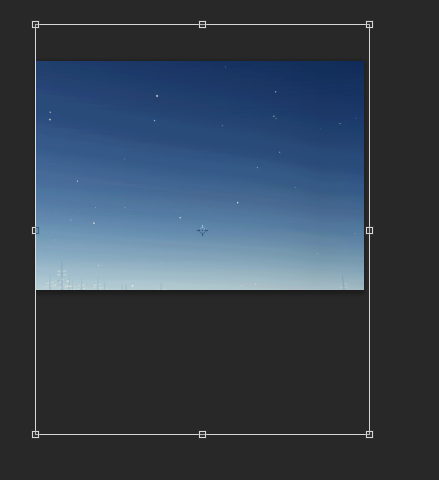
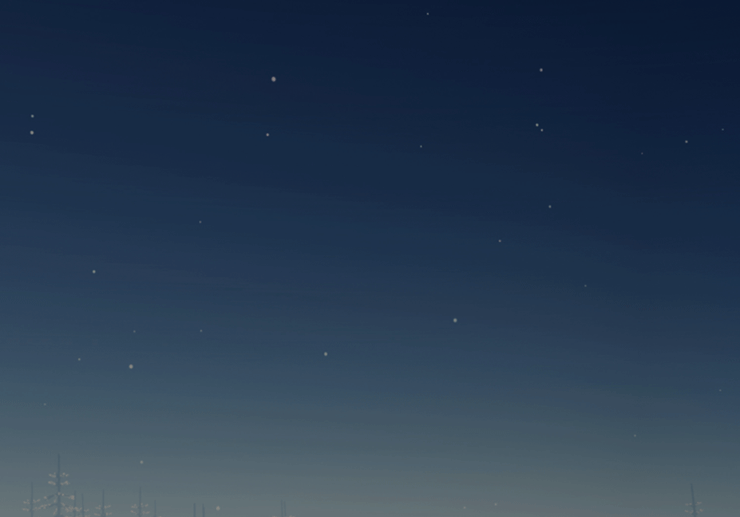
Open the file “Background”. Press Ctrl + A to select all and Ctrl + C to copy. Go back to our working scene and press Ctrl + V to paste. Press Ctrl + T to enter Free Transform. Resize and position the layer as indicated in the image below.
Step 3
Lower the opacity of the pasted layer to 57% and name it “Gradient”.
Step 4
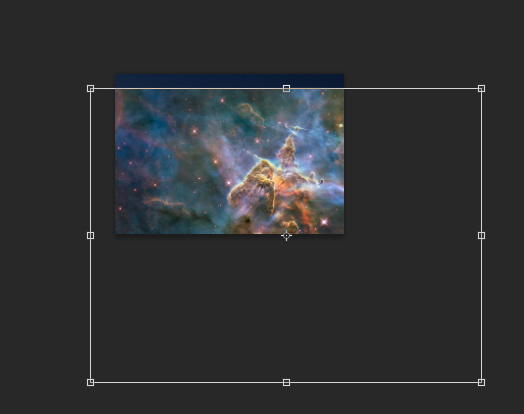
Open the file “Nebula”. Select all, copy and paste into our scene. Use Free Transform to place the nebula as shown below. Right click the nebula layer and from the drop down menu choose “Convert To Smart Object”. Convert all future layers that we paste from other documents into smart objects (In order to be able to keep the original data when performing resizes and applying filters).
Step 5
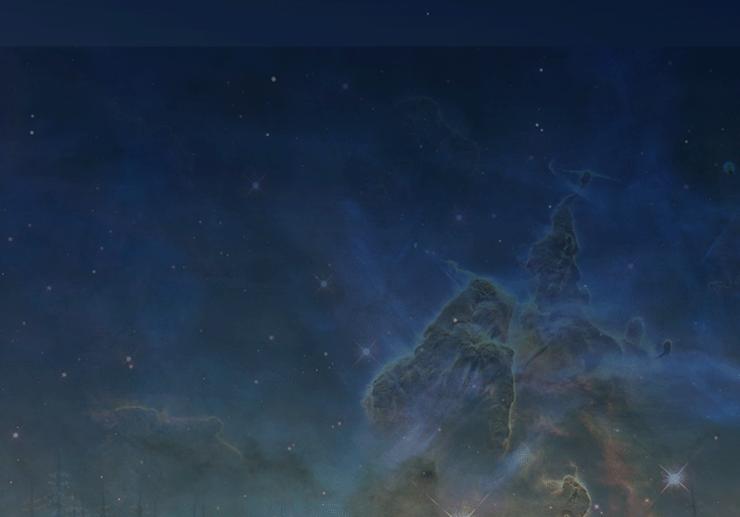
Change the blending mode of the nebula to overlay and lower the Opacity 49%.
Step 6
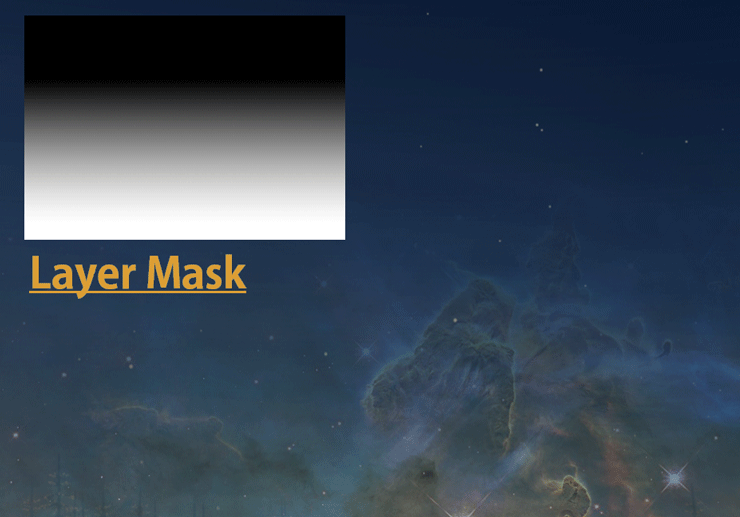
Add a layer mask to the nebula layer (Layer > Layer Mask > Reveal All). Use the gradient tool in the layer mask to seamlessly blend the nebula into the scene.
Step 7
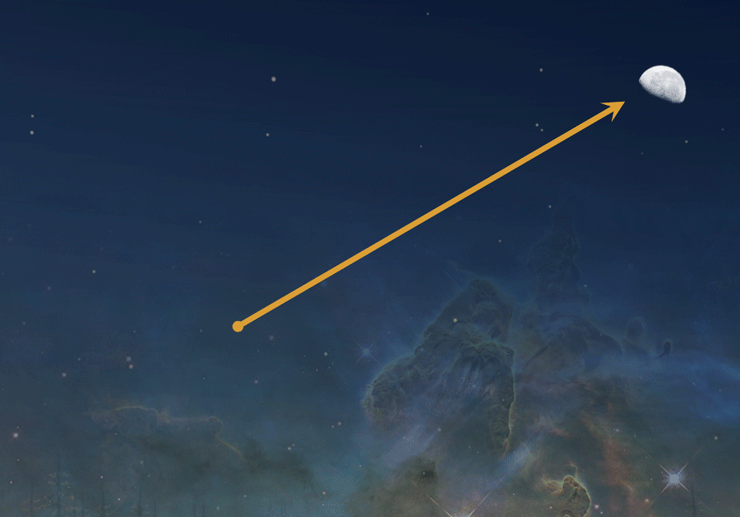
Use the Presets Manager window to import “Moon” brushes (Edit > Preset Manager. Press the Load button and select the brushes in the window that appears). Create a new layer (Ctrl + Shift + Alt + N). Choose a half moon from the Brush Presets panel (Window > Brush Presets) and click once to create a white moon in the upper half area of our scene.
Step 8
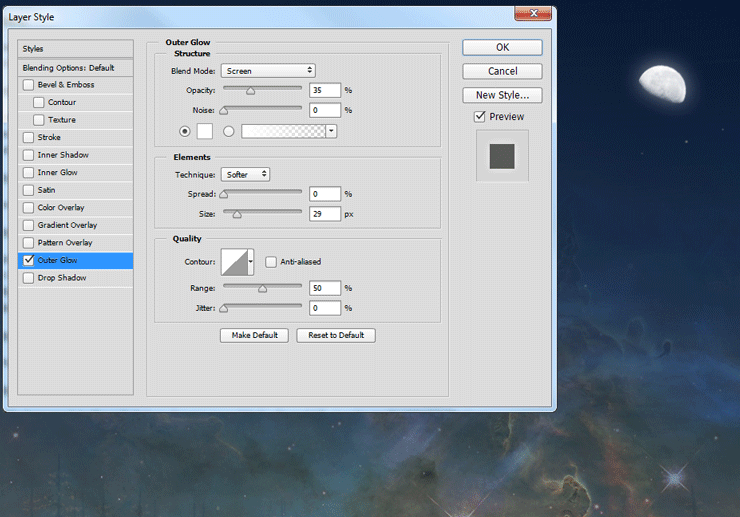
Double click the Moon layer to open Advanced Blending window and add some Outer Glow to the moon.
Step 9
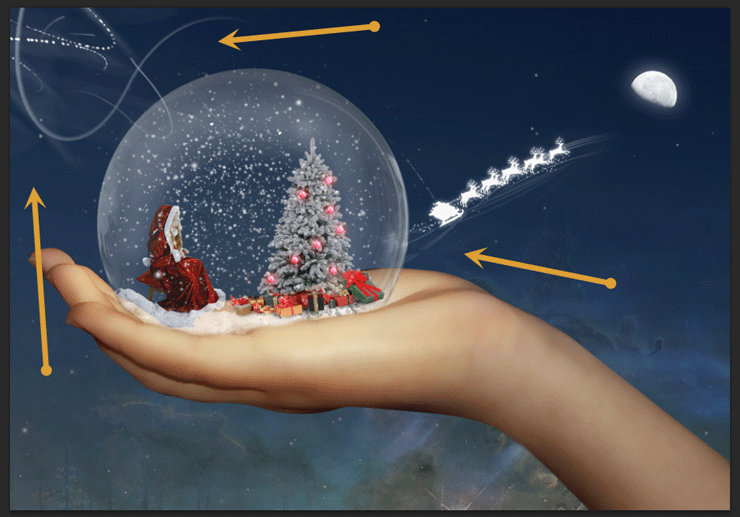
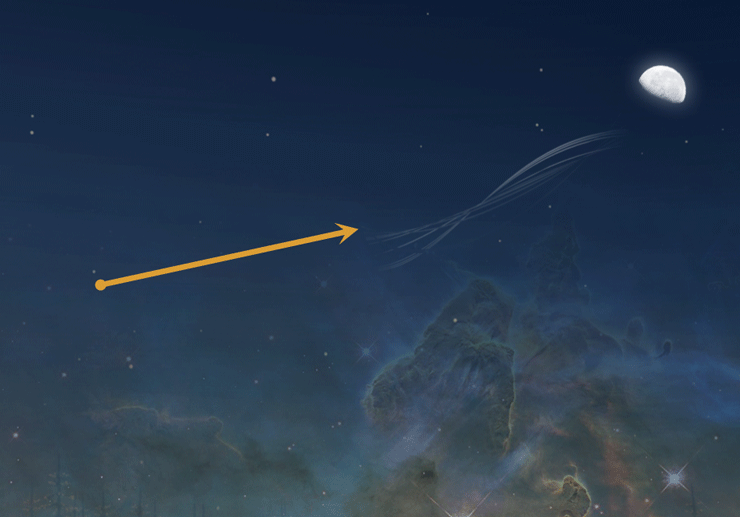
Import “Ribbon” brushes. Create a new layer and draw a white ribbon near the moon as indicated below. Add a layer mask and hide away the hard edges. Lower the Opacity to 66%.
Step 10
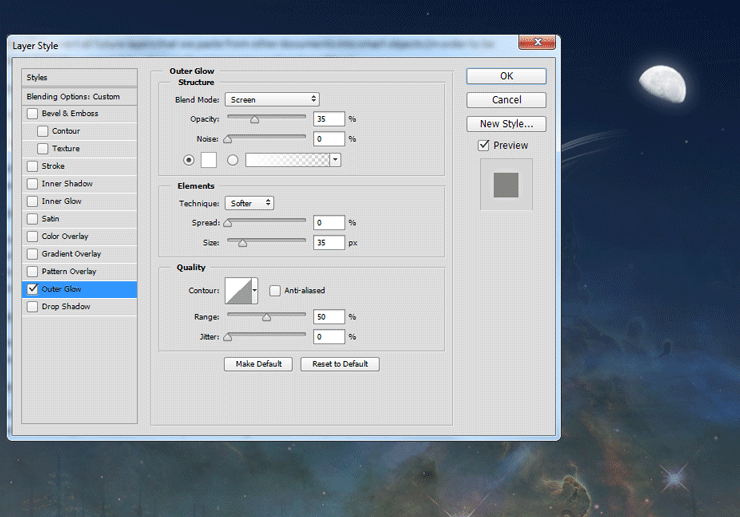
Double click the ribbon layer to open Advanced Blending window. Add a subtle Outer Glow effect.
Step 11
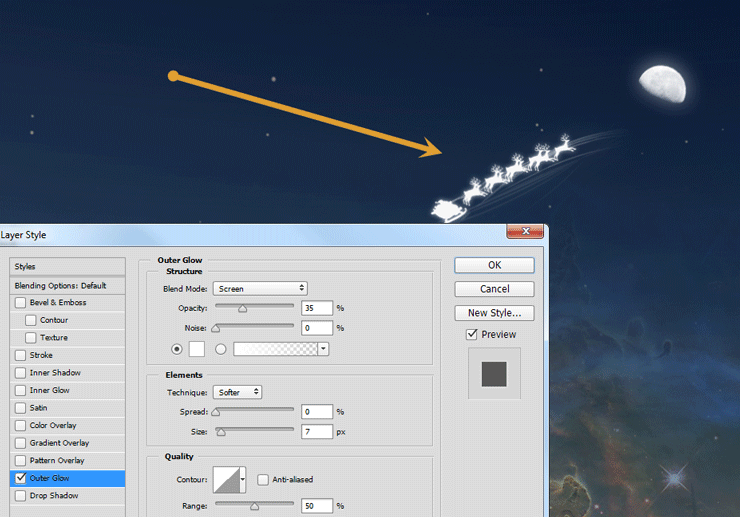
Import “Christmas” brushes. Look out in the Brush Presets panel for the reindeers brush and draw some white reindeers over the ribbon. Add the standard Outer Glow effect (double click the reindeers layer to enter Advanced Blending window).
Step 12
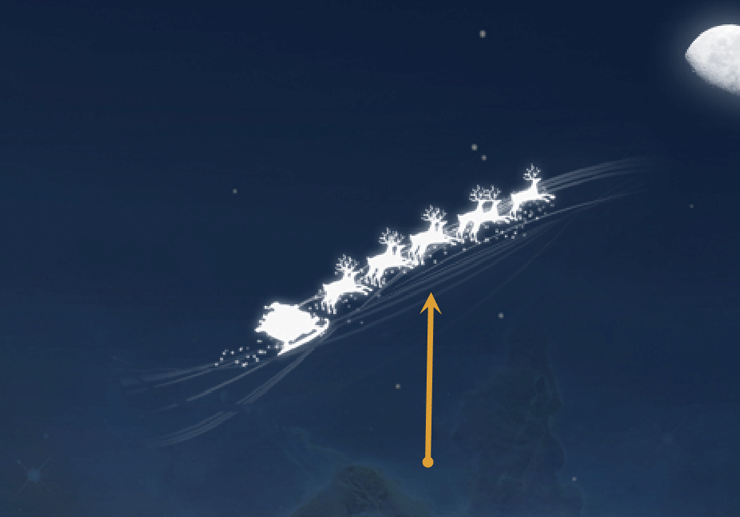
Import “Fantasy Light” brushes. In the Brush Presets panel select the Glam brush. Create some sparks along the ribbon and below the reindeers.
Step 13
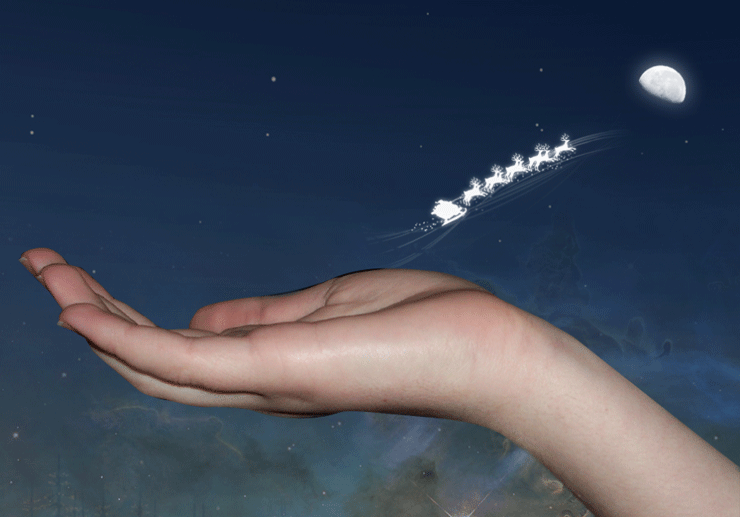
Open the file “Hand”. Use the Pen Tool to make a selection of the hand. Copy the selection and paste it in our scene. Place the hand like indicated in the image below.
Step 14
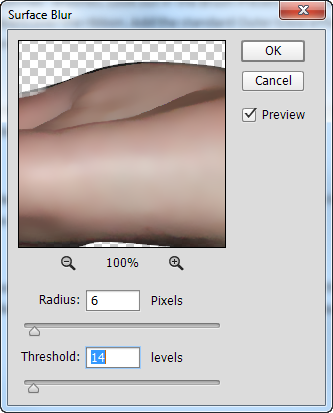
The hand looks way too detailed for our purposes so let’s correct that. Apply a Surface Blur (Filter > Blur > Surface Blur) to the hand in order to make it look smooth and clean.
Step 15
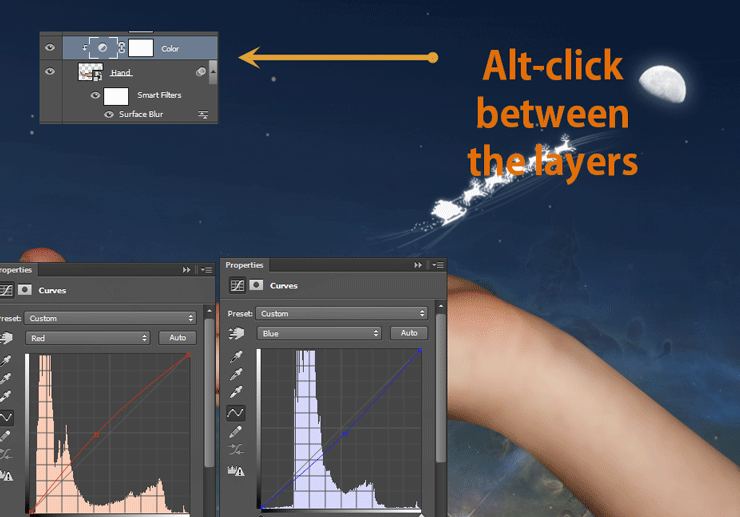
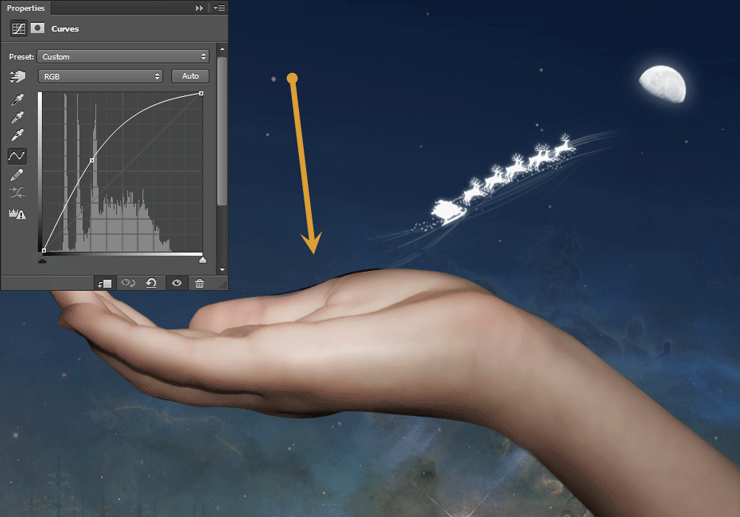
Create a Curves Adjustment Layer (Layer > New Adjustment Layer > Curves) with the settings indicated below. Alt-click between the curves and the hand layer in order to limit the curves effect only to the hand. This process is called clipping a layer to another. If we were to create another adjustment layer and also press Alt-click between the newly created adjustment layer and the curves layer we would also limit the effect of the newly created layer to the hand only. This is what we will do in the following steps.
Step 16
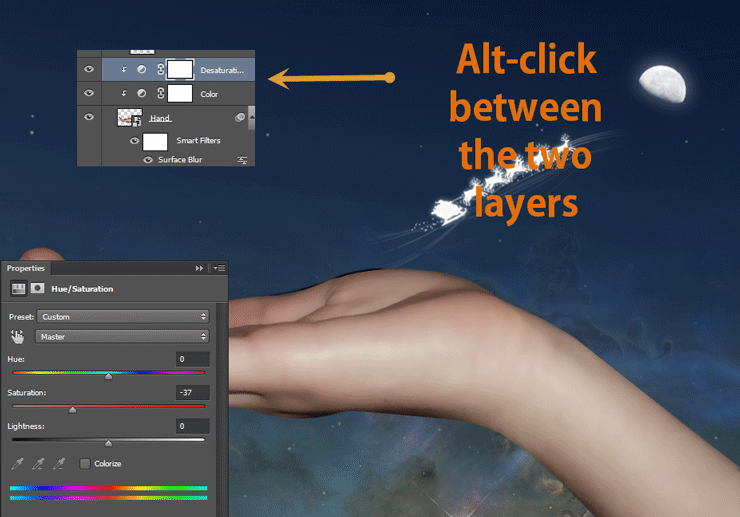
Create a Hue/Saturation Adjustment Layer (Layer > New Adjustment Layer > Hue/Saturation) and use the settings shown below. Clip the Hue/Saturation layer to the hand layer.
Step 17
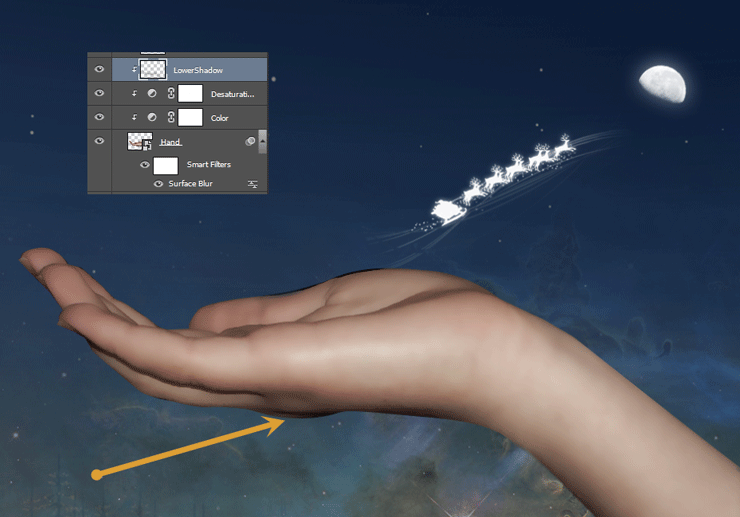
Make a new layer (Ctrl + Shift + Alt + N) and clip it to the hand layer. Change the blending mode to Overlay. Choose the standard Photoshop round soft brush and lower the Opacity to 10%. Paint with black on the bottom of the hand.
Step 18
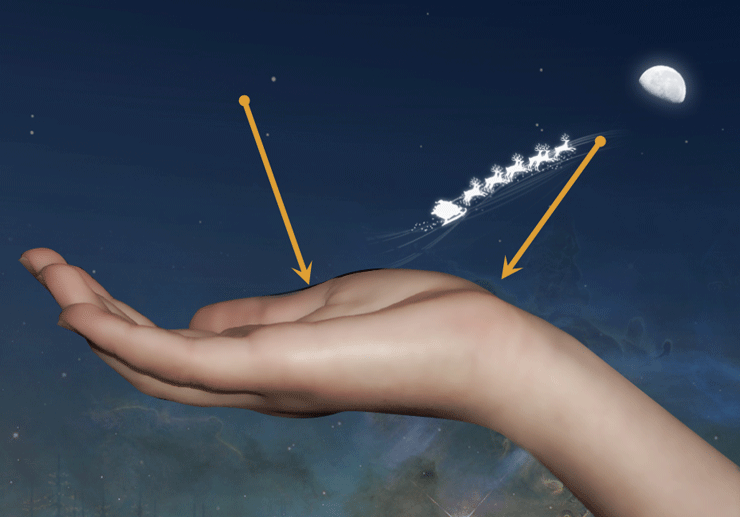
Make another new layer and also clip it to the hand layer. After you change the blending mode to Overlay use the same round soft brush to paint with white on the top of the hand.
Step 20
Create a Curves Adjustment Layer and clip it to the hand layer. Use the settings shown below in order to create a lighten effect. Fill the layer mask with black and paint with white over the top of hand in the layer mask in order to reveal the effect there.
Step 21
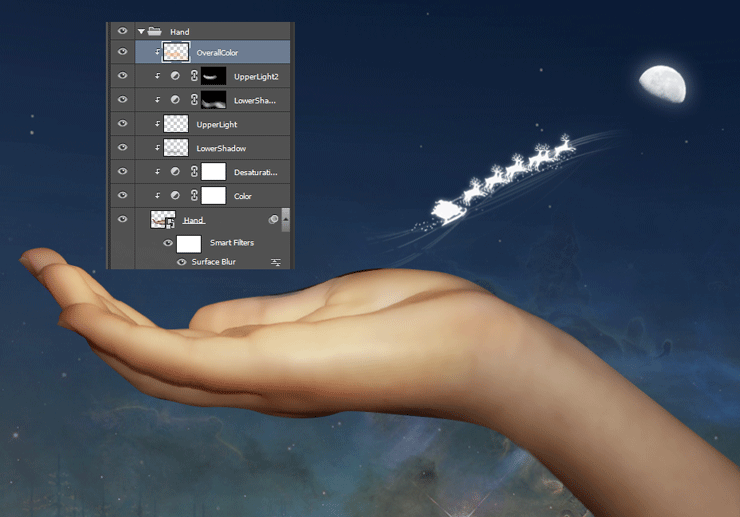
The color of the hand it’s quite cold so we should warm it up a little. Make a new layer and change the blending mode to Hard Light and lower the Opacity to 44%. Paint with a warm orange color (#ce8b47) over the hand with a low opacity soft brush. Clip this layer to the hand layer. Here’s how your hand related layers should look like if you followed every step of the tutorial.
Step 22
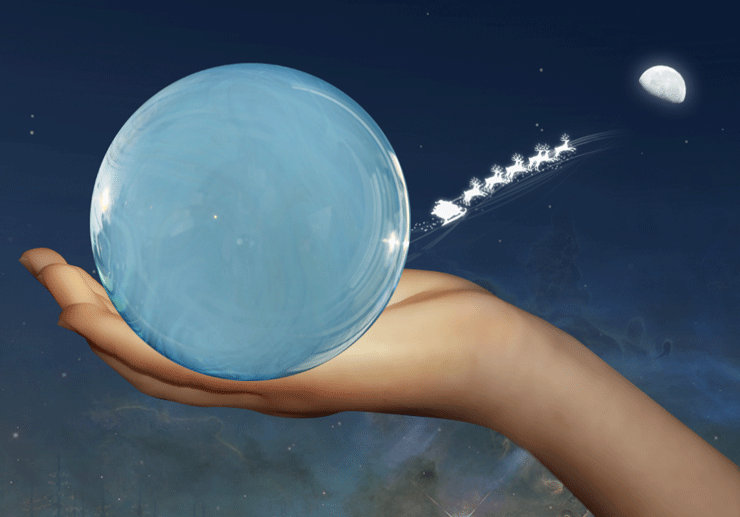
Open the file “Bubble”. Use the Pen Tool or the Elliptical Marquee Tool to make a selection of the bubble. Copy and paste the bubble into our scene. Place the bubble over the hand as shown below (and don’t forget to convert the bubble layer to a smart object).
Step 23
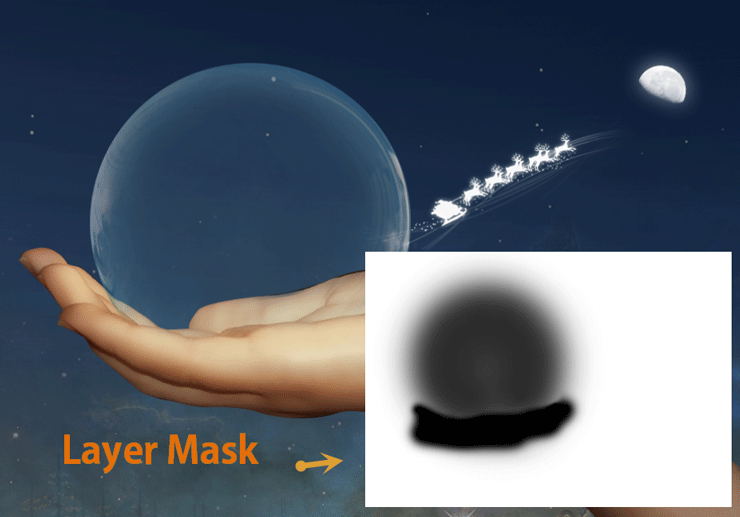
Add a layer mask to the bubble layer and use a black brush at 100% opacity to hide the bottom part of the bubble. Lower the opacity of the brush to 50% and paint with black over the rest of the bubble.
Step 24
Create a Hue/Saturation Adjustment Layer and clip it to the bubble layer. Lower the saturation to -95.
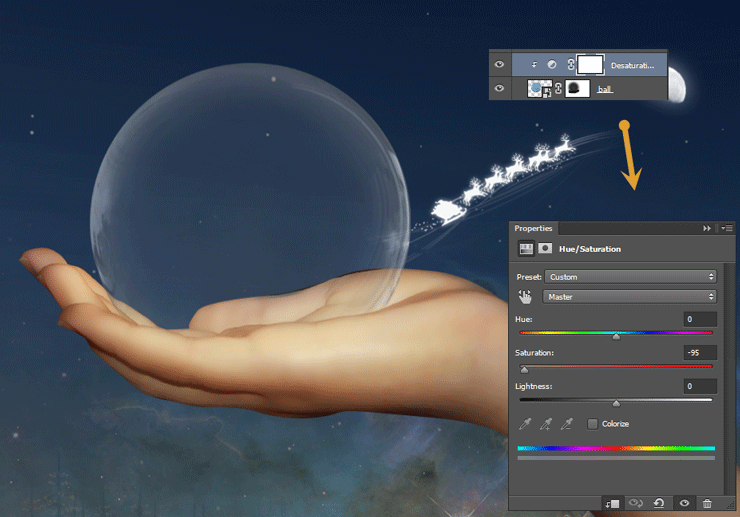
Step 25
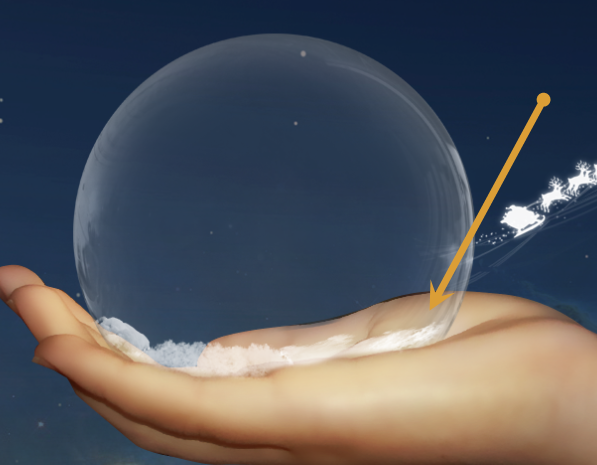
Import “Snow Patch” brush. Create a new layer and paint with white some snow at the bottom of the ball. You can use a layer mask to lower the opacity of the snow or you can lower the opacity of the layer itself. Add a couple more snow layers to cover the whole bottom of the bubble.
Step 26
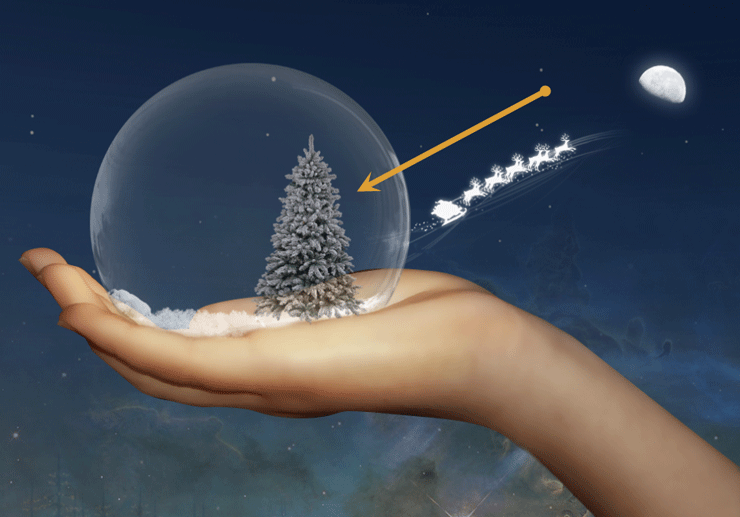
Open the file “Tree1”. Select everything (Ctrl + A) and copy. Paste the tree in our scene and position it inside of the ball. Lower the opacity to 69%.
Step 27
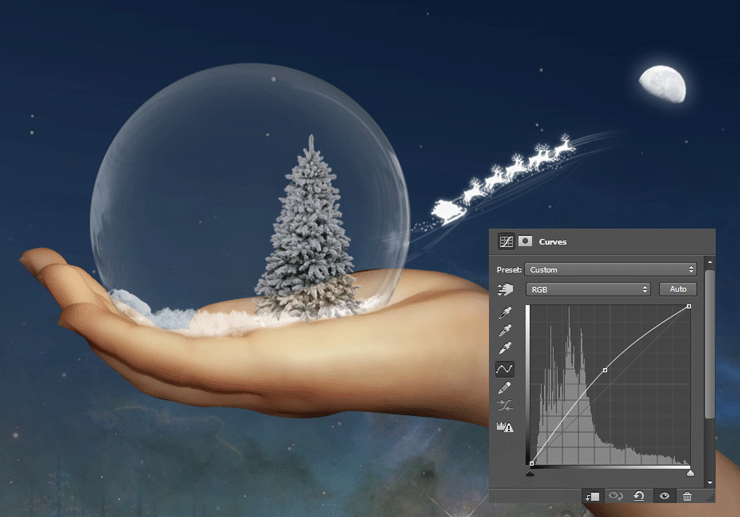
Create a Curves Adjustment Layer and use the settings shown below. Clip this layer to the tree layer in order to lighten it a little.
Step 28
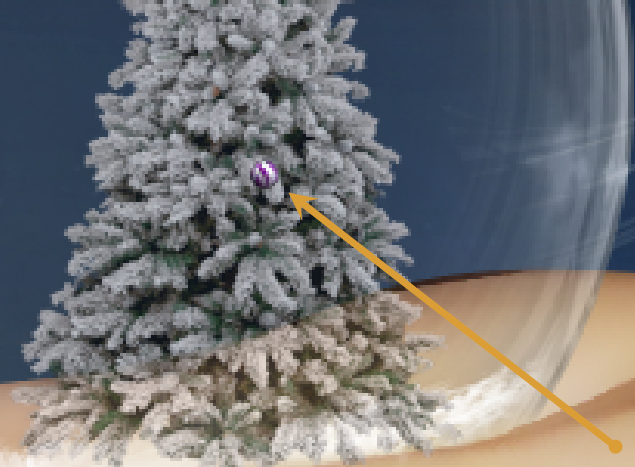
Open the file “Ornament”. Choose an ornament and do copy/paste into our scene. Place the ornament on the tree.
Step 29
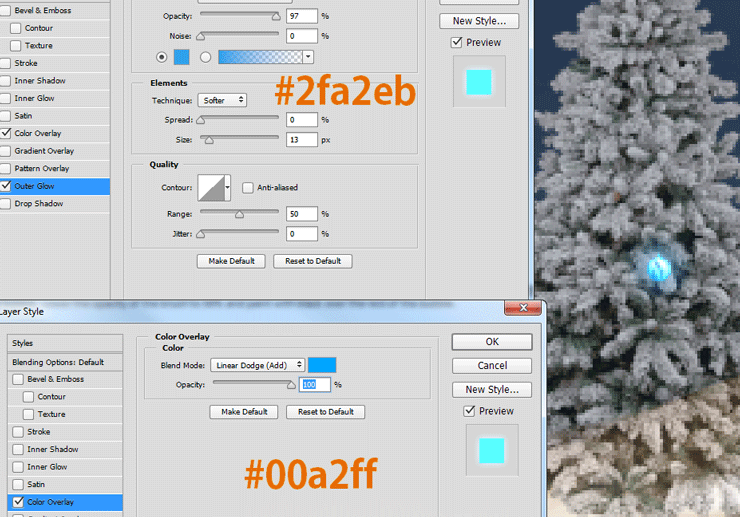
Double click the ornament layer and use the following settings in order to change its color and make it glow.
Step 30
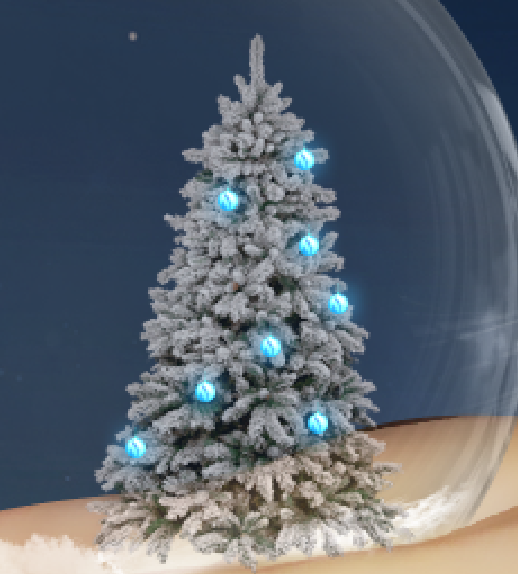
Duplicate the ornament layer seven times by pressing Ctrl + J and place each ornament on a different location on the tree.
Step 31
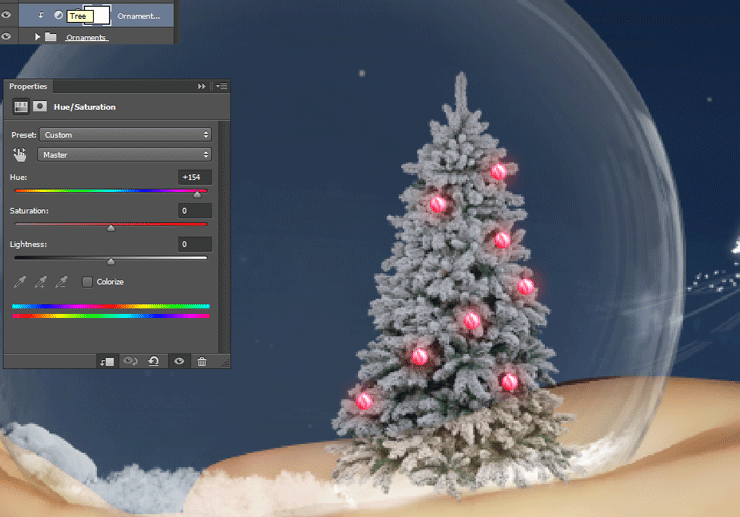
Group all the ornament layers together. Create a Hue/Saturation Layer and clip it to the group in order to change the hue of the ornaments.
Step 32
Open the file “Tree2”. Select the tree, copy and paste into our scene. Place this tree over the existing tree.
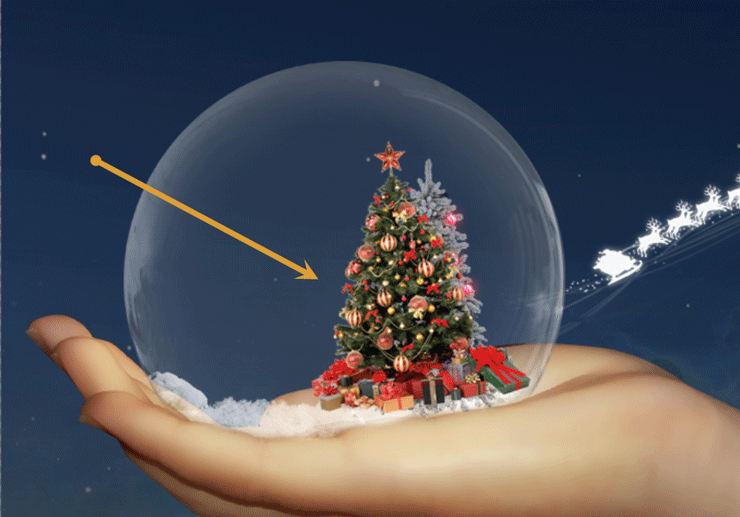
Step 33
Add a layer mask to the tree you just pasted and mask the top until only the presents on the bottom are visible.
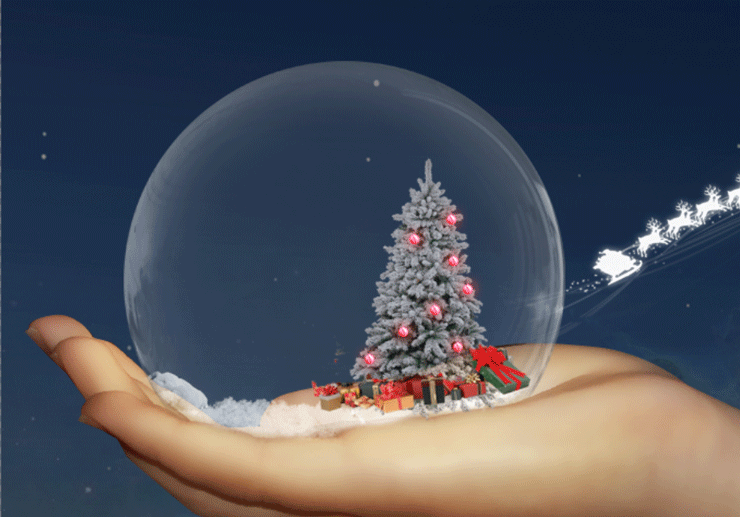
Step 34
Create a new layer and place below the tree layer in the layer panel. Paint some shadow with a soft brush at 30% Opacity.
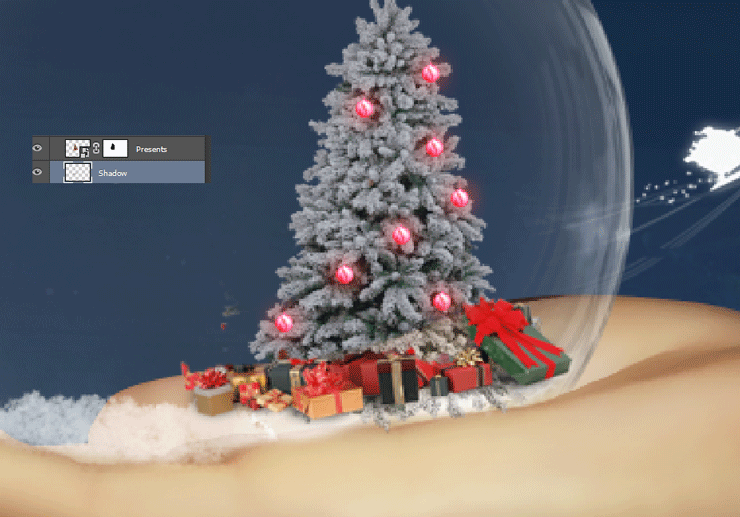
Step 35
Open the file “Girl”. Make a selection of the girl using the Pen Tool. Copy the selection and paste it in our document. Place the girl inside the bubble near the tree.
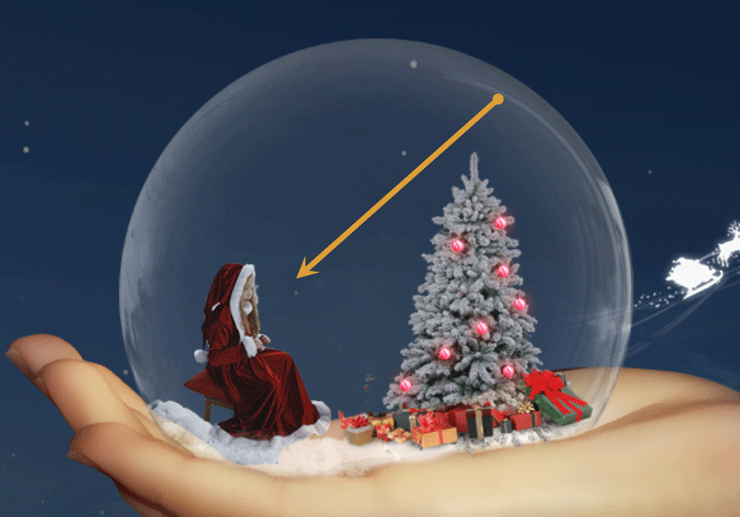
Step 36
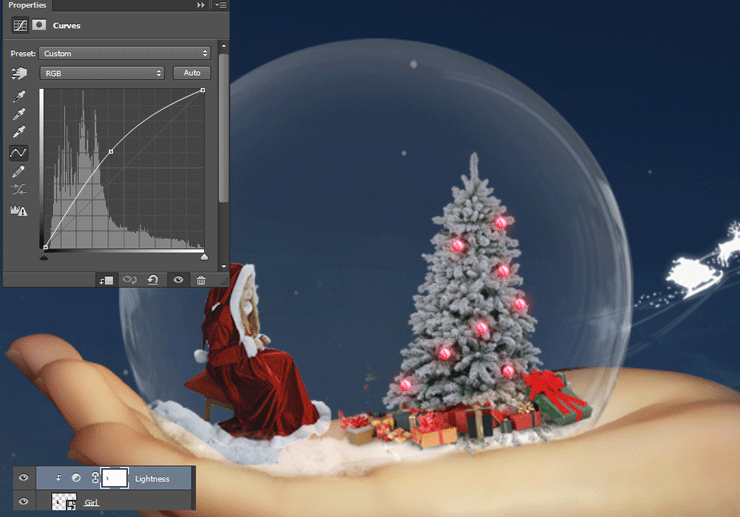
Create a Curves Adjustment Layer and drag the curve up to darken. Clip this layer to the girl layer.
Step 37
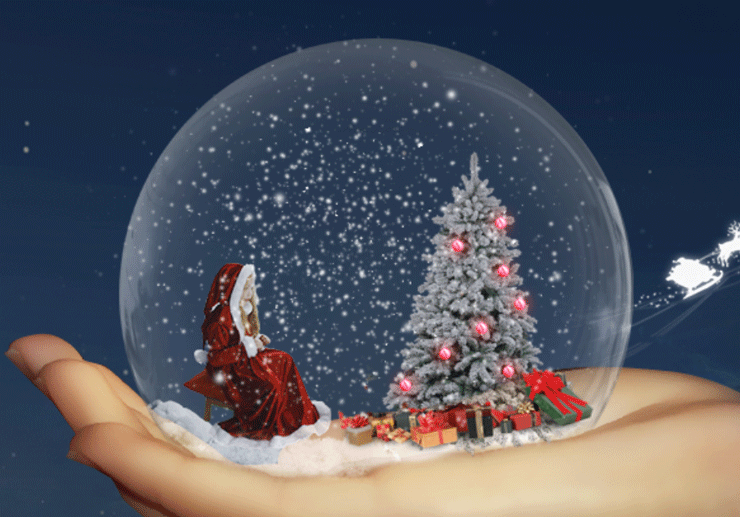
Import the “Snow Drops” brush. Create a new layer and paint some snow inside the bubble.
Step 38
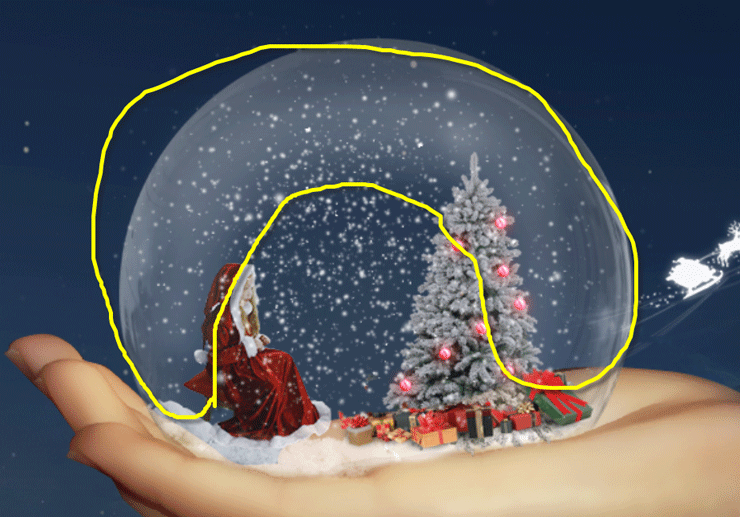
Create a new layer and choose the standard round soft brush. Set the Opacity to 10% and paint a semicircle over the bubble to create the illusion of a reflection. Lower the opacity of the layer if the effect is too strong.
Step 39
Import the “Abstract” brush. Create some new layers and create some white light effects. Lower the opacity of the layers if the effect is too strong and after you’re done group them together (Ctrl + G).
Step 40
Import the “Fantasy Light” brush. Use the Small Glam brush on a new layer to create some sparkles here and there.
Step 41
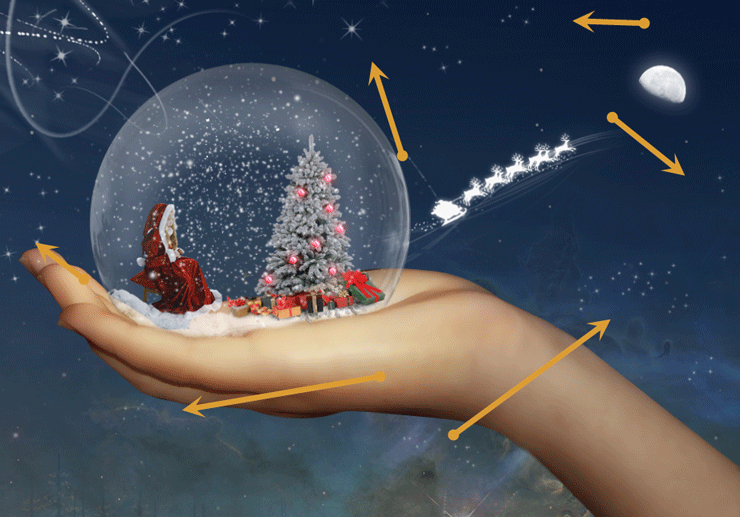
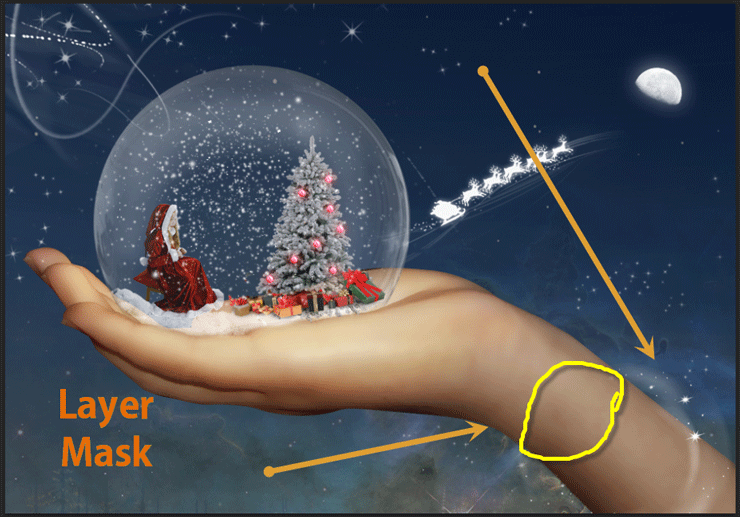
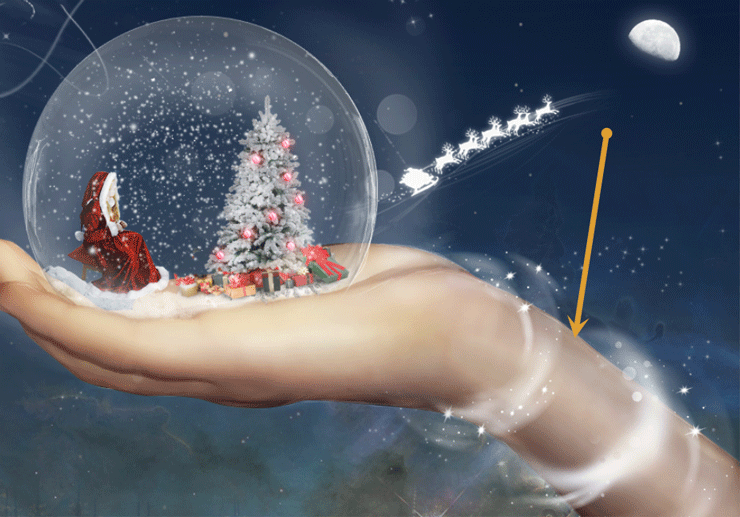
Choose the brush “Sampled Brush 5” and click once on a new layer with white as foreground color to create the effect shown below. Add a layer mask to create the illusion of a light bracelet.
Step 42
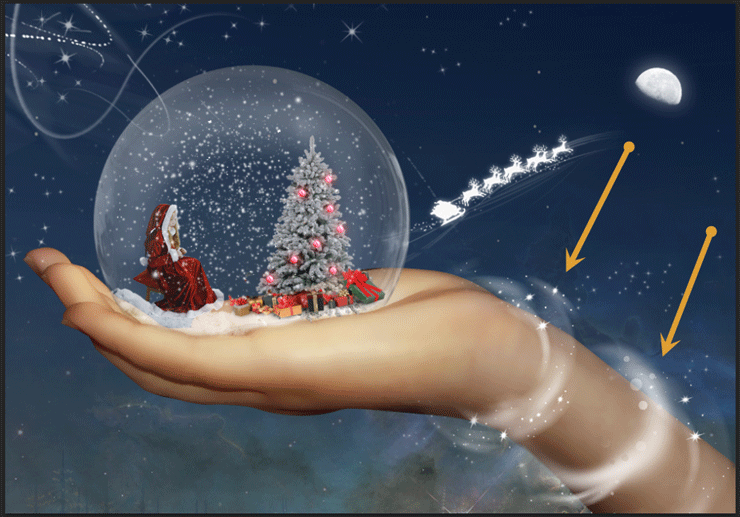
Repeat the previous step a couple of times to create more bracelets.
Step 43
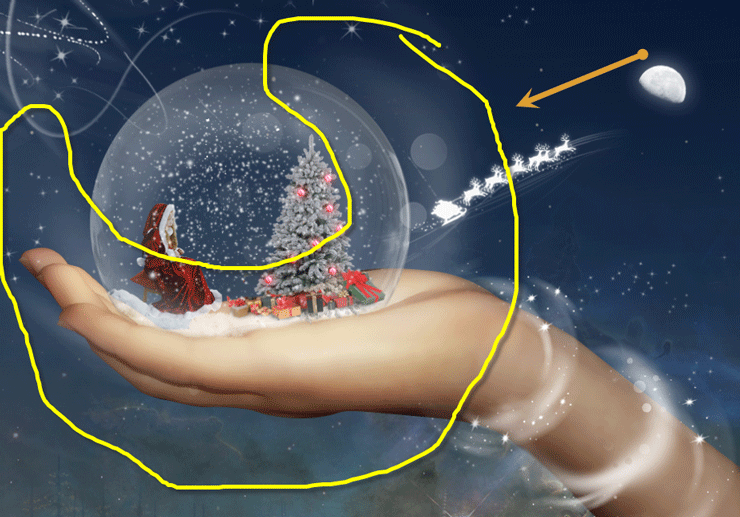
Choose the brush “Sample Brush 4” and lower the opacity to 20%. Create a circle effect around the bubble by using a low opacity and white color.
Step 44
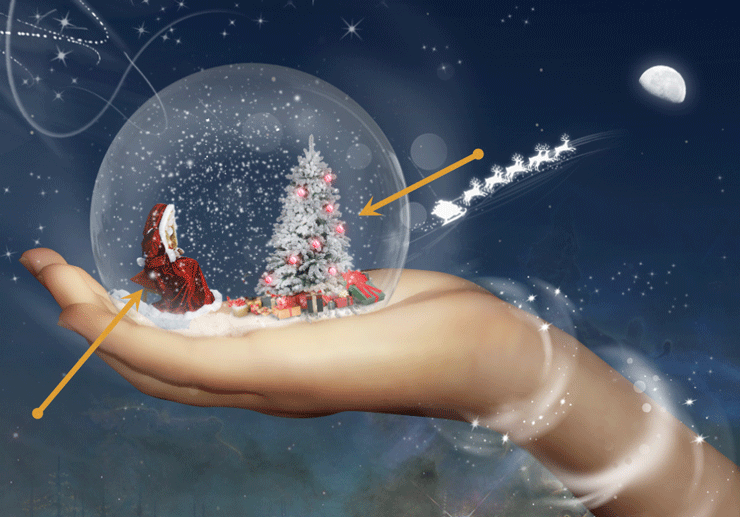
Create a layer and change the blending mode to Overlay. With a white soft brush at 10% opacity paint some brightness over the girl and the tree.
Step 45
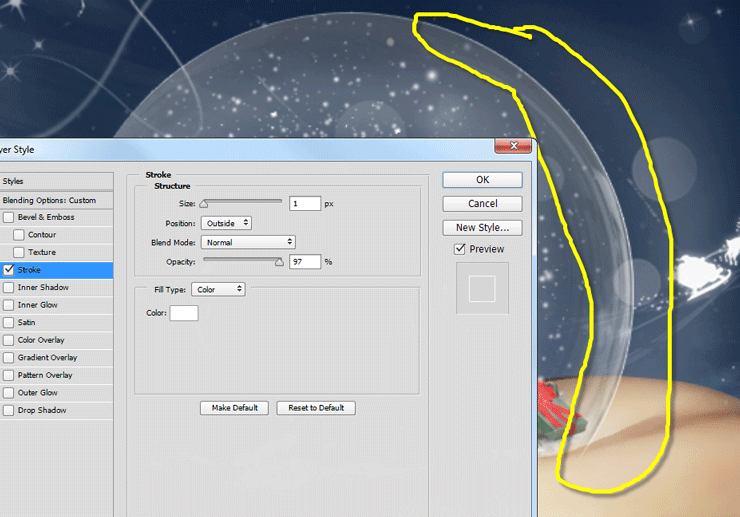
Use the Elliptical Marquee Tool to create a selection matching the bubble size and fill it with white and place the newly created layer over the bubble. Double click the layer and add a 1 pixel white stroke. Create a layer mask and hide the left and bottom stroke.
Step 46
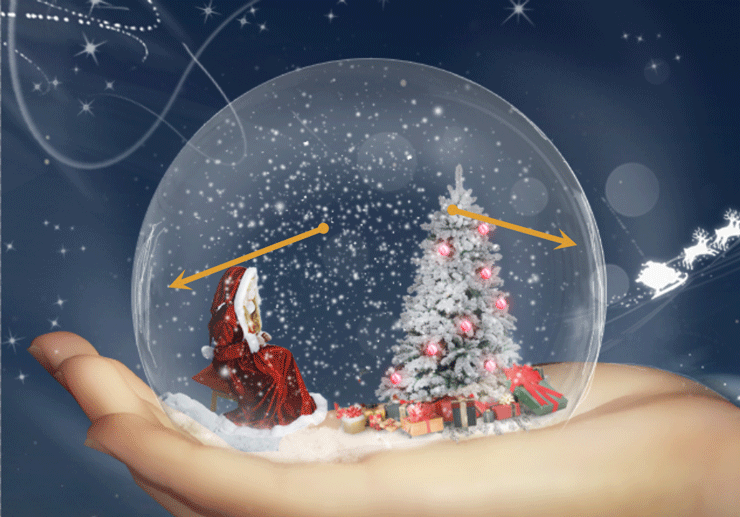
Create a new layer and paint some thin 1 pixel lines in the areas indicated below to create the illusion of specular highlight on the bubble.
Step 47
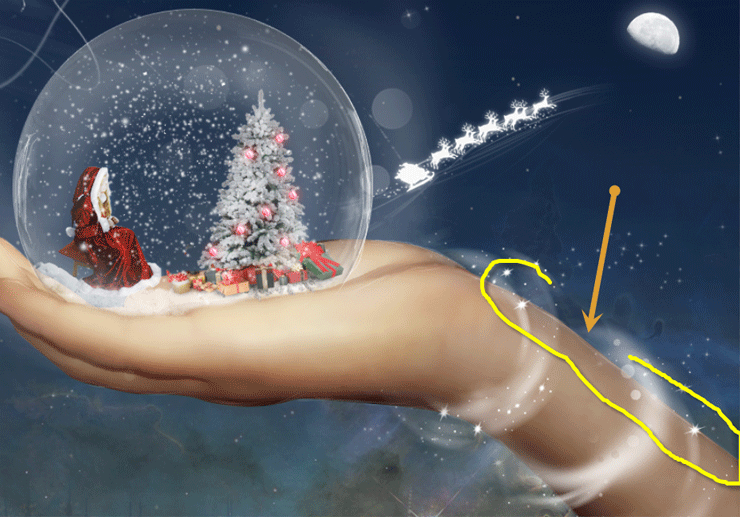
Using the same thin brush draw some lines on the upper margin of the hand.
Step 48
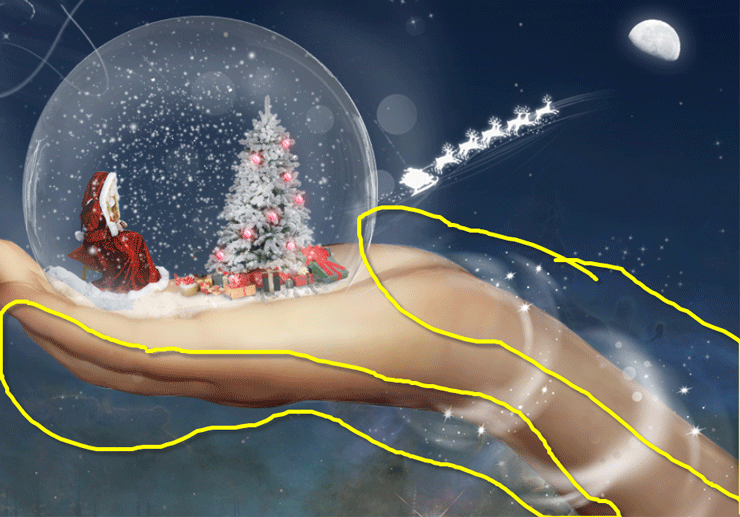
Increase the brush size to 10 pixels and create a new layer with the Overlay blending mode. Paint an outline around the hand.
Step 49
Create a new layer and change the blending mode to Linear Dodge. Using a white brush at 10% Opacity paint over the hand to make it look brighter and ethereal.
Step 50
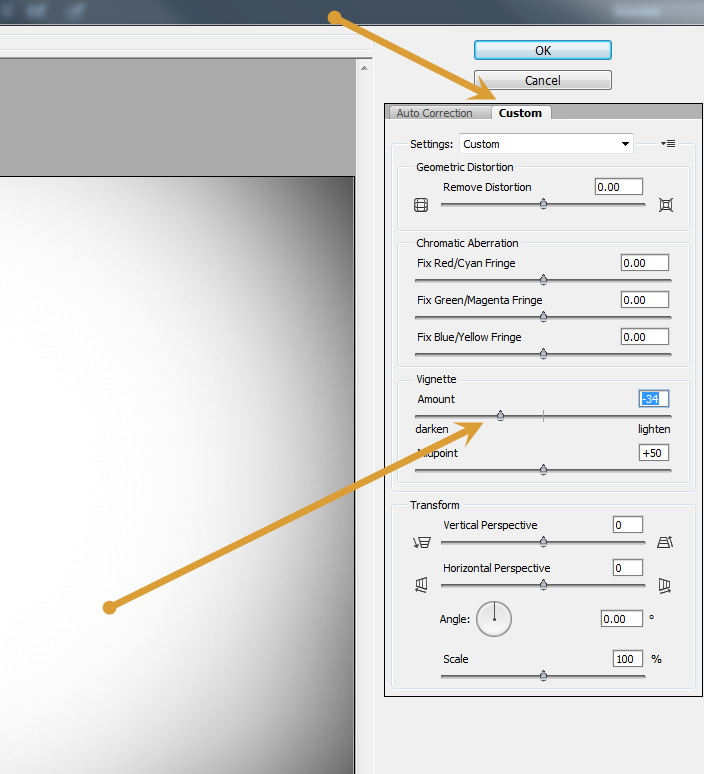
Are you still with me? Congratulations for having patience to follow these steps. Now the things will get a bit easier so stay with me until the end. Let’s add a vignette to our scene. Create a new layer and fill it with white. Change the blending mode to Multiply and apply Filter > Lens Correction with the settings shown below.
Step 51
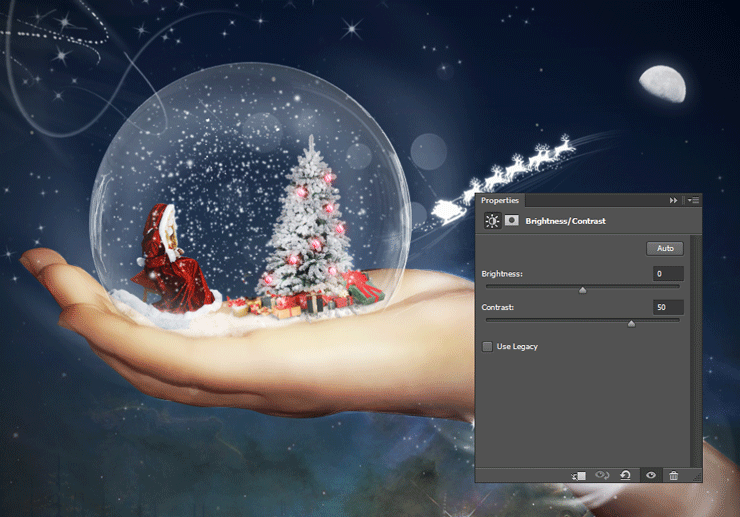
Add a Brightness/Contrast Adjustment Layer and increase the contrast to 50.
Step 52
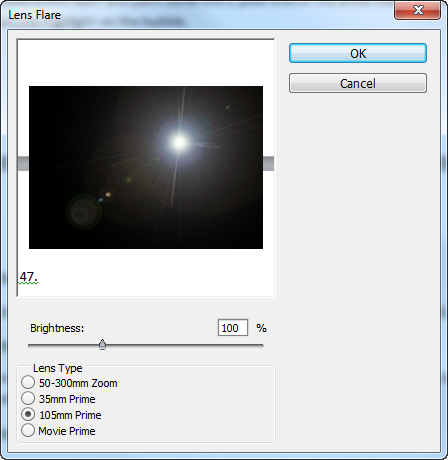
Create a new layer and fill it with black. Create a flare by going to Filter > Render > Lens Flare and using the settings shown below.
Step 53
Now change the blending mode to Screen and lower the opacity to 36%. Move the flare as you see fit and if you see any hard edges simply hide them by adding a layer mask and painting with black over them.
Step 54
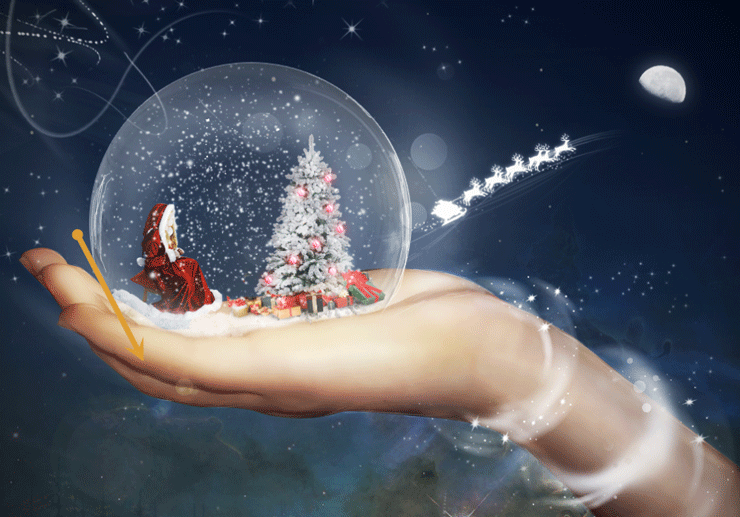
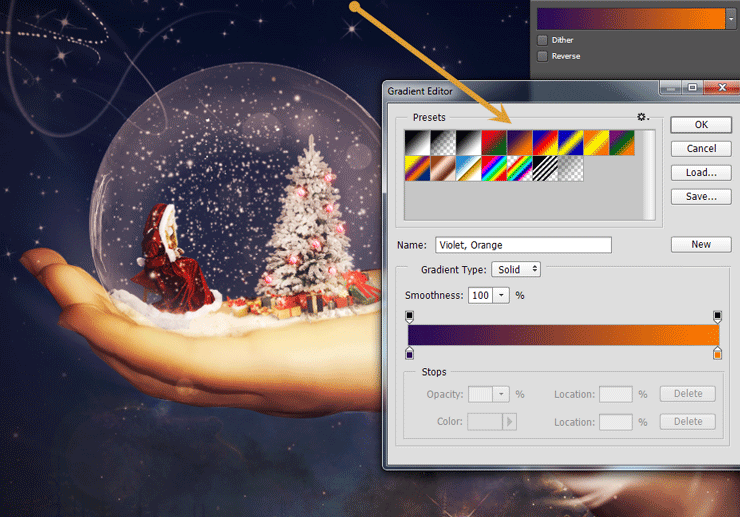
Create a new Gradient Map Adjustment Layer (Layer > New Adjustment Layer > Gradient Map) and set the blending mode to Overlay. Lower the fill to 46% and use the settings shown below.
Step 55
Choose the “Small Dawn” brush from the brush presets and paint with white some glam/bokeh over the scene. Lower the opacity to 10%.

Step 56
Repeat the previous step but this time use a deep blue (#274e9d) and lower the opacity of the layer to 47%. Also you should set the blending mode to Color Dodge.

Step 57
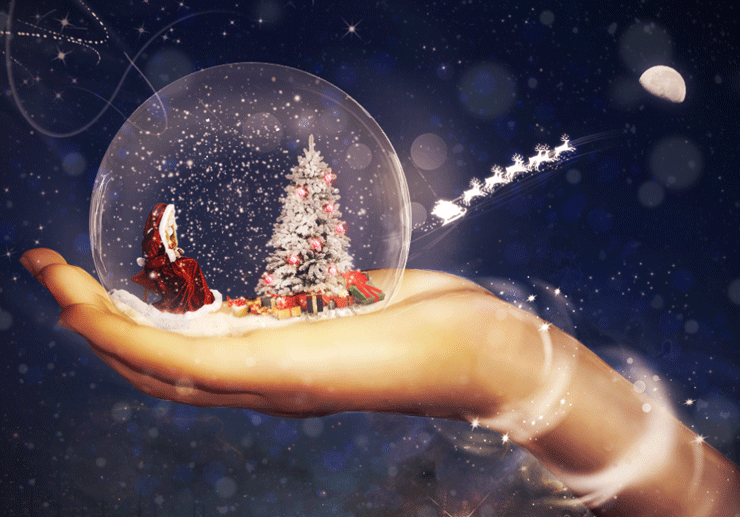
Open the file “Snow Texture”. Select all, copy and paste it in our scene. Set the blending mode to screen and lower the opacity to 14%. You can also hide away this snow effect in the center by using a layer mask and painting with black over the bubble.
Step 58
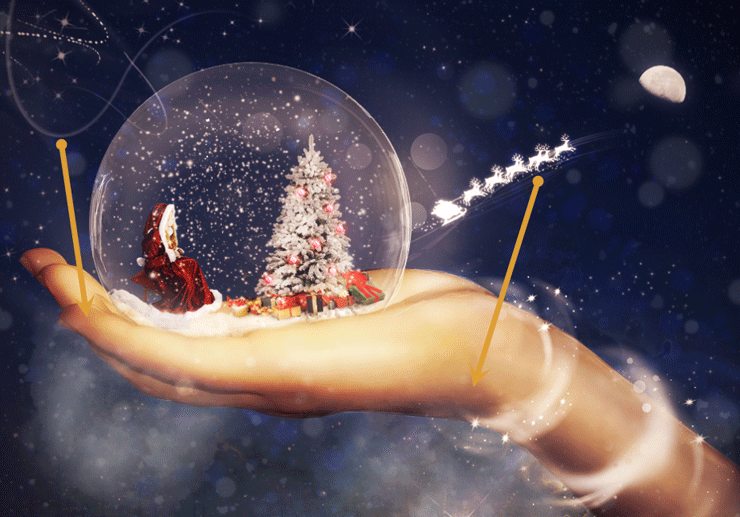
Import the “Mist” brush and paint some white mist below the hand on a new layer.
Step 59
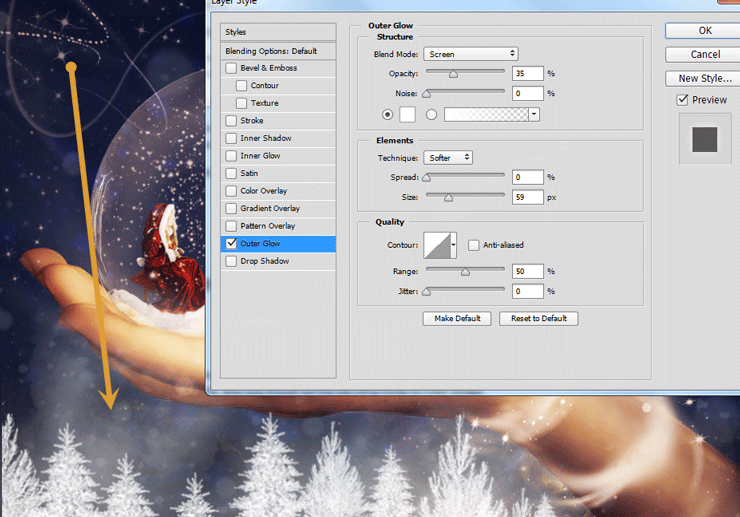
Import the “Trees” brush. Find the pines in the brush presets and on a new layer create some white pines below the hand. Add a glow effect.
Step 60
Create a new layer and change the blending mode to Color Dodge. With a soft white brush paint over the bottom part of the hand to make it look better.
Final Results
