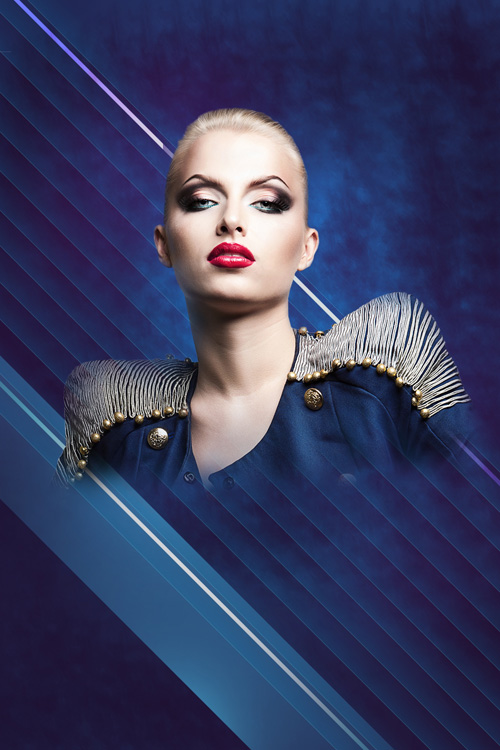
Today, you’ll learn how to use a variety of tools in Adobe Photoshop CS6 to mix fashion photography with abstract shapes, and how to use adjustment layers and masks to unite the colour palette and composition of an illustration. Layered PSD file included. Let’s get started!
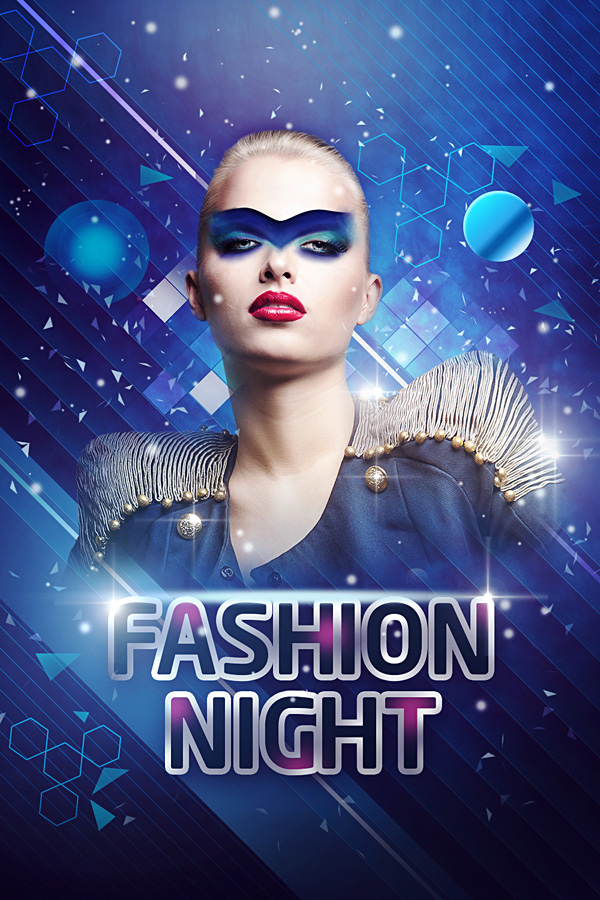
Final Image Preview
Start working by creating a new document (Ctrl+N) in Adobe Photoshop CS6 with the size 1000px by 1500px (RGB color mode) at a resolution of 72 pixels/inch. Use the Paint Bucket Tool (G) to fill with #212F60 color the new background layer.

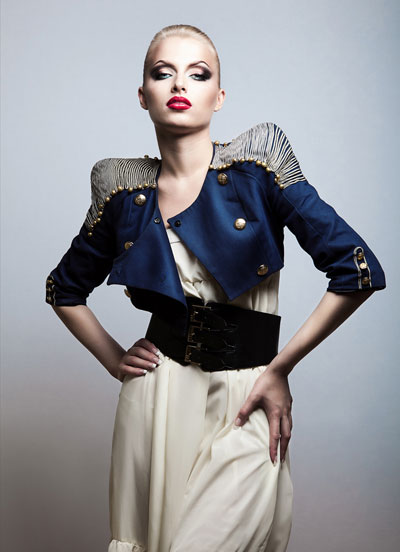
Find a stock photo with a model represented on it, I used this photo from Shutterstock. I would like to thank the author of this photo, or if you prefer, you can substitute similar image of your own.
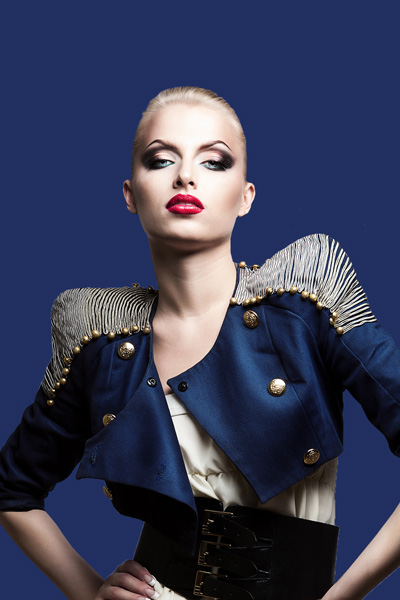
Remove the background using your favorite tools like Pen Tool (P), Magic Wand Tool (W), Magnetic Lasso (L) or even a simple Filter>Extract and insert it on a new layer in our main document.
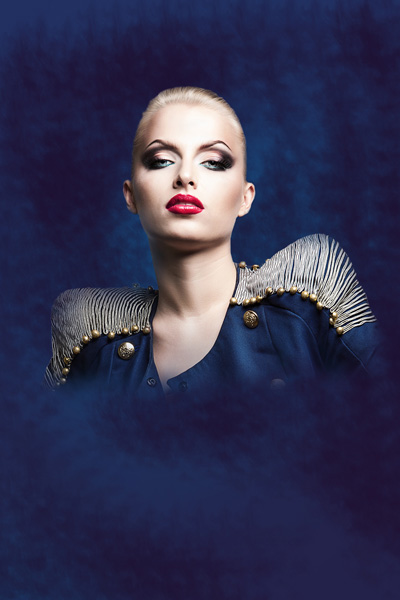
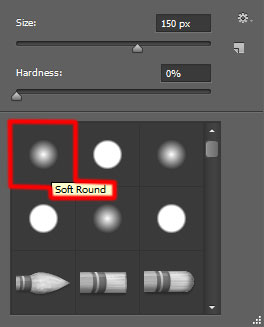
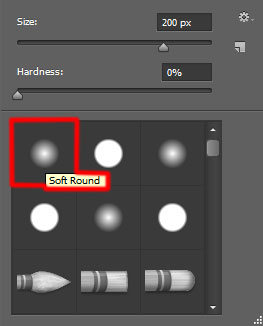
Put the model’s layer in a group (holding Ctrl button, select the the model’s layer in Layers panel and then press CTRL+G). Then apply the mask on the group by choosing Add layer mask on the bottom part of the Layers panel and choose the Soft Round brush of black color.

Paint in the mask to hiding the model’s layer the same way from the next picture.
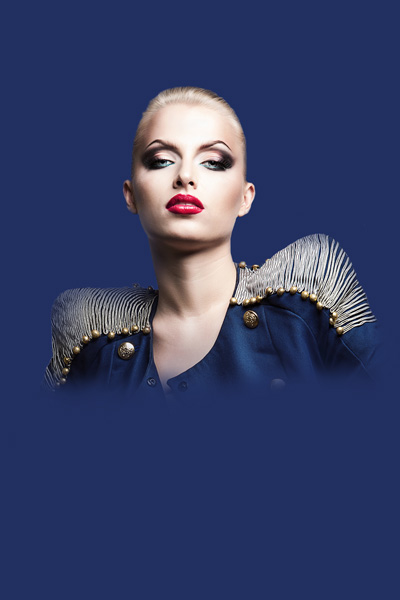
Create a new layer and select on it the brush mentioned above to paint the bottom part of the canvas, choosing the color #7B78FF (brush Opacity – 20%). Place this layer under the model’s one.
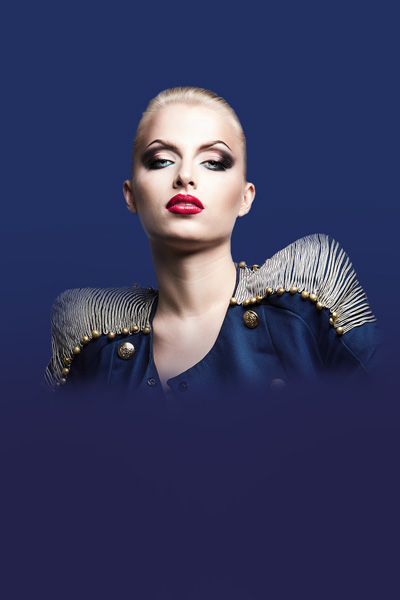
Next create a new layer and select on it also the Soft Round brush to paint around the model the same way from the next picture, using the color #0097E0 (brush Opacity – 15%). Place this layer also under the model’s layer.

We’ve got the next result:
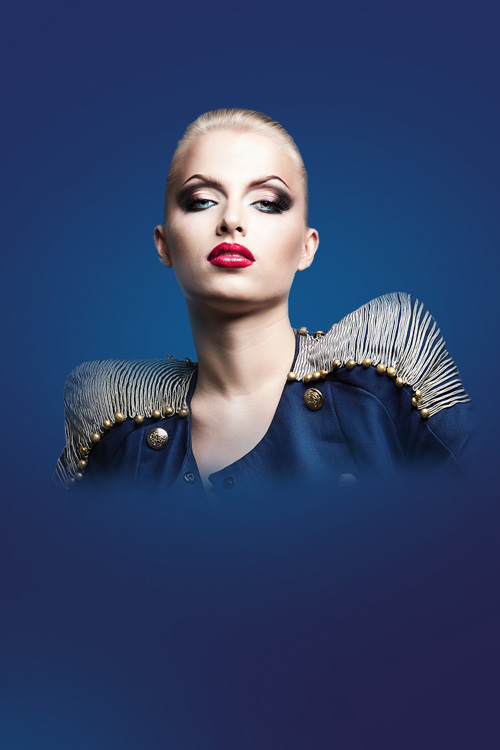
Next step we’ll download set of brushes Sujune Brush Pack 2 from Deviantart.
Also download set of brushes for Adobe Photoshop, named: Light Brushes 2.
Copy the brushes files to C:Program FilesAdobeAdobe Photoshop XPresetsBrushes folder (Adobe Photoshop X been your version of Photoshop).
Create a new layer and select the next brush from Sujune brush Pack 2 to paint the background with the color #37004A (brush Opacity – 15%).
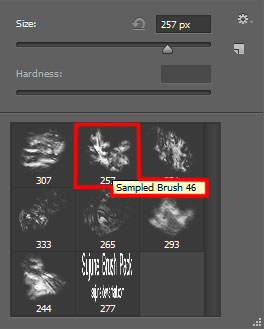
Place this layer under the model’s one too.
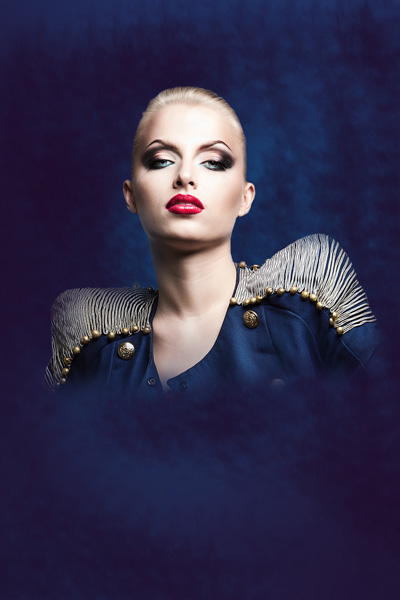
Create another new layer and choose for it the Soft Round brush to paint the left part of the canvas as well as the right lowest corner of the same picture.
The brush’s color is #37004A (brush Opacity – 15%). Place this layer under the model’s one.
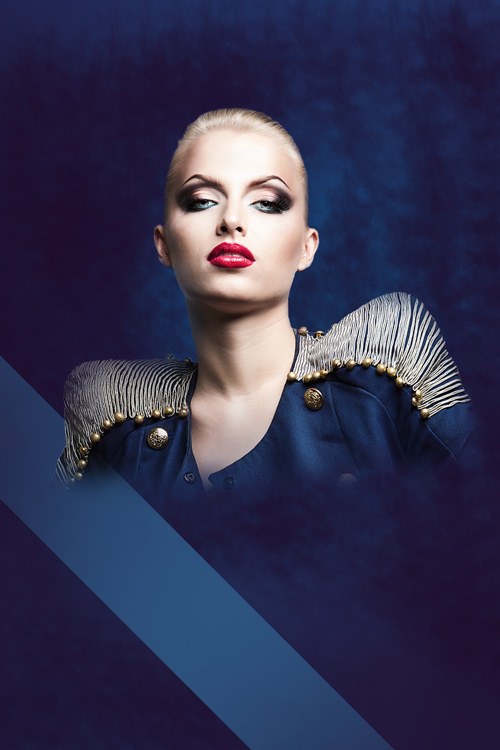
Use the Rectangle Tool (U) now to draw a rectangle of the color #2E5783. It must be inclined, applying the Free Transform (Ctrl+T) command and placed its layer under the model’s one.
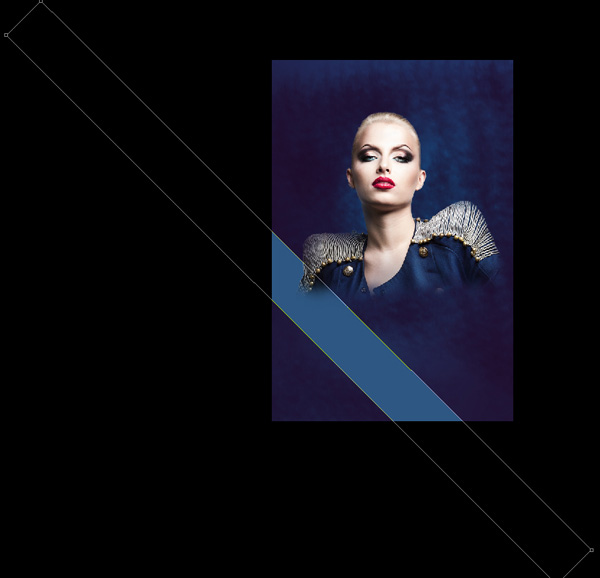
Insert the mask on the last made layer by choosing Add layer mask on the bottom part of the Layers panel and choose the Soft Round brush of black color (set Opacity to 15% in Options bar).

Paint in the mask to hide out the rectangle along its edges.
Create a new layer and choose the brush used before to paint the zone behind the model and under the rectangle. The brush’s color is #00B1ED (brush Opacity – 30%). This layer must be situated also under the model’s layer.
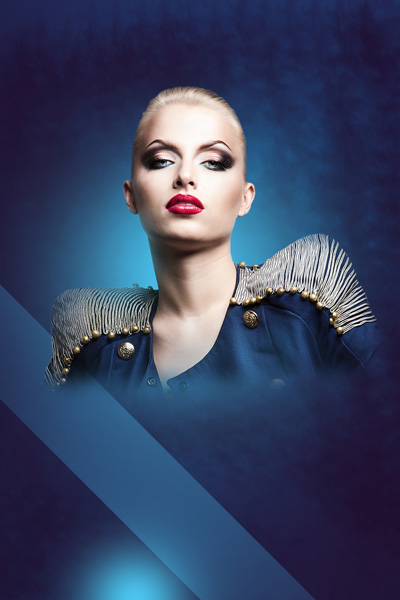
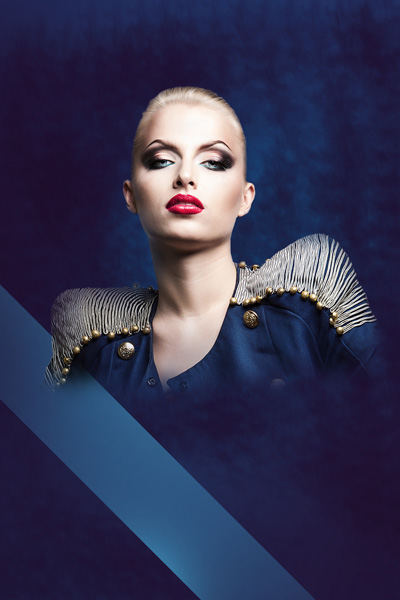
Hold down Alt (Windows) or Option (Mac OS) and click between the brush’s layer and the rectangle’s one in the Layers panel to create a clipping mask.

We’ve got the next result:
Next we’ll represent the next new layer on which we’ll apply the Soft Round brush to draw a spot behind the model. It is of white color (brush Opacity – 20%).

The spot’s layer will be situated under the model’s layer in the Layers panel.
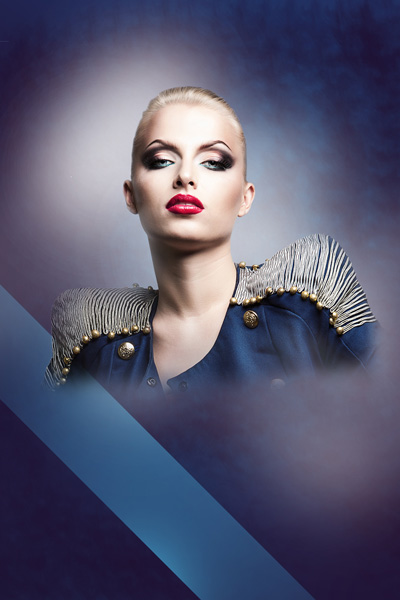
Set the Blending mode for this layer to Overlay.

Using the Rectangle Tool (U), represent a line of the color #DADADA. Add Stroke from Option bar as shown.
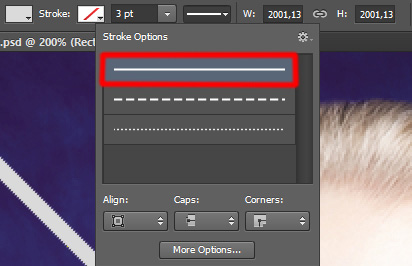
The inclined position may be obtained by applying the Free Transform (Ctrl+T) command.
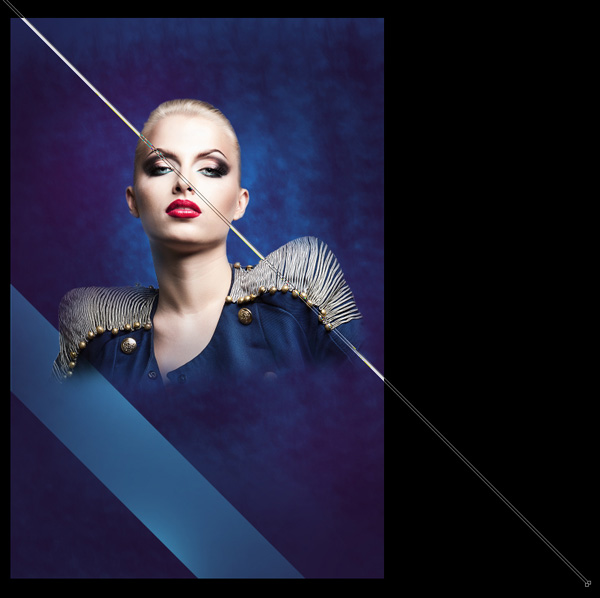
Set the Blending mode for this layer to Vivid Light.

Insert the mask on the same layer by choosing Add layer mask on the bottom part of the Layers panel and choose after that the Rectangular Marquee Tool (M) to make the next selection:

Using the Soft Round brush of black color (brush Opacity – 20%), paint to hide out the inside part of the selection on the left and right sides.
We’ve got the next result:

Make a copy of the recently made layer and change the Blending mode to Normal. Try to hide the line’s edges in the mask also, using the brush applied previously of black color. The copied layer containing the line will be situated under the model’s layer.

Make a copy of the last made line’s layer and choose the Free Transform (Ctrl+T) command to displace the copy exactly as on the next picture it is demonstrated. The copy’s layer must be situated under the model’s layer.

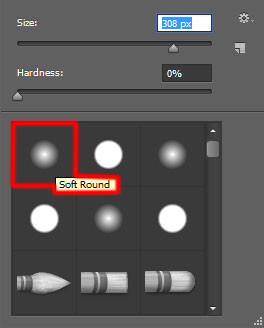
Create a new layer above the recently made copy and select the Soft Round brush to paint the line’s edges. The brush’s color is #4BC5EE.
This layer will be situated also under the model’s layer.
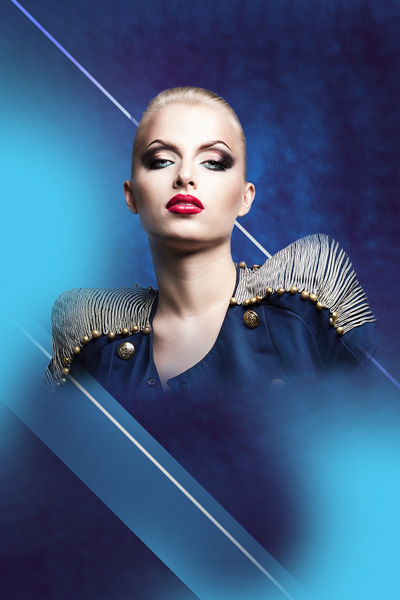
Hold down Alt (Windows) or Option (Mac OS) and click between the brush’s layer and the line’s layer in the Layers panel to create a clipping mask.

Set the Blending mode for this layer to Linear Light.

Using the Rectangle Tool (U), make another line, inclining it also with the Free Transform (Ctrl+T).
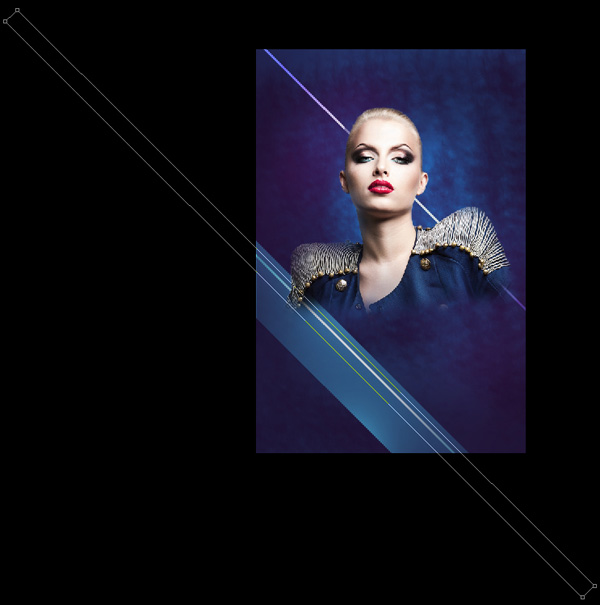
Set Fill to 0% for this layer and click on Add a layer style icon from bottom part of the Layers panel to select Gradient Overlay.
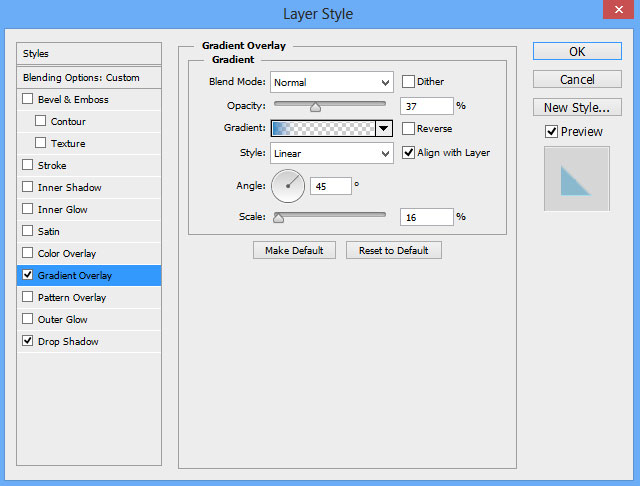
Click in the color bar to open the Gradient Editor and set the color stops as shown. Click OK to close the Gradient Editor dialog box.
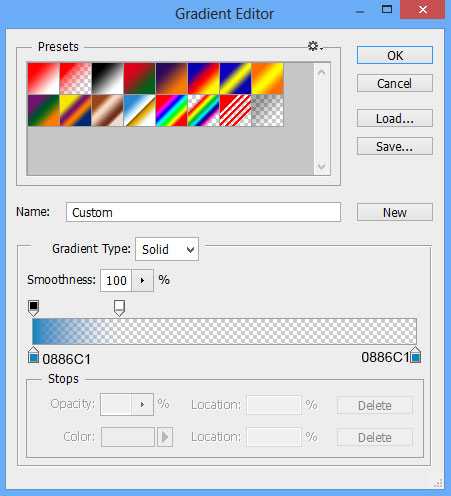
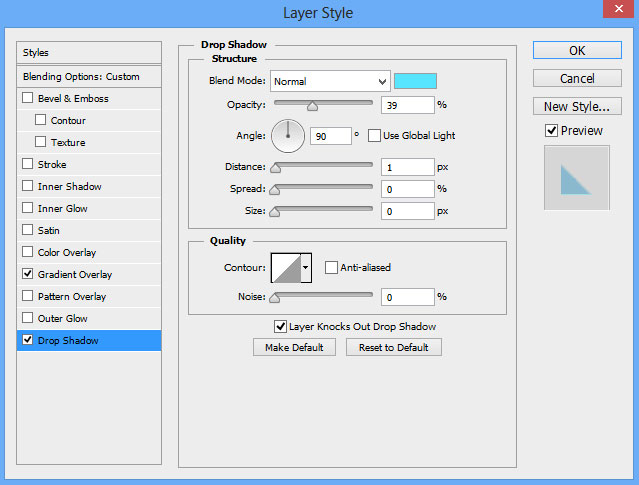
Add Drop Shadow:
We’ve got the next result:
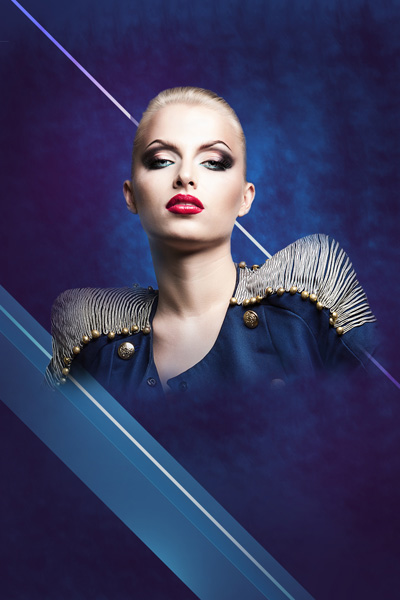
Make eleven copies of the last made layer and select the Free Transform (Ctrl+T) command to place the copies the same way indicated below and placing this layer lower than the model’s one.

Next we have to put together all the thin lines’ layers (hold Ctrl button to select the layers in Layers panel and finally press CTRL+E to Merge Down). Set the Blending mode for this layer to Lighter Color.
