Seamless patterns can be used for a number of purposes including packaging design, print design, web design, and even in textiles design. In this tutorial, I will show you how to create a realistic-looking, seamless, argyle pattern in Photoshop with a fabric texture. Let’s get started!
1. Prepare the Canvas
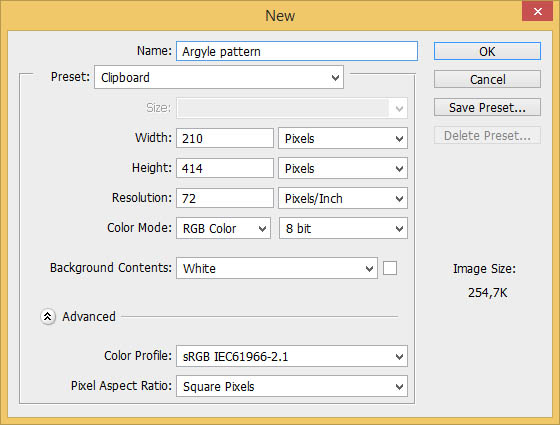
Step 1
Create a new file (Command/Ctrl-N) and set its size to 210 px × 414 px.
2. Draw Shapes and Add Stitches
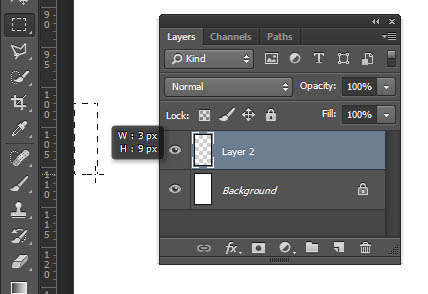
Step 1
Make a new layer. Draw a rectangular selection starting at position (99,0) to (108,3). The selection size is 3 px × 9 px.
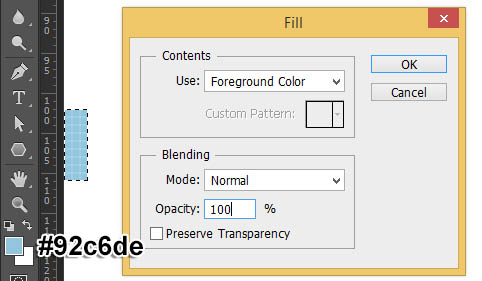
Step 2
Change foreground color to light blue #92c6de. Fill selection with foreground color, either by hitting Alt–Delete or Edit > Fill.
Step 3
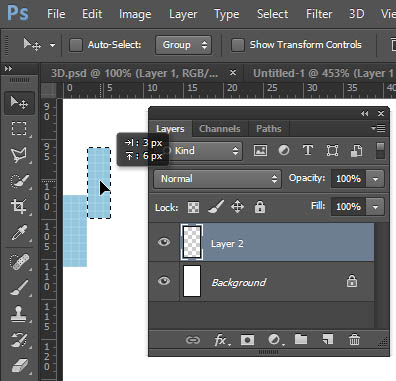
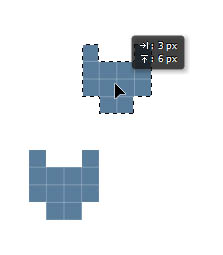
Select All (Command/Ctrl-A) and then Command/Ctrl-drag with Move Tool to duplicate the shape. Move it 3 px right and 6 px up.
Step 4
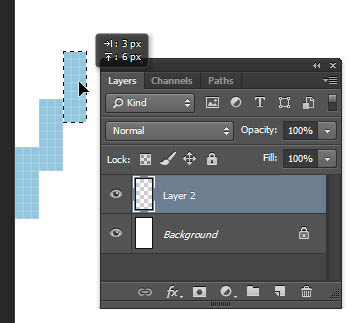
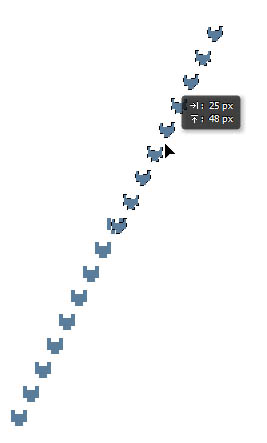
Repeat Step 3. Select All (Command/Ctrl-A) and then Command/Ctrl-drag to duplicate them. Keep same distance between each shape.
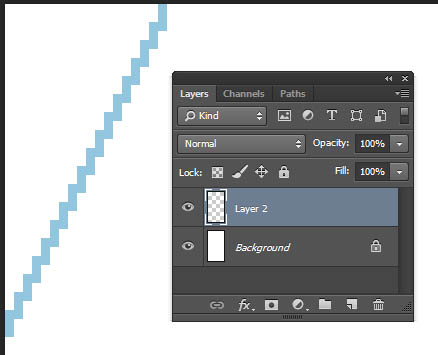
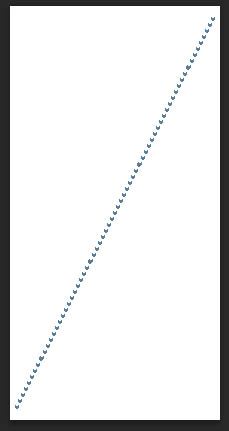
You will end up with this jagged line.
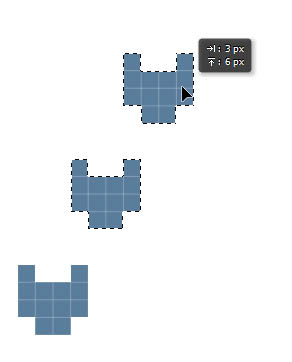
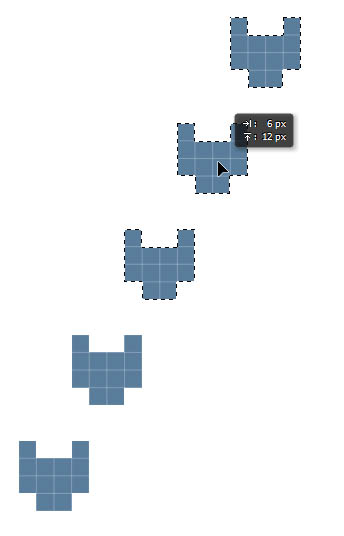
Step 5
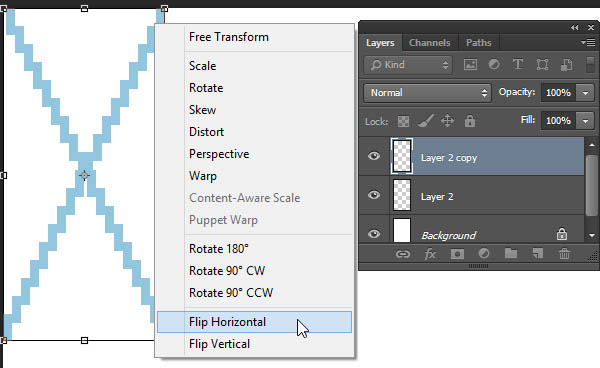
Duplicate the jagged line layer by pressing Command/Ctrl-J. Hit Command/Ctrl-T to transform the layer, right click and then select Flip Horizontal.
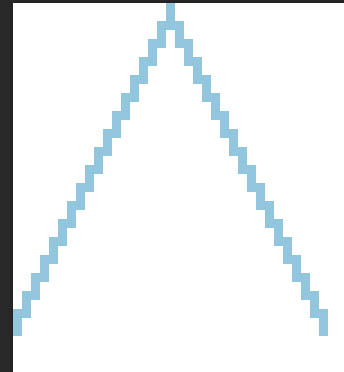
Step 6
Move the duplicated line until we have an upside down V shape.
Step 7
Hit Command/Ctrl-E to merge both layers. Duplicate it again, hit Command/Ctrl-T, right click and select Flip Vertical.
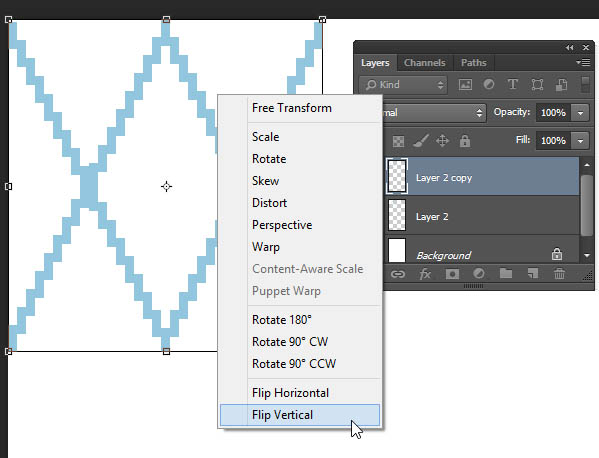
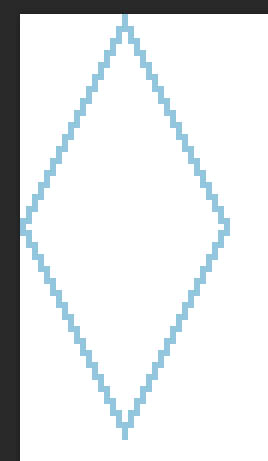
Step 8
Move layer down until you have a diamond shape. Merge both layers.
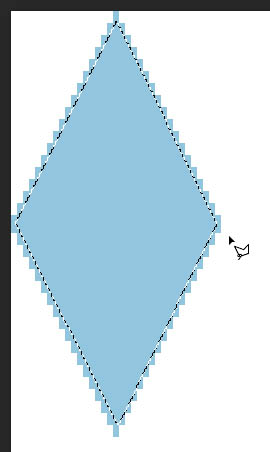
Step 9
Use Polygonal Lasso Tool to select inside of the diamond shape.
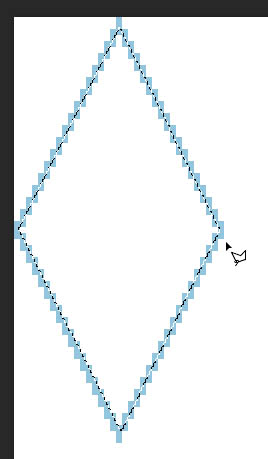
Step 10
Fill selection with same color.
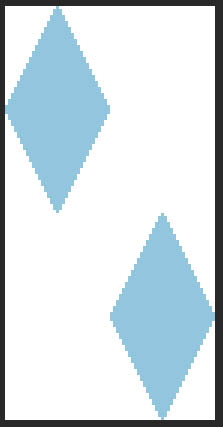
Step 11
Duplicate the shape and place it on the opposite side.
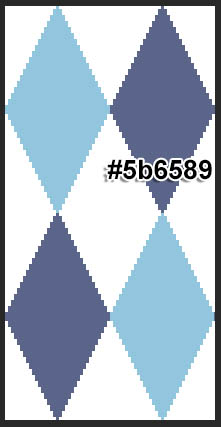
Step 12
Duplicate the shape, place it on lower left and upper right corner. Change its color.
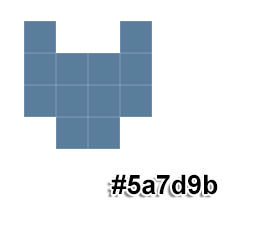
Step 13
Now let’s work on the stitches. Use Pencil Tool set to 1 px to draw following shape.
Step 14
Go to Select > Select All and then Command/Ctrl-drag with Move Tool to duplicate it.
Step 15
Keep repeating this until we have a nice set of lines.
Step 16
Place the stitches on center of the diamond shape.

Step 17
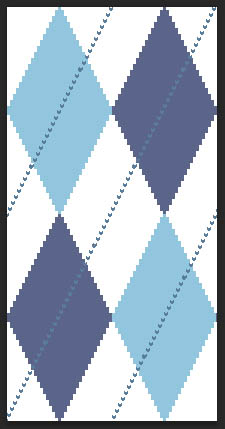
Duplicate the stitches again and place it on across the other three diamond shapes.
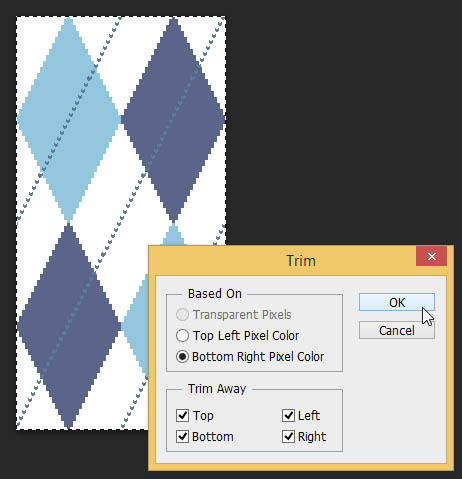
Step 18
Merge all the stitches layers. Hit Command/Ctrl-A to select all pixels and then click Image > Trim to remove un-needed pixels. Click OK.
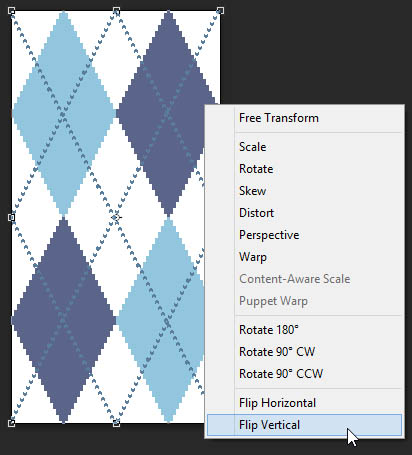
Step 19
Duplicate the stitches layer. Hit Command/Ctrl-T. Right click and choose Flip Vertical.
3. Add Background Color
Step 1
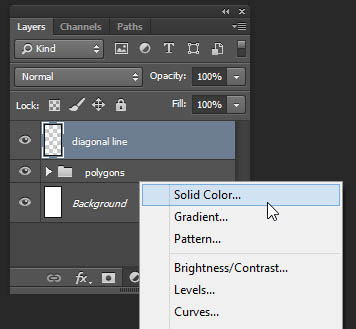
We are almost done making the argyle pattern. We need to add the background. Click Add Adjustment Layer icon on lower part of the Layers panel and then select Solid Color.
Step 2
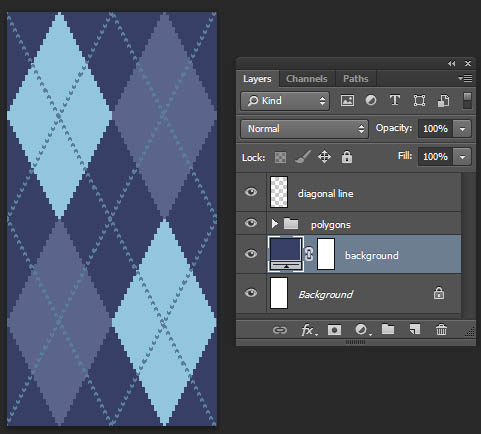
Select dark blue.

Step 3
Make sure the Solid Color layer is underneath every other element.
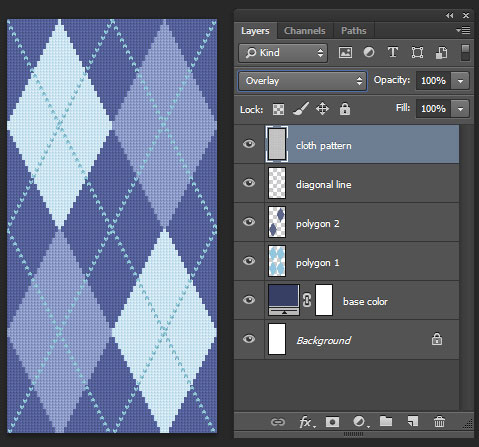
4. Add Fabric Pattern
Step 1
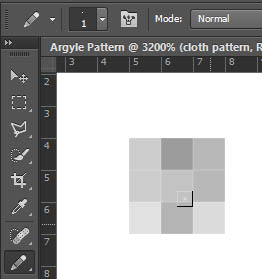
To give it a realistic appearance, we want to add a fabric texture on top of the argyle pattern. Make a new file and then draw random pixel pattern using Pencil Tool set to 1 px. Use a variety of grayscale colors.
Step 2
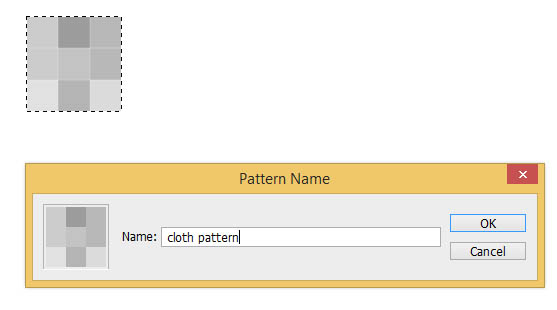
Select the pixels you just made and save it as a pattern. Click Edit > Define Pattern.
Step 3
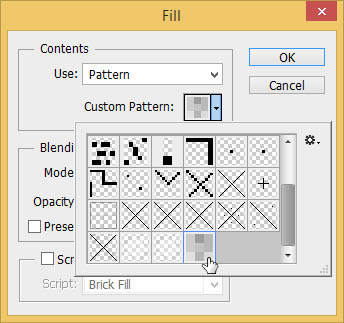
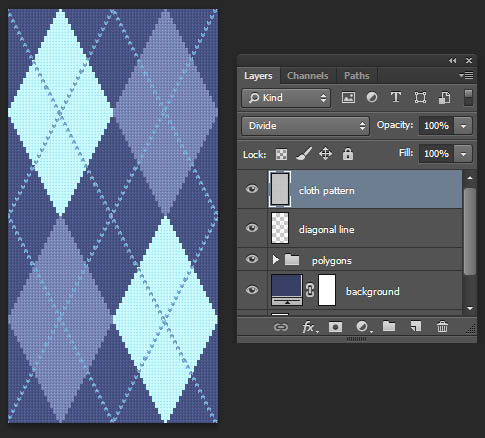
Return to your argyle pattern file. Make new layer and then click Edit > Fill. Select pattern you just created.
Step 4
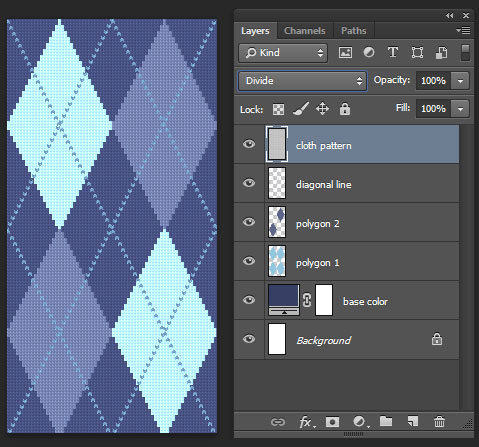
Change its Blend Mode to Divide.
5. Save Pattern as Preset
Step 1
We have finish with the argyle pattern. Next, we need to save it as a pattern for Photoshop. Select all pixels by hitting Command/Ctrl-A. Click Edit > Define Pattern.
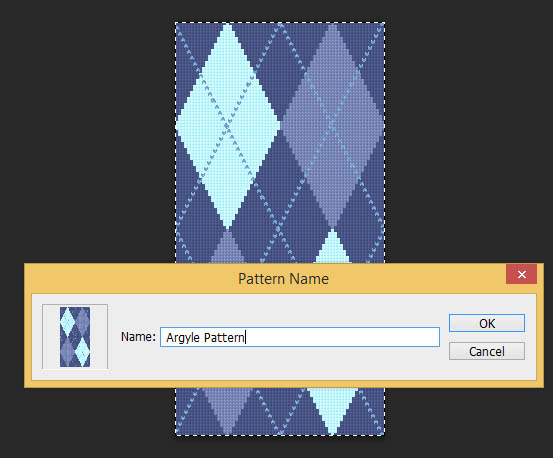
Step 2
Make new file. Click Edit > Fill. Select argyle pattern and then click OK.

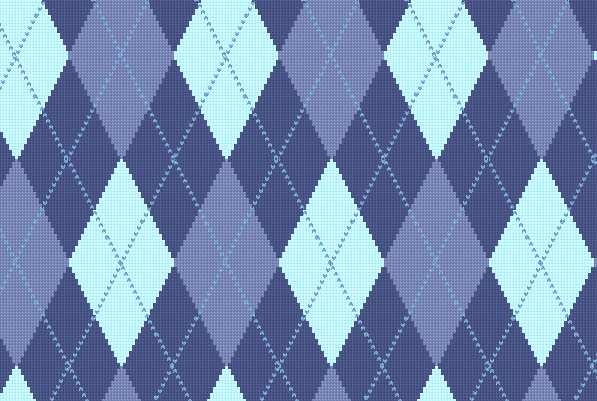
Conclusion
At this point, you should have finished creating your argyle pattern in Photoshop. Below, I have included some optional steps to adjust the color scheme of this pattern. I hope that you have learned something from this tutorial and can use the techniques that I have shown to create some interesting, and new argyle patterns of your own.
Create Additional Color Schemes (Optional)
You can change the appearance of your argyle pattern in several ways. Below, I have included some quick techniques that you can use to drastically change the look and appearance of your pattern using adjustment layers and blending modes.
Step 1
There are many ways to change appearance of the pattern. First, you can apply Hue/Saturation and drag the Hue slider to scroll the color.

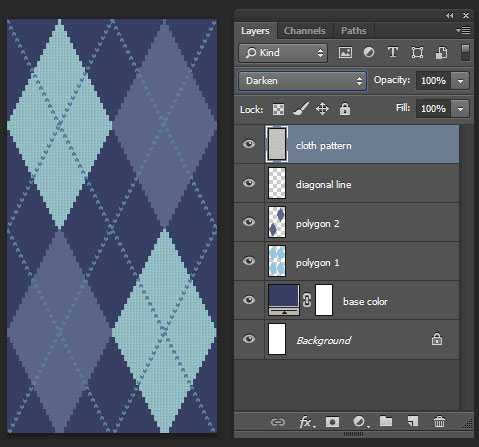
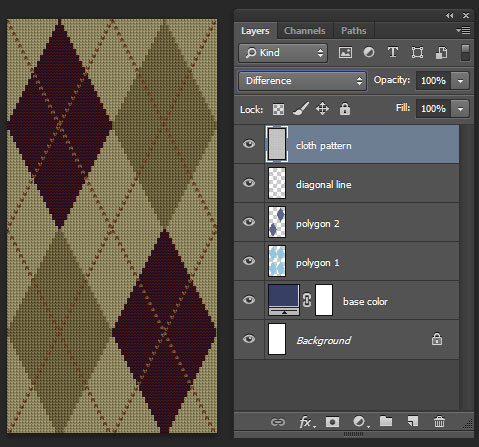
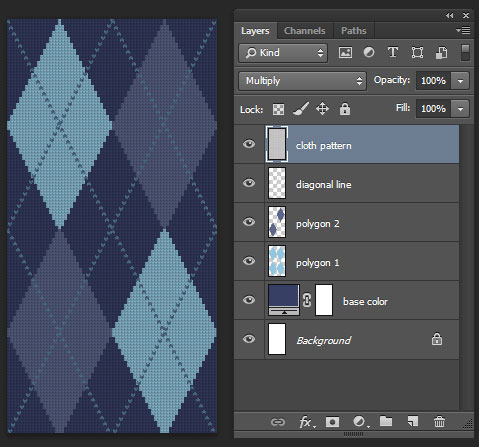
Step 2
Second, you can try to change the argyle pattern directly by choosing different blend mode on the cloth pattern. Below, you can see the result in different blend mode.