The Procreate app for iPad is not just the killer mobile app for artists—it’s genuinely one of the best painting programs ever released.
So What Is the Procreate App?
In this A to Z of Procreate, I’m going to answer that question with 26 mini Procreate tutorials, as well as Procreate tips and tricks that will demonstrate why it’s so popular among digital artists today.
What You Will Learn
Among the things you’ll learn are:
- How to add new brushes in Procreate
- How to install new fonts and style text
- How to blend and erase while maintaining texture
- How to change opacity in Procreate
- Tricks for working with palettes and colors
And if you’d rather watch than read, check out the video version on our Envato Tuts+ YouTube Channel:
A is for Add New Brushes
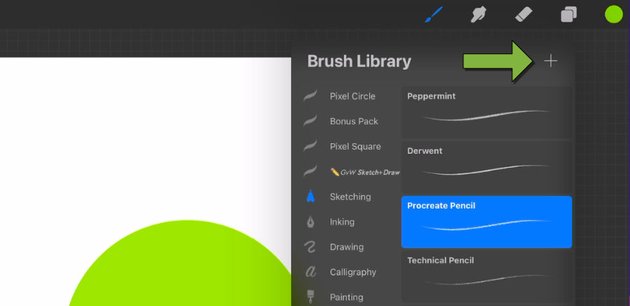
You can add new Procreate brushes to the default collection by opening the Brush panel and tapping the “+” button:
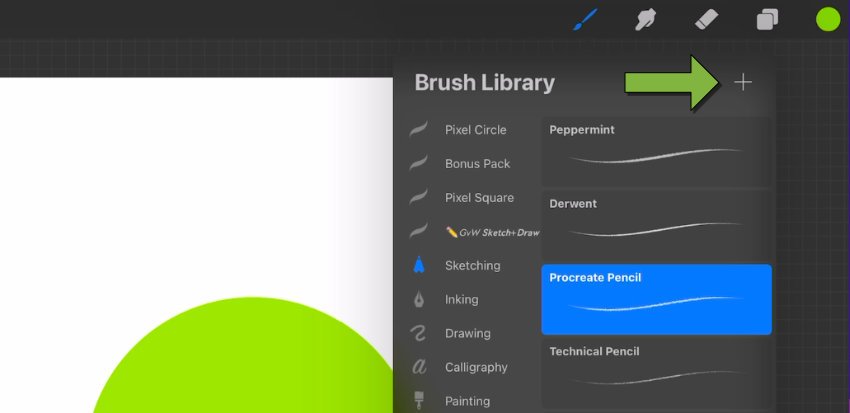
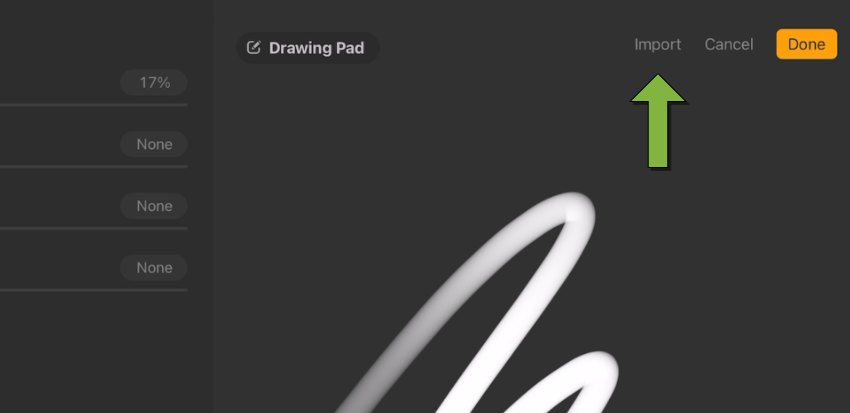
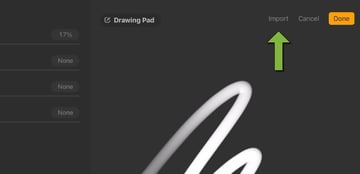
Then tap the Import button:
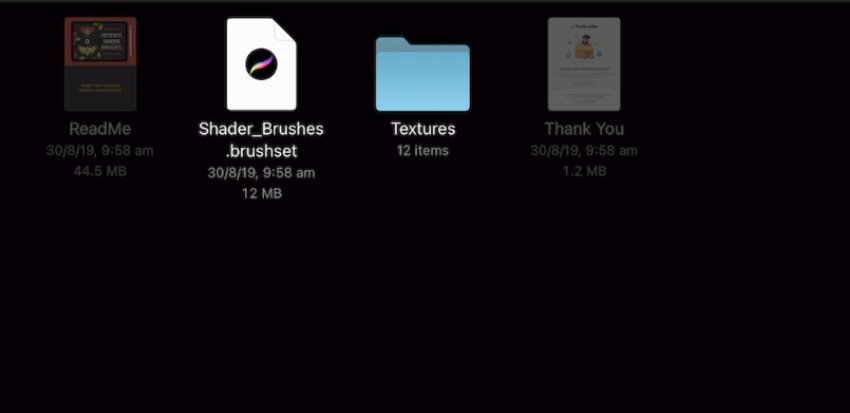
Browse for and select a compatible brush pack:
You’ll then see the brush pack appear in the Brush panel:
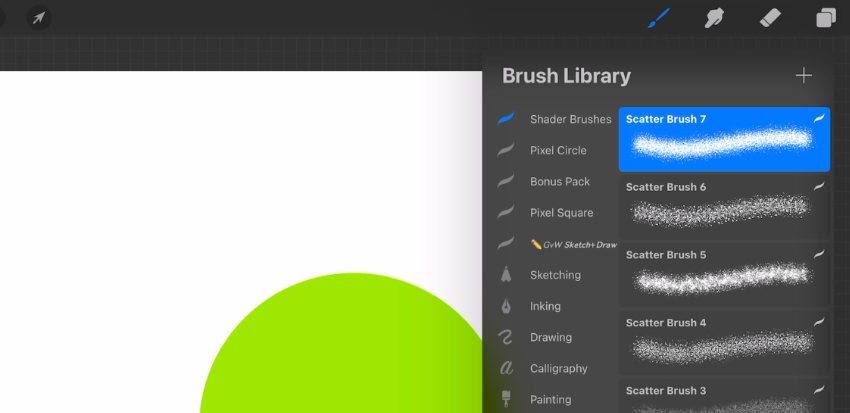
You can find over 150 of the best Procreate brush packs in the dedicated Procreate section at Envato Elements.
B is for Blending Modes
Procreate has 26 different blending modes you can apply to layers.
By default, a layer’s blending mode will be set to “Normal”, as indicated by the letter N to the right of the layer name:
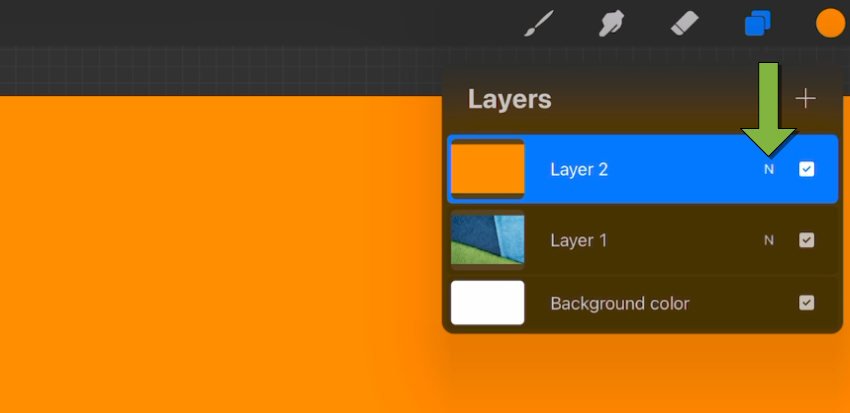
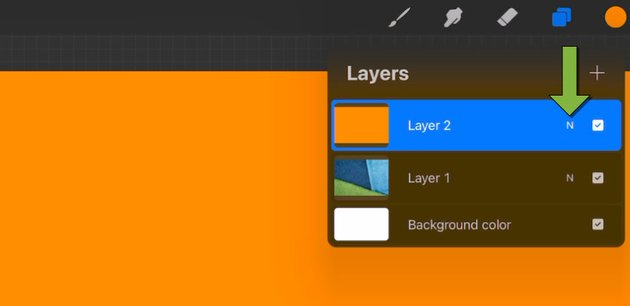
To change to a different blending mode, tap that letter N and a list of all available blending modes will expand for you to choose from:
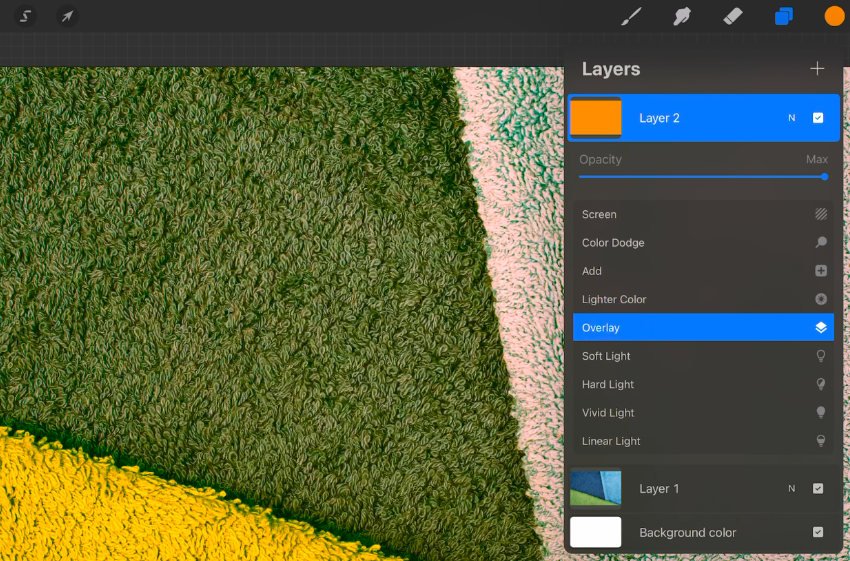
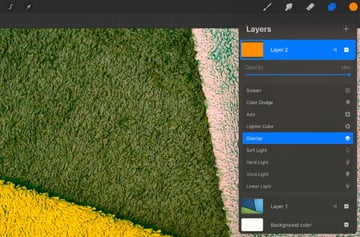
Image source: https://elements.envato.com/towels-background-TPCAHTH
C is for Changing Opacity
It’s not immediately obvious how to change opacity in Procreate, but it’s easy once you know how. There are two ways to get there.
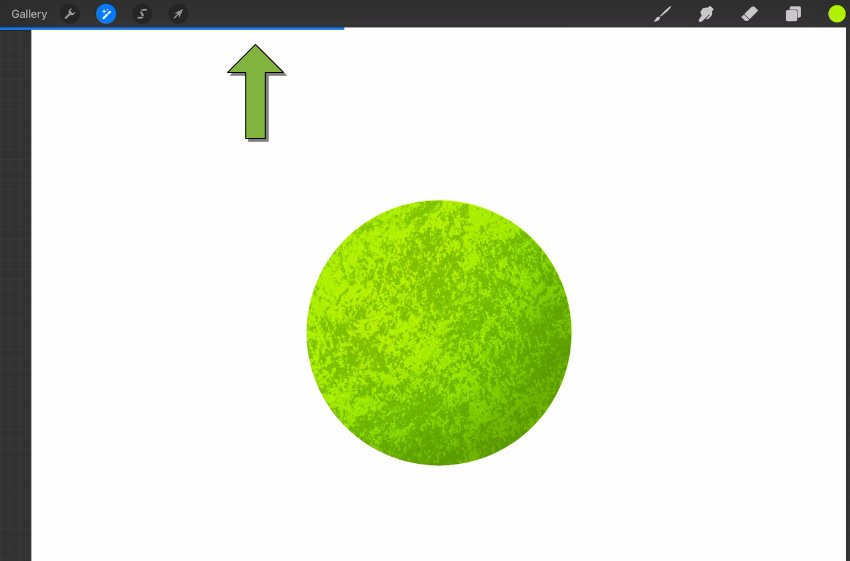
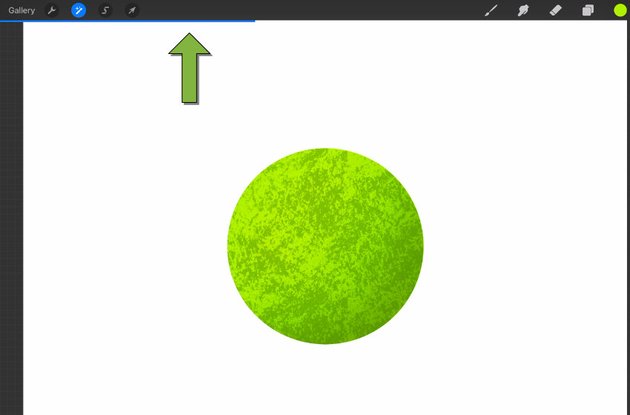
The first is to open the Layers panel and tap on the blending mode indicator. Once you do that, a space will open up showing an opacity slider at the top:
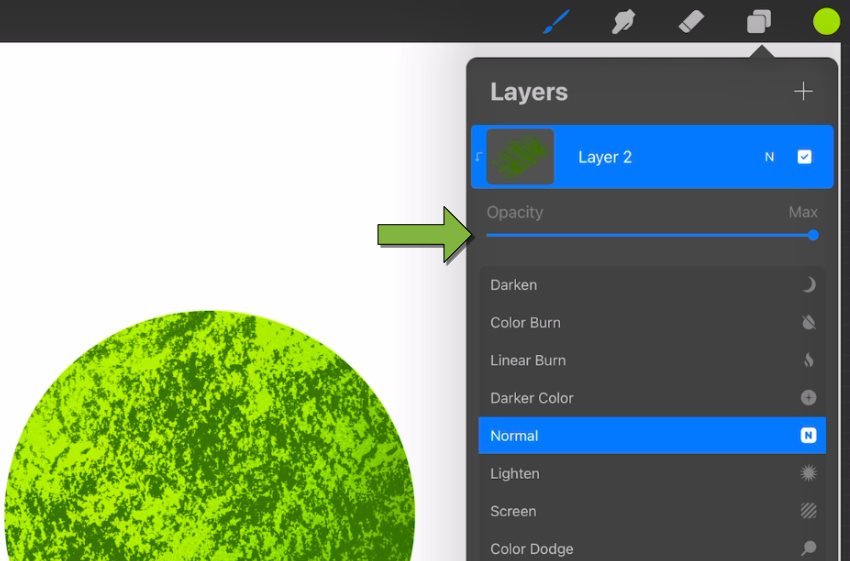
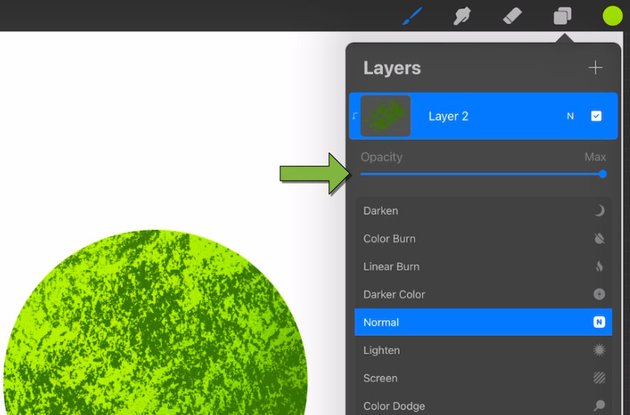
Alternatively, you can two-finger tap on the layer and an opacity indicator will appear along the top of the canvas. Slide your finger to the left on the canvas to decrease opacity and to the right to increase it:
D is for Drag & Drop to Fill
If you’d like to know how to fill in Procreate, it’s super easy. All you have to do is drag your active color from your palette and drop it into the area you want to fill:
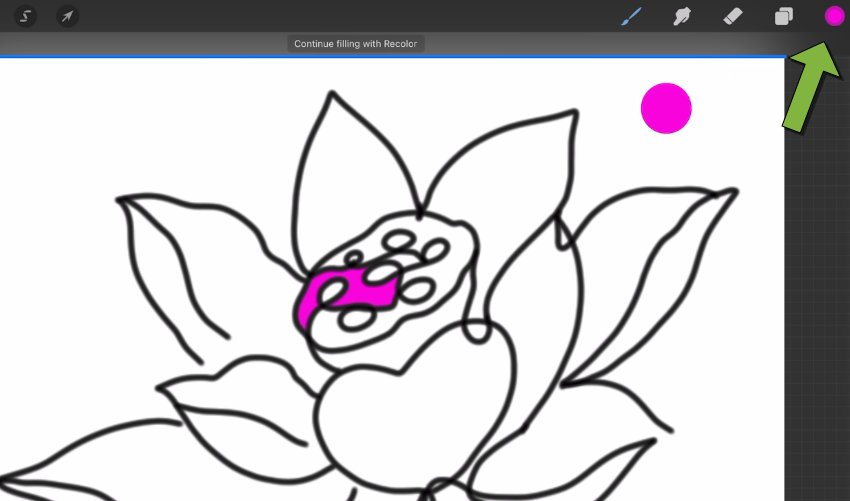
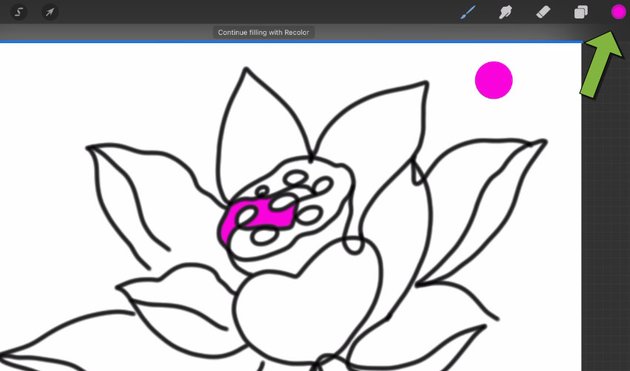
If there’s a little jaggedness around the edges, hold for a moment before dropping the color and drag to the left or right to control how the edge of the fill is placed:
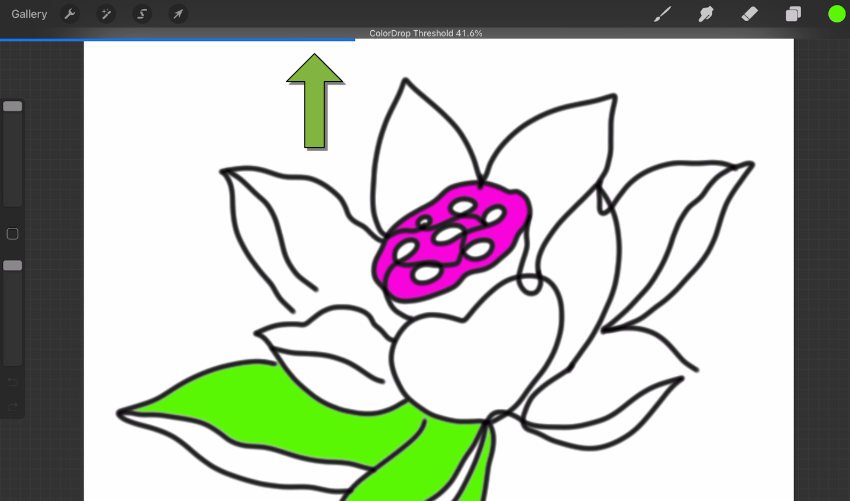
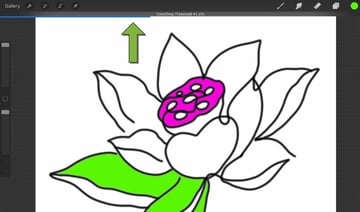
49 hand-drawn line art graphics: https://elements.envato.com/49-hand-drawn-line-art-U7M2ZRT
E is for Erase & Blend With Matching Brush
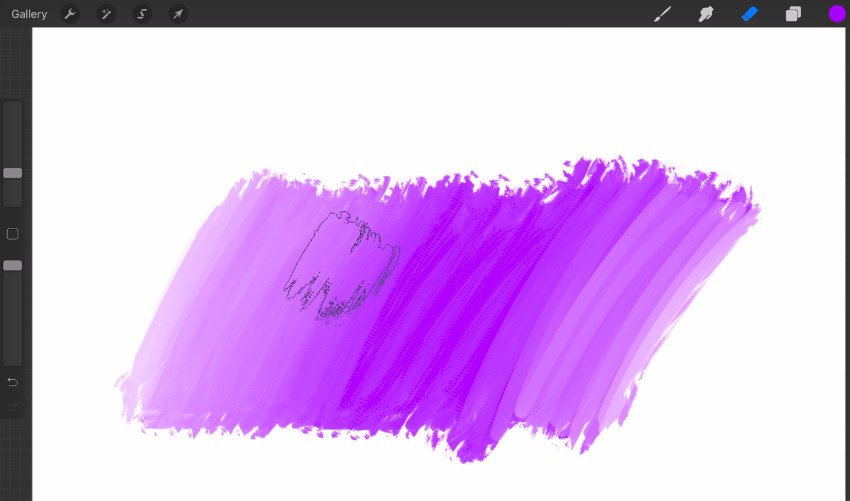
When you’re painting with a textured brush, you don’t want to ruin that texture by erasing with a regular round brush.
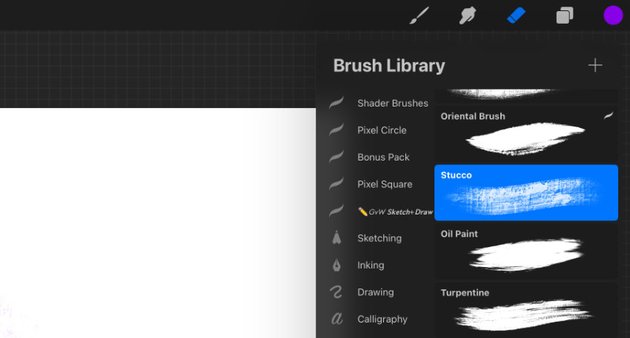
Instead, erase with a matching brush by tapping the eraser icon twice to open its panel then choosing the same brush you’re painting with:
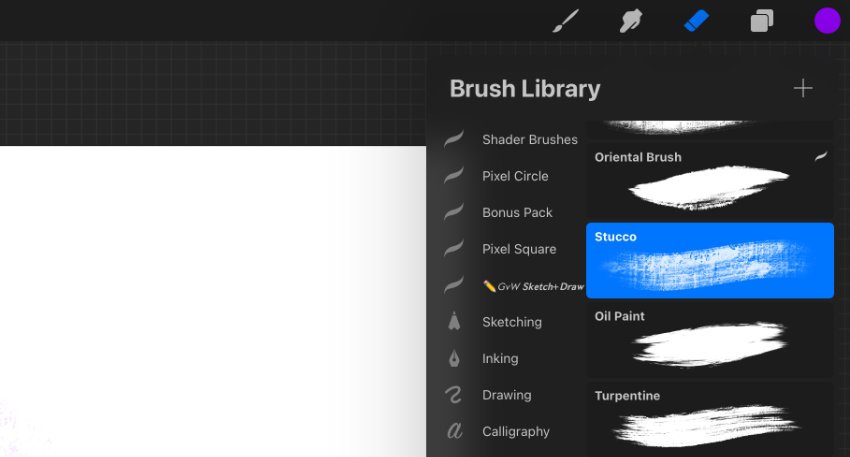
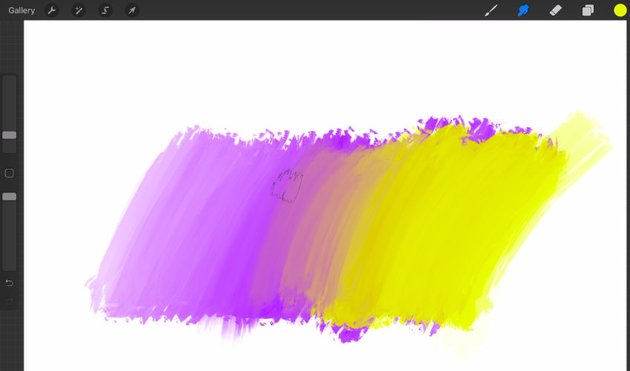
Now, when you erase, your textured style will remain consistent:
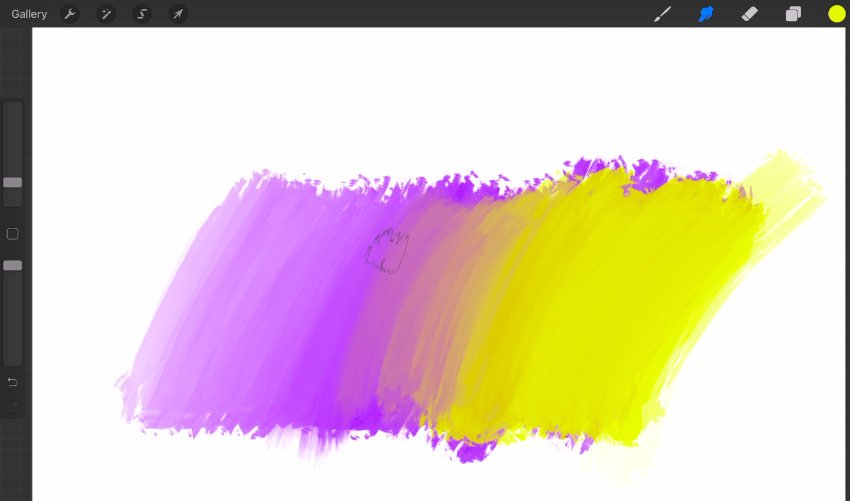
If you’re wondering how to blend in Procreate, the process is the same, so you can blend with a matching brush as well:
F is for Fonts
Procreate makes font installation a simple matter of drag and drop.
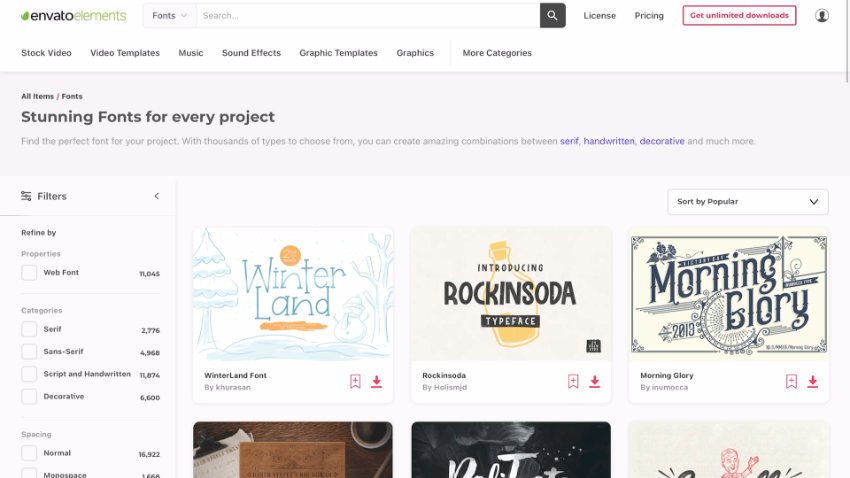
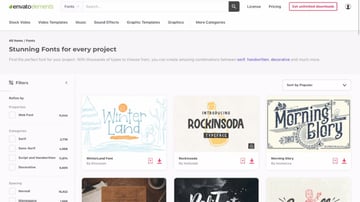
Download some fonts for Procreate, and for that purpose you can choose from over 18,000 fonts available at Envato Elements. Any TTC, TTF, and OTF files are compatible:
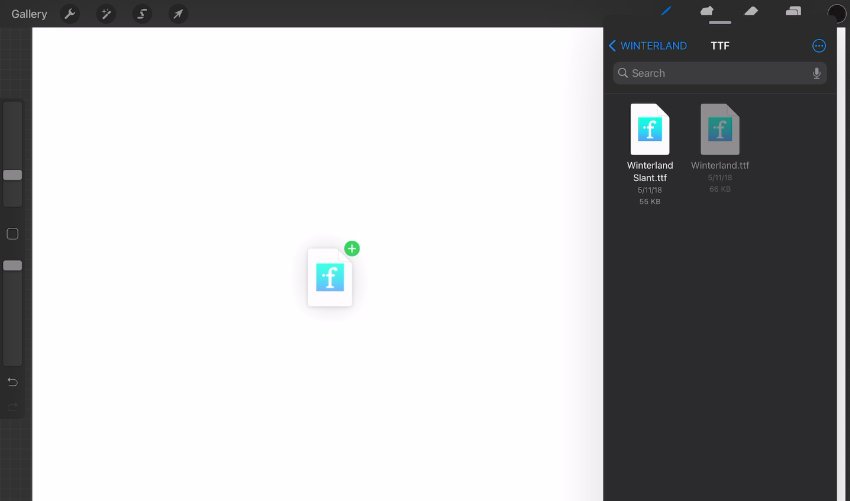
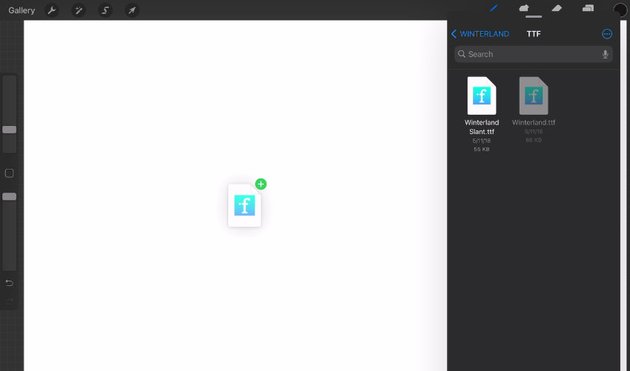
Then open up the Files app and Procreate side by side, and just drag and drop the fonts onto the canvas to have them automatically imported:
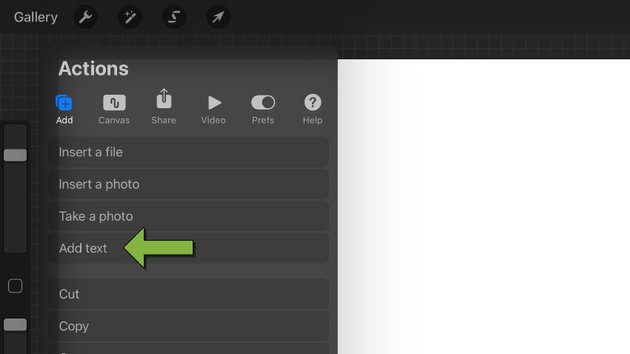
Add text to your design by tapping the wrench icon, and under Add, choose Add text:
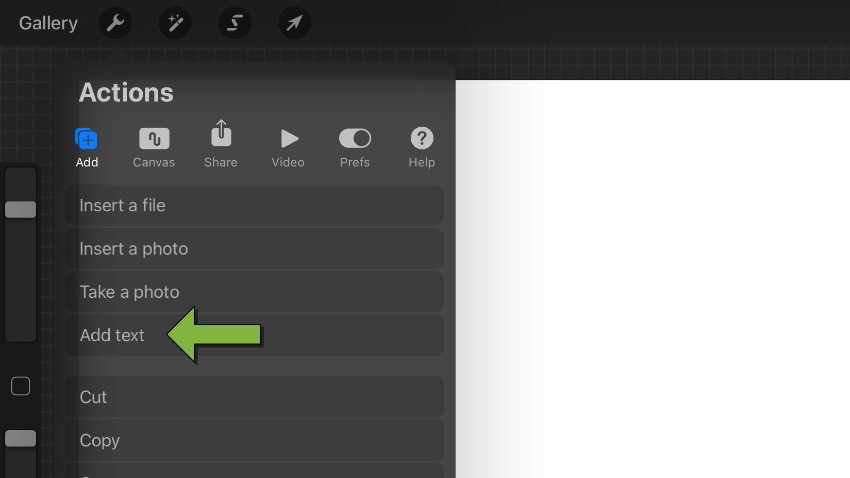
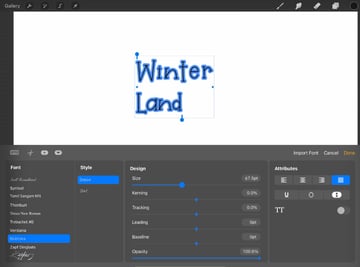
Select the text, and then open the Edit Style panel by tapping either the font name or weight:
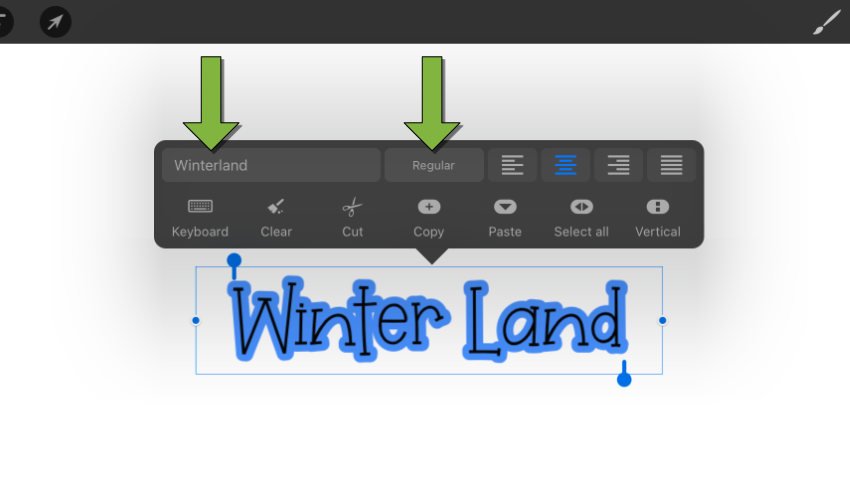
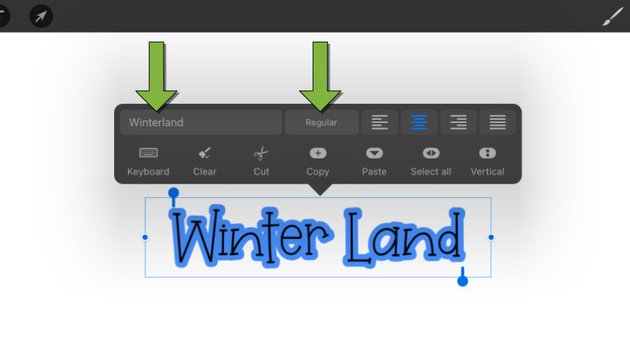
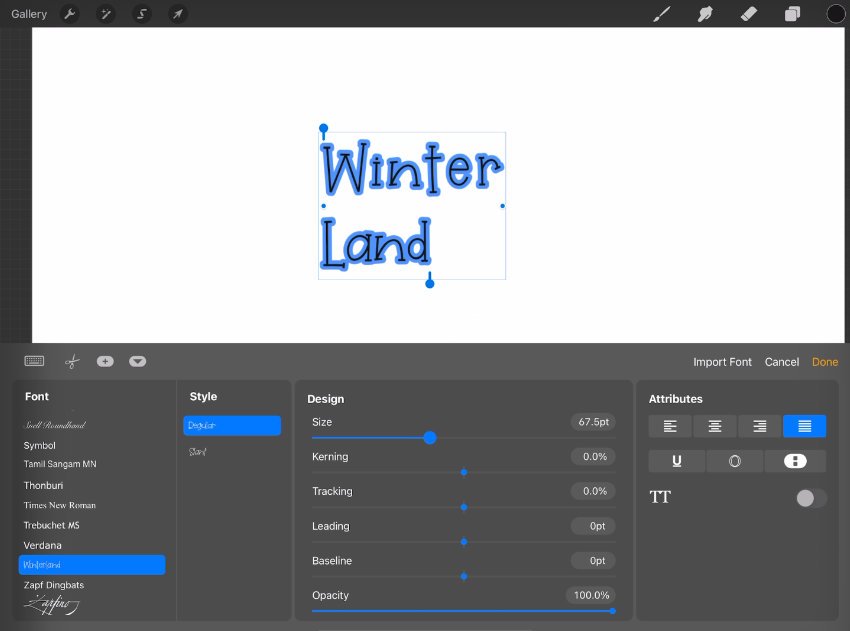
Here you can choose from among your Procreate fonts, set a weight, control the sizing, spacing, and opacity, and set the alignment:
G is for Grouping Layers
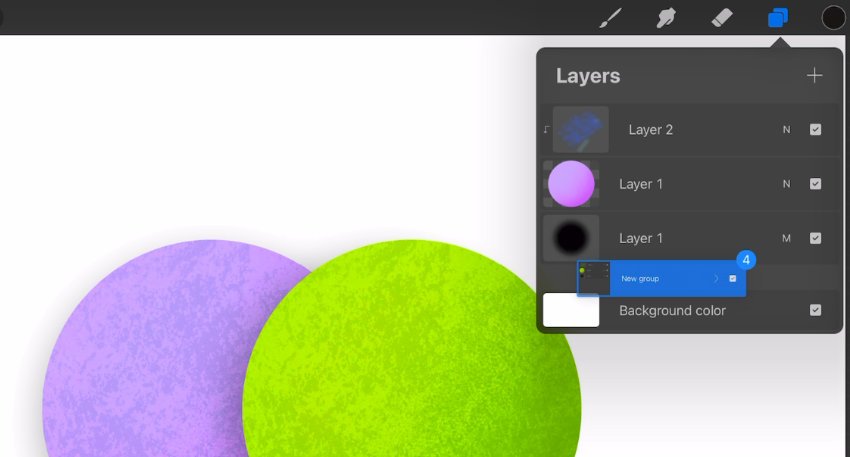
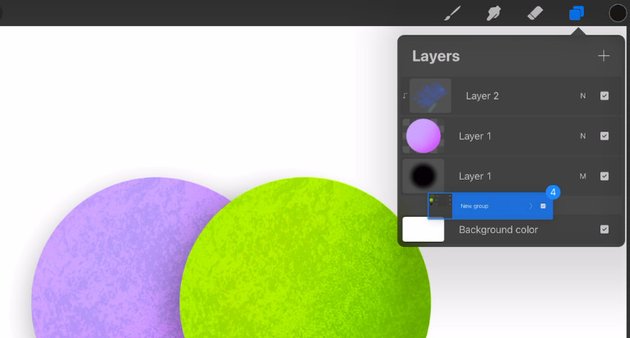
Layers in Procreate can be grouped by swiping right on each layer you want to add to a group, and then tapping the Group button at the top right:
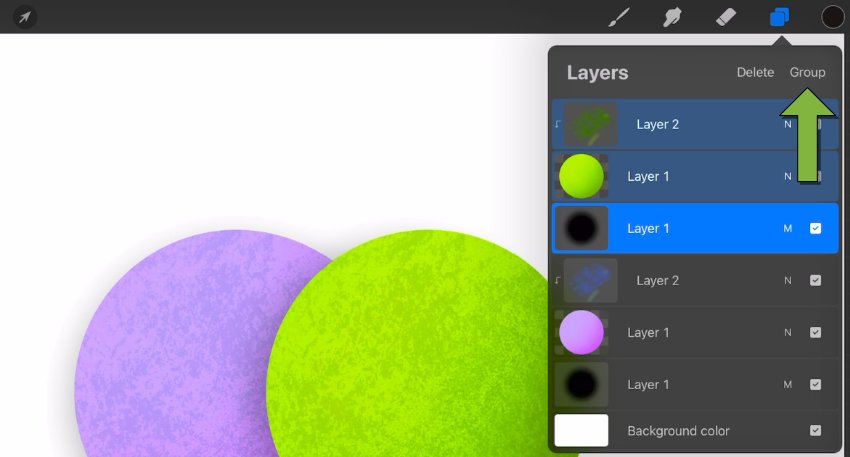
Groups allow you to move and resize multiple layers at once, as well as moving multiple layers up and down in the layer stack at once.
H is for Harmonies
Selecting colors that harmonize is easy through the Color panel.
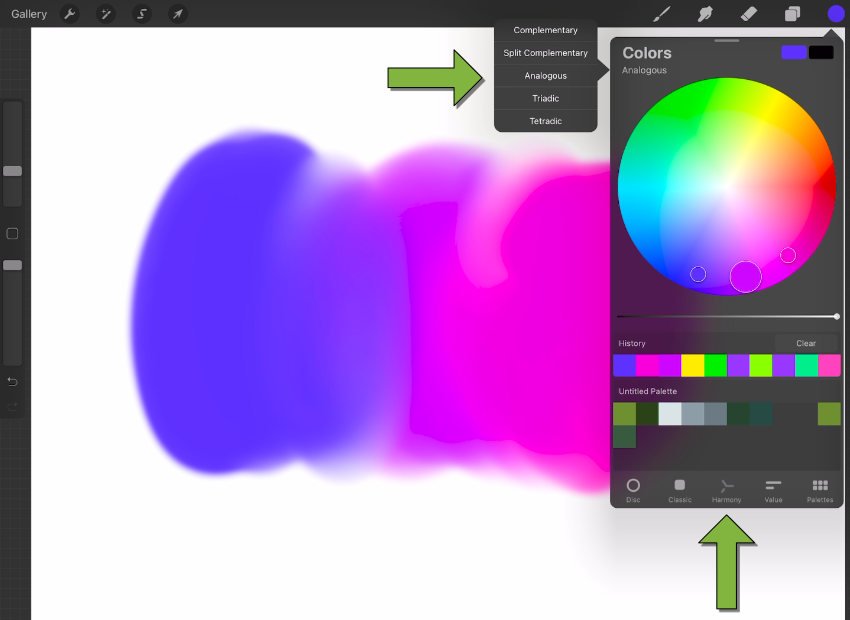
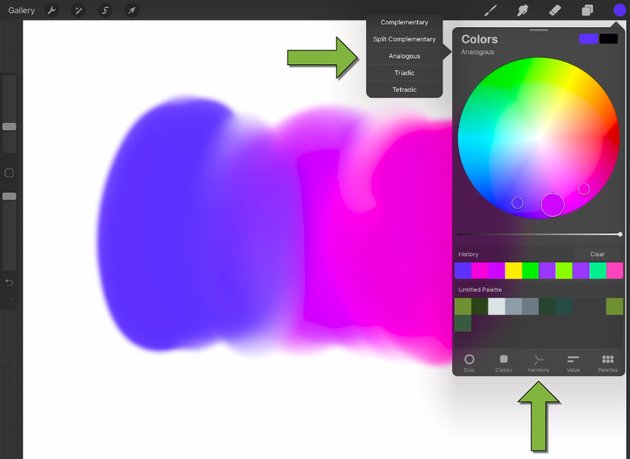
Open the Color panel and switch to Harmony at the bottom. You’ll see multiple reticles, the largest of which is your currently active color. The other reticles are colors that harmonize with the active color. Click a different reticle to set that color as the active one.
Switch between five different color harmonies by clicking the current harmony name. Move the active reticle, and all the other reticles will move to maintain the selected color harmony.
I is for Instant Palette
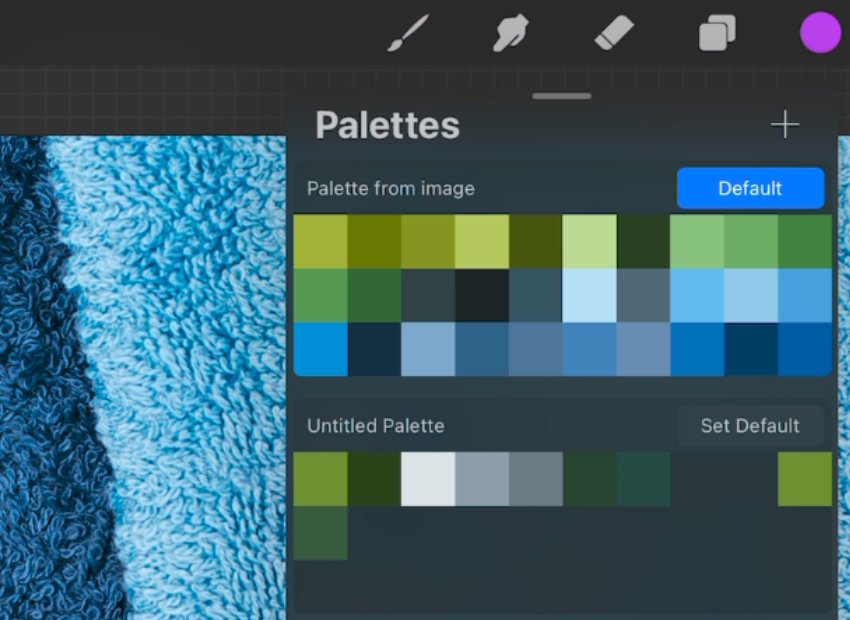
You can instantly create a Procreate color palette from any photograph.
Open the Color panel and switch to Palettes at the bottom. Click the “+” button at the top right and choose New from photos:
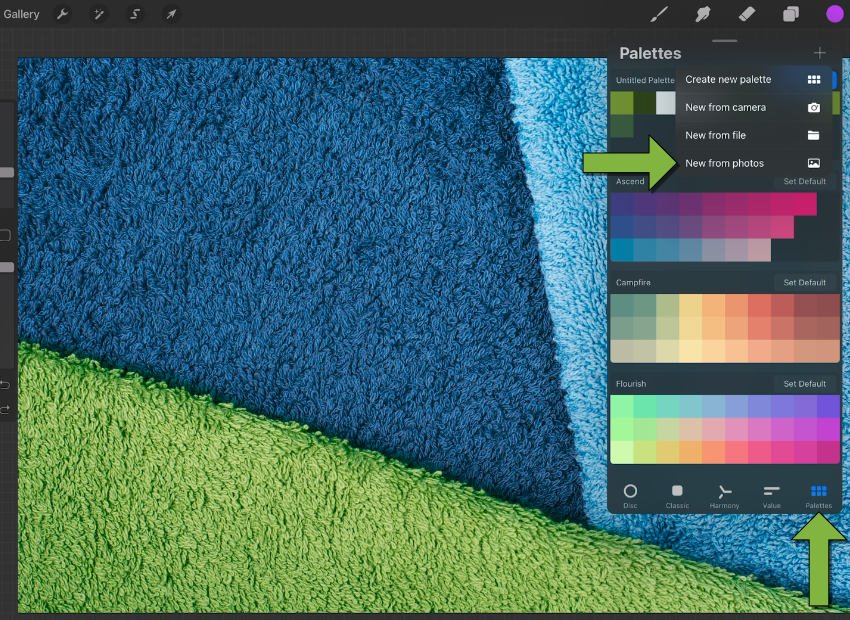
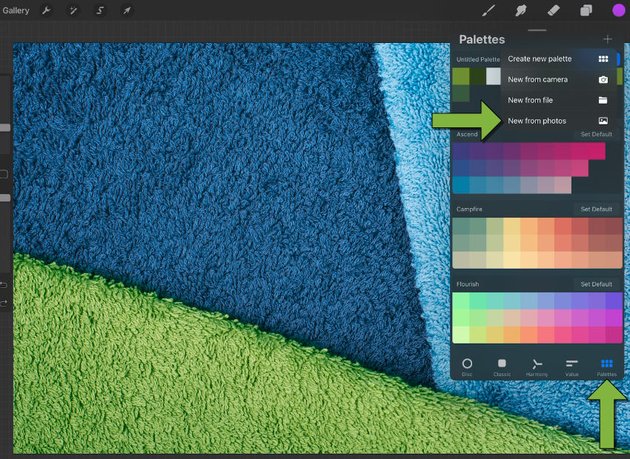
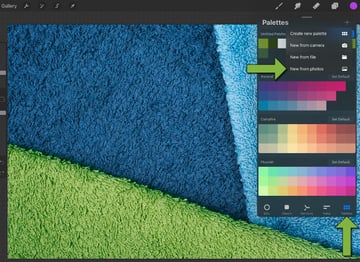
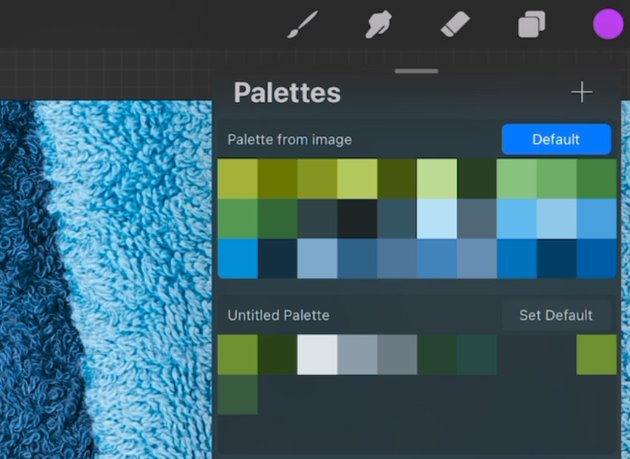
Select a photo, and Procreate will automatically extract colors from it and add them to a palette:
J is for Just Tap
All you need to do to undo changes in Procreate is tap anywhere on the canvas with two fingers.
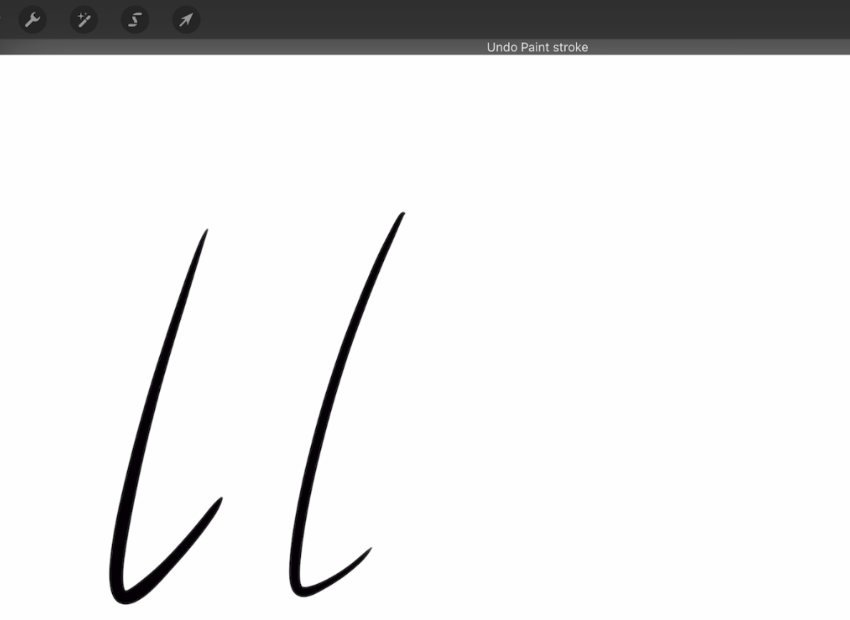
Conversely, you can redo steps by tapping with three fingers.
And a four-finger tap will hide the interface or show it again.
K is for Photoshop Killer?
Procreate can be purchased for an astoundingly low, one-time, flat USD $9.99. That’s the price of a single month of Photoshop.
This massive difference in price leaves a lot of people wondering about Procreate vs. Photoshop. Could you use Procreate as a Photoshop replacement?
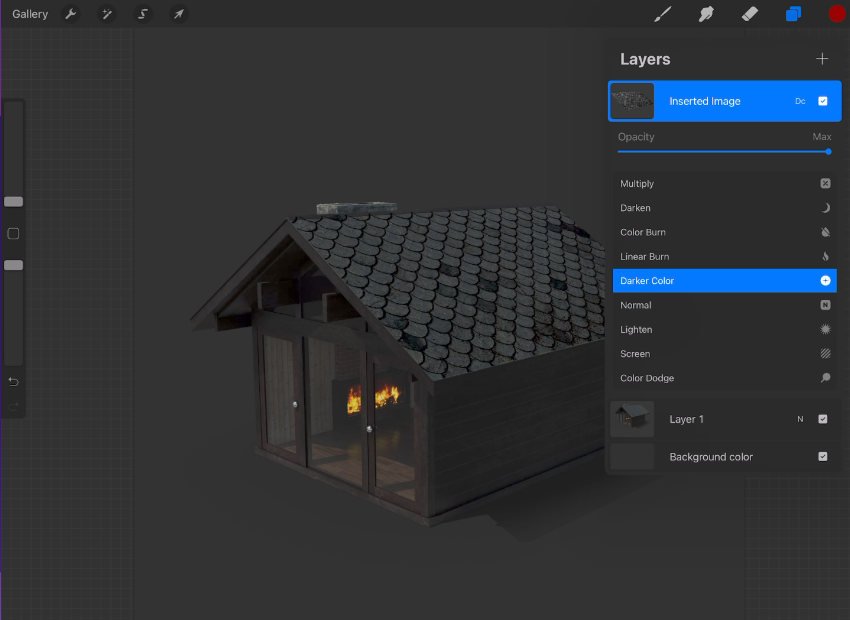
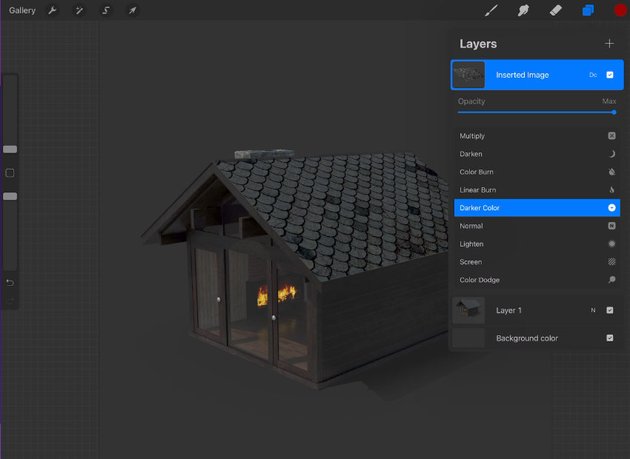
It depends on what you use Photoshop for, but in many cases, yes, you could use Procreate as a replacement.
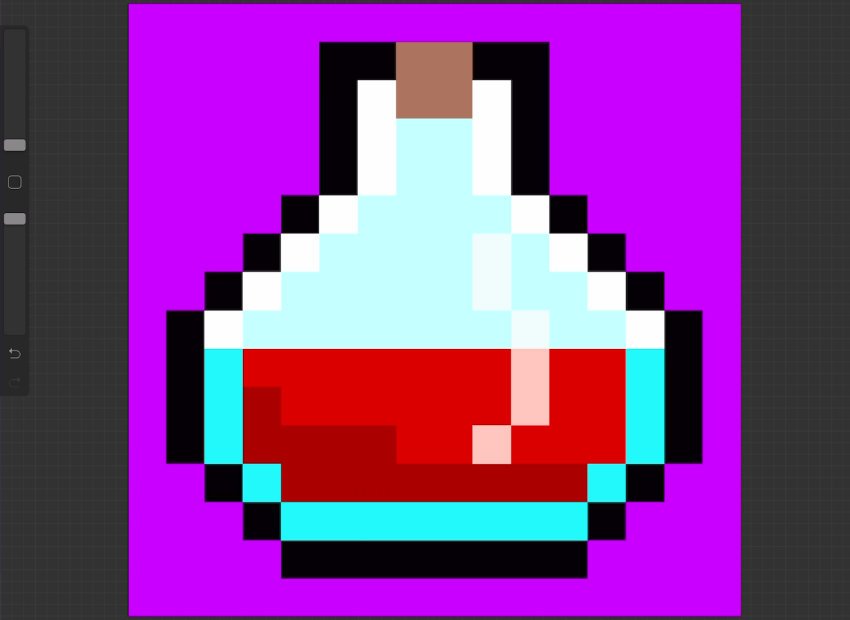
If you are primarily a digital painter, you could most definitely switch to Procreate. Likewise, if you need software for frame-by-frame animation, photo manipulation or photo-bashing, hand lettering, or even pixel art, there’s a very good chance Procreate will be able to adequately replace Photoshop for you.
Forest cabin: https://elements.envato.com/forest-cabin-6Z9TWDN
Traditional slate roof: https://elements.envato.com/traditional-slate-roof-in-norway-PHJ5WXT
L is for Line Art
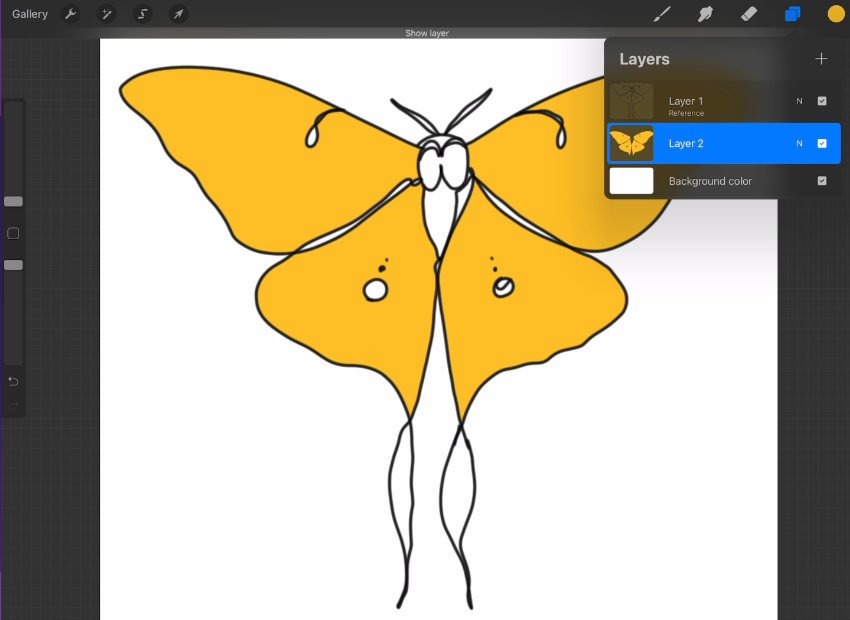
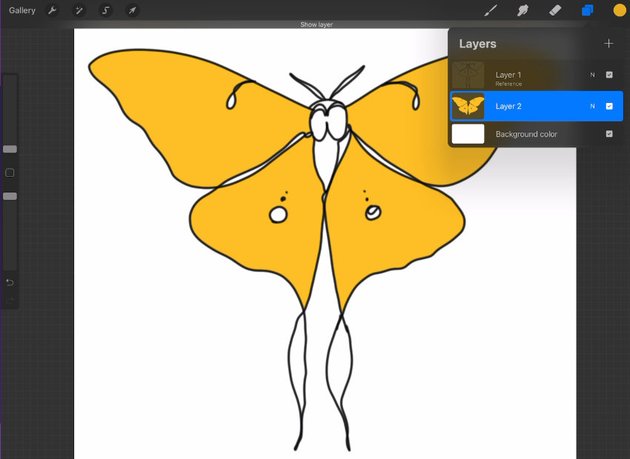
If you are working with line art and don’t want to accidentally make changes to it while coloring, you can take advantage of the Reference function.
Tap the layer with line art on it, and then activate the Reference property.
Now, if you drag and drop colors onto other layers, the fill will stay inside the line art, as though everything was on a single layer:
M is for Masking and Clipping
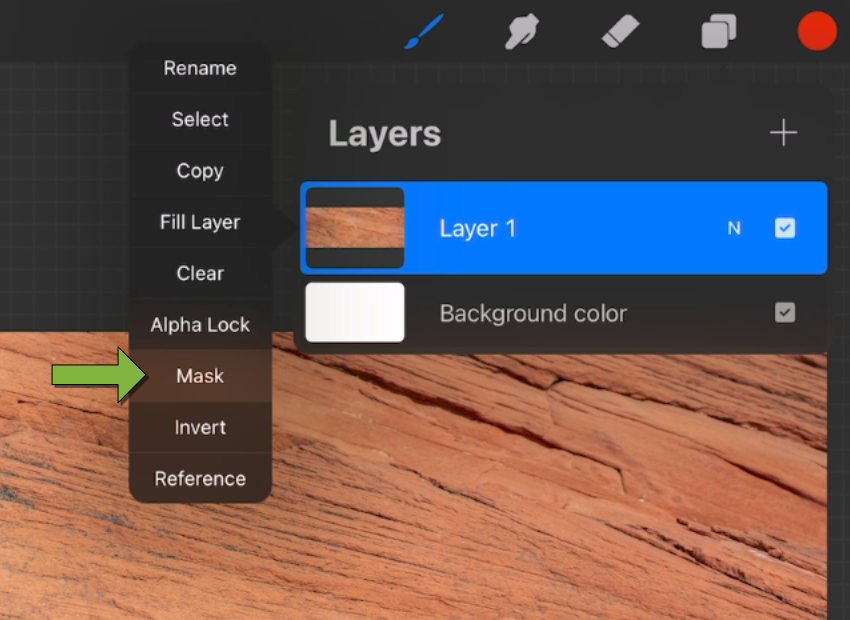
To create a mask for any layer, just tap that layer and then choose Mask from the popup menu:
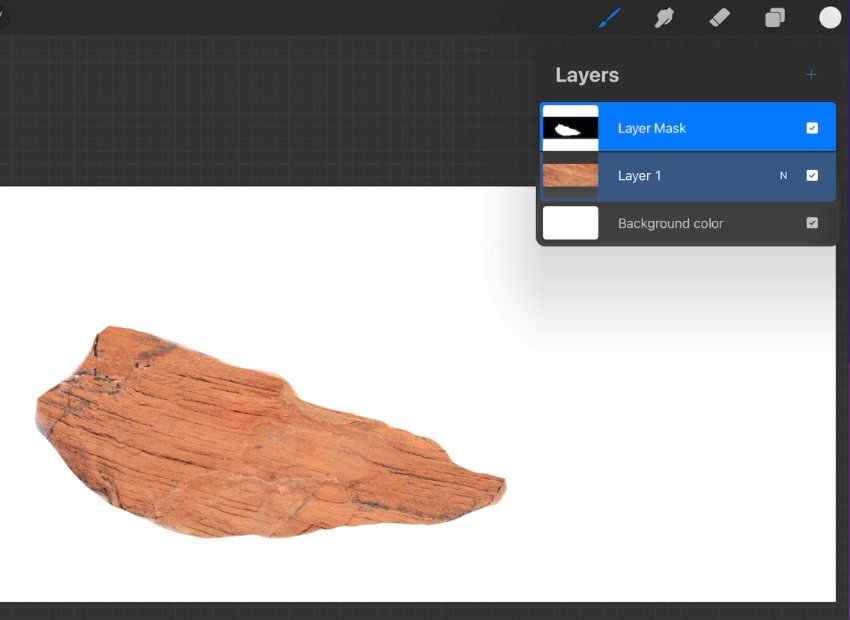
A mask layer will then be added above. Paint in black on the mask to hide parts of the active layer, in white to show it, and in gray for transparency:
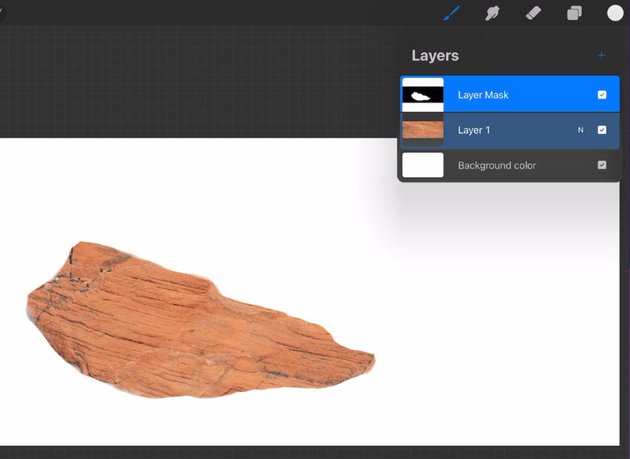
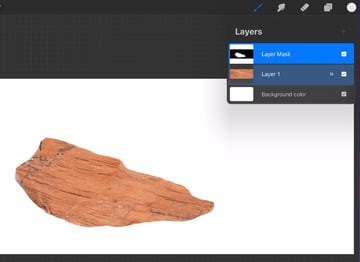
To use a clipping mask, add a layer above the layer with the shape you want to use for clipping. You can paint on the new layer before or after activating clipping. When you’re ready, tap the layer you want to act as the clipping shape and choose Clipping Mask:
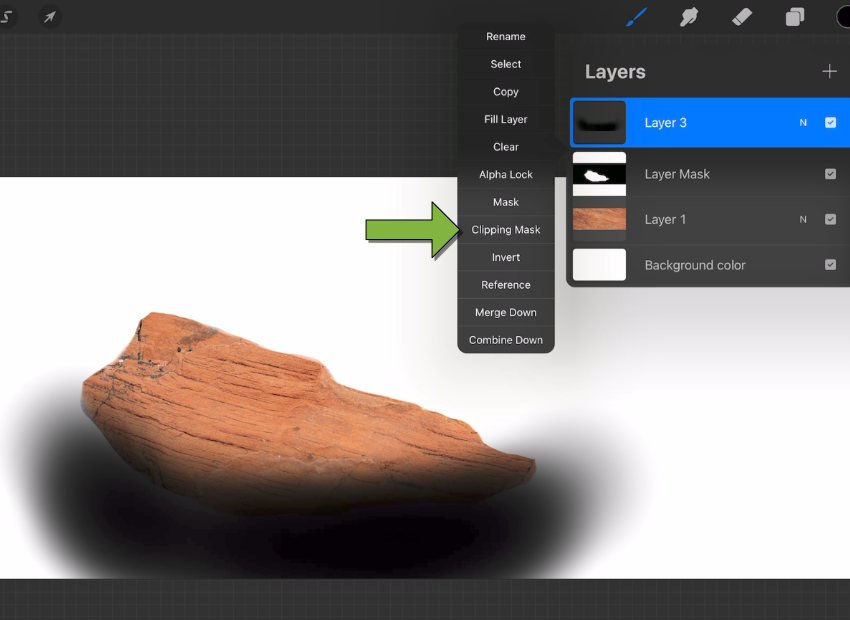
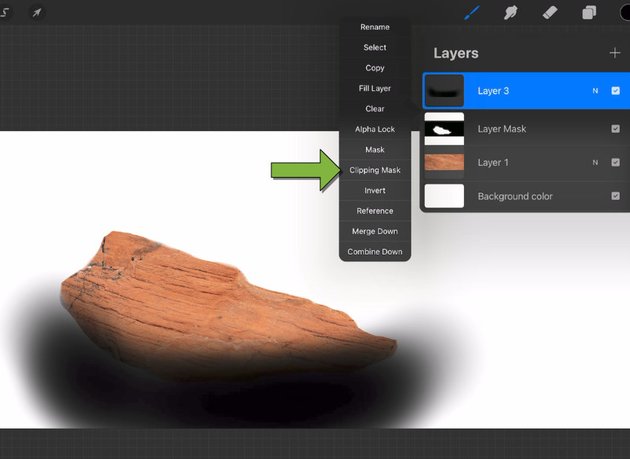
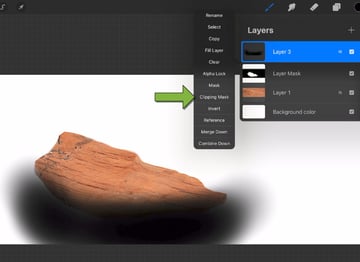
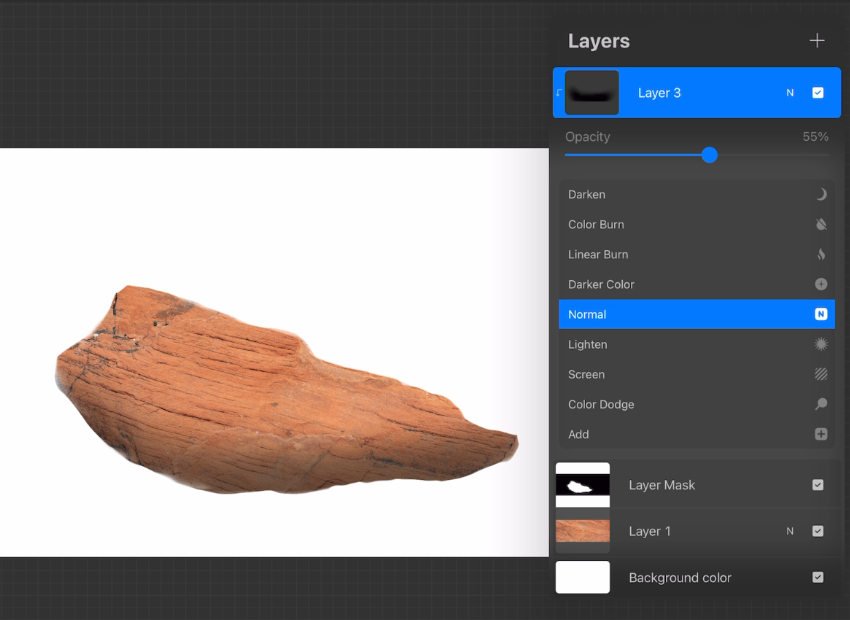
Anything you paint on the clipped layer will only show if it’s within the bounds of the clipping shape:
Red sandstone: https://elements.envato.com/red-sandstone-rock-background-texture-valley-of-fi-K7B5N4X
N is for No Line Wobble
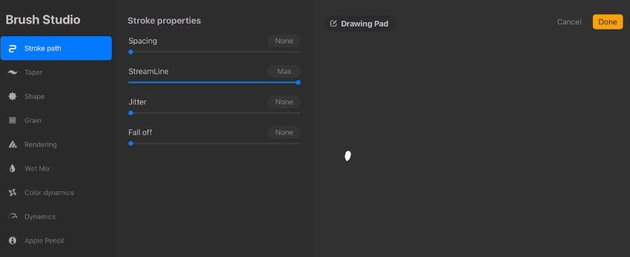
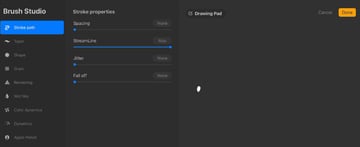
To help with your Procreate drawing or line art, brushes have a line smoothing setting called StreamLine. The more you increase the setting, the smoother your lines will be:
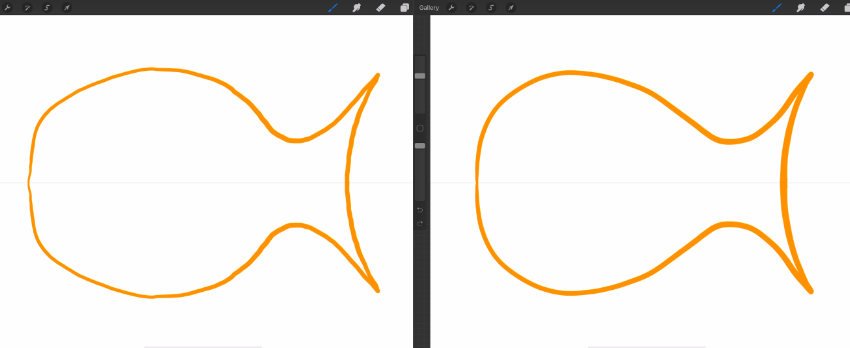
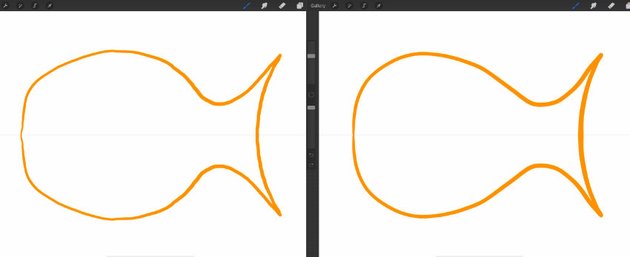
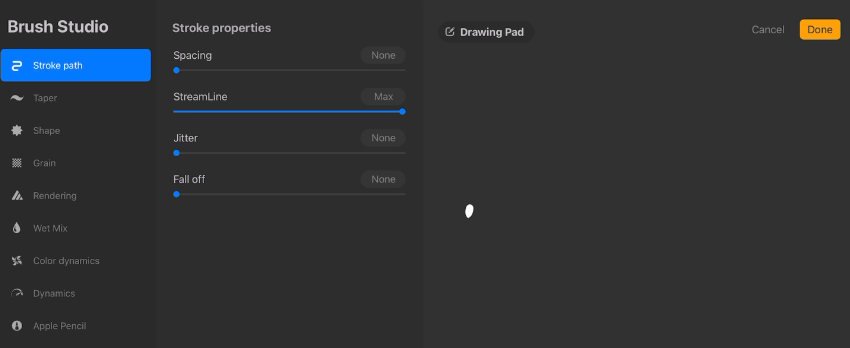
Access the StreamLine setting by selecting a brush from the Paint menu, and then tapping it a second time to open up its settings. The StreamLine setting is located under the Stroke path tab:
O is for Open the Quick Menu
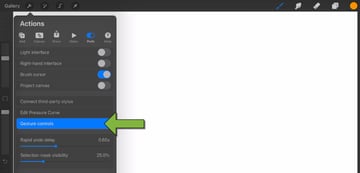
Procreate has a six-item radial menu called the Quick Menu. To activate it, tap the wrench icon, go to Prefs, and choose Gesture controls:
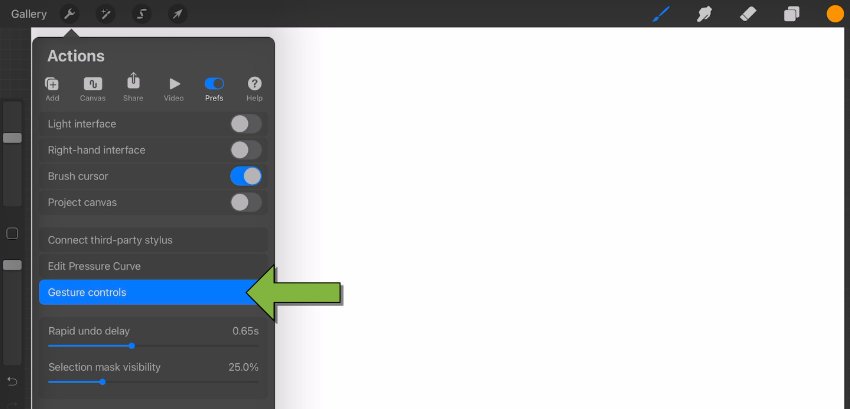
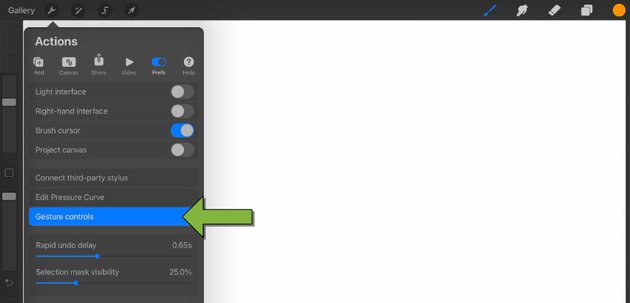
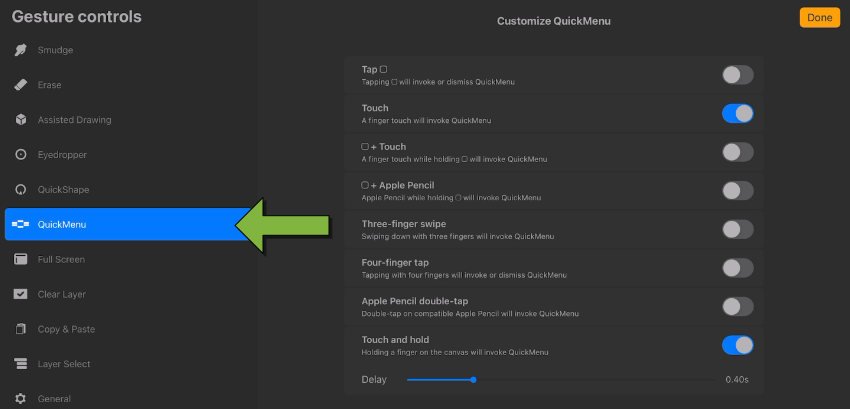
Go into the QuickMenu tab, and then choose the gesture you want to use to open the QuickMenu:
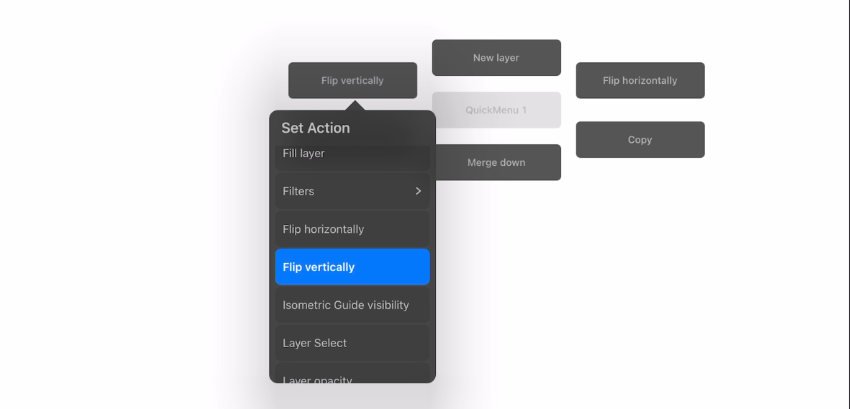
Once you open the QuickMenu, you can customize any of its items by long-pressing them and then choosing a different action:
P is for Paint With Filters
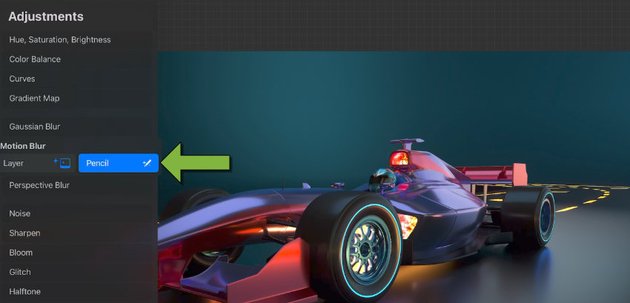
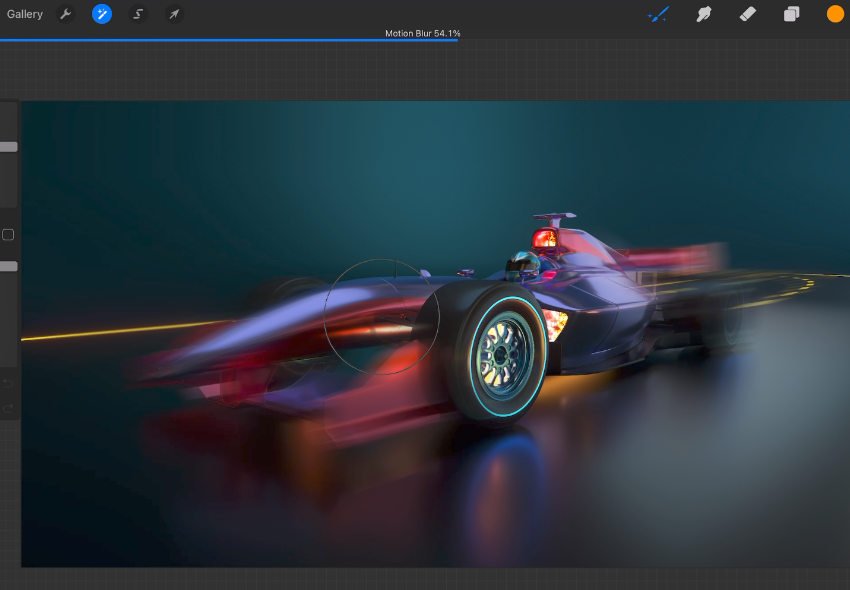
Rather than filters being applied to whole layers, you also have the option to paint the areas in which you’d like a filter to take effect.
Tap the wand icon, choose an adjustment filter, and then tap the pencil option:
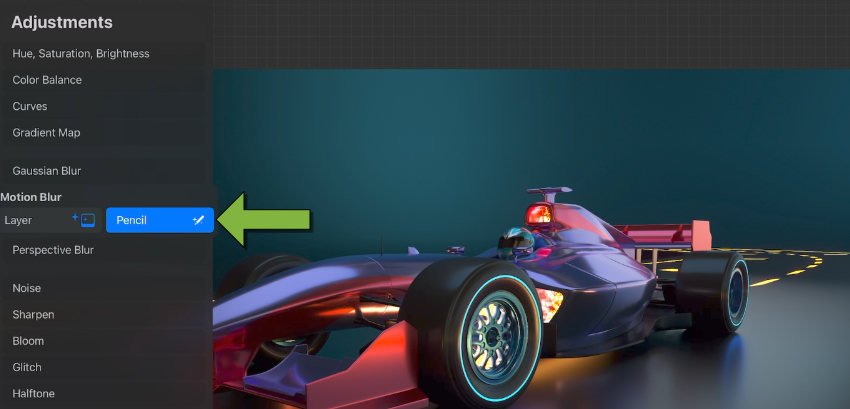
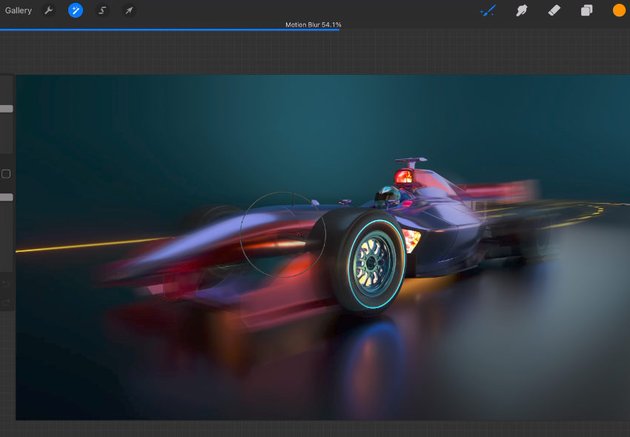
Start painting on a layer, and the filter will affect only the areas you paint, with the intensity determined by the pen pressure:
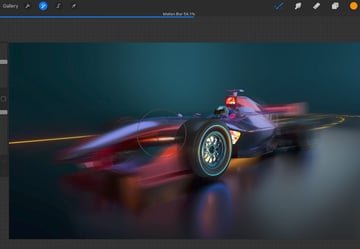
Race car: https://elements.envato.com/race-car-speeding-along-highway-TDYC7WN
Q is for Quick Shapes
Procreate doesn’t have dedicated shape drawing tools, but what it does have is Quick Shapes.
Draw out any shape, as roughly as you like, and hold the pencil in place at the end of the last line:
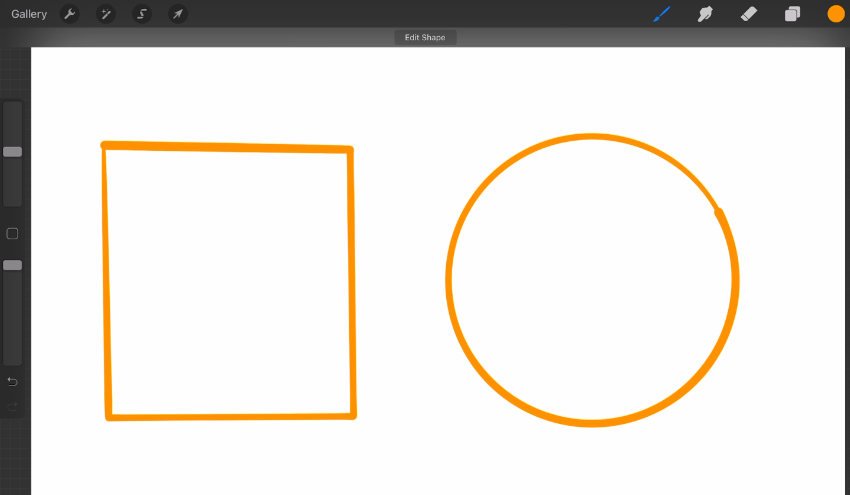
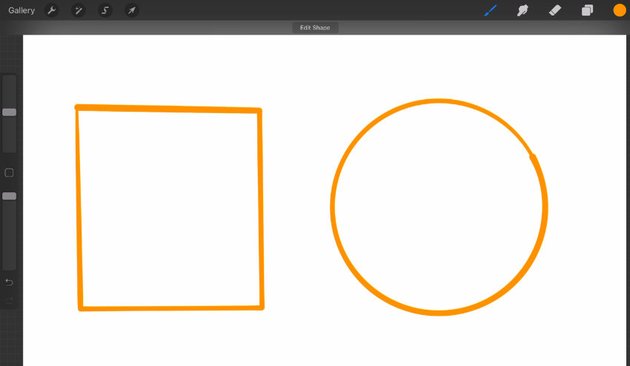
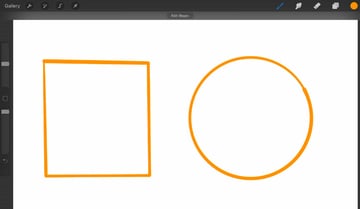
The lines will automatically snap into perfect straight lines, or curves if you drew an ellipse. From here, you can move the position of your pencil to change the rotation and size of the shape. Before you lift the pencil, if you place a finger onto the canvas as well, the proportions and angles of the shape will be adjusted and can form perfect squares and circles.
R is for Reference Box
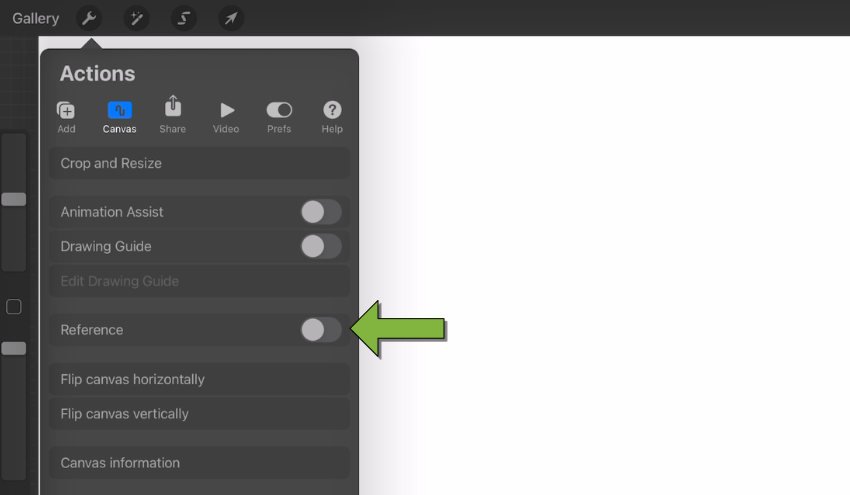
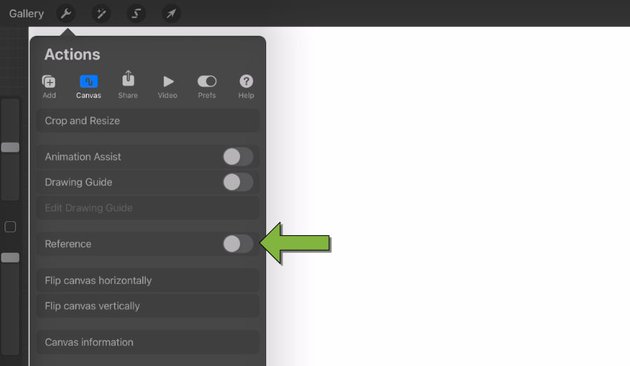
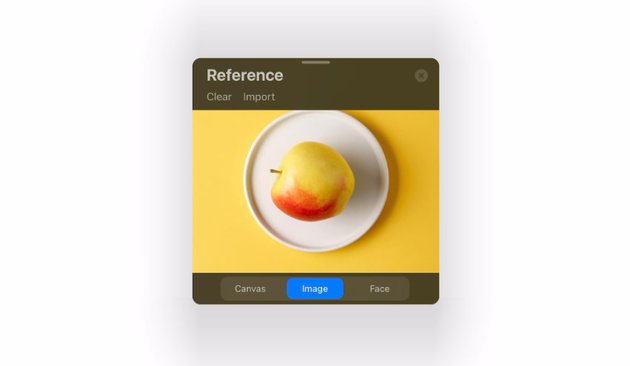
You can easily keep your reference images on hand while working by tapping the wrench icon, choosing Canvas, and then toggling on the Reference option:
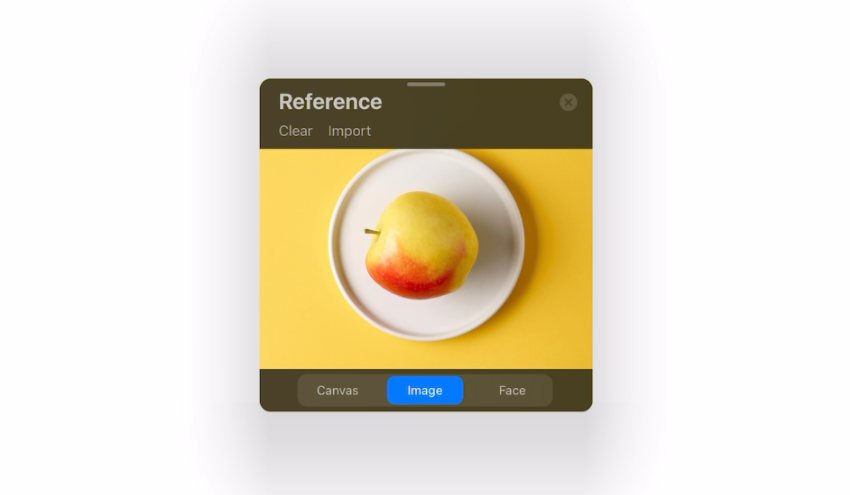
A box will appear, into which you can import any image:
S is for Snapping
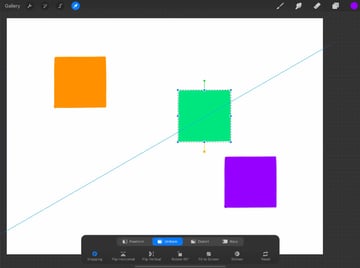
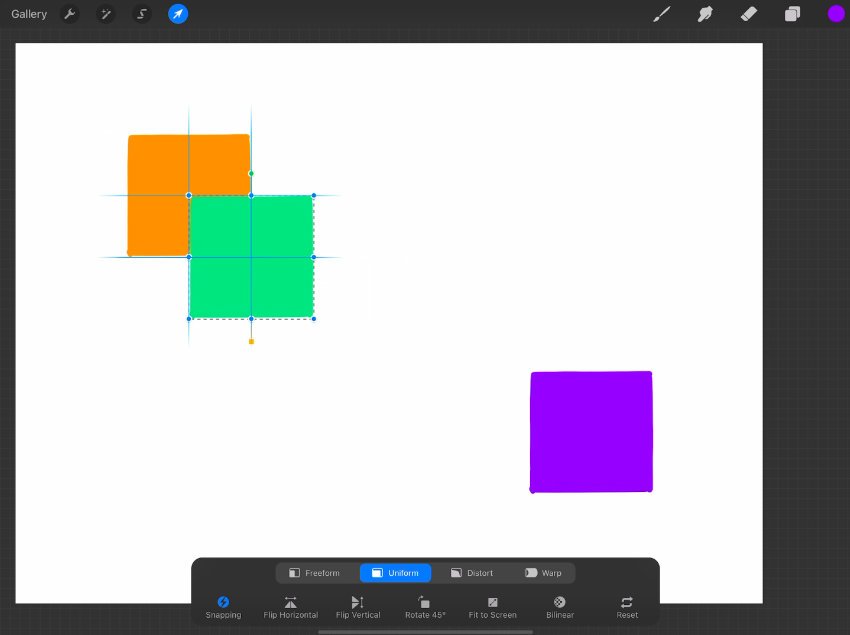
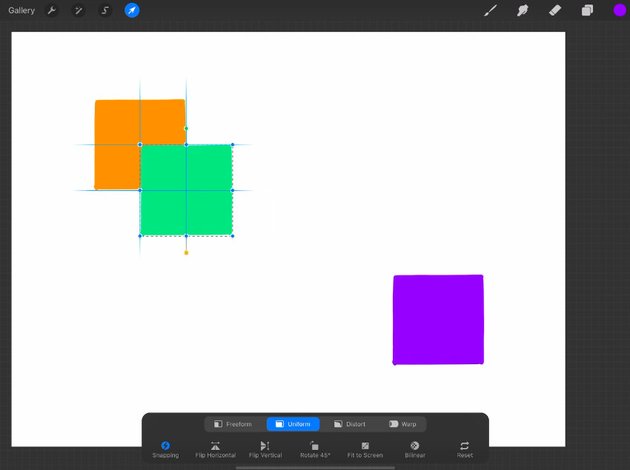
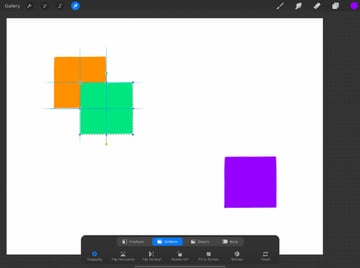
When making transformations, activate snapping to get some very useful assistance for moving, scaling, and rotating.
Turn on Magnetics to activate blue guidelines that behave like railroad tracks, giving you some stickiness when you move along those lines and helping you with repositioning:
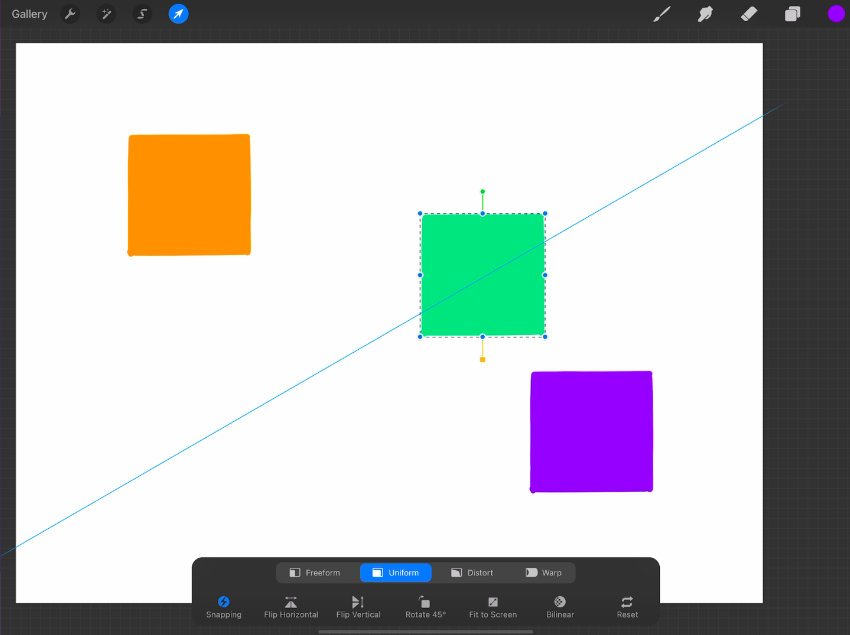
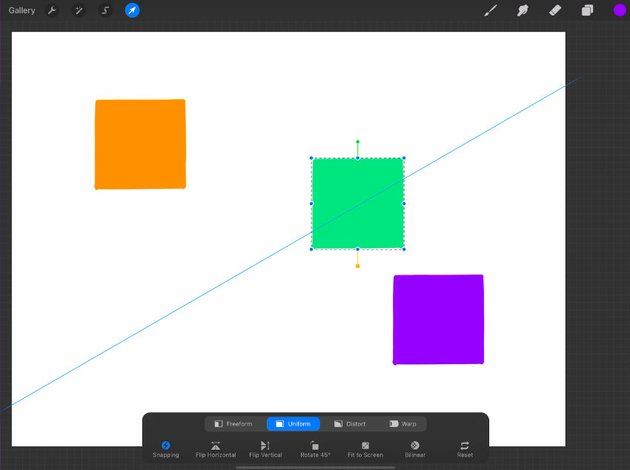
Turn on Snapping to snap to the edges and center points of other layers, and of the canvas, as well as snapping for rotation increments:
T is for Two Brushes
You can mix any two brushes into a single “dual“ brush.
Select your first brush, and then swipe right to select another brush from the same set. Tap the Combine button at the top of the panel:
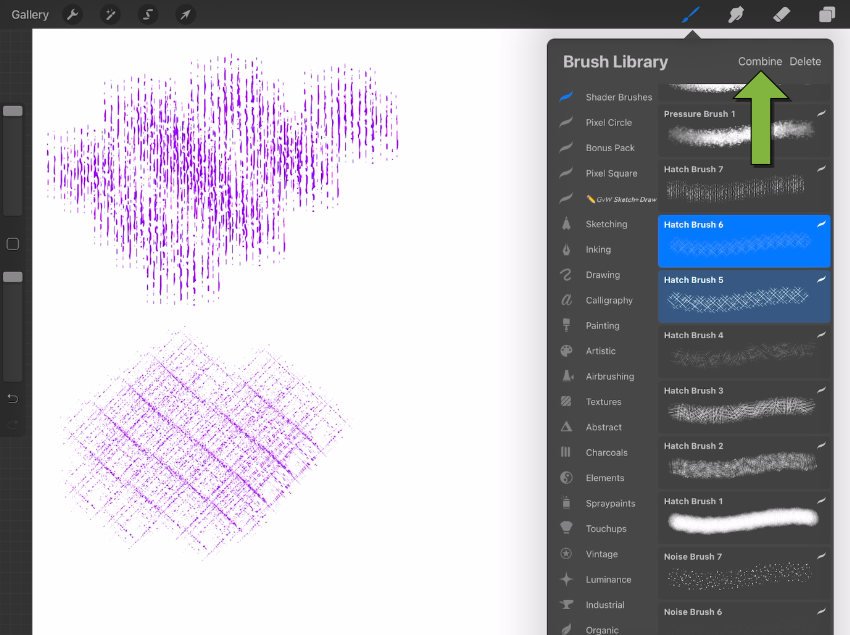
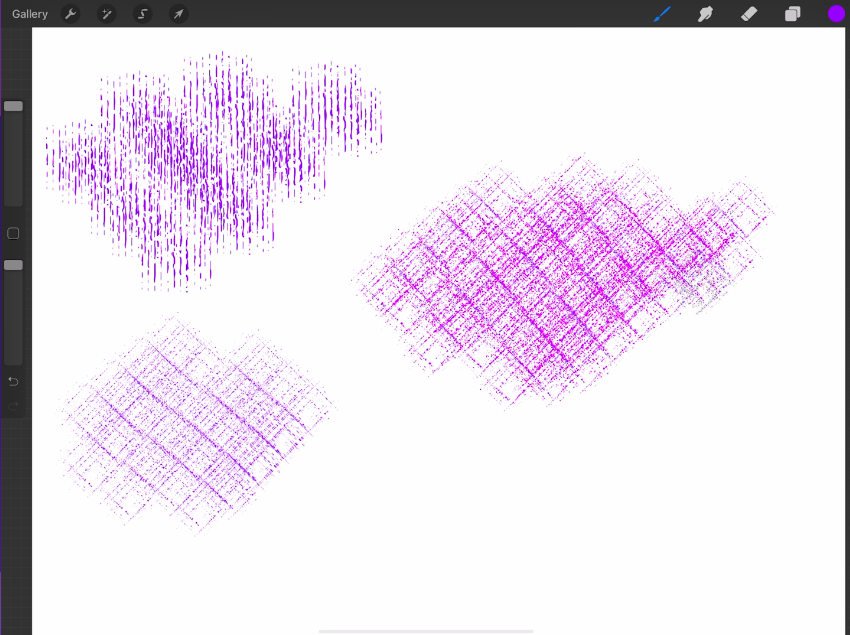
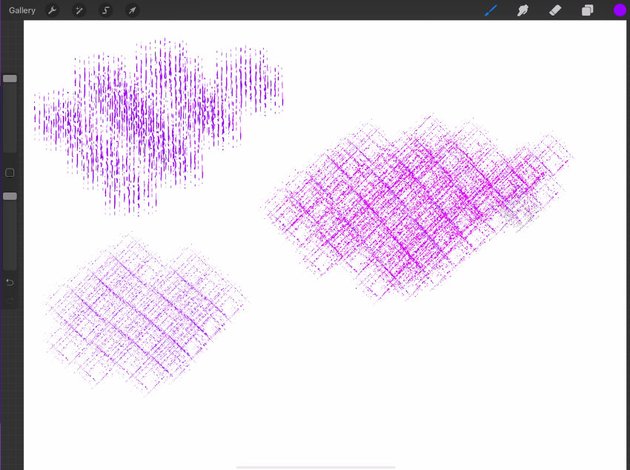
You’ll then be able to paint with both brushes at the same time:
U is for Unstacking and Stacking
“Stacks” in Procreate are a way of organizing your documents into categories within the Gallery.
To create a stack, long-press a document to select it. Optionally, tap other documents to add them to your selection. Then drop the documents onto another document to create a stack. Tap the stack name if you’d like to rename it.

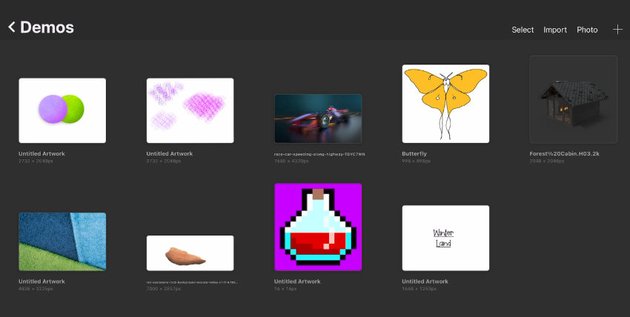
To unstack documents, first go into a stack by tapping it, and then long-press a document to select it. Again, you can optionally tap other documents to select them too. Then drag the selection up to the top left and hold it over the stack name. After a moment, you’ll be taken out of the stack and into the gallery, where you can release the selection to drop them back into the top level.
V is for Video Time Lapse
Procreate can capture a time-lapse video of your works, with no noticeable impact on the performance of the software.
To activate video recording, tap the wrench icon, go to Video, and toggle Time-lapse Recording on:

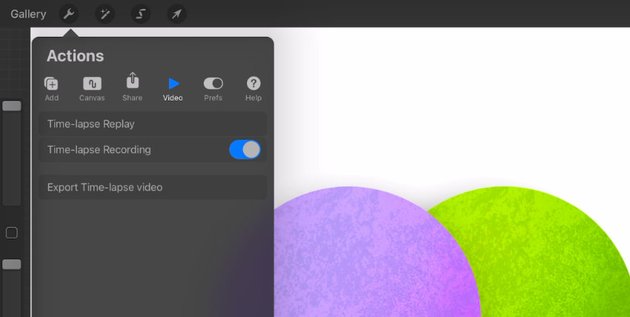
When you’re done with your piece, go back to the same place in the menu and tap Time-lapse Replay to watch your time-lapse video back. Or tap Export Time-lapse video to generate a video file.
W is for Warp and Distort
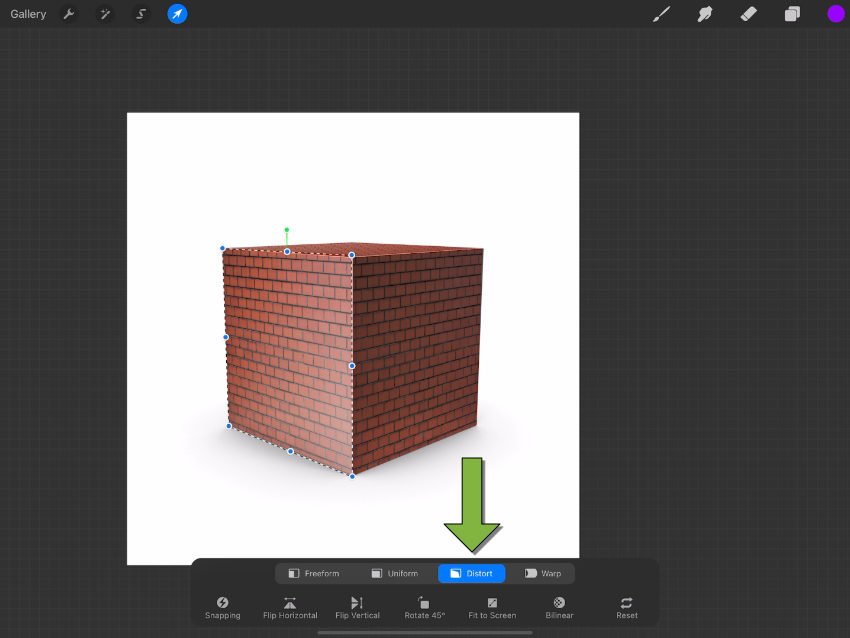
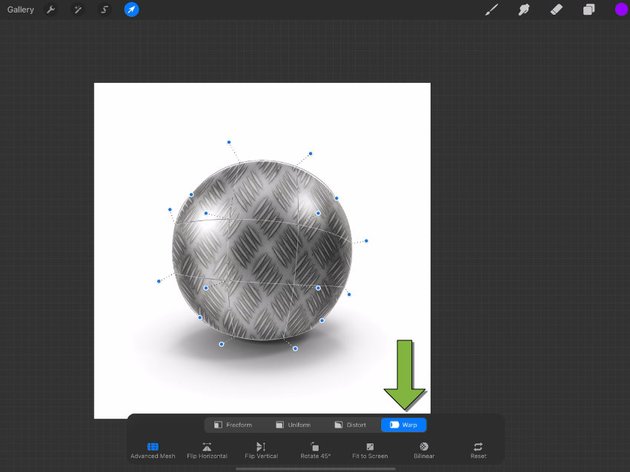
Procreate has powerful warping and distorting functionality that lets you remold the shape of any layer. To access both functions, tap on the arrow icon to open the Transform Toolbar:

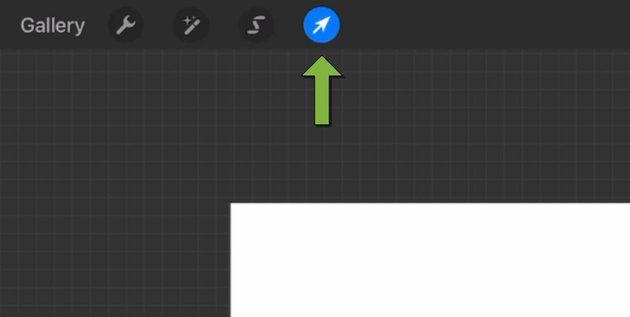
Distort is the third tab on the toolbar and is great for doing things like modifying the apparent perspective of a shape, while maintaining the appearance of flatness:
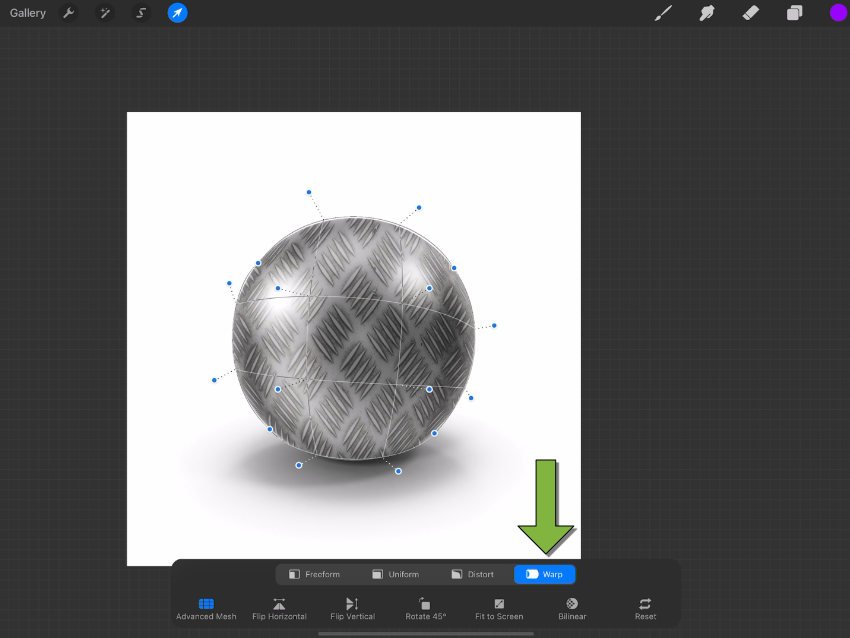
Warp is the fourth tab and is excellent for more detailed manipulation that changes the curvature of the shape:
Cube: https://elements.envato.com/cube-ETXSDLZ
Sphere: https://elements.envato.com/sphere-UKWXBY
Brick: https://elements.envato.com/orange-brick-wall-textured-background-2HQE3WK
Metallic texture: https://elements.envato.com/metallic-texture-4P4P3G7
X & Y are for XY Axis Drawing Guide
Get your lines perfectly aligned into the X and Y axes by using the 2D grid drawing guide.
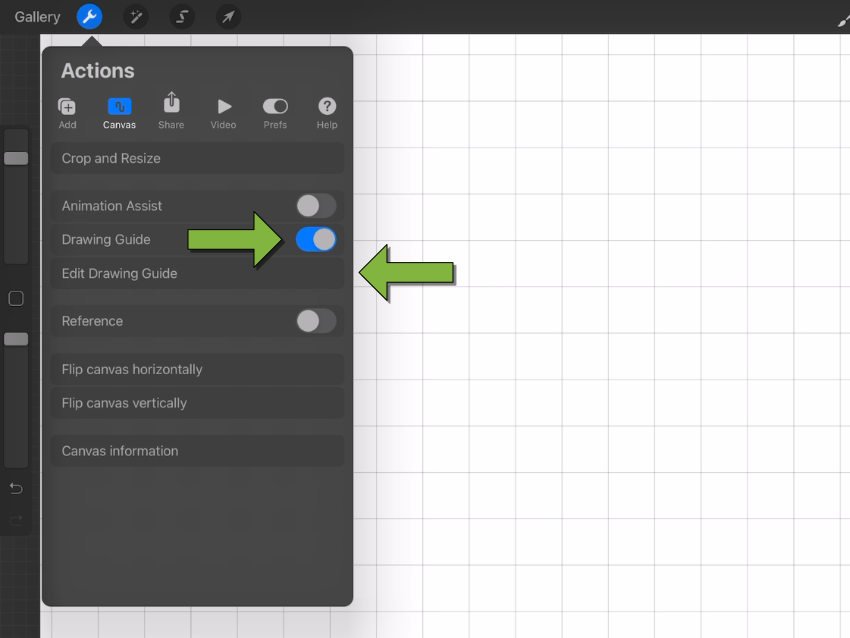
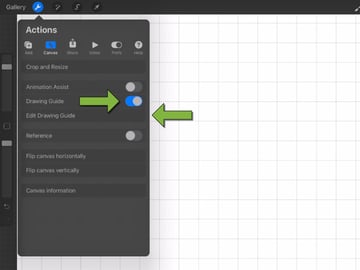
Tap the wrench icon, go to Canvas, toggle on Drawing Guide, and then tap Edit Drawing Guide:
From here, under 2D Grid, set the grid size you want, activate Assisted Drawing, and then tap Done:
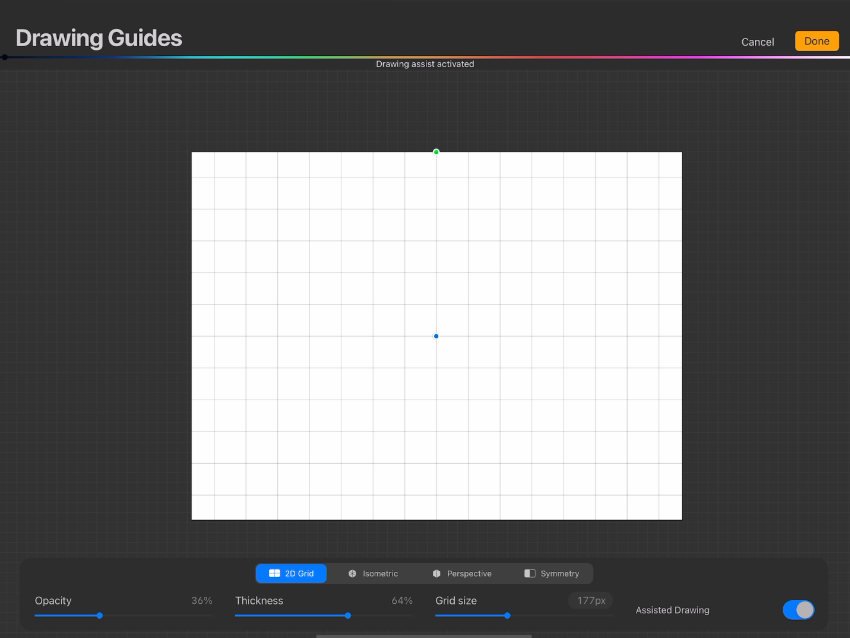
Now, all the lines you draw will be locked into precise alignment:
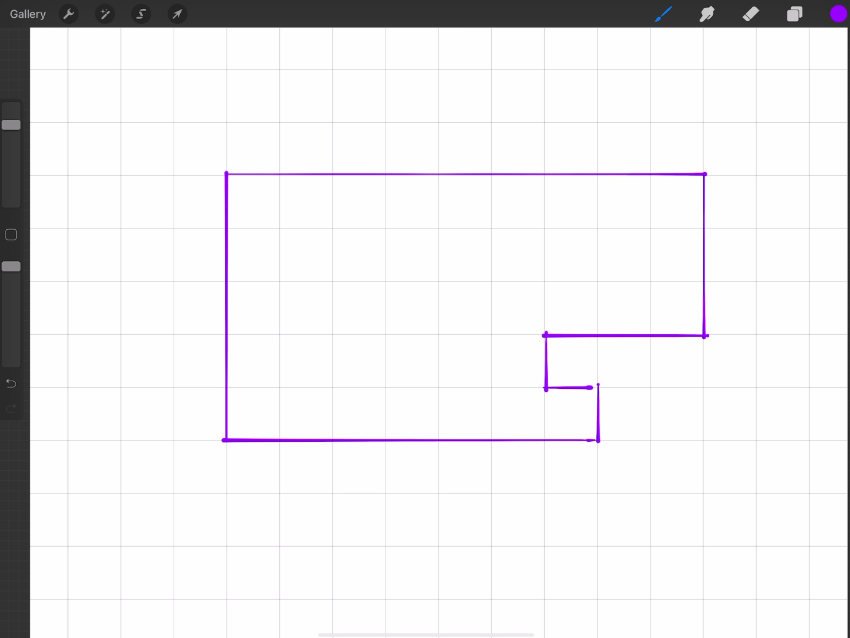
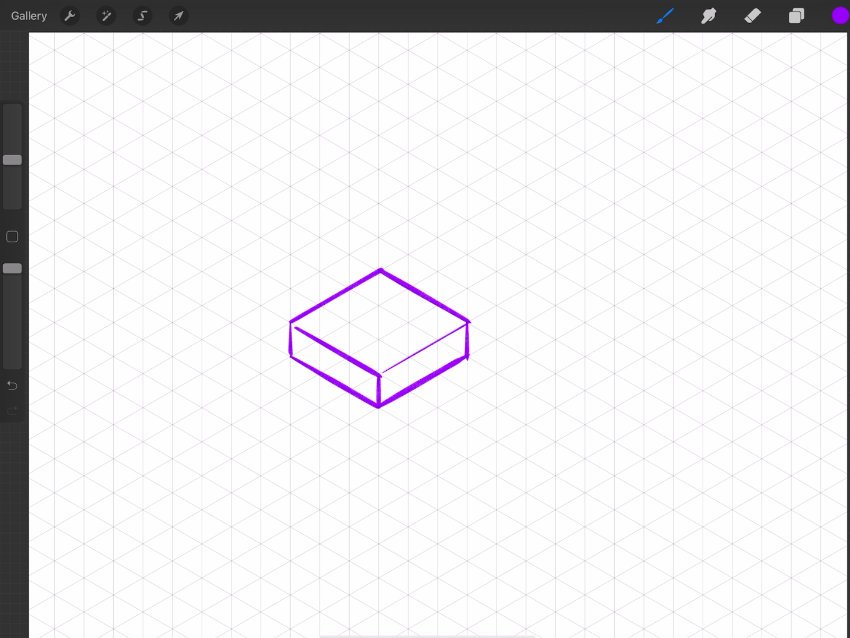
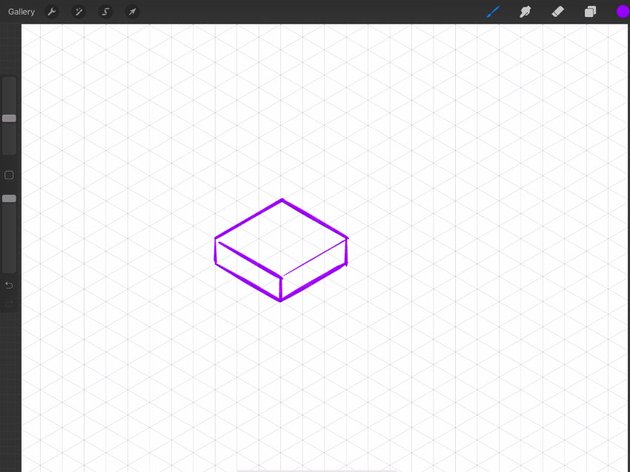
You can also use the same technique to assist you with drawing isometric lines, perspective lines, and in symmetry:
Z is for Zoom and Rotate
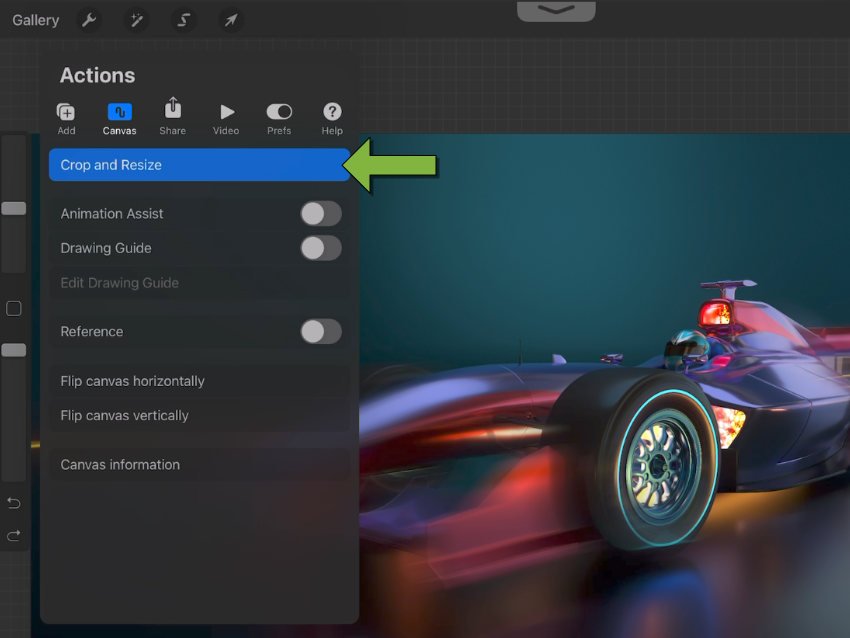
You can zoom and rotate your entire image by tapping the wrench icon, going to the Canvas section, and choosing using the Crop and Resize function:
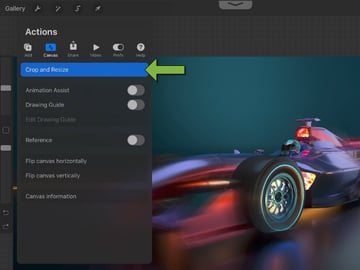
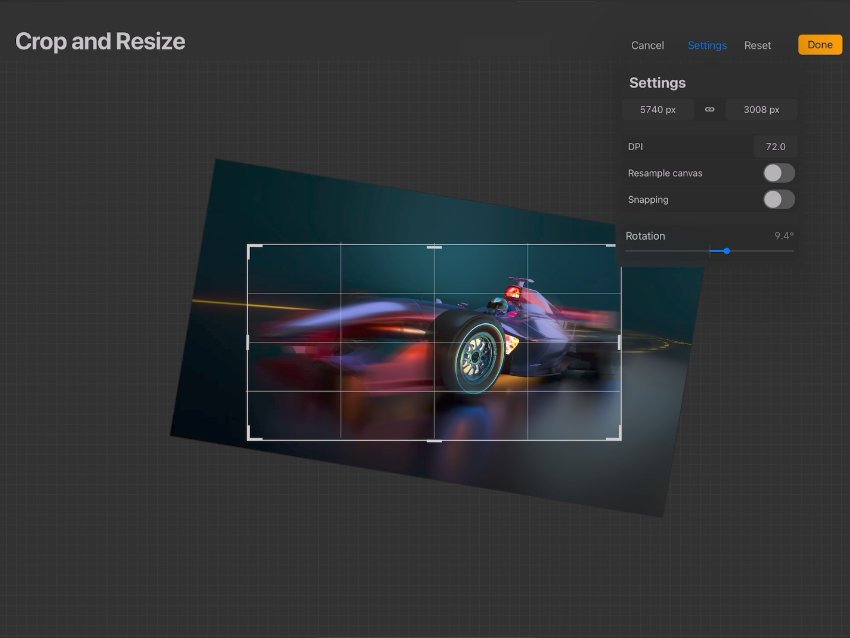
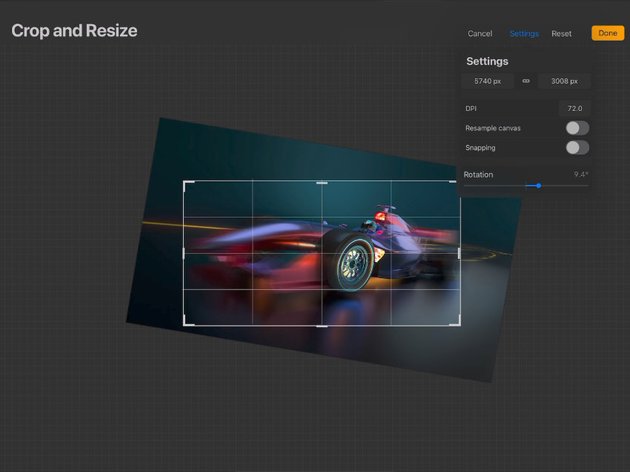
To zoom in on the image, drag the light gray handles of the canvas inward, and drag it around to reposition it. And to rotate the image, tap Settings, and then in the dropdown panel that appears, drag the Rotation slider left or right:
Wrapping Up
So that’s the A to Z of Procreate: 26 of the coolest features, tips and tricks to help you take full advantage of the software.
And to help you along with Procreate even more, get yourself stocked up with a great big stack of brushes, fonts and other assets to use with it over at Envato Elements.
