At some point in your complex React project, you are going to need a state management library. Redux is a good choice because of it’s simplicity and centralized data management. This piece is a practical approach to the fundamentals of Redux in building React application for managing a book store.
If you are unfamiliar with the Redux idea/philosophy, Carly Kubacak previous article will prepare you for this so I suggest you have a look at it first.
When to Use Redux
We have been writing about React with consumable examples without having to seek the assistant of a state management utility. So why now?
Pete Hunt said if you ever doubt if you need Redux or not then you do not need it. On another hand, if your app is complex and fall into any of the following, then you should consider Redux:
If you ever doubt if you need Redux or not then you do not need it. – Pete Hunt
- Non-hierarchical data structure
- Multiple events and actions
- Complex component interaction
Boilerplate with Slingshot
DRY is my favorite principle in software engineering and I bet you like the idea too. For that reason, we are not going to write boilerplate code to get started, rather, we will use an existing solution.
Cory House’s Slingshot is awesome and covers everything you will need in a React-Redux app including linting, testing, bundling, etc. It is also has a high acceptance in the community with over 4k stars on GitHub.
Clone Slingshot to your favorite working directory with the following:
git clone https://github.com/coryhouse/react-slingshot book-storeWe need to prepare the cloned repository by installing dependencies and updating the package.json. Cory included an npm command to do all that:
npm run setupYou can run the app now with
npm start -sThe -s flag reduces noise in the console as Webpack which is the bundler will throw a lot of details about bundling to the console and that can be noisy and ugly.
We do not need the app in the application so we can just remove it with a single command:
npm run remove-demoWe are good to start building our app.
React with Redux Flow
Before we dig deep into building our application, let’s have a shallow approach by building a book manage page that creates a book with a form and lists the books. It’s always important to keep the following steps in mind so you can always refer to it when building a React app with Redux:
- Create Components
- Create relevant actions
- Create reducers for the actions
- Combine all reducers
- Configure store with
createStore - Provide store to root component
- Connect container to redux with
connect()
This tutorial is multi-part. What we will cover in this part is getting comfortable with this flow and then in the following parts we will add more complexity.
We will make some of the pages available using React Router but leave a dumb text in them. We will just be making use of the manage book page.
If you are unfamiliar with the difference between UI/Presentation components and Container components, I suggest you read our previous post.
1. Create Components (with routes)
Let us create 3 components: home, about and manage page components. We will put these components together to make a SPA using React Router which we covered in full details in a previous post
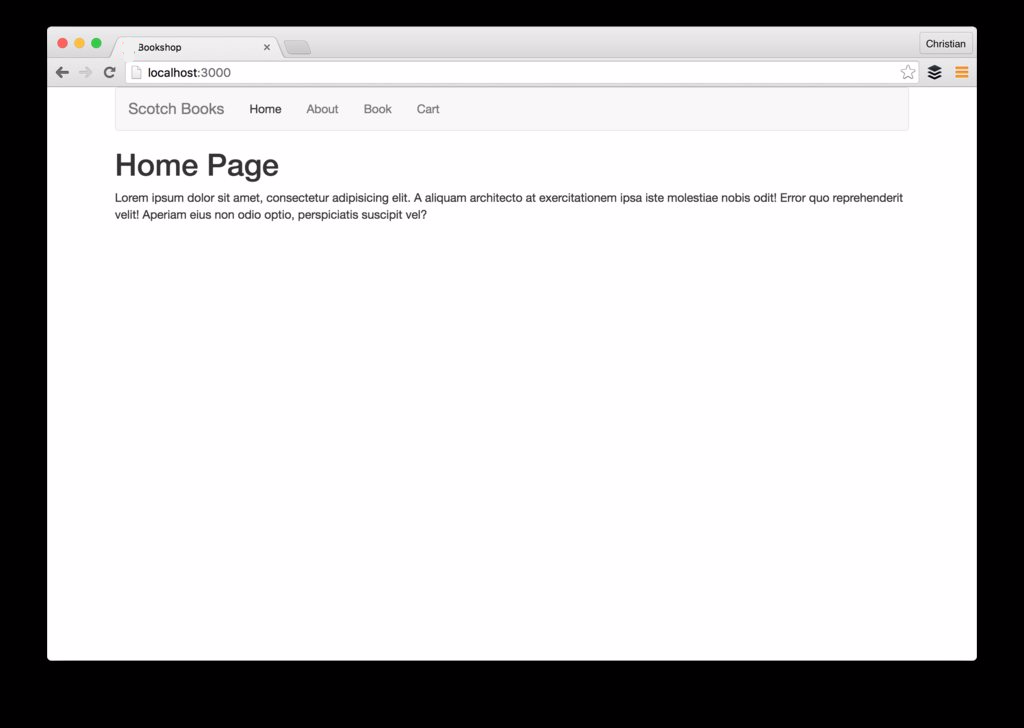
Home Page: Create a file file named HomePage.js in ./src/components/common with the following:
// ./src/components/common/HomePage.js
import React from 'react';

const Home = () => {
  return (
    <div>
      <h1>Home Page</h1>

      <p>Lorem ipsum dolor sit amet, consectetur adipisicing elit. A aliquam architecto at exercitationem ipsa iste molestiae nobis odit! Error quo reprehenderit velit! Aperiam eius non odio optio, perspiciatis suscipit vel?</p>
    </div>
  );
};

export default Home;
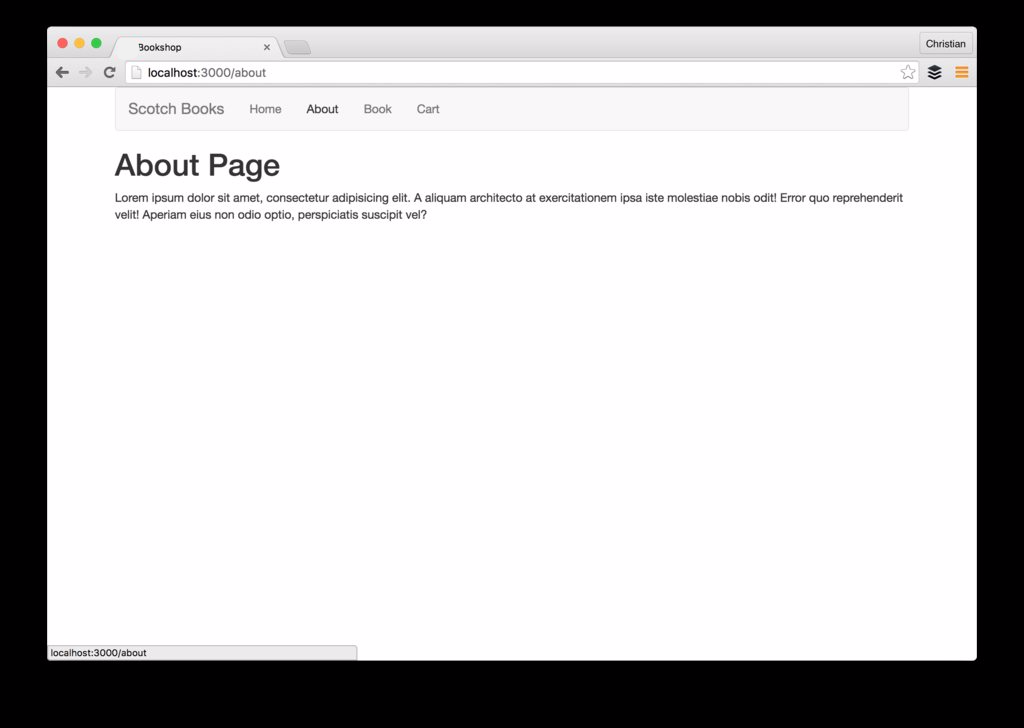
About Page: Just like the home page but with a slightly different content:
// ./src/components/common/AboutPage.js
import React from 'react';

const About = () => {
  return (
    <div>
      <h1>About Page</h1>

      <p>Lorem ipsum dolor sit amet, consectetur adipisicing elit. A aliquam architecto at exercitationem ipsa iste molestiae nobis odit! Error quo reprehenderit velit! Aperiam eius non odio optio, perspiciatis suscipit vel?</p>
    </div>
  );
};

export default About;
Book Page: This page will contain everything for creating and listing books. We won’t abstract Ui components for now. We go against good practice and put all our codes here then with time refactor. This is just for clarity.
// ./src/components/book/BookPage.js
import React from 'react';

class Book extends React.Component{
  constructor(props){
    // Pass props back to parent
    super(props);
  }

  // Submit book handler
  submitBook(input){
    alert('Submitted')
  }

  render(){
    // Title input tracker
    let titleInput;
    // return JSX
    return(
      <div>
        <h3>Books</h3>
        <ul>
          {/* Traverse books array  */}
          {this.props.books.map((b, i) => <li key={i}>{b.title}</li> )}
        </ul>
        <div>
          <h3>Books Form</h3>
          <form onSubmit={e => {
            // Prevent request
            e.preventDefault();
            // Assemble inputs
            var input = {title: titleInput.value};
            // Call handler
            this.submitBook(input);
            // Reset form
            e.target.reset();
          }}>
            <input type="text" name="title" ref={node => titleInput = node}/>
            <input type="submit" />
          </form>
        </div>
      </div>
    )
  }
}

export default Book;Root: We will create a root component now to house each of the other page components. React Router will also come into play here as we will use the Link component for navigation purposes:
// ./src/components/App.js
import React  from 'react';
import {Link} from 'react-router';

const App = (props) => {
  return (
    <div className="container">
      <nav className="navbar navbar-default">
        <div className="container-fluid">
          <div className="navbar-header">
            <a className="navbar-brand" href="#">Scotch Books</a>
          </div>
          <div className="collapse navbar-collapse" id="bs-example-navbar-collapse-1">
            <ul className="nav navbar-nav">
              <li><Link to="/">Home</Link></li>
              <li><Link to="/about">About</Link></li>
              <li><Link to="/book">Book</Link></li>
              <li><Link to="/cart">Cart</Link></li>
            </ul>
          </div>
        </div>
      </nav>
      {/* Each smaller components */}
      {props.children}
    </div>
  );
};

export default App
We are using a functional component here which is one of the ways to create a React component. Passing the children down is a good way to inject the child components as determined by the router.
Routes: Let’s now create component routes for this application. The file that will contain the routes can be at the root of your project if the project is a small one or you can split them up if you prefer to:
// ./src/routes.js
import React  from 'react';
import {Route, IndexRoute} from 'react-router';
import Home from './components/common/HomePage'
import About from './components/common/AboutPage'
import Book from './components/book/BookPage'
import App from './components/App'

export default (
  <Route path="/" component={App}>
    <IndexRoute component={Home}></IndexRoute>
    <Route path="/about" component={About}></Route>
    <Route path="/book" component={Book}></Route>
  </Route>
);
You can see how the parent route is using App as it’s component so all the children routes’ component will be rendered where props.children is found in App component.
Entry: The entry point will render the application with it’s routes to the DOM using ReactDOM‘s render method:
// ./src/index.js

// Babel polyfill will emulate a full
// ES2015 environemnt so we can enjoy goodies like
// Promises
import 'babel-polyfill';
import React from 'react';
import { render } from 'react-dom';
import { Router, browserHistory } from 'react-router';
import routes from './routes';
import '../node_modules/bootstrap/dist/css/bootstrap.min.css';

render(
  <Router routes={routes} history={browserHistory} />,
  document.getElementById('app')
);
We are passing all the routes to the router as a property which is one way of defining Router’s routes. As a reminder, if these routing terms are strange to you, I recommend you read a post on React Router.
At this point we are setup but our app will run with errors because the books props passed on to the Bookpage component is undefined. Let’s keep moving though.
2. Actions
The next step as listed above is to identify relevant actions and create them. Actions are object payloads that are identified by a required property type. Action creators are methods that wrap and return the action object. At the moment, we just need an action which we will create in the actions folder in the src directory:
// ./src/actions/bookActions.js
export const createBook = (book) => {
  // Return action
  return {
    // Unique identifier
    type: 'CREATE_BOOK',
    // Payload
    book: book
  }
};
Now this action is ready to be dispatched by the store but no rush yet. Let’s create the reducer that updates the store first.
3. Reducers
Reducers are used to update the state object in your store. Just like actions, your application can have multiple reducers. For now, we just need a single reducer:
// ./src/reducers/bookReducers.js
export default (state = [], action) => {
  switch (action.type){
    // Check if action dispatched is
    // CREATE_BOOK and act on that
    case 'CREATE_BOOK':
        state.push(action.book);
    default:
          return state;
  }
};
When the store dispatched an action, all the reducers are called. So who do we know which action to act on? By using a Switch statement, we determine which action was dispatched and act on that.
There is a big problem though. Reducers must be pure functions, which means they can’t mutate data. Our current implementation of the reducer is mutating the array:
// ./src/reducers/bookReducers.js
// ...
state.push(action.book);
// ...
How do we make an update without mutating? The answer is to create another array of data and update it’s content with the previous state and that changes made:
// ./src/reducers/bookReducers.js
export default (state = [], action) => {
  switch (action.type){
    case 'CREATE_BOOK':
        return [
          ...state,
          Object.assign({}, action.book)
        ];
    default:
          return state;
  }
};
The spread operator just pours out the content on the array into the new array.
4. Combine Reducers
I mentioned in the previous step that we could have as much reducers as we want but unlike actions, Reducers are not independent and can’t standalone. The have to be put together and passed as one to the store. The act of putting multiple reducers together is known as reducer combination and the combined reducer is the root reducer.
It’s ideal to combine reducers at the root of the reducers’ folder:
// ./src/reducers/index.js
import { combineReducers } from 'redux';
import books from './bookReducers'

export default combineReducers({
  books: books,
  // More reducers if there are
  // can go here
});
The combination is done with combineReducers() from the Redux library.
5. Configure Store
The next step is shifting focus from reducers to store. This is the time to create your store and configure it with the root reducer, initial state and middleware if any:
// ./src/store/configureStore.js
import {createStore} from 'redux';
import rootReducer from '../reducers';

export default function configureStore(initialState) {
  return createStore(rootReducer, initialState);
}
We do not need any middleware now so we just leave that out. The createStore method from redux is used to create the store. The createStore method is wrapped in an exported function configureStore which we will later use to configure provider.
6. Provide Store
The Redux’s store API includes (but not all):
/* Dispatches actions */
store.dispatch()
/* Listens to dispatched actions */
store.subscribe()
/* Get state from store */
store.getState()
It is very inconveniencing to have to use this methods all around your react components. Dan, the founder of Redux built another library react-redux to help remedy this problem. All you need to do is import the Provider component from react-redux and wrap your entry point component with it:
// ./src/index.js
import 'babel-polyfill';
import React from 'react';
import { Provider } from 'react-redux';
import { render } from 'react-dom';
import { Router, browserHistory } from 'react-router';
import routes from './routes';
import '../node_modules/bootstrap/dist/css/bootstrap.min.css';

import configureStore from './store/configureStore';

const store = configureStore();

render(
  <Provider store={store}>
    <Router routes={routes} history={browserHistory} />
  </Provider>,
  document.getElementById('app')
);
Not only do we wrap with Provider, we can now provide the store to the Provider component that will in turn give the descendants of the this entry component access to the store.
7. Connect
Wrapping our entry component with Provider does not mean we can go home happy. There is still a little job to be done. We need to pass down the states to our components props, same goes with the actions.
Best practice demands that we do this in container components while convention demands that we us mapStateToProps for states and mapDispatchToProps for actions.
Let’s update the BookPage container component and see how the flow gets completed:
// ./src/components/book/BookPage.js
import React from 'react';
import { connect } from 'react-redux';
import * as bookActions from '../../actions/bookActions';

class Book extends React.Component{
  constructor(props){
    super(props);
  }

  submitBook(input){
    this.props.createBook(input);
  }

  render(){
    let titleInput;
    return(
      <div>
        <h3>Books</h3>
        <ul>
          {this.props.books.map((b, i) => <li key={i}>{b.title}</li> )}
        </ul>
        <div>
          <h3>Books Form</h3>
          <form onSubmit={e => {
            e.preventDefault();
            var input = {title: titleInput.value};
            this.submitBook(input);
            e.target.reset();
          }}>
            <input type="text" name="title" ref={node => titleInput = node}/>
            <input type="submit" />
          </form>
        </div>
      </div>
    )
  }
}

// Maps state from store to props
const mapStateToProps = (state, ownProps) => {
  return {
    // You can now say this.props.books
    books: state.books
  }
};

// Maps actions to props
const mapDispatchToProps = (dispatch) => {
  return {
  // You can now say this.props.createBook
    createBook: book => dispatch(bookActions.createBook(book))
  }
};

// Use connect to put them together
export default connect(mapStateToProps, mapDispatchToProps)(Book);
mapStateToProps now makes it possible to access the books state with this,props.books which we were already trying to do in the component but was shy to run because we were going to see red in the console.
mapDispatchToProps also returns an object for the respective dispatched actions. The values are functions which will be called when the actions are dispatched. The value expects a payload which you can pass in as well when dispatching.
The connect method now takes in these 2 functions and returns another functions. The returned function is now passed in the container component.
Now you can run the app with:
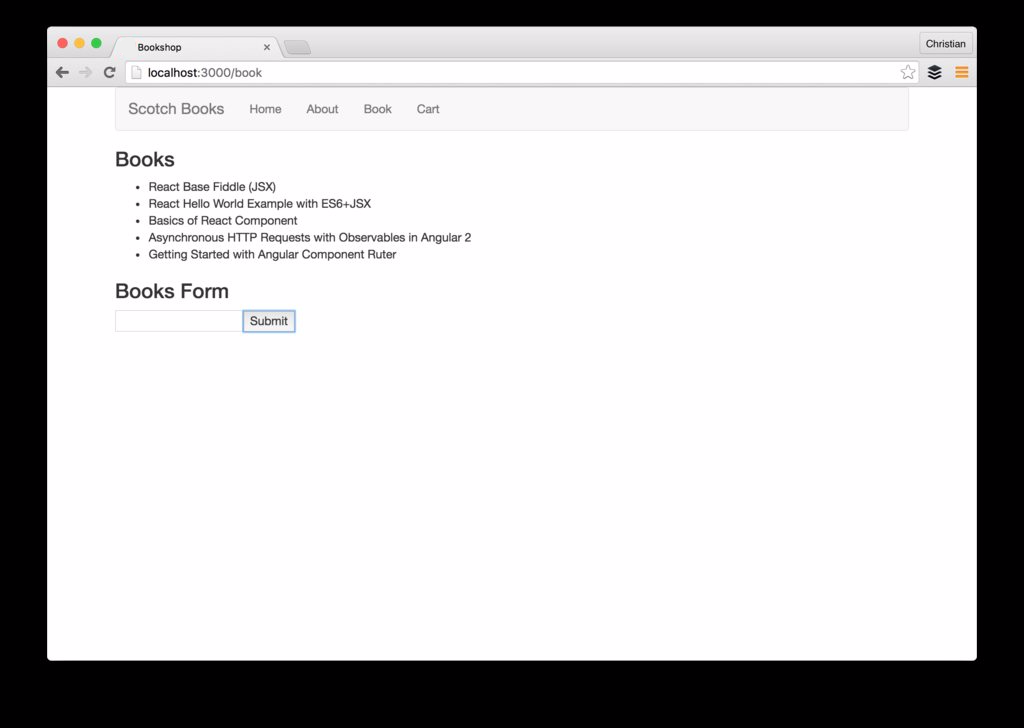
npm start -sWe should have a working demo like the one in the image below:


Up Next…
We just had a quick look on React with Redux but this can make a real app. In the next part of this tutorial, we will try to draw closer to something real like making async requests with redux-thunk