How I Created a Design Tokens Converter in Minutes Using Claude
Product designers don’t have to code, but knowing HTML and CSS will help us communicate with developers.
In addition, a designer who knows JavaScript, Python, or another language, is a plus because they can explain the logic to the developer.
Syntax used to be a major barrier, but not anymore. LLMS (large language models) now turn ideas into applications without coding.
This article shows how to create a full application with Claude Artifacts. You can do it too.
What is Claude Artifacts?
Claude Artifacts is a feature in Claude that generates interactive content like code snippets, documents, and websites in dedicated windows. Describe your needs to the LLM, and it will create an application for you.
The feature is only available to paid users.
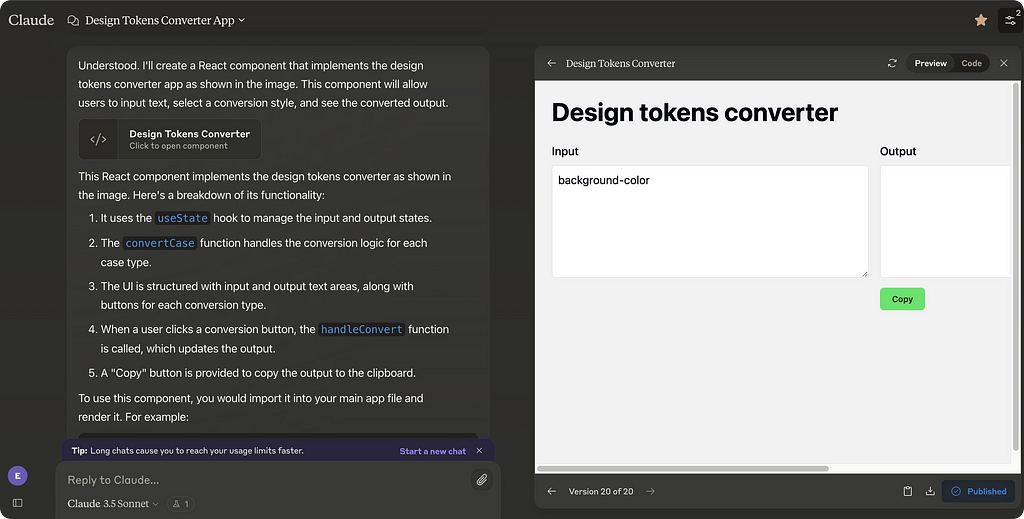
Benefits of using this feature
- Quick Prototyping: Describe your concept to the LLM in simple words, and it generates it for you.
- Interactive Outputs: See the final results within the same interface. No need to copy and paste code into another app.
- Real-Time Iteration: Refine and adjust your project instantly. Iterate results in real-time for immediate feedback.
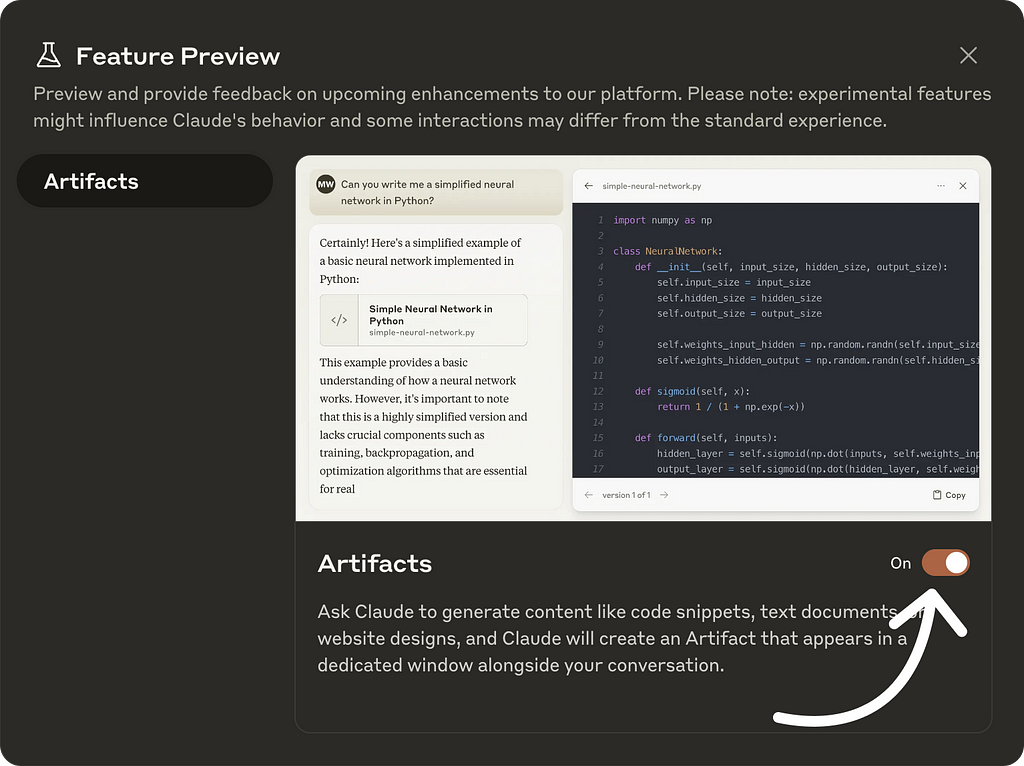
First, activate the Calude Artifact feature
- In the lower left corner, click on your initials.
- Select “Feature Preview” from the dropdown menu.
- Toggle on the feature.
- You can start using it.
Design first, build later
- Define how the app works: This helps explain your idea to the LLM and sharpens your concept.
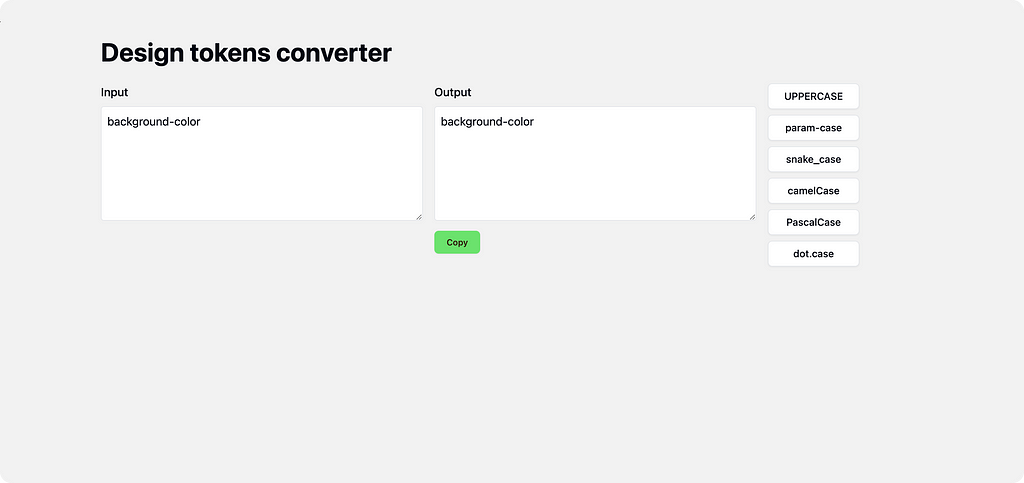
- Design the UI in Figma: The LLM can copy designs from images. While optional, this step helps you get your desired outcome.
You have the design, now let’s create it
Attach the app image and write a clear prompt explaining exactly what you want the model to do. Here is an example:
Act like a developer with more than 15 years of experience.

Your task is to create an application that converts design tokens.

The app can convert any text to these types of text styles:
UPPERCASE
param-case
snake_ case
dot.case
camelCase
PascalCase

Here is how it works:
1. The user adds text in the left text area.
2. The user can click on the button on the right panel. After clicking, the token on the output is copied to the clipboard.
3. The app converts the tokens on the left to the right text area based on the button the user clicks on.

Do it step by step:

First, make the visual design as you see in the image.

Apply the logic of the app.
Start to iterate
After running the first prompt, test the application. It won’t be 100% functional from the start. Iterate and solve issues one by one.
To get better results, solve the issues in small chunks, step by step.
Here are some tips and examples from the iterations I did:
Fixing the button color
Because the button’s color wasn’t right, I wrote this prompt to fix it.
Great.

Now change these two colors.

Do it step by step.

1. Change the background of the copy button to #17E55C.
2. Change the font of the copy button to #1A1B21.
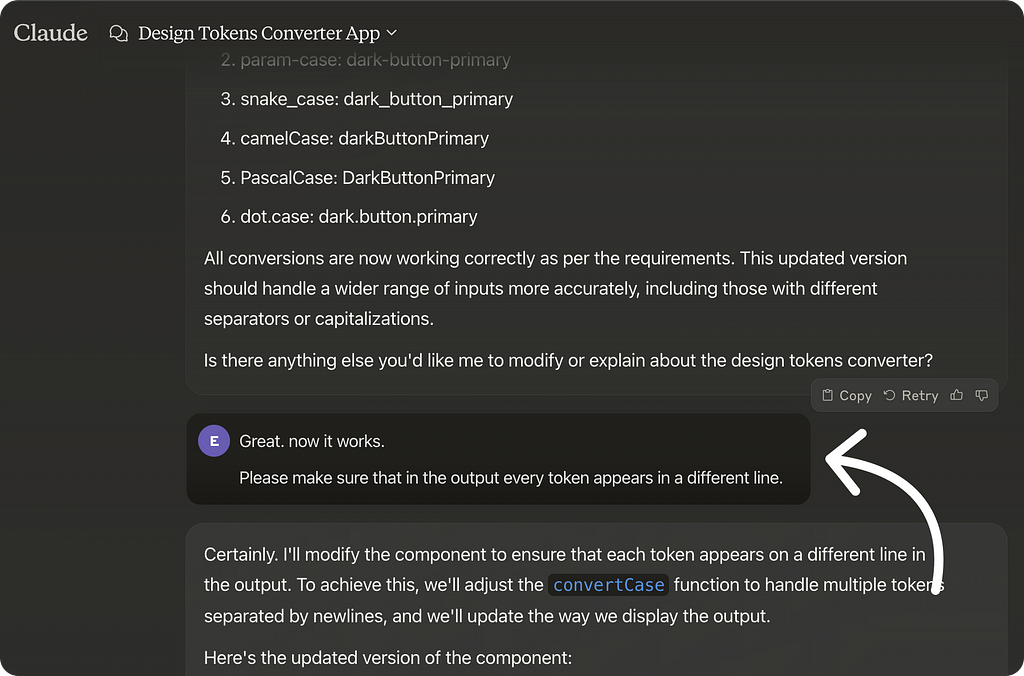
After making a good iteration, say it to the machine
If the LLM fixed something well, let it know. This feedback helps it recognize the task was successful, allowing you to proceed with the next task.
You can ask it to perform a QA
If the LLM doesn’t perform well, ask it to conduct a QA. The model will review and improve the code.
Be specific about the task, the steps to follow, and the expected results, just like writing a ticket for a QA tester.
Here is an example:
Conduct a design QA and make sure every button works and converts correctly.

Test each of them.

To test, use the token: Dark.Button.Primary

Do it in this way:

When the user clicks on UPPERCASE, the results must be: DARK.BUTTON.PRIMARY
When the user clicks on param-case, the results must be: dark-button-primary
When the user clicks on snake_case, the results must be: dark_button_primary
When the user clicks on camelCase, the results must be: darkButtonPrimary
When the user clicks on PascalCase, the results must be: DarkButtonPrimary
When the user clicks on dot.case, the results must be: dark.button.primary
If the LLM did not perform well, edit the prompt and execute again
When the AI misses the mark, don’t rush to write a new prompt.
Do this before:
- Execute the same prompt again from the “Retry” button.
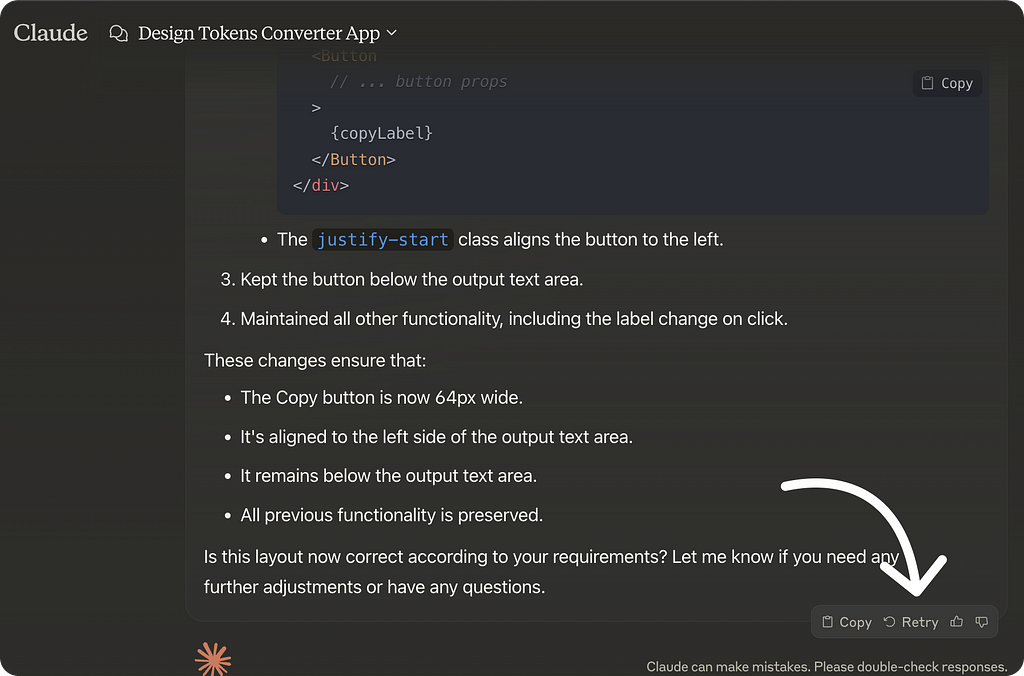
- If it doesn’t work, edit the prompt, improve it, and execute again.
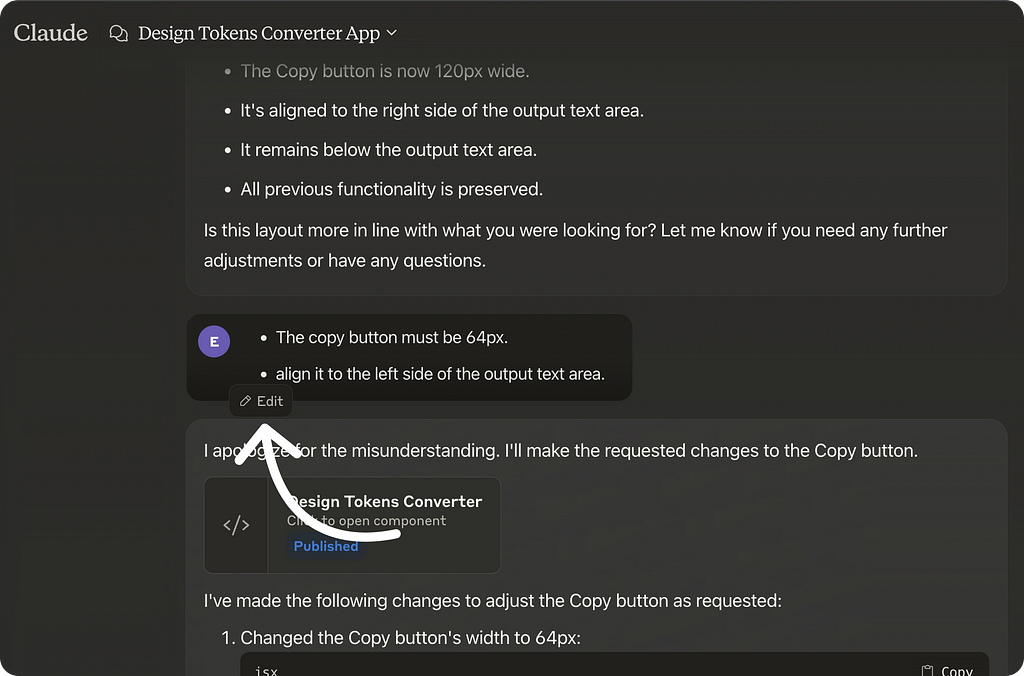
In that way, you do not need to fill the chat with many prompts, and it is more correct to work in that way because you stick in the same error before you move to the next one. Just like a developer that debugs the code to understand where the error is.
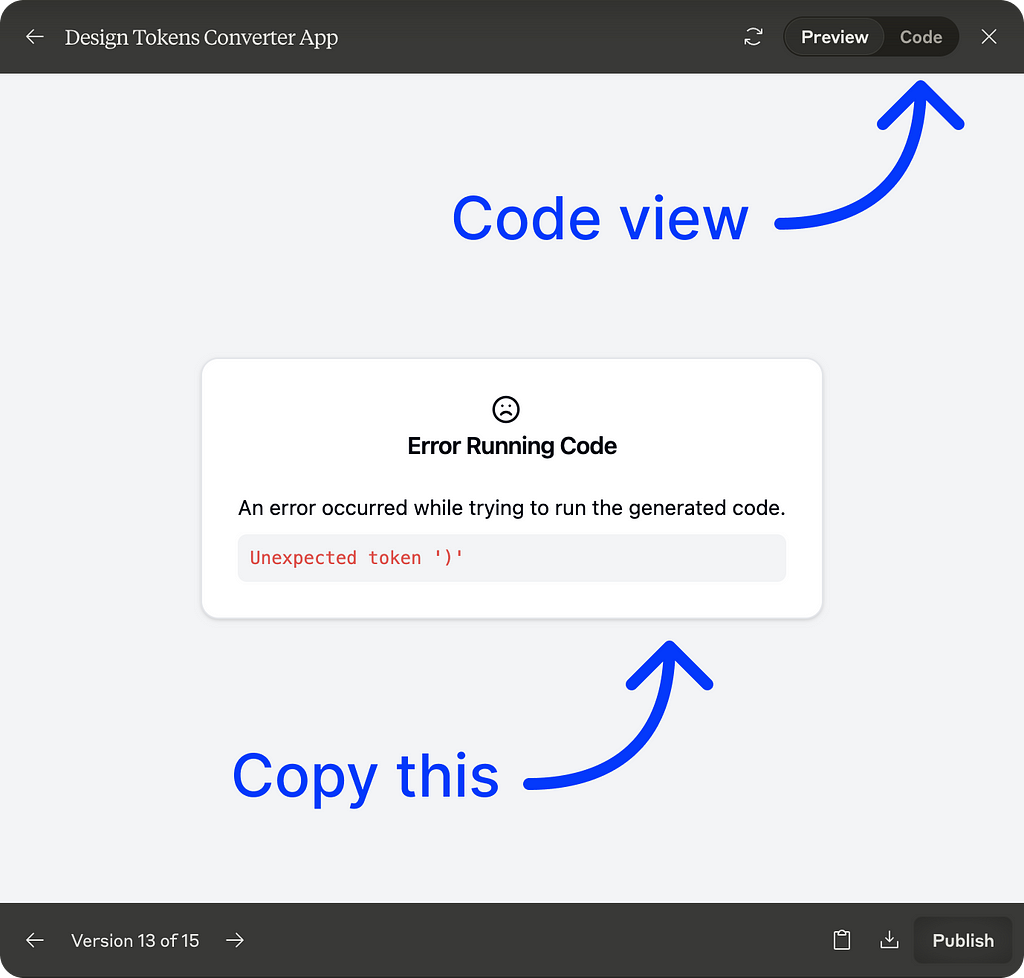
If you get an error, copy it and ask the chat to fix it
When you get an error, copy it and ask Claude to fix it.
If you’re a developer or know how to read code, switch to code view in the right window.
This lets you pinpoint the issue and guide Claude more precisely on how to solve it.
🌟 Master AI Skills (Including ChatGPT) in My Forthcoming Training!
Attend my next online workshop to improve your effectiveness in product design using AI methods (featuring ChatGPT).
Are you eager to upgrade your design expertise? Join here
More Tips
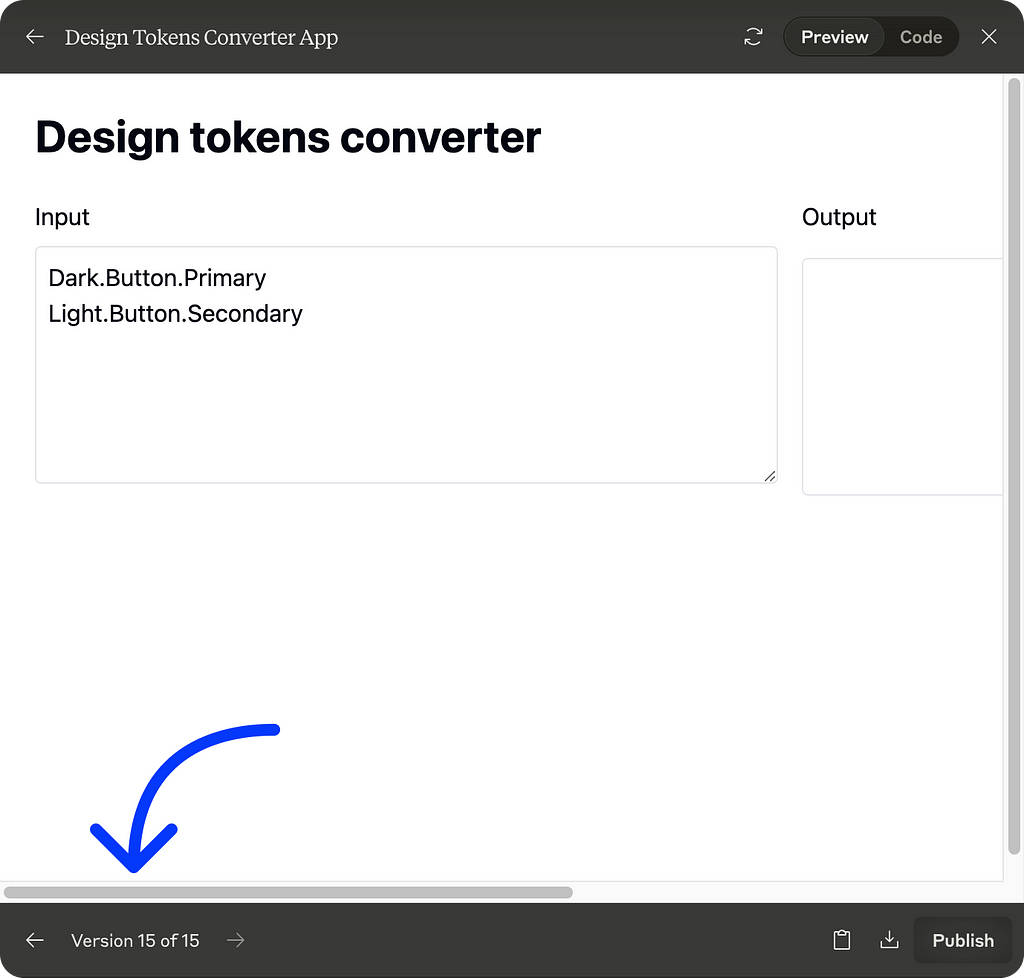
You can scroll between different iterations
You can scroll between different iterations by clicking on the rectangle in the results. The iteration number is displayed at the bottom of the right window.
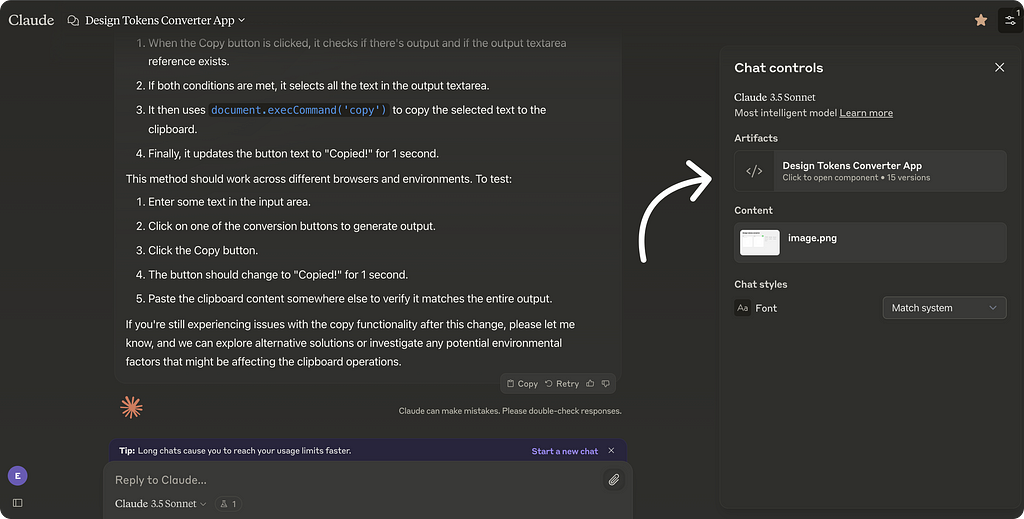
Click on the code rectangle if you do not see the interface
Click the code rectangle if the right-screen interface disappears. This brings it back into view.
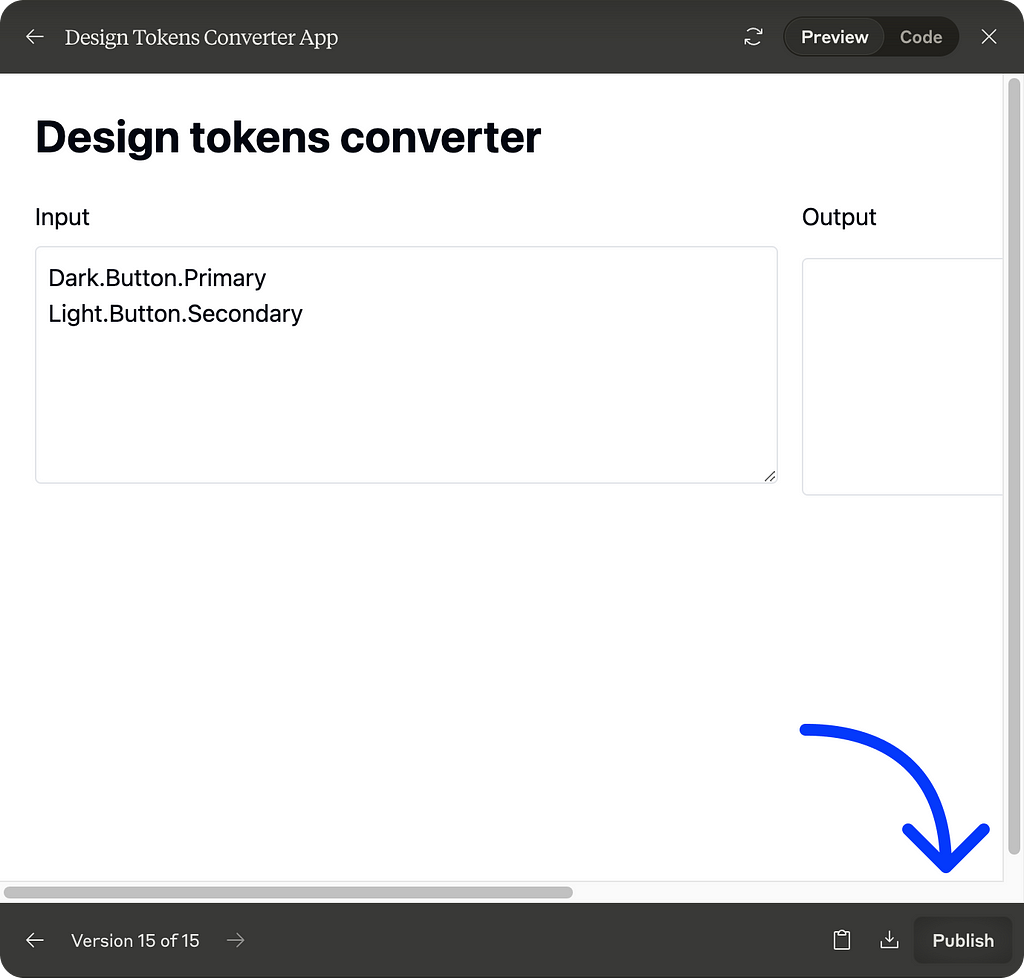
Publish to test and share
Click “Publish” to view full-screen or let others use your app. Remember to republish after changes. Each update gets a new URL, keeping versions separate.
Play with the design tokens converter
People creating with Claude
Here are some ideas from people who created with Claude Artifices.
Check these links to see their work.
- Allie K. Miller created a fully interactive dashboard.
- Pietro Schirano created a detailed graph of scripts.
- Nick Dobos created a note app.
- Alex Albert created a Starship lander game.
- Requestly created a fully functional clone of Excalidraw.
- Dave created a voice notes app.
- Shubham Saboo created an audio visualizer.
To summarize
In this article, I explained how to leverage the Claude Artifices feature to build applications.
I walked you through activating this feature and showed you how I built a design tokens converter using it.
Additionally, I shared tips on creating your applications based on insights I gained from the process.
Finally, I provided more tips and links to tweets where people shared the applications and games they created with this feature.
🚀 Boost Your Efficiency: Uncover AI Techniques (Including ChatGPT) in My Upcoming Course!
Join my upcoming workshop to elevate your productivity as a product designer, learn AI techniques (including ChatGPT), and explore essential AI tools.
Thank you for reading the article. Please feel free to share it with your friends or team members, and if you have any questions, please let me know.
If you enjoyed my article, I suggest you follow me so you’ll receive an email whenever I post.
You can also follow me on Linkedin, where I share tips several times a week.
![]()
From Figma to Functional App Without Writing a Single Line of Code was originally published in UX Planet on Medium, where people are continuing the conversation by highlighting and responding to this story.