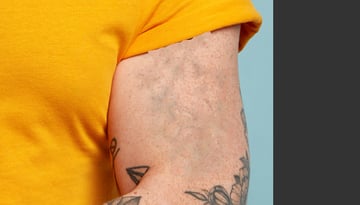
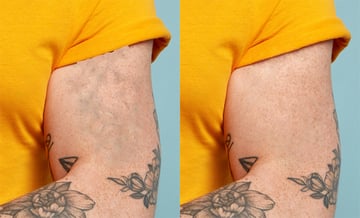
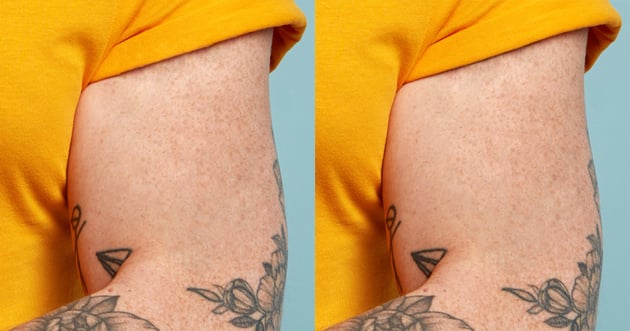
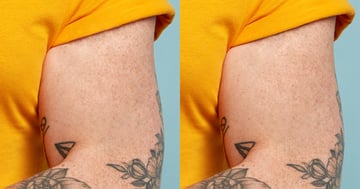
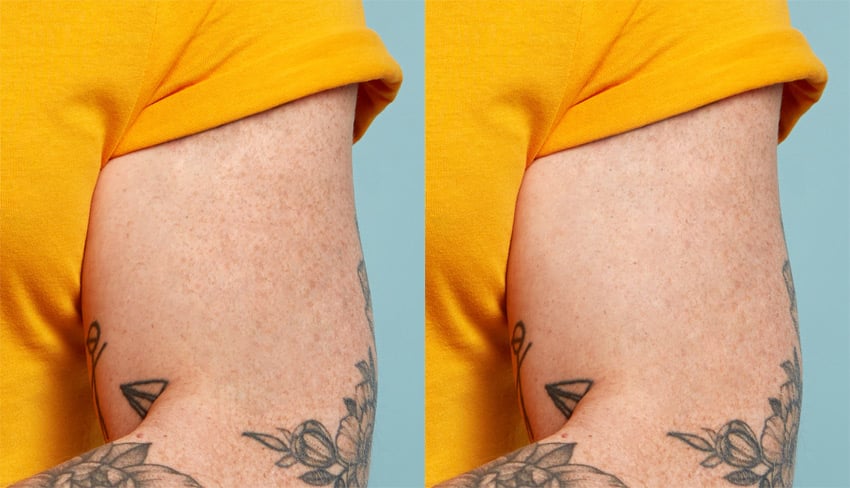
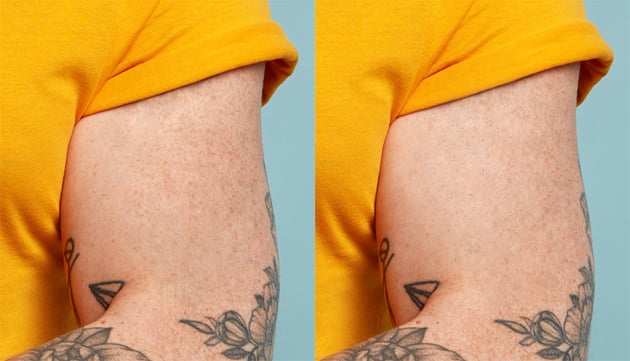
If you want to learn how to remove tattoos in Photoshop, this tutorial will show you how to do it without losing the detail of the skin.
How to remove a tattoo from a photo in Photoshop
Step 1
Open your photo and press Control-J to duplicate the image.


Step 2
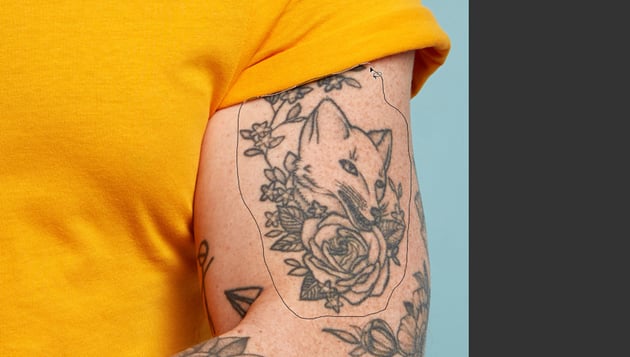
Outline the tattoo roughly using Photoshop’s Lasso Tool (L).


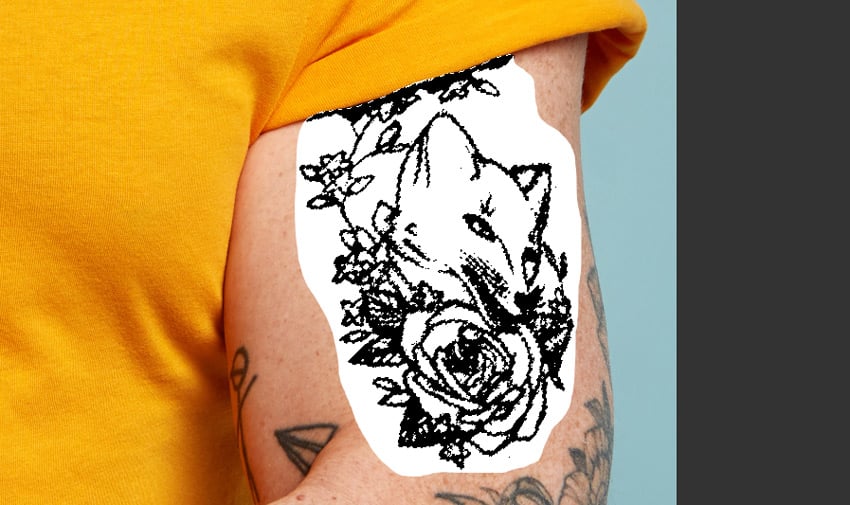
Step 3
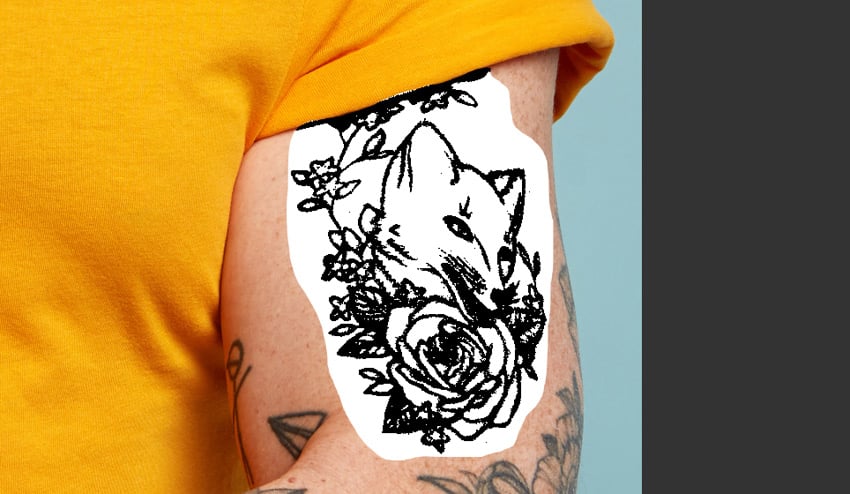
Add a Threshold adjustment layer. Drag the marker to cover the whole tattoo, while also avoiding capturing any of the shadows on the skin.


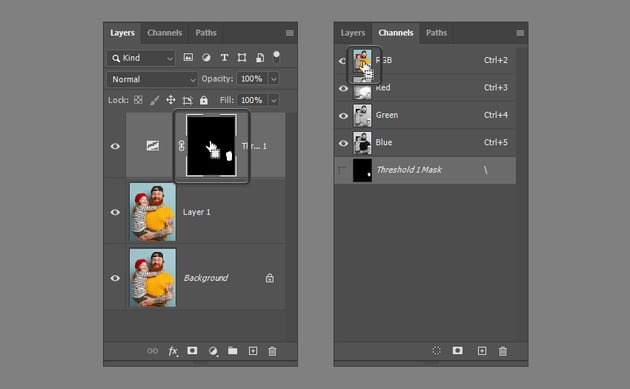
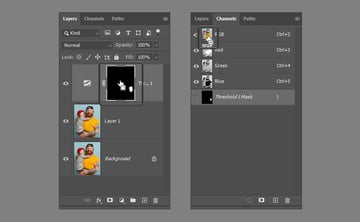
Step 4
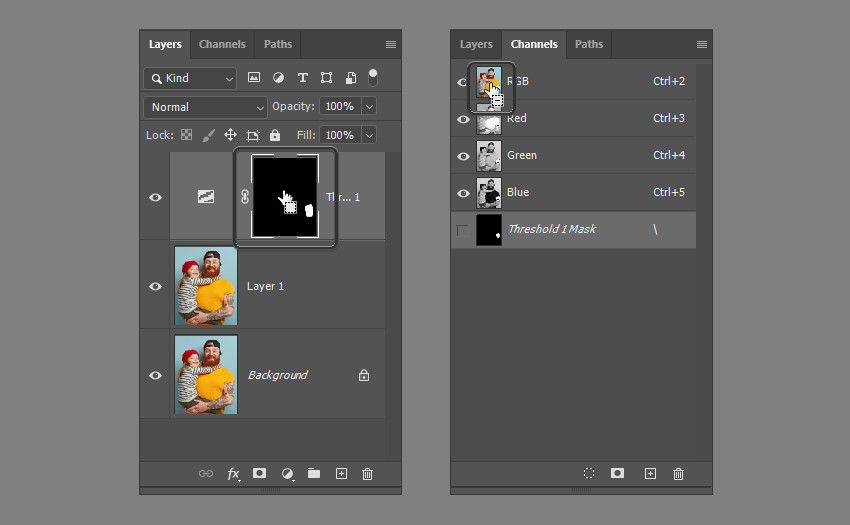
Hold the Control key and click the mask of the Threshold layer to create a selection. Then go to the Channels tab, hold the Control and Alt keys, and click the thumbnail of the first layer. This will create a selection of the tattoo only.
If the tattoo in your photo is colorful, or your model has dark skin, this method of selection might give you less satisfying results. If this is the case for you, make sure to use manual selection tools to add the parts of the tattoo that Photoshop ignored—even at the cost of adding some untattooed skin to the selection.


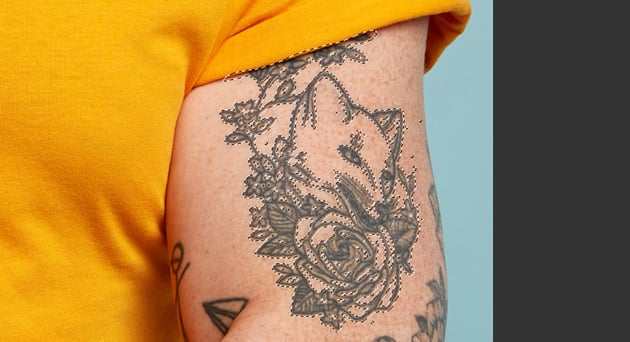
Step 5
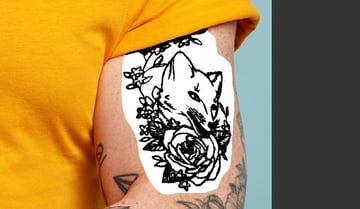
Hide or delete the Threshold layer. Go to Select > Modify > Expand and add a few pixels to make sure the whole tattoo has been included in the selection.


Step 6
If you notice any part of the skin being selected too (dark spots or hair), press Q to go into Quick Mask mode, and paint over them with black to remove them from the selection. When you’re done, press Q again to exit the mode.


Step 7
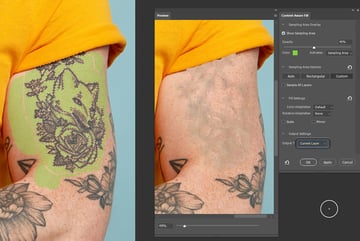
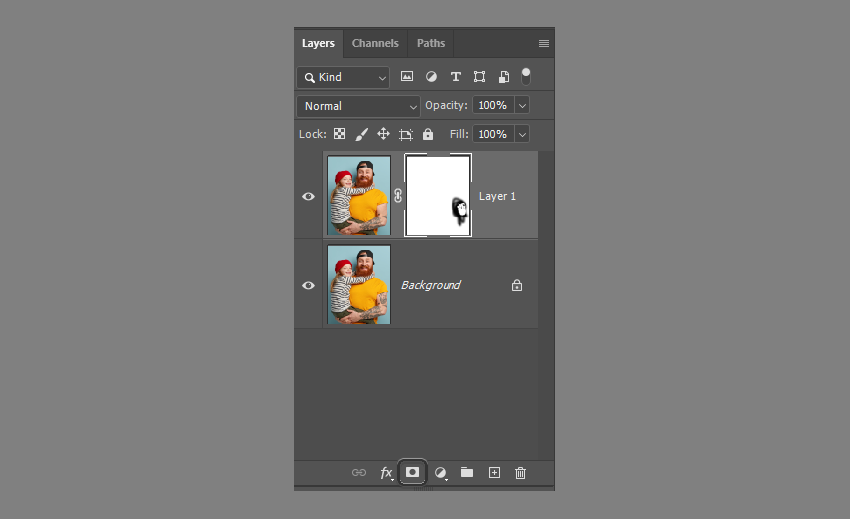
Go to Edit > Content Aware Fill. Paint over the selection to let Photoshop know which parts of the skin it should transfer to the removed tattoo. Set Output to Current Layer and press OK.


Step 8
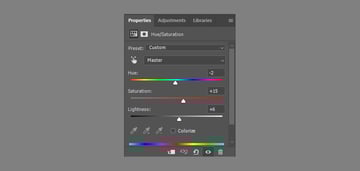
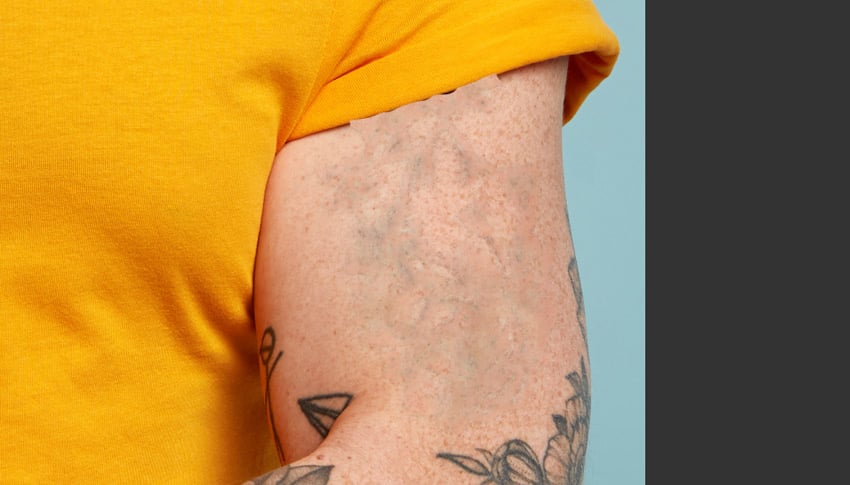
The tattoo has been removed, but the effect is not very convincing. Let’s fix it! Add a Hue/Saturation adjustment layer.
Experiment with the sliders until the blue tone of the removed tattoo disappears from the skin. Then Merge the adjustment layer with the layer below by pressing Control-E.


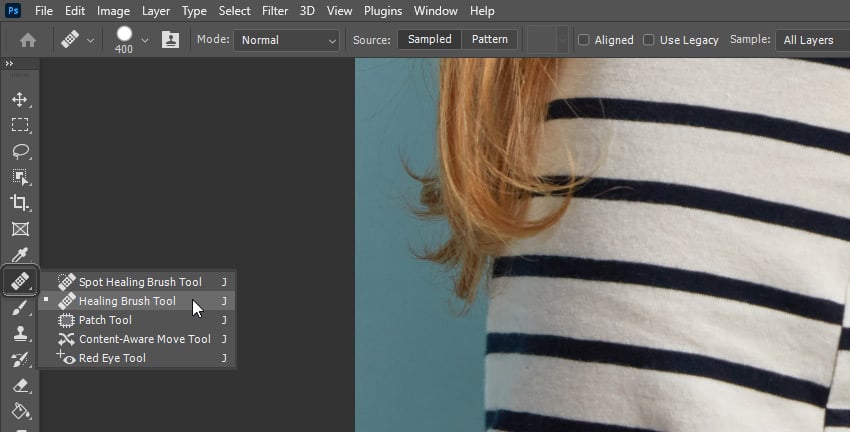
Step 9
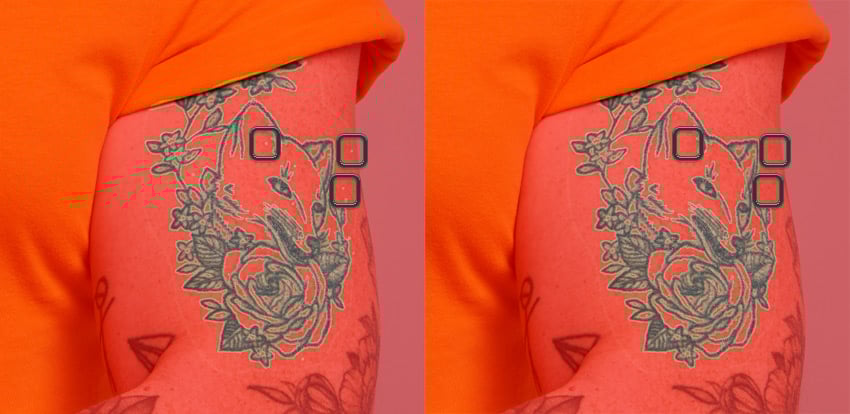
Now, here’s the trickiest part. We need to bring back the texture and color of the remaining skin where the tattoo was removed. To do this, take the Healing Brush Tool (J).
Hold the Alt key and click to load the brush with a part of the skin, and then click somewhere else to transfer that skin to that new area.


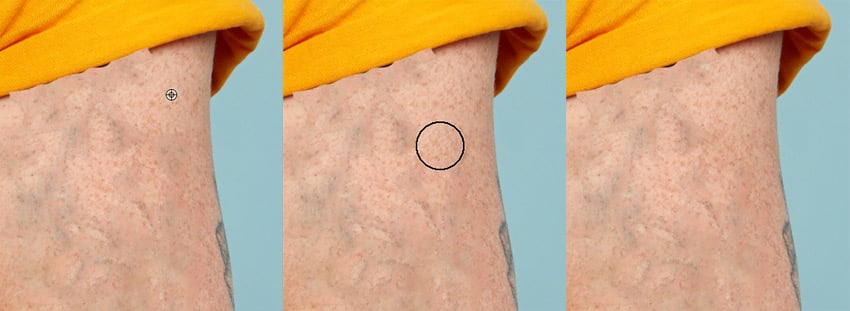

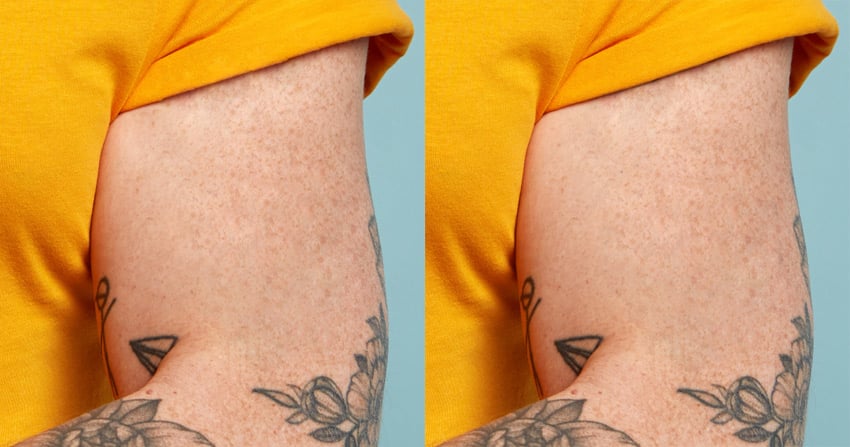
Step 10
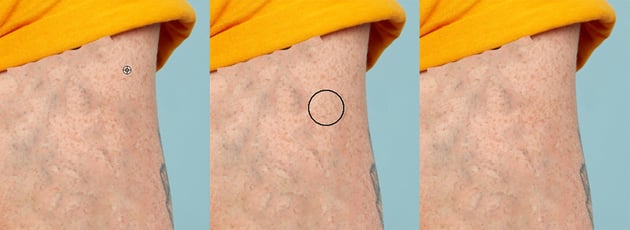
Continue using this technique to cover the whole tattoo. Make sure there are no discolored areas left—they’re the clearest sign of some kind of photo manipulation happening there.
The Healing Brush tends to mix its color with the target area, so if you want to avoid that, you can use the Clone Stamp Tool (S) instead—it works the same way, but it just doesn’t do the mixing.


Step 11
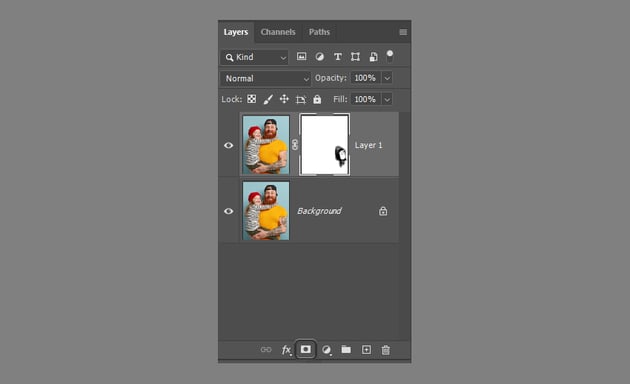
Once you’re done, add a Layer Mask and paint over it with black/white to reveal the parts of the skin that weren’t covered by the tattoo but have been affected by our modifications.

Step 12
Now, zoom out, rotate the image, or flip it to refresh your perspective. Look for anything that might break the illusion—regular lines, repeating patterns, weird color areas, etc.
If you find any of that, use the Healing Brush again to make the final result perfect.
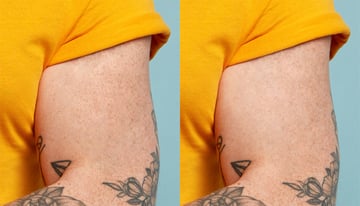
That’s all!
And you’re done! You’ve learned a fast and easy photo tattoo removal process in Photoshop.


What if you could easily remove a tattoo from a photo with AI? Envato’s ImageEdit tool is a simple and effective AI tattoo remover!
No need for complex prompts, additional accounts, or time-consuming software installations: with your Envato subscription, you get unlimited access to all the brand new Envato AI tools. They’re easy to use and open up a world of possibilities for your creative projects.


So you’ve learned how to remove a tattoo in Photoshop, but don’t go yet! Keep up with the latest AI trends, learn more about generative AI in 3D design, or enjoy our other Photoshop tutorials and courses: