In this quick tutorial, you’ll learn what a gingham pattern is and how to create this pattern in Photoshop. Because it’s such a simple print, it will also be a useful lesson in how to make patterns in Photoshop in general! So, let’s get started!
How to create a gingham pattern in Photoshop
Step 1
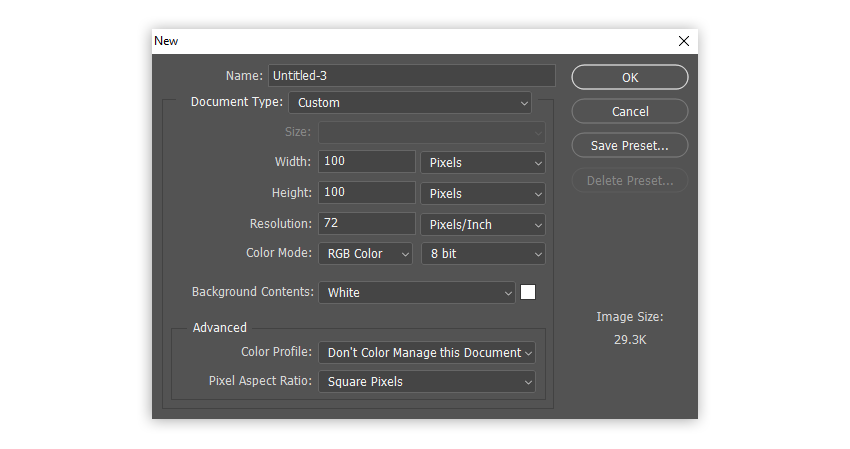
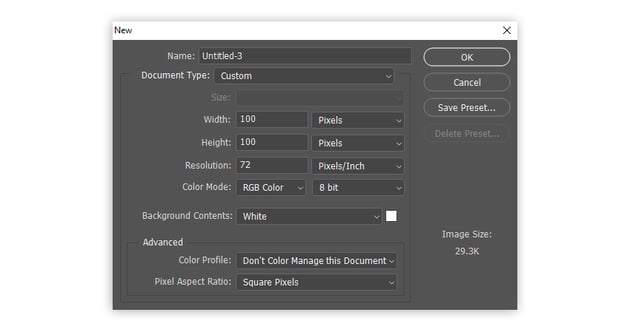
Create a New File with dimensions 100 x 100 px.
Step 2
Take the Rectangle Tool (U) and click somewhere within the canvas. Use 100 px for both dimensions.


Step 3
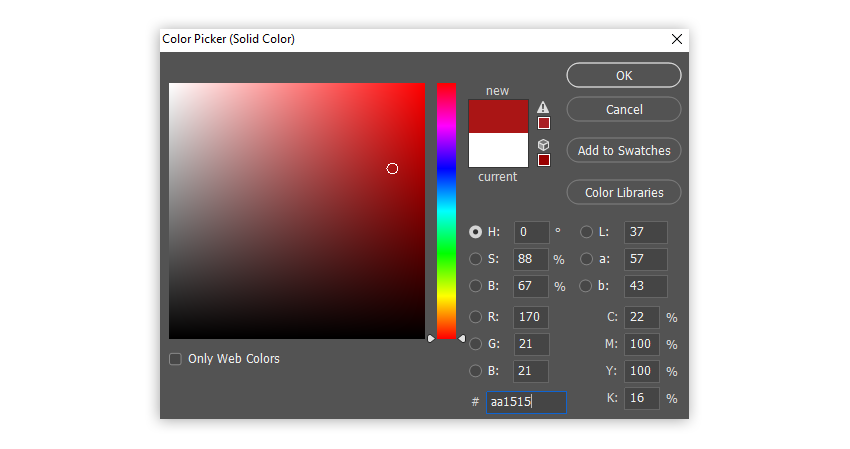
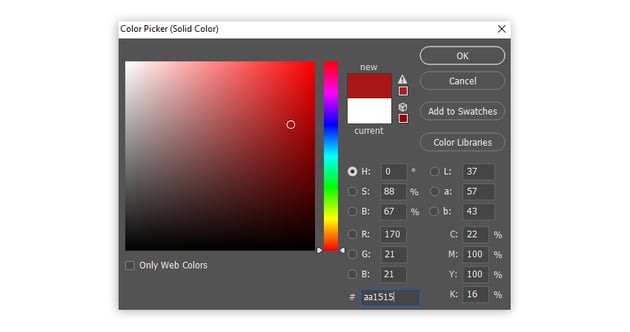
Double-click the thumbnail of the rectangle layer, and set the color to #aa1515. This will be the base for a classic, red gingham pattern.
Step 4
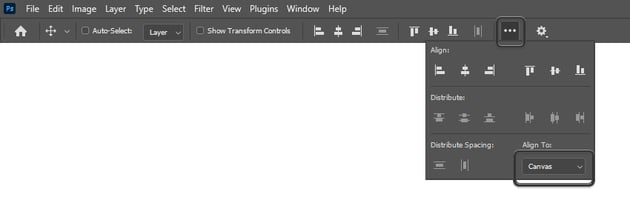
Take the Move Tool (V), click the three dots button in the upper bar, and Align to Canvas. Then click Align horizontal center and Align vertical center. This will make sure the red square and the canvas are perfectly aligned.


Step 5
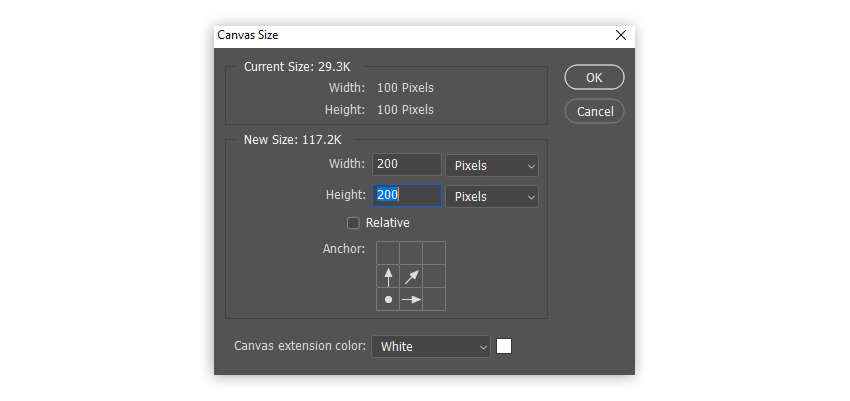
Go to Image > Canvas Size and set both the Width and Height to 200 px. Anchor it to the lower left corner.


Step 6
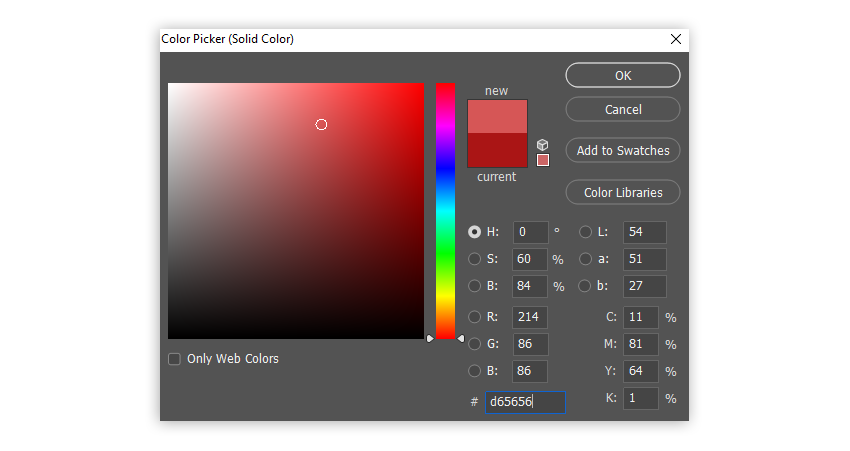
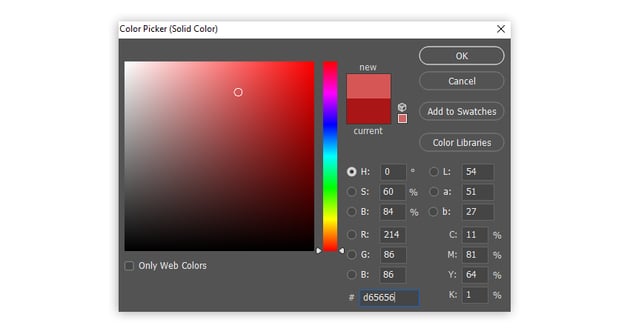
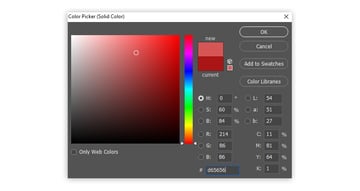
Duplicate the red square with Control-J. Then double-click it and change the color of the copy to #d65656. In a traditional red gingham pattern, this lighter shade of red was produced by mixing red threads with white threads, but for our digital gingham print, we can cheat a little and create it directly!
Step 7
Duplicate the copy with Control-J. With the second copy selected, take the Move Tool (V) and Align right edges.


Step 8
Select the first copy, and Align top edges. We now have everything we need to create our gingham print!


Step 9
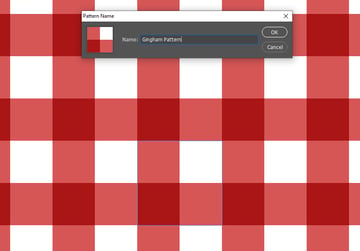
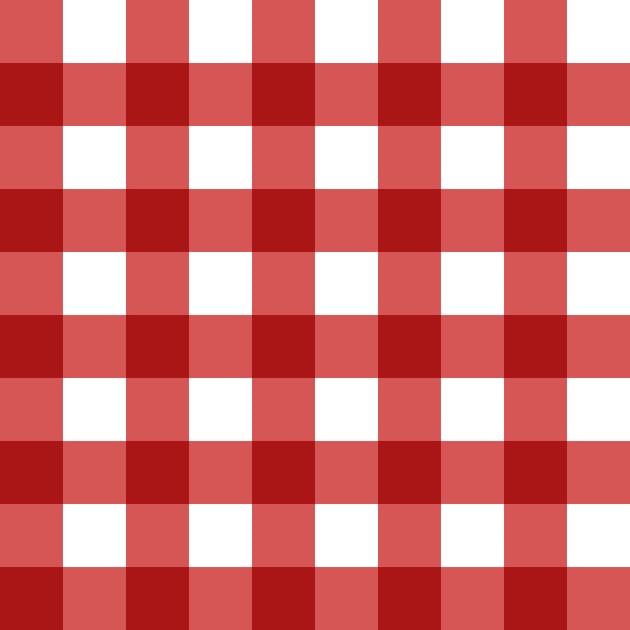
Go to View > Pattern Preview to see the whole pattern. This will give you a chance to modify the colors and see the changes in real time, so you can easily create a blue or green gingham pattern as well. Feel free to resize the whole pattern now (Image > Image Size) if you need larger squares—because all the shapes are vector, this will not affect their quality.
When you’re happy with the result, go to Edit > Define Pattern and name it Gingham Pattern.


Step 10
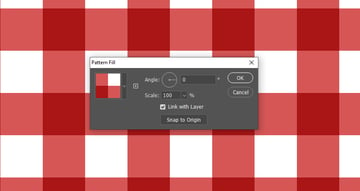
You can now easily add this pattern to any file, by going to Layer > New Fill Layer > Pattern and selecting your Gingham Pattern.


What is a gingham pattern?
Now you know how to create a pattern in Photoshop—specifically, a red gingham pattern. By the way, you may recognize this print, but what is a gingham pattern exactly?
What is a gingham pattern?
A gingham pattern is a checkered design based on two colors: a bold color (like red or blue) and white. The third tone is produced by overlapping threads of the two base colors.
It was traditionally woven using cotton, which produced a lightweight fabric used for a variety of purposes—you may know it from picnic blankets, tablecloths, and kitchen towels, but it was also very popular in fashion.
Famous examples of gingham patterns
The most famous example of a blue gingham pattern can be found in the dress worn by Dorothy in the classic movie The Wizard of Oz from 1939. A bright, pink-white gingham pattern also found its place on Brigitte Bardot’s wedding dress in 1959, further popularizing the pattern in the world of fashion.
And now you can also add this simple but timeless pattern to your own designs using Photoshop!


Recommended tutorials
If you want to learn more about creating Photoshop patterns, check out these tutorials: