So you’ve just purchased an HTML template and now you have to customize it before it goes online. But you’re not experienced with code so you’re not sure how to go about it. Well, rest easy, because in this tutorial we’re going to step you through how to edit a HTML template.
We’re going to be working off the assumption you’ve never seen a line of HTML before, let alone edited one, so no matter how new you are to working with code you’ll be shown exactly what to do every step of the way.


If you’re wondering where to find professional HTML5 website templates, scroll down after this tutorial. We’ve got a selection of top HTML5 templates. First, you’ll learn to edit ThemeForest templates and then, you’ll see some of the best from the marketplace.
What is HTML?
Let’s start at the very beginning. Technically speaking the answer to this question is “Hyper Text Markup Language”. However, for the purposes of customizing a template, you can consider HTML as a series of opening and closing tags like this:
<h1> </h1>
Tags are indicated with < and > signs, and the closing tag always includes a /. Pairs of tags have content in between them like this:
<h1>John Smith, Front End Developer</h1>
Sometimes, however, there are also stand alone tags, with no closing partner, like this:
<img src="http://webdesign.tutsplus.com/mypic.jpg">
Different HTML tags make different types of content appear on a web page. The above example of <h1></h1> tags would create a large heading reading “John Smith, Front End Developer”, and the example <img> tag would make the image file “mypic.jpg” appear on the page.
To edit an HTML template all you need to know is which tags represent the parts of the page you want to change, how to find them in the code, and how to edit them so they show what you want.
Get Yourself a Code Editor
Yes, it’s completely possible to edit HTML in Notepad or a similar program, but things will go much more smoothly for you if you use a proper code editing app. One of the main reasons is you’ll get colored highlighting of your code, as you’ll see shortly, which will make it much easier to read and edit.
I recommend Sublime Text, which you can download here: https://www.sublimetext.com/3
Download and View Your HTML Template
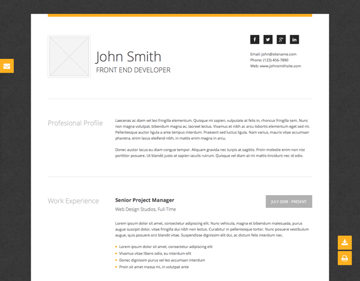
Download the template you’ve purchased–in the case of this tutorial we’ll be using this clean CV template to demonstrate. Note: the HTML template used for this tutorial is no longer available on ThemeForest. But everything you learn here can be applied to any HTML template.
If you’re looking to build an online resume with a HTML template, here’s a great option. Remember to scroll down after this tutorial to find a selection of the best HTML5 responsive templates from ThemeForest.

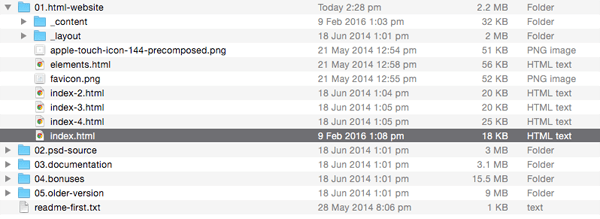
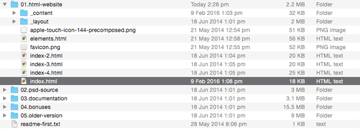
Most HTML templates will come in a ZIP file – if so, go ahead and extract yours now. Then look around inside the template’s folders until you find the “index.html” or “index.htm” file.
In our example CV template the “index.html” file is found in the “01.html-website” directory.
Now, open that file up in Chrome. Even if Chrome isn’t your default or preferred browser please use it anyway, because we’re going to be working with some tools it has in-built to help you with the editing process.
Identify the Parts You Want to Change
If this is your first time learning to edit ThemeForest templates, try not to get drawn into the idea of tweaking the colors and layout just yet. To do that you have to dig into CSS, the language responsible for page styling. It’s a good idea to focus on one thing at a time when you’re new to template customization, and HTML is the best place to start.
To get the ball rolling, take a look at your template in Chrome and figure out which written elements and images on the page you need to change. If you’d like, you can prepare a list so you can go through and check each item off as you make your edits.
In the case of our CV template we want to change:
- Name
- Profession
- Personal picture
- Social media links
- Contact information
- CV sections: “Professional Profile”, “Work Experience”, “Technical Skills” and “Education”
- Copyright message
Now we have a list of items to change, we can set about locating their corresponding HTML tags in the code. Let’s start with the name.
Find the Tag in the Inspector
Right-click on the name, which reads “John Smith” by default, and select Inspect:


A panel like this should open in your browser:

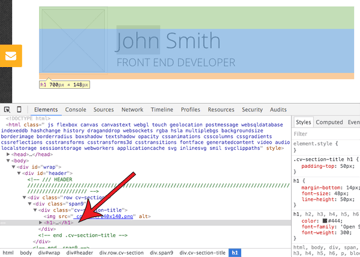
This panel gives you an interactive way of looking at the code. Hover your mouse over the line that shows <h1>...</h1> (heading level 1 tags) and you should see the name section of the template highlighted as you see in the screenshot above.
By hovering your mouse over different lines of code and seeing which areas of the page light up, this panel helps you to figure out which code corresponds with what element. You just keep hovering over different lines of code until the part you’re looking for lights up.
Now expand the h1 tags by clicking the little triangle to their left and you should see the content in between them, i.e. John Smith <small>Front End Developer</small>.

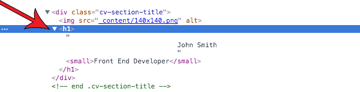
This wording matches up with what you see on screen, so you know you have found the right part of the code.
Edit the Tag in HTML
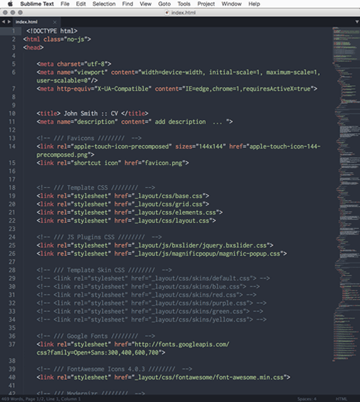
It’s now time to open up your HTML file for editing. Open the “index.html” file in Sublime Text and you should see something like this:

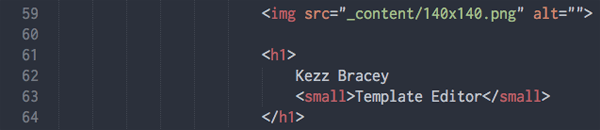
You want to find the code in here that matches what you saw in the Chrome inspector. Scroll through until you find it on lines 61 – 64.


Now you can edit the content in between the tags to change the name and profession to your own. First, edit “John Smith” to your own name:


Then, in between the <small></small> tags, change “Front End Developer” to your own profession.


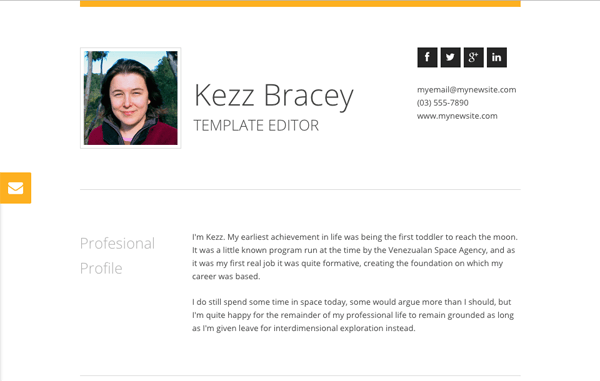
Save your file then refresh the template in Chrome. You should see your changes appear like so:


Repeat to Edit Other Content
Now you have the basic process down:
- Inspect the content you want to change
- Identify the corresponding tags
- Locate those tags in your HTML file
- Edit the code to suit
Let’s repeat the process to edit the rest of the content we want to customize.
Add Your Own Image
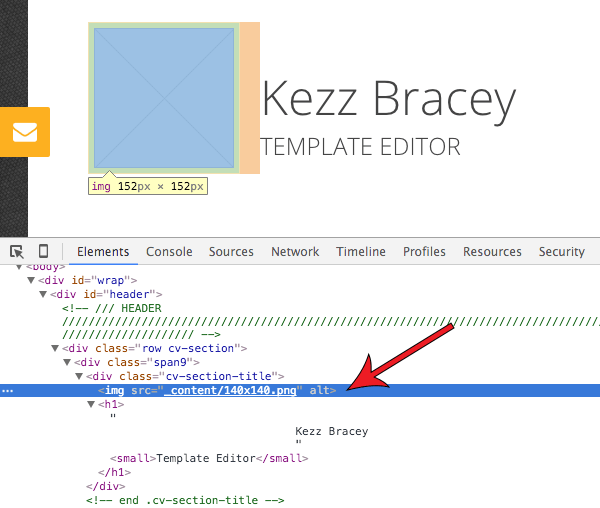
Next we’ll add our own image to the left of the name and profession area. Right-click the image and inspect it, and note the corresponding tag:
<img src="http://webdesign.tutsplus.com/_content/140x140.png" alt="">
You can see in the inspector window this line is directly above the lines we just changed:

Go to your HTML file and locate the tag on line 59:

For this tag, you’ll need to change the value of the src attribute you see inside the img tag. You do this by editing what’s in between its quotation marks. You’ll be changing it to the file name and location of your own image.
Grab an image of yourself that’s 150px by 150px in size, (ignore that the filename there says 140×140.png, the size is actually 150×150).
Drop your image into the “_content” subfolder; it’s in the same folder as your “index.html” file.
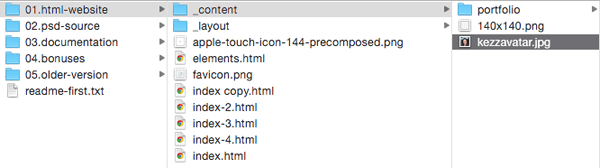

Now, in your HTML file, change the value of the src attribute, replacing “140×140.png” with the file you just added to the “_content” subfolder. Be sure to check the file extension you type out is the same as the one on your file e.g. “png” / “jpg”:


Save your file, refresh Chrome, and you should see your new picture show up:


Edit Social Media Links
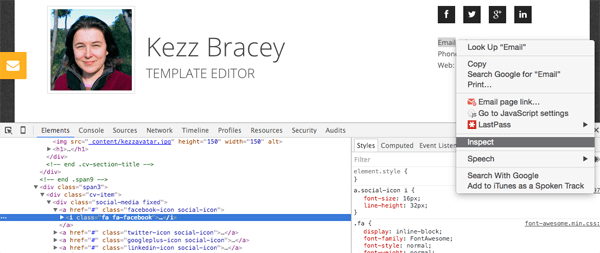
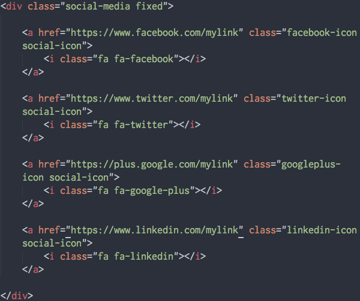
Now let’s edit the links on the social media icons in the top right corner of the template. Just like before, right-click one of the icons and inspect it. In the window, look at the line above the one that’s highlighted and you’ll see it includes the text “facebook-icon”. We’re going to use this to find the code in our HTML file.

Back in Sublime Text, press CTRL + F and run a find for “facebook-icon”. You should find it on line 75.


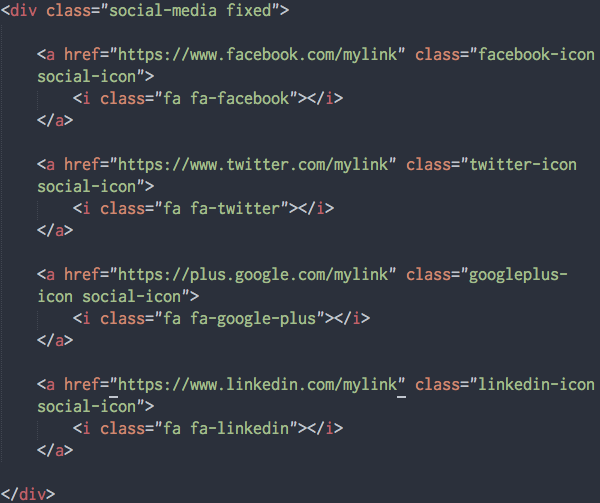
The a tag on line 75 is what creates the link on the icon, and the href attribute you see inside it determines where that link will go. You’ll need to change the value of that href attribute to your Facebook URL (for example: https://www.facebook.com/mylink).
Replace the # that’s there by default with your URL. Then do the same thing for Twitter on line 79, Google+ on line 83 and LinkedIn on line 87.
If there is an icon you’d like to remove entirely, highlight its link starting at the opening <a> tag and finishing at the closing </a> tag, then delete that code.
Now save and refresh your site, then when you click the links they should go off to the correct location.
Edit Contact Information
Next up let’s change the contact information right below the social icons.
Start by inspecting the word “Email” so we can find where this contact information section starts in the code. Take note of the line of code you’ve highlighted, and the line below that so you can match it in your HTML file.
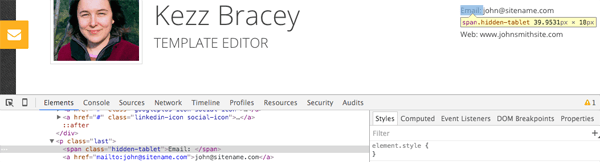

In Sublime Text, press CTRL + F again and this time search for “Email”. You need to locate the instance of the word “Email” which is surrounded by code matching what you saw in the inspector window.
You’ll find it on line 94. Highlight the default email address “[email protected]” in the two locations on that line:


Then replace it with your own email address. On the next line you can also replace the phone number with your own, and on the line below that you can replace the web address with your own:


Edit CV Sections
Now let’s go ahead and start editing the main CV sections of the template. There are a few parts to these sections, so we’re going to start by inspecting each of them so you’ll know what to look for in your code. This will also be a chance for you to learn a little more about moving through the inspector window to find different parts of your site.
Scroll down to the “Professional Profile” section, right-click in the paragraph of text and inspect it.
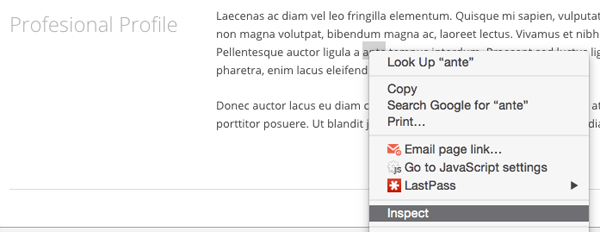
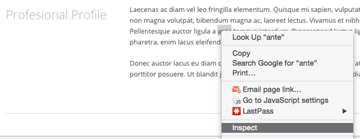
In the inspector you’ll see it has highlighted a p tag–this tag is responsible for creating paragraphs in your text.


Next up, we want to know what a whole section of text in a CV section looks like in code, not just individual paragraphs. In the inspector window, click on the line of code above the paragraph you just inspected and you should see all the text light up:
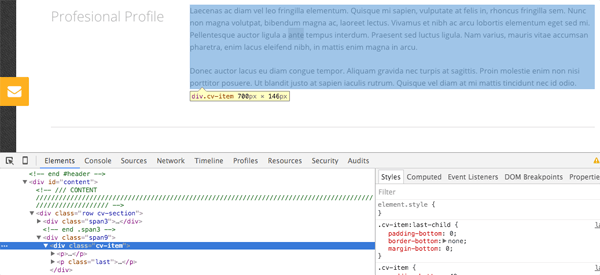
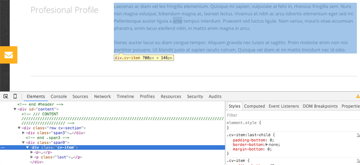
This tells you that each section of code is wrapped in the tags <div class="cv-item">...</div>. A div is short for a division, and these tags are used to control layout and styling.
Now inspect the CV section’s title, “Professional Profile”:
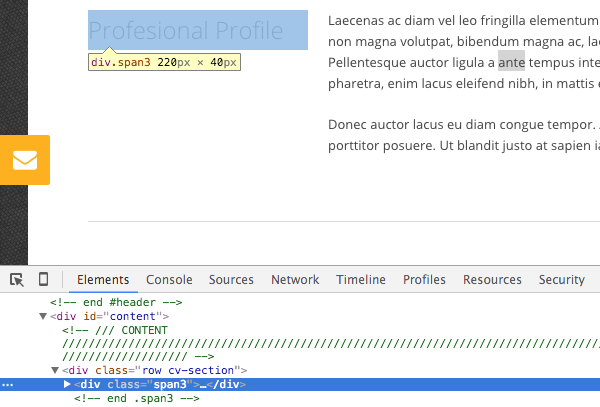

At first, all you’ll see is another set of div tags. This is because the actual heading is nested in between these tags.
Hit that little triangle on the end of the line to expand it and see its contents, then do the same again on the next line until you see the “Professional Profile” text you’re looking for. You’ll find it wrapped in <h2>...</h2> tags, which create a level 2 heading:


Now we know what the code looks like for every part of this CV section, we can go back to Sublime Text and start editing it.
Position your cursor right at the top of your HTML document so you can start searching from the top. Press CTRL + F and search for “cv-item”. Keep looking until you find the instance of of the code <div class="cv-item"> that’s right after the <h2>Professional Profile</h2> code you just identified.

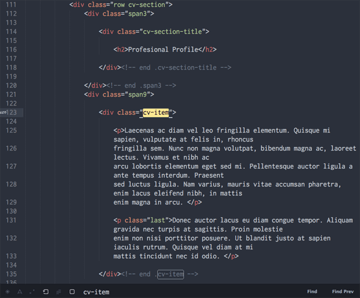
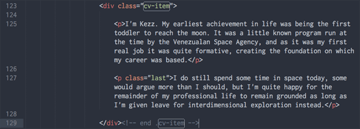
Now you can replace the text for the Professional Profile section with your own. Wrap each paragraph of your text with <p>...</p> tags.
When you’re done, make sure the opening paragraph tag of your final paragraph of the section includes the attribute class with the value last, like this: <p class="last">.....</p>. This applies a layout styling class from the template’s CSS that will make sure that the spacing under the section of text is handled correctly.

If you save your HTML document and refresh your site you should see everything in the top two sections has been customized.

Now we can move on to editing the remaining CV item sections in the same way we just did with the “Professional Profile”.
Inspect each part of each section to familiarize yourself with the code that you should look for in order to edit them.
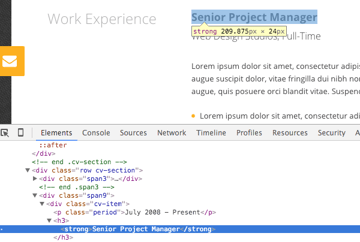
Inspect a job title:

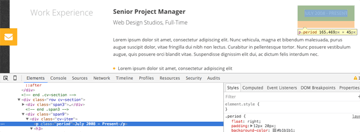
Inspect a job period:

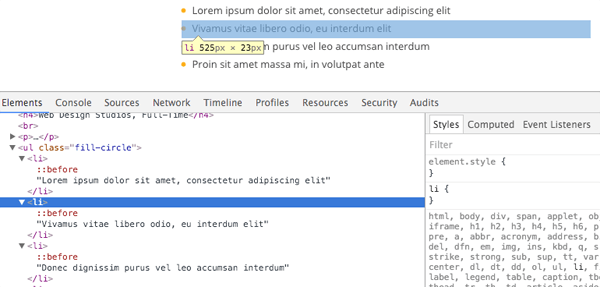
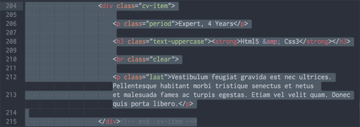
Inspect a bullet list:

Use the same approach as you did to edit the “Professional Profile” section to edit the content of the remaining CV sections. To edit job titles, job periods or bullet lists find the code that matches what you saw in the inspector window, just like you’ve done with each edit so far.
Use p tags to create paragraphs, and as with the “Professional Profile” section, if you’re ending a section with a paragraph make sure its <p> tag includes class="last", i.e. <p class="last">...</p>.
Note: if you want to add new CV sections, or remove existing ones, you’ll need to use the inspector to find the code tags that wrap the entire section.
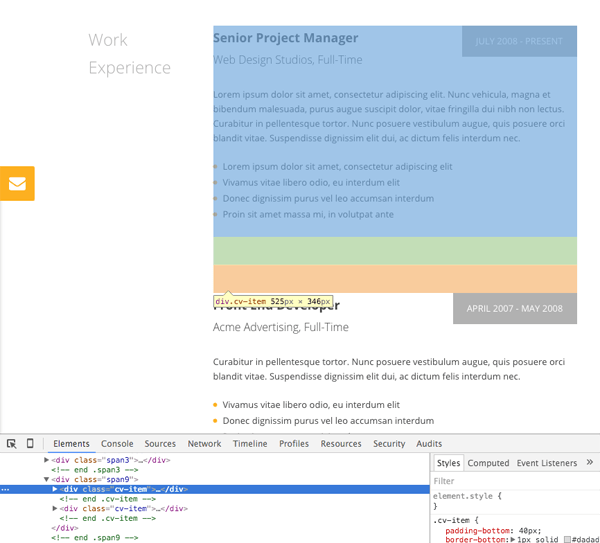
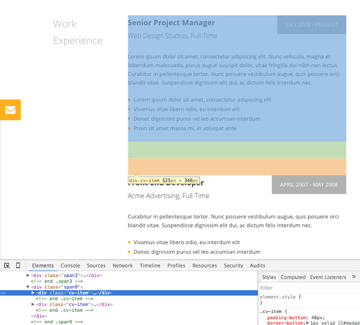
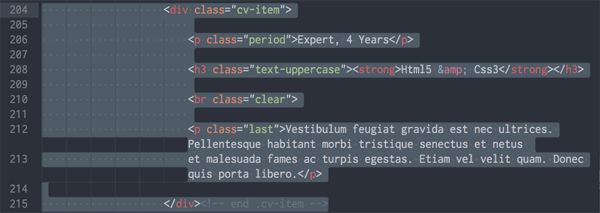
In this example you see the whole section is wrapped with the tags <div class="cv-item">...</div>.
In your code you can now find that entire block of code and either copy and paste it to create a new item, or delete the whole lot if you want to get rid if it.
Edit Copyright Message
With your CV sections edited we’re down to the last item on our list of changes; the copyright message in the footer. Once again we’ll be using the same process. Right-click the copyright message and inspect it:
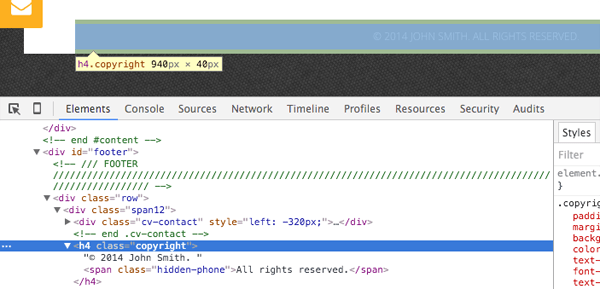
Then find the matching code in your HTML and edit it with the current year and your own name:


Now You Know How To Edit a HTML Template
Well done! You know how to edit HTML and you’ve just fully customized this HTML template to show your own content. I hope you’re now feeling confident to take on more code customization in the future.
The HTML template we worked on might be a relatively simple one, but remember the process for editing is always the same, no matter how complicated a template might seem. Just inspect the template and identify the code for the part you want to change, then find that code in your HTML file and edit it.
When you’re editing, if you see an HTML tag you don’t understand, don’t let that hold you back. There’s endless amounts of information online to help you learn what each and every one does.
5 Top HTML5 Responsive Templates From ThemeForest
You’ve learned how to edit a HTML template. Now you know more about how to use HTML5 templates and how to edit ThemeForest templates. If you’re ready to get HTML5 website templates and you don’t know where to start, check out ThemeForest.
This is the best marketplace to get general HTML templates. The HTML5 website templates you’ll find there are professionally designed and offer lifetime updates and support.


Here’s a selection of HTML5 responsive templates. Customize them to fit all your needs and easily build your HTML project.
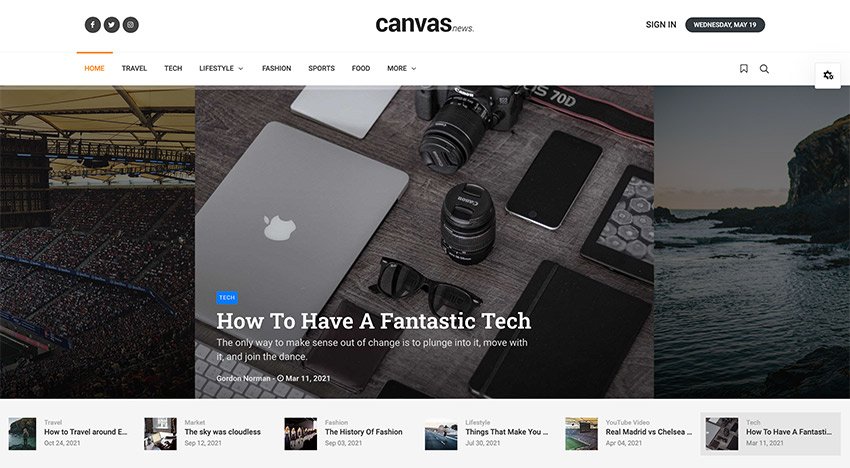
1. Canvas – The Multipurpose HTML5 Template


Canvas is one of the best-selling general HTML templates. With over 60,000 sales, this is a crowd-favorite thanks to its endless possibilities.
You’ll get over 1200 HTML5 templates. That’s right. You can build anything you wish with its 100+ multi and one page demos. Canvas is a complete and fast HTML5 responsive template. You’ve got to check out its live preview here.
Best template I ever purchased. -User flyersjoe
2. Porto – HTML5 Responsive Template


Porto is another favorite HTML5 responsive template. This general HTML template offers plenty of customization options.
Porto’s latest updated includes 75+ demos and 600+ HTML files. This HTML5 basic template is very easy to customize and features a high speed performance. Learn more cool detail in the live preview.
This is a great theme to work with, from the quality of the code, range of features, and good documentation, it can save you time because it’s easy to use and customize, and it looks great. -User jack2008
3. BeTheme – Responsive Multipurpose HTML Template


If you’ve got multiple websites to build, consider BeTheme. This general HTML template comes with 600+ pre-built websites, ready to use.
This website code template comes with multiple layout grids, 20 customizable header styles and more. Visit its live preview to check out more cool features.
4. Polo – Responsive Multipurpose HTML5 Template


There are hundreds of website code template to choose from on ThemeForest. And Polo is a fantastic option.
This HTML5 basic template comes with 220+ layout demos, 700+ templates, reusable elements and it’s super lightweight and fast. If you like HTML5 website templates with lifetime support and updates, this is for you. Learn more details visiting the live preview.
5. Litho – Multipurpose HTML5 Template


Litho is one of the newest HTML5 website templates. This general HTML template stands out with its clean and modern design.
Litho is a Bootstrap 4, fast HTML5 responsive template. It comes with 200+ ready elements and 230+ pre-made templates. Litho is perfect for any kind of website project. Just visit the live preview and see for yourself.
Discover More HTML Templates, Tutorials and Resources
I hope you enjoyed this tutorial about how to edit HTML and the selection of HTML5 basic templates. For some extra help along the way, check out these great resources. You can also check the the courses 30 Days to Learn HTML & CSS and Introduction to HTML.
 HTMLYour First HTML Document in 60 Seconds
-
WordPressHow to Edit HTML in a WordPress Theme
-
HTML & CSSThe Best Way to Learn HTML
-
Email DesignBuild an HTML Email Template From Scratch
-
HTML25+ Top Gaming Website Templates (HTML)
-
Resumes22 Best HTML Resume Templates to Make Personal Profile CV Websites (2021)


Editorial Note: This post has been updated with contributions from Maria Villanueva. Maria is a staff writer with Envato Tuts+.
