In this seven-part advanced Photoshop compositing course, you’ll learn how to create a highly creative music album cover design. You’ll be compositing multiple images together, adjusting the lighting, submerging half of the design in water, and adding plenty of visual effects.
In this lesson, we’ll start with preparing and composing the assets we’re using in the course. Our assets come from Envato, an unlimited creative subscription service where you can find and download quality graphics, templates, photos, fonts, and more.
If you prefer video tutorials, watch the complete Advanced Photoshop Techniques course from the Tuts+ YouTube channel. Additionally, you can check out the Advanced Photoshop course page.
To follow along, download the items used to create an album cover in Photoshop from this collection:
1. Organise your assets in layers
Step 1
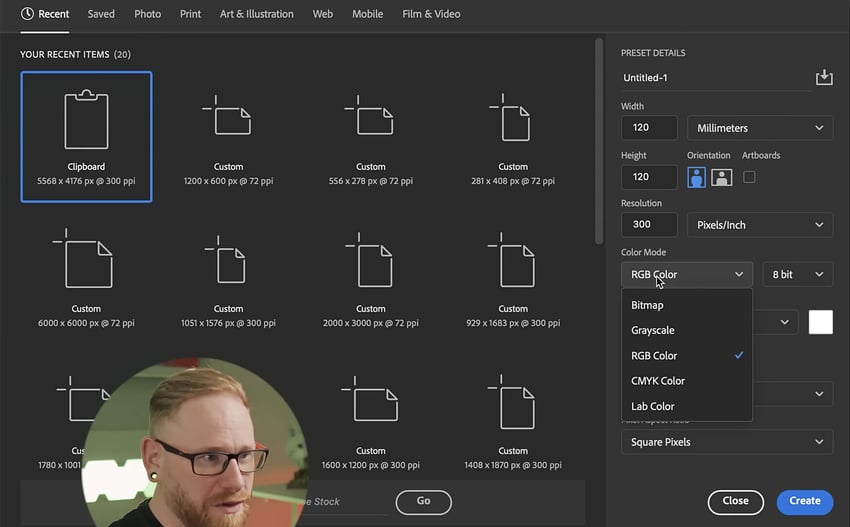
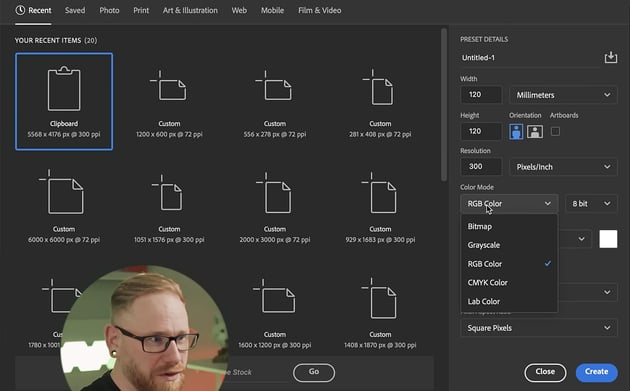
Create a new document at 120 mm x 120 mm and 300 dpi. Those were the dimensions of a CD back in the day.
If you’re designing solely for print, you can go with CMYK for the color mode. But because we’ll be presenting this online in a variety of different places, we’ll keep this as RGB, which is more suitable when designing for screens. If in doubt, choose RGB for the color mode. You get a few more colors in that spectrum. Click Create, and you have a blank canvas to work on.
Step 2
Now go over to Envato, where you can grab the creative assets used in this Photoshop composite lesson.
Envato’s 3D library is great for photo compositing in Photoshop because you can view a 360° render and move objects around to find the angle that’s right for you. Then you can download it as a PNG or a PSD file, both of which come with transparency, so you don’t need to cut out any objects.
Step 3
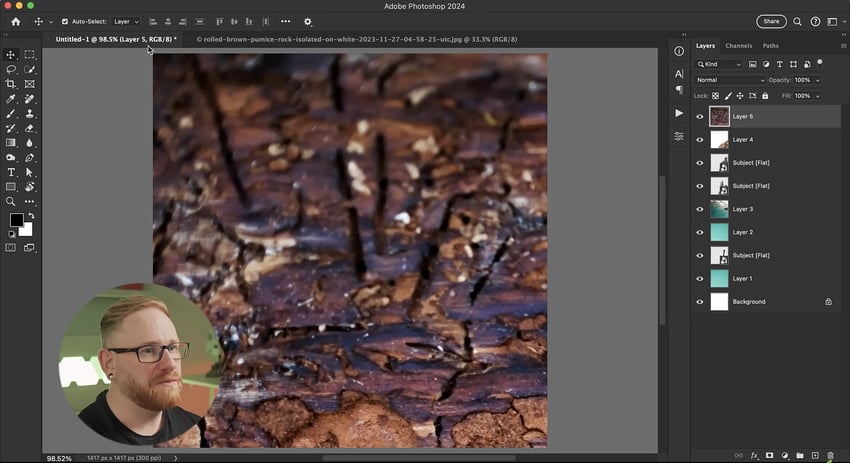
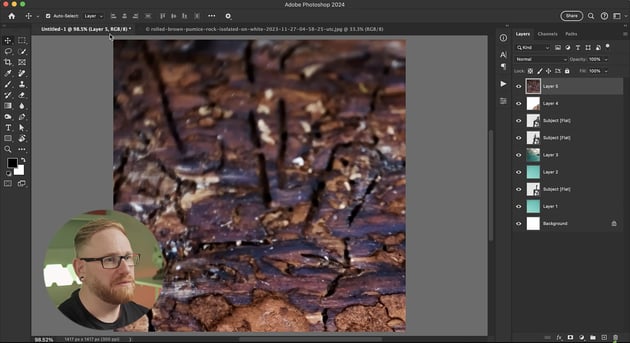
Add all the assets to your document in Photoshop as separate layers. Name each layer to keep your files organised and easy to identify.
2. Create a rough composition using your images
Step 1
Now it’s time to work on a rough composition using your images. Turn off all your assets and turn them back on one by one as you work on your composition. Some of your assets may be larger than you need, so you may need to scale them down (Control/Command-T).
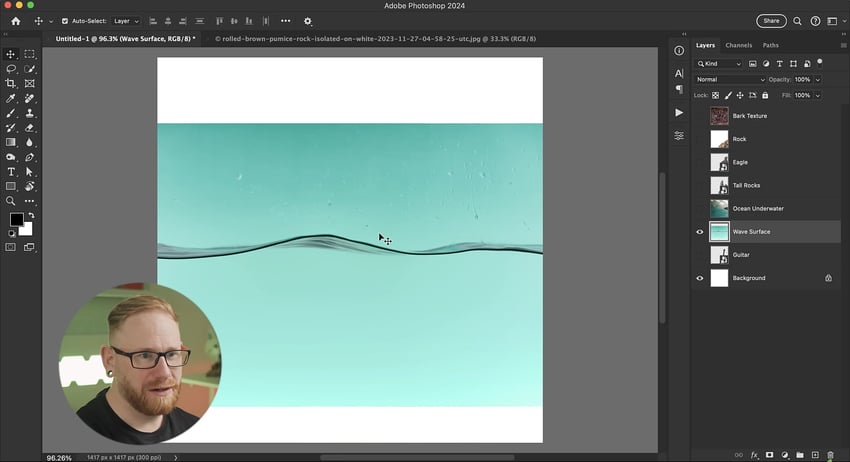
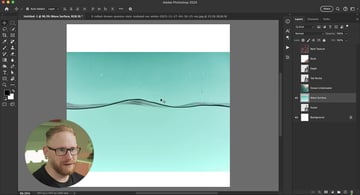
Let’s start our composition with the sea. You want the surface of the sea to divide the design in half, so use that as the starting point.
Step 2
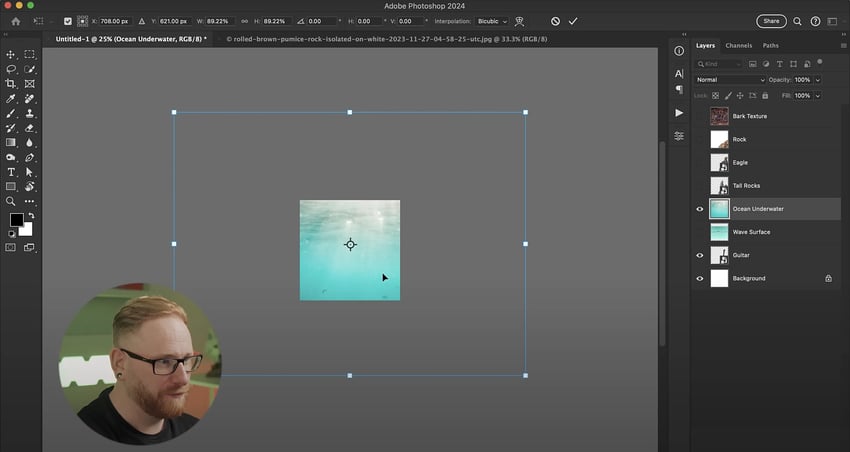
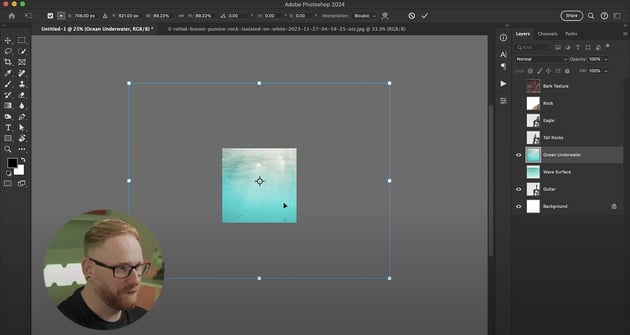
Turn on the underwater image layer, and size it up so that the sun rays coming through are excluded and just the blue part of the water is visible. Turn off the layer when you’re done.
Step 3
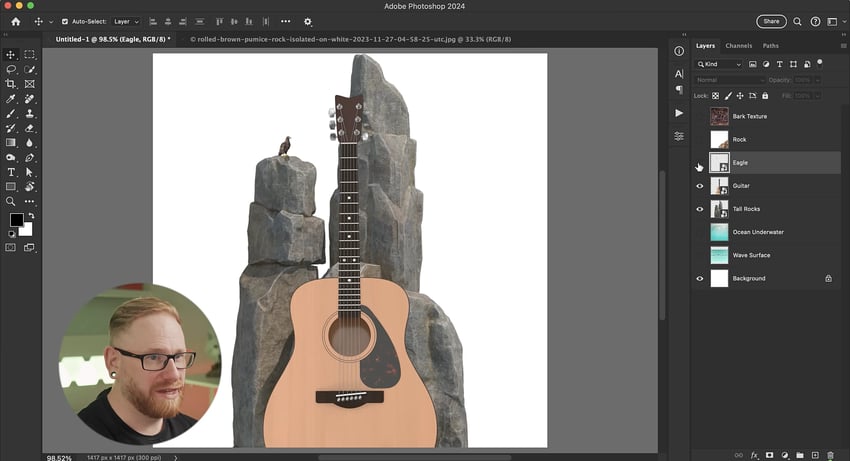
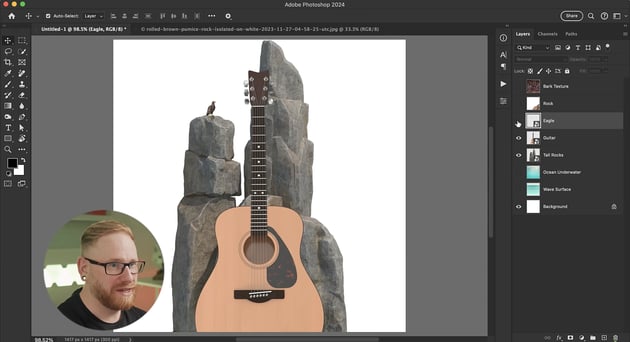
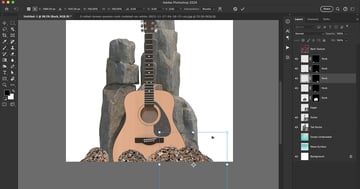
Next, turn on the layers for the tall rocks, the guitar, and the eagle, and scale them down as in the image below.
Step 4
Now, we’re going to build a seabed just by duplicating a single rock. Turn on the rock photo layer and scale it down. It has a white background, so the first thing to do is remove the background by using the Object Selection Tool and adding a layer mask.
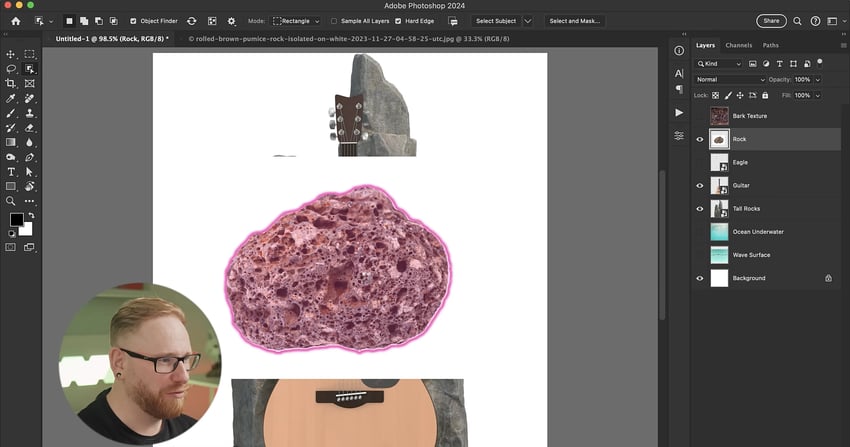
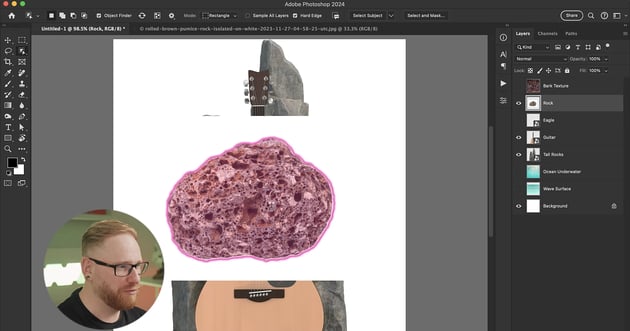
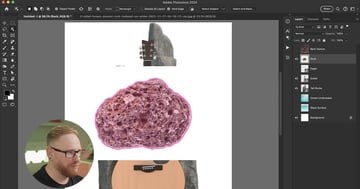
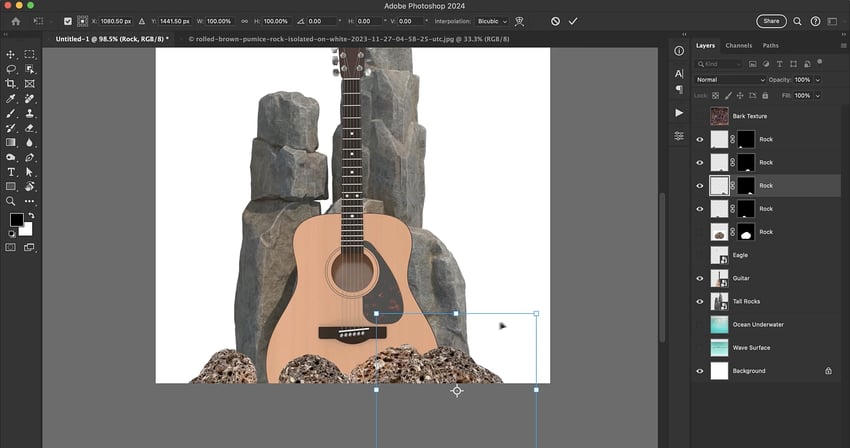
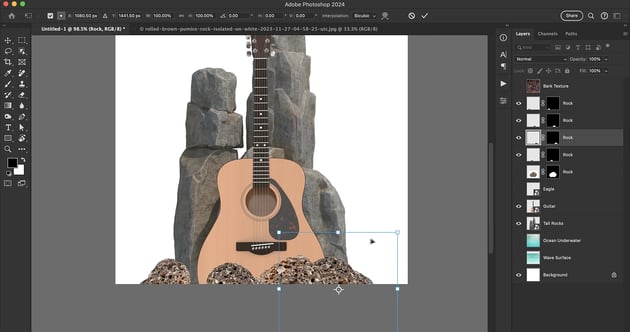
Next, duplicate the rock four times and rotate each of the duplicated images so that they look different from each other. You can add a bit of distortion if you’d like to differentiate them even more. Of course, you can also download different rocks and add them for extra realism if you want.
Step 5
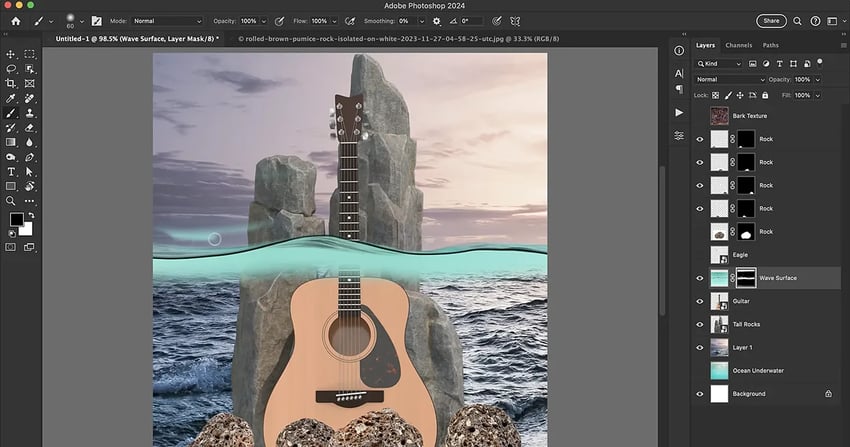
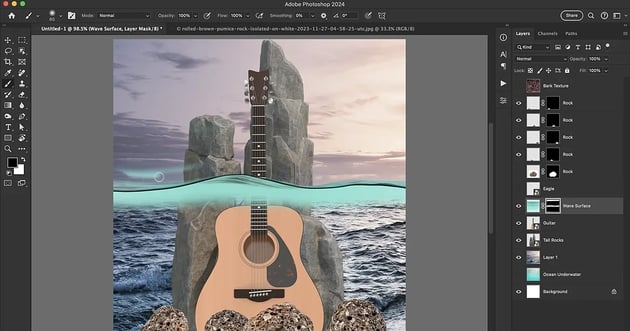
Turn on the wave layer, add a layer mask, make sure black is selected, and use one of Photoshop’s default soft brushes in the Brush Tool to brush away the sea above the wave and below it. All we need is the actual surface wave and then a bit of the blue underneath.
Step 6
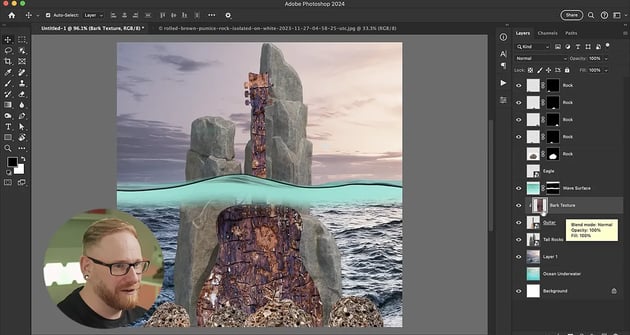
Let’s add some bark texture to the guitar now. Resize the bark, rotate it sideways, and move it to cover the bottom of the guitar. Now, duplicate it and use the Transform Tool to flip it upside down. Move the duplicated image up to cover the neck of the guitar. Merge the two pieces of bark by pressing Command/Control-E.
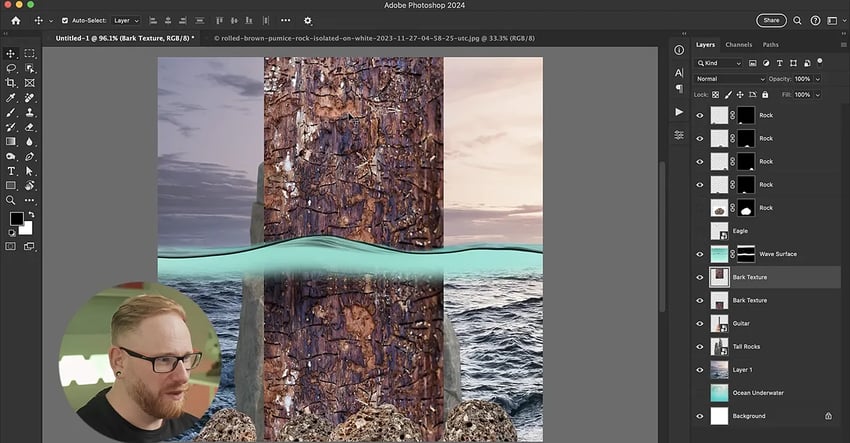
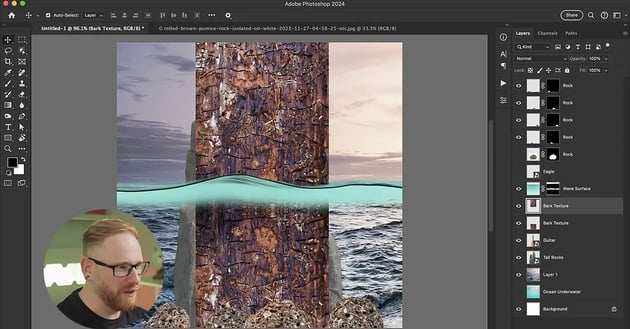
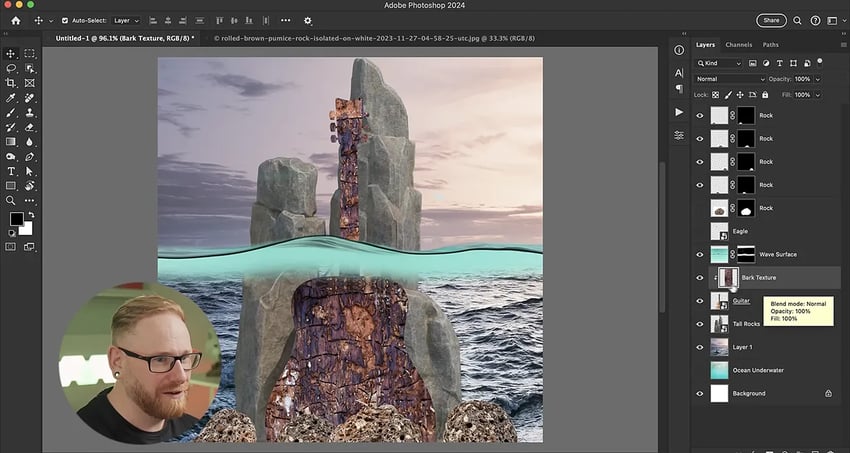
Hover between the bark and guitar layers, hold down Alt/Option, and click to add a clipping mask that clips the texture to the guitar.
Discover more Photoshop resources and tutorials
In this tutorial, I showed you how to prepare and lay out the images we’re using in a photo composition for an album cover. In the next tutorial, you’ll learn how to create underwater effects in Photoshop. Be sure to check out our upcoming articles on Envato Tuts+ and the Envato blog to discover more Photoshop tutorials. And for the digital subscription that will cover all your creative Photoshop assets and needs, visit Envato!
Here are some great resources to get you started: