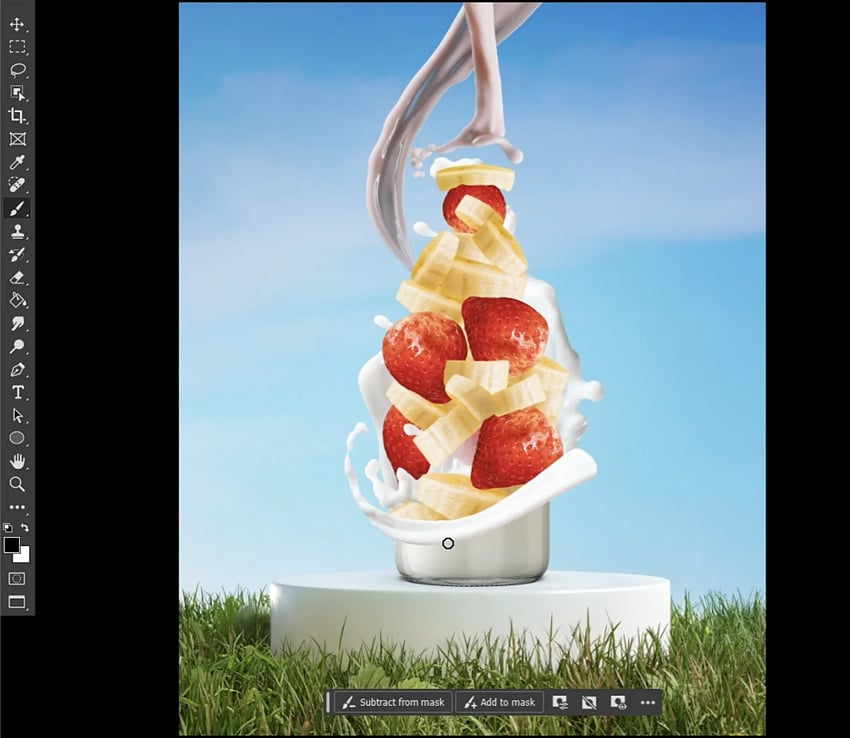
In this example, we are going to create a composite image in Photoshop, showing a bottle made from fruit. Find the resources used for this course in the following collection:
Take one of the twisting splashes of milk you’ve extracted from the photo source and place it above the bottle. Hit Control/Command-T to enter transform mode, and use the anchor points to angle the splashes so that they point towards the main bottle. We want to use these splashes to lead the eye towards the fruit that we’ll add later.
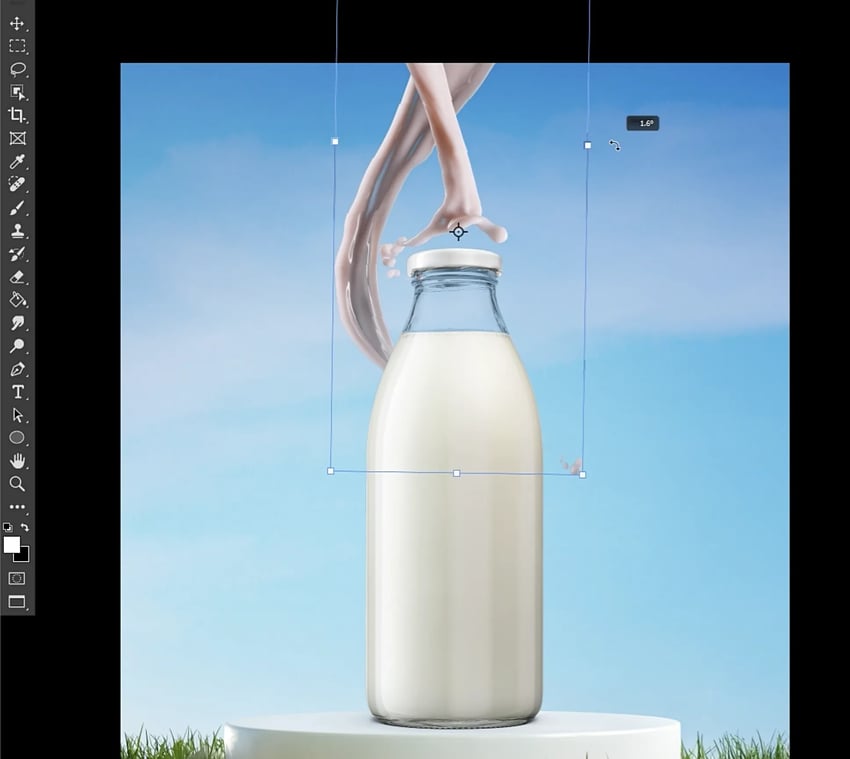
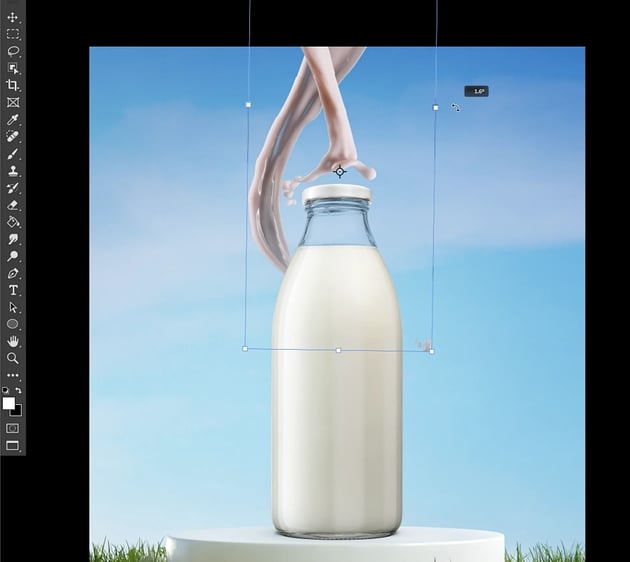
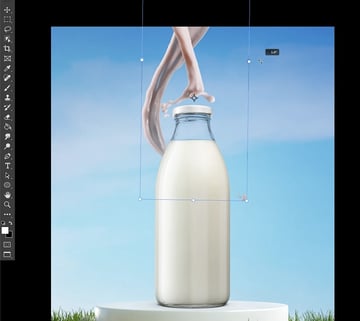
If you want the image to be anchored to a certain spot, move the middle anchor to that area. Now, when you turn the layer, it’ll rotate from the place it’s anchored to. This will come in handy when placing our fruit as well.
Step 2
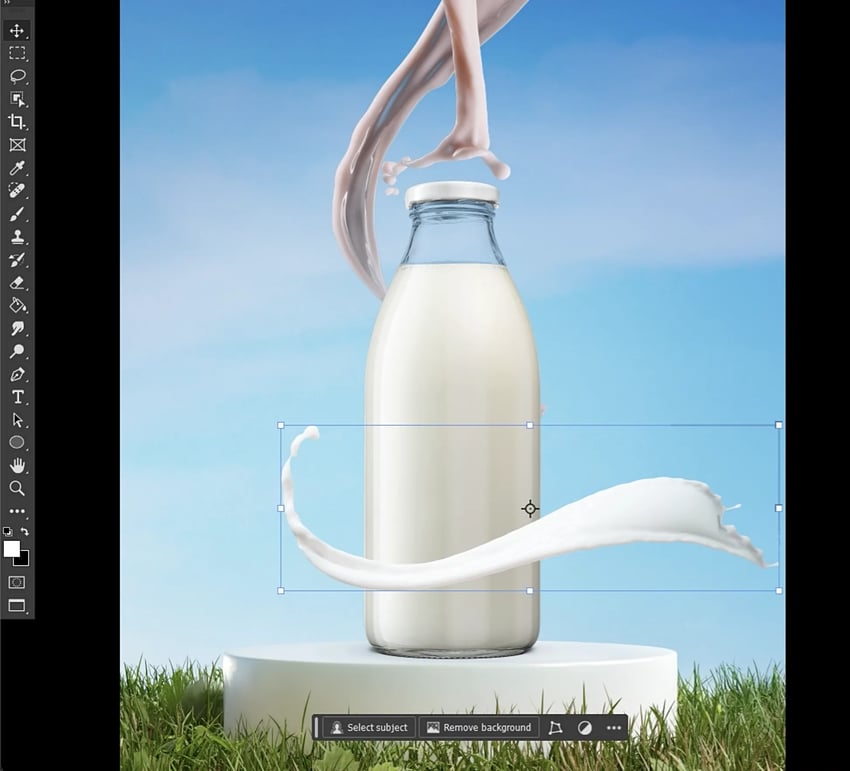
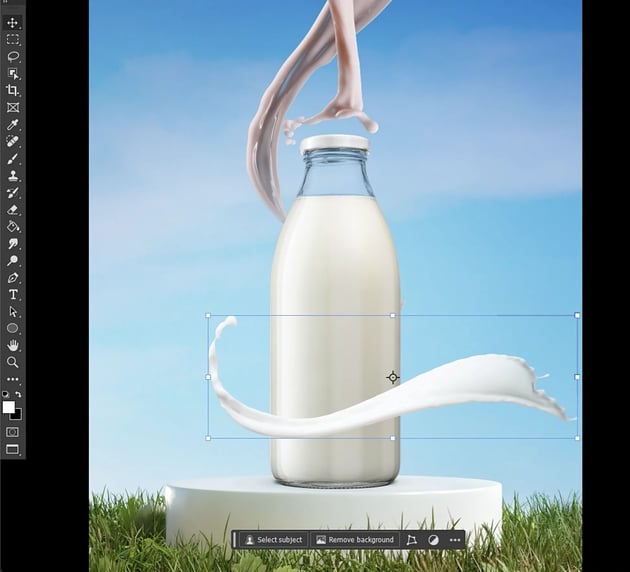
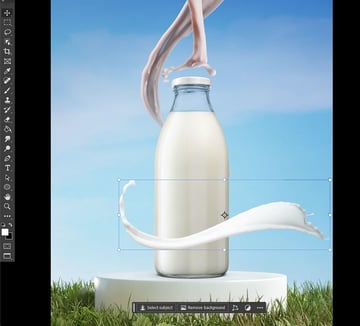
Now work on the next splash. You want this splash to appear as if it’s wrapping around the bottle, so add a layer mask and use a hard round brush set to black to mask away the parts we don’t need. Add a bit of feather to the edges of your mask so they aren’t too hard. You can do this by clicking the mask, going to the Properties panel, and adding a feather of around 0.5 to 0.9 pixels.
Step 3
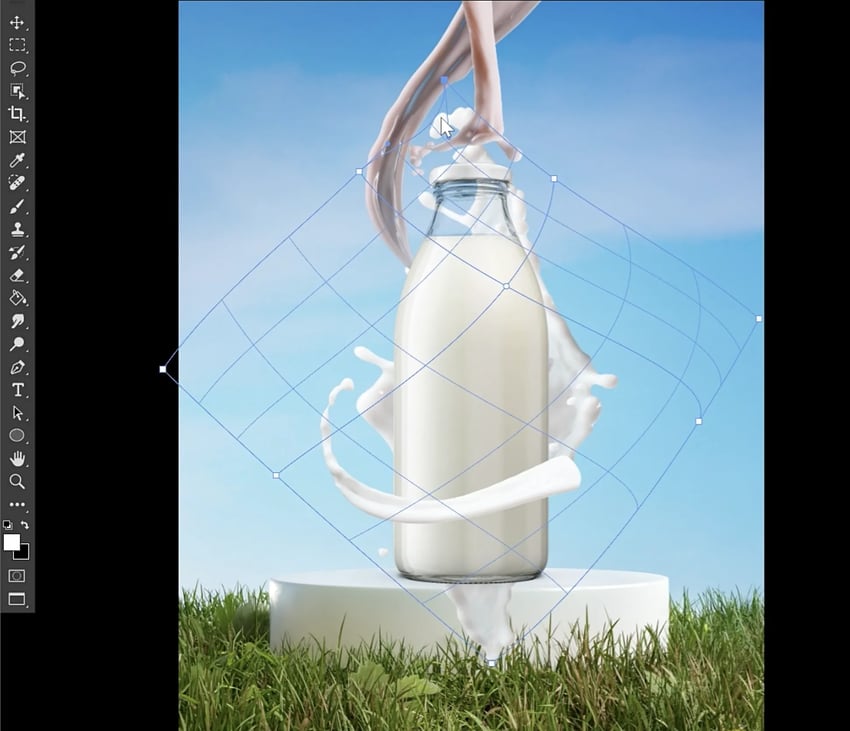
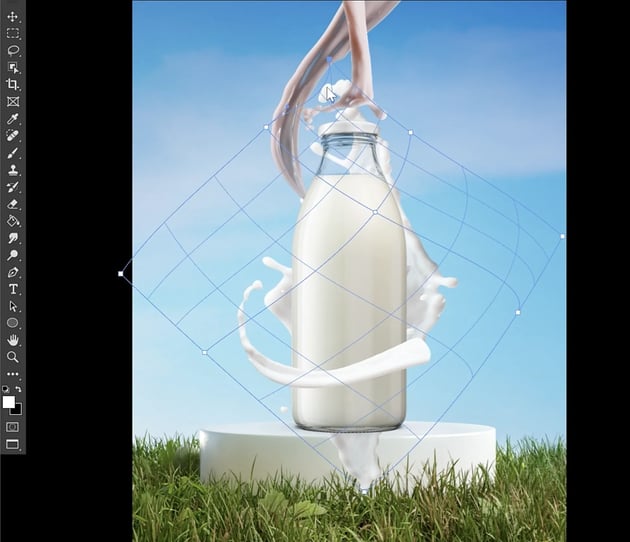
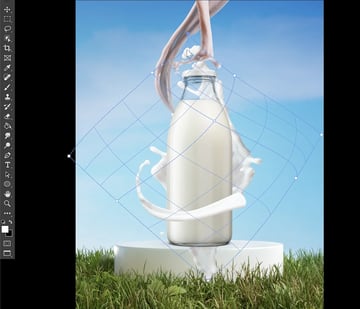
For our last splash, you also want to wrap the milk around the back of the bottle so that it’s almost cradled by the milk. Hit Command-T to enter transform mode and resize and shape the splash. You’ll also need to do some manual warping. In the upper options bar, hit the icon to enter Warp Transform mode.
Step 4
Warp Transform is incredibly easy to use. Just click and drag to warp the layer and change its shape. If you want to warp one section of the image, you can add more splits or guides by right-clicking on the warp and creating a cross-wire split sectioning off the top part of the milk splash. That way, when we warp and move the area, the rest of the image moves less.
Step 5
With the milk and bottle done, we can finally drop in our fruit. Use the Object Selection Tool and a layer mask to extract all the fruit from its original image and turn each layer into a smart object. Now begin placing the fruit by dragging and dropping it, focusing on placement.
One thing to pay attention to is that you work with the existing lighting, not against it. So when angling your banana slices, point the highlights outwards, and use some of the existing shadows and lighting as a guide for placing other fruit.
Step 6
When working on a Photoshop compositing project, it’s best to use individual images so that all the pieces look different, but you can duplicate pieces and move them around until you like how they look in your composition. When you’re done, use a hard round brush and a layer mask to make small changes to some of those fruit shapes you duplicated so that they look unique.
