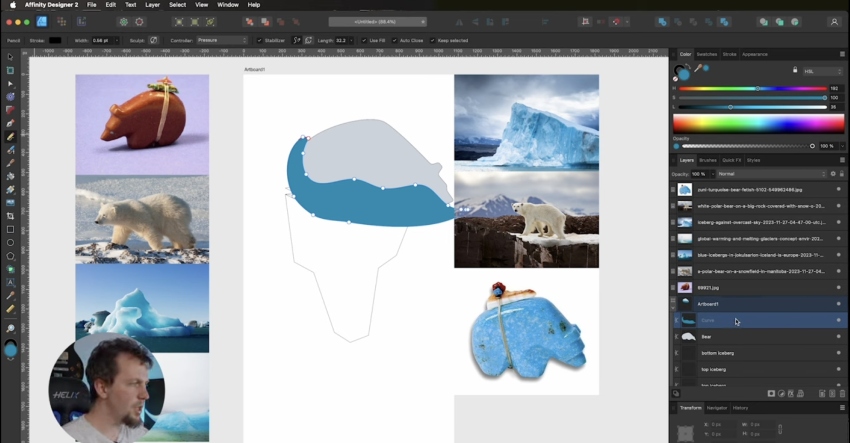
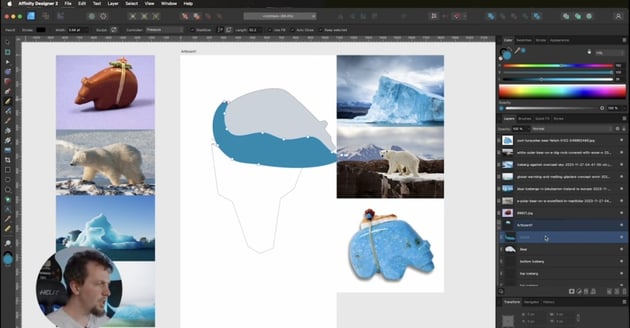
Want to confine your artwork to specific shapes? Affinity Designer’s clipping feature lets you do just that. In this tutorial, we’ll explore how to clip layers, transforming any object into a stencil that defines the visible area of the layer below.
What Is Layer Clipping?
Imagine using a cookie cutter on your design. Clipping lets you take one object (the “child”) and use another object (the “parent”) to define its shape. Anything peeking out from the parent’s edges gets hidden, creating a cool cut-out effect.
Clipping isn’t just for shapes. You can also use it to target adjustments, filters, or masks to a specific layer or group, keeping the effect from spilling over to other parts of your design.
You can clip anything to any shape in the layer stack. Just drag the shape onto whatever shape you want to clip to.
How to Clip Layers in Affinity Designer


Vector objects and pixel layer content can be either clipped or clipping objects. Let’s take a look at the steps to do it:
How to Clip Layers
- First, position the object to be clipped so it overlaps the object which will perform the clipping.
- On the Layers panel, drag it on top of the object which is to perform the clipping.
- Or, in the Layer menu, select Arrange > Move Inside. This moves the object inside the object above it on the Layers panel.
How to Unclip Layers
- On the Layers panel, drag the clipped object from inside the parent object to a layer.
- Or select the clipped object and then select Layer > Arrange > Move Outside.
Be careful to drop on the layer and not on the layer thumbnail; otherwise it will create a mask instead of clipping.
Keep Learning With These Affinity Designer Tutorials
It’s time to level up your Affinity Designer skills! Envato Tuts+ and the Envato Elements blog offer a continuous learning path, so you can keep exploring and become a design master with these Affinity Designer 2 tutorials: