Frequently Asked Questions About the Affinity Designer Corner Tool
Let’s dig into a couple of questions you may have about the Affinity Designer Corner Tool.
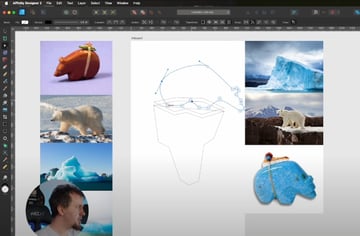
Do I have to click on each individual node to modify that spot?
Yes! If you want to alter the line on a specific point, you need to click and drag on the individual node. It’s a handy Affinity Designer trick to have under your belt.
Can I choose the type of corner effect?
Yes. Once you’ve clicked on the Corner Tool button, you’ll find a toolbar at the top where you can select the Corner Type you want. There’s the Rounded corner (which is the default), Concave corner, Cutout, and others.

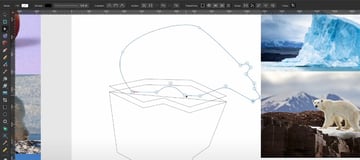
What about the size of the effect?
The size of the effect will depend on how much you drag the node. For a soft effect, you can zoom in and add a small amount of rounding to each node. Or, if you want a very noticeable corner design, drag the node further and see how it turns out.
Fortunately, the Corner Tool gives you a lot of control over how rounded the corners are. You can keep the lines fairly sharp, and for others, you can add a lot of roundness.
How can I tell which nodes I’ve modified?
To figure out which nodes you’ve applied the Corner Tool effects to, hit the Node tool once more. There, small circles will appear around the nodes that have corner adjustments applied.


Can I move the effect around?
Yes! Once you’re in the Node tool, you can click on an individual node. You’ll notice that the square inside the circle will turn blue. This means you’ve selected the node, and you can move it around and edit the corner effect without having to go back to the Corner Tool.
As another Affinity Designer tip, you can also add new nodes and modify the corner effect in relation to them.


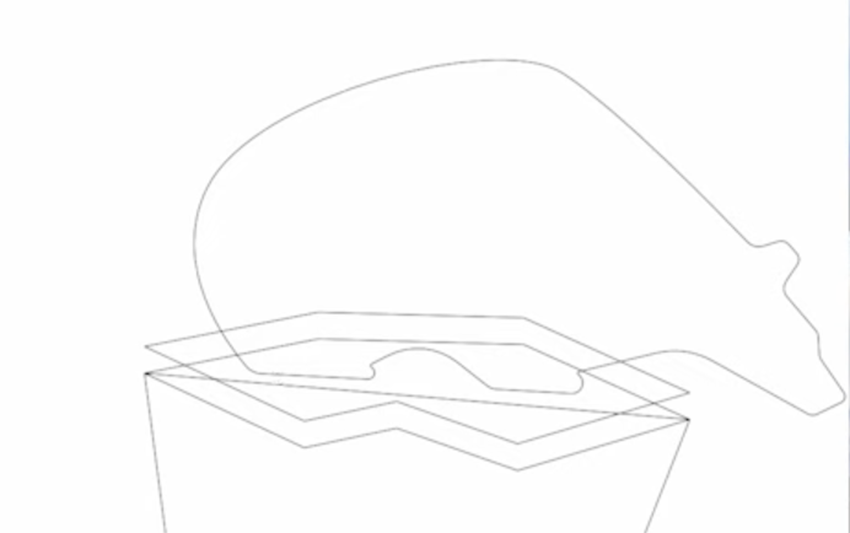
Check Out Our Final Result!
Here’s the end result of using the Corner Tool to modify the corners on our bear design. As you can see, we added a concave effect to the bottom of the bear. We also gave it a rounded edge around the neck and on the feet, nose, and ears. Isn’t it beautiful?
Continue reading these Affinity Designer tutorials to learn new skills and see how the bear design will turn out!
Eager to learn more about Affinity Designer? Here are other Envato Tuts+ tutorials for different skill levels: