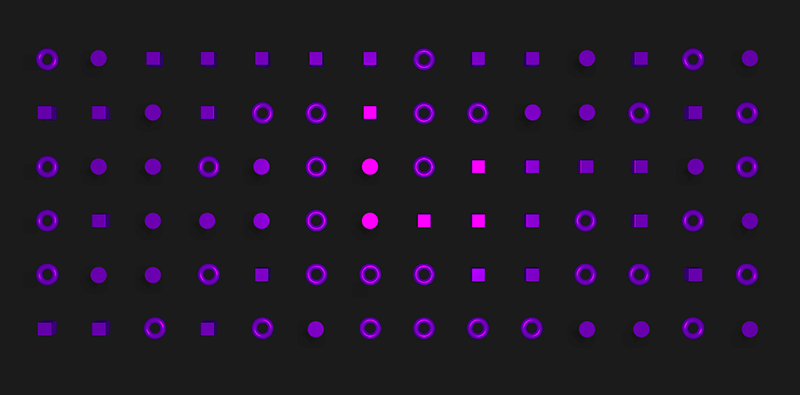
A tutorial on how to recreate the interactive repulsion effect of grid items seen in BestServedBold’s Dribbble shot “Holographic-Interactions”.
This tutorial is going to demonstrate how to build an interesting repulsion effect for a grid of elements using three.js and TweenMax (GSAP). The effect is a recreation of BestServedBold’s Dribbble shot Holographic-Interactions.
In the first demo we did a little practical example and in the second demo you will find the tweakable version of the tutorial code.
The Original Idea
The original idea is based on BestServedBold’s Dribbble shot Holographic-Interactions:
The Core Concept
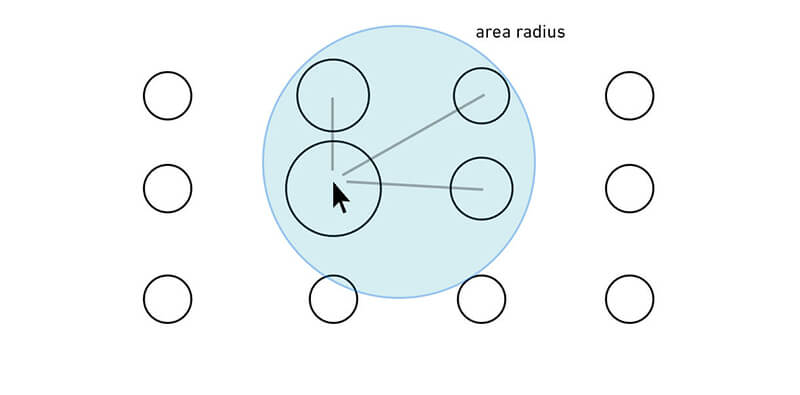
The idea is to create a grid of random elements that reacts on mouse move.
Each element of the grid will update their Y position, rotation and scale value based on the distance from the current mouse location to the element’s center.
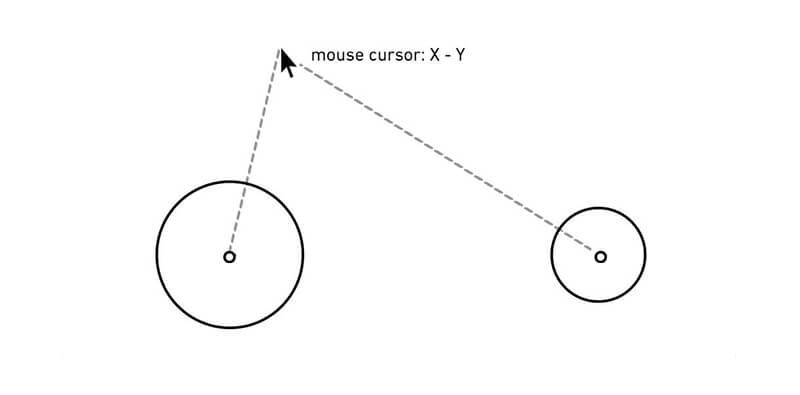
The closer the mouse gets to an element the large it will appear.
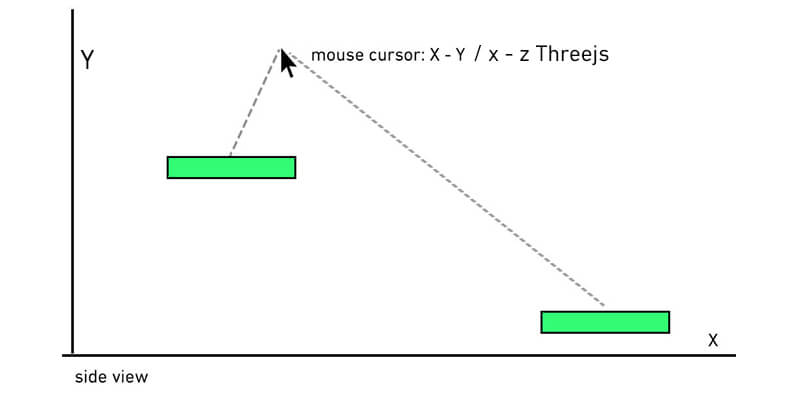
We also define a radius for this, affecting only one element or any number of elements inside that radius. The bigger the radius is, the more elements will react when the mouse is moved.
Getting started
First we have to setup our HTML page for the demo. It’s a simple boilerplate since all the code will be running inside a canvas element:
<html lang="en">
    <head>
      <meta charset="UTF-8">
      <meta name="viewport" content="width=device-width, initial-scale=1.0">
      <meta http-equiv="X-UA-Compatible" content="ie=edge">
      <meta name="target" content="all">
      <meta http-equiv="cleartype" content="on">
      <meta name="apple-mobile-web-app-capable" content="yes">
      <meta name="mobile-web-app-capable" content="yes">
      <title>Repulsive Force Interavtion</title>
      <script src="https://cdnjs.cloudflare.com/ajax/libs/three.js/96/three.min.js"></script>
      <script src="https://cdnjs.cloudflare.com/ajax/libs/gsap/1.20.3/TweenMax.min.js"></script>
    </head>
  <body>
  </body>
</html>
As you can see, we also link to three.js and TweenMax from a CDN.
Helpers
Let’s define some helper functions to calculate the distance between two points, map values and convert degrees to radians:
const radians = (degrees) => {
  return degrees * Math.PI / 180;
}

const distance = (x1, y1, x2, y2) => {
  return Math.sqrt(Math.pow((x1 - x2), 2) + Math.pow((y1 - y2), 2));
}

const map = (value, start1, stop1, start2, stop2) => {
  return (value - start1) / (stop1 - start1) * (stop2 - start2) + start2
}
Grid Elements
Before we build our grid we need to define the objects we will be using:
Box
  // credits for the RoundedBox mesh - Dusan Bosnjak

  import RoundedBoxGeometry from 'roundedBox';

  class Box {
    constructor() {
      this.geom = new RoundedBoxGeometry(.5, .5, .5, .02, .2);
      this.rotationX = 0;
      this.rotationY = 0;
      this.rotationZ = 0;
    }
  }
Cone
  class Cone {
    constructor() {
      this.geom = new THREE.ConeBufferGeometry(.3, .5, 32);
      this.rotationX = 0;
      this.rotationY = 0;
      this.rotationZ = radians(-180);
    }
  }
Tourus
  class Tourus {
    constructor() {
      this.geom = new THREE.TorusBufferGeometry(.3, .12, 30, 200);
      this.rotationX = radians(90);
      this.rotationY = 0;
      this.rotationZ = 0;
    }
  }
Setting up the 3D world
Inside our main class we create a function for the setup:
  setup() {
    // handles mouse coordinates mapping from 2D canvas to 3D world
    this.raycaster = new THREE.Raycaster();

    this.gutter = { size: 1 };
    this.meshes = [];
    this.grid = { cols: 14, rows: 6 };
    this.width = window.innerWidth;
    this.height = window.innerHeight;
    this.mouse3D = new THREE.Vector2();
    this.geometries = [
      new Box(),
      new Tourus(),
      new Cone()
    ];

    window.addEventListener('mousemove', this.onMouseMove.bind(this), { passive: true });

    // we call this to simulate the initial position of the mouse cursor
    this.onMouseMove({ clientX: 0, clientY: 0 });
  }
Mouse Move handler
  onMouseMove({ clientX, clientY }) {
    this.mouse3D.x = (clientX / this.width) * 2 - 1;
    this.mouse3D.y = -(clientY / this.height) * 2 + 1;
  }
Creating our 3D scene
  createScene() {
    this.scene = new THREE.Scene();

    this.renderer = new THREE.WebGLRenderer({ antialias: true, alpha: true });
    this.renderer.setSize(window.innerWidth, window.innerHeight);
    this.renderer.setPixelRatio(window.devicePixelRatio);


    this.renderer.shadowMap.enabled = true;
    this.renderer.shadowMap.type = THREE.PCFSoftShadowMap;

    document.body.appendChild(this.renderer.domElement);
  }
Camera
Now let’s add a camera for our scene:
  createCamera() {
    this.camera = new THREE.PerspectiveCamera(20, window.innerWidth / window.innerHeight, 1);

    // set the distance our camera will have from the grid
    this.camera.position.set(0, 65, 0);

    // we rotate our camera so we can get a view from the top
    this.camera.rotation.x = -1.57;

    this.scene.add(this.camera);
  }
Random objects helper
We want to randomly place a variety of boxes, cones and tourus objects, so we create a little helper:
  getRandomGeometry() {
    return this.geometries[Math.floor(Math.random() * Math.floor(this.geometries.length))];
  }
Create Mesh helper
This is just a little helper to create a mesh based on a geometry and material
  getMesh(geometry, material) {
    const mesh = new THREE.Mesh(geometry, material);

    mesh.castShadow = true;
    mesh.receiveShadow = true;

    return mesh;
  }
Grid
Now we are going to place those random elements in a grid layout
  createGrid() {
    // create a basic 3D object to be used as a container for our grid elements so we can move all of them together
    this.groupMesh = new THREE.Object3D();

    const meshParams = {
      color: '#ff00ff',
      metalness: .58,
      emissive: '#000000',
      roughness: .18,
    };

    // we create our material outside the loop to keep it more performant
    const material = new THREE.MeshPhysicalMaterial(meshParams);

    for (let row = 0; row < this.grid.rows; row++) {
      this.meshes[row] = [];

      for (let col = 0; col < this.grid.cols; col++) {
        const geometry = this.getRandomGeometry();
        const mesh = this.getMesh(geometry.geom, material);

        mesh.position.set(col + (col * this.gutter.size), 0, row + (row * this.gutter.size));
        mesh.rotation.x = geometry.rotationX;
        mesh.rotation.y = geometry.rotationY;
        mesh.rotation.z = geometry.rotationZ;

        // store the initial rotation values of each element so we can animate back
        mesh.initialRotation = {
          x: mesh.rotation.x,
          y: mesh.rotation.y,
          z: mesh.rotation.z,
        };

        this.groupMesh.add(mesh);

        // store the element inside our array so we can get back when need to animate
        this.meshes[row][col] = mesh;
      }
    }

    //center on the X and Z our group mesh containing all the grid elements
    const centerX = ((this.grid.cols - 1) + ((this.grid.cols - 1) * this.gutter.size)) * .5;
    const centerZ = ((this.grid.rows - 1) + ((this.grid.rows - 1) * this.gutter.size)) * .5;
    this.groupMesh.position.set(-centerX, 0, -centerZ);

    this.scene.add(this.groupMesh);
  }
Ambient Light
Next, we’ll add an ambient light to give some nice color effect:
  addAmbientLight() {
    const light = new THREE.AmbientLight('#2900af', 1);

    this.scene.add(light);
  }
Spot Light
We also add a SpotLight to the scene for a realistic touch:
  addSpotLight() {
    const ligh = new THREE.SpotLight('#e000ff', 1, 1000);

    ligh.position.set(0, 27, 0);
    ligh.castShadow = true;

    this.scene.add(ligh);
  }
RectArea Light
To shine some uniform light, we use RectAreaLight:
  addRectLight() {
    const light = new THREE.RectAreaLight('#0077ff', 1, 2000, 2000);

    light.position.set(5, 50, 50);
    light.lookAt(0, 0, 0);

    this.scene.add(light);
  }
Point Lights
And for the final light effects we create a PointLight function to add as much light as we want:
  addPointLight(color, position) {
    const light = new THREE.PointLight(color, 1, 1000, 1);

    light.position.set(position.x, position.y, position.z);

    this.scene.add(light);
  }
Shadow Floor
Now we need to add a shape to serve as a mapping object for where the mouse cursor is able to hover:
  addFloor() {
    const geometry = new THREE.PlaneGeometry(100, 100);
    const material = new THREE.ShadowMaterial({ opacity: .3 });

    this.floor = new THREE.Mesh(geometry, material);
    this.floor.position.y = 0;
    this.floor.receiveShadow = true;
    this.floor.rotateX(- Math.PI / 2);

    this.scene.add(this.floor);
  }
Draw / Animate Elements
This is the function where all the animations are handled; it will be called on every frame inside a requestAnimationFrame callback:
  draw() {
    // maps our mouse coordinates from the camera perspective
    this.raycaster.setFromCamera(this.mouse3D, this.camera);

    // checks if our mouse coordinates intersect with our floor shape
    const intersects = this.raycaster.intersectObjects([this.floor]);

    if (intersects.length) {

      // get the x and z positions of the intersection
      const { x, z } = intersects[0].point;

      for (let row = 0; row < this.grid.rows; row++) {
        for (let col = 0; col < this.grid.cols; col++) {

          // extract out mesh base on the grid location
          const mesh = this.meshes[row][col];

          // calculate the distance from the intersection down to the grid element
          const mouseDistance = distance(x, z,
            mesh.position.x + this.groupMesh.position.x,
            mesh.position.z + this.groupMesh.position.z);

          // based on the distance we map the value to our min max Y position
          // it works similar to a radius range

          const maxPositionY = 10;
          const minPositionY = 0;
          const startDistance = 6;
          const endDistance = 0;
          const y = map(mouseDistance, startDistance, endDistance, minPositionY, maxPositionY);

          // based on the y position we animate the mesh.position.y
          // we don´t go below position y of 1
          TweenMax.to(mesh.position, .4, { y: y < 1 ? 1 : y });

          // create a scale factor based on the mesh.position.y
          const scaleFactor = mesh.position.y / 2.5;

          // to keep our scale to a minimum size of 1 we check if the scaleFactor is below 1
          const scale = scaleFactor < 1 ? 1 : scaleFactor;

          // animates the mesh scale properties
          TweenMax.to(mesh.scale, .4, {
            ease: Back.easeOut.config(1.7),
            x: scale,
            y: scale,
            z: scale,
          });

          // rotate our element
          TweenMax.to(mesh.rotation, .7, {
            ease: Back.easeOut.config(1.7),
            x: map(mesh.position.y, -1, 1, radians(45), mesh.initialRotation.x),
            z: map(mesh.position.y, -1, 1, radians(-90), mesh.initialRotation.z),
            y: map(mesh.position.y, -1, 1, radians(90), mesh.initialRotation.y),
          });
        }
      }
    }
  }
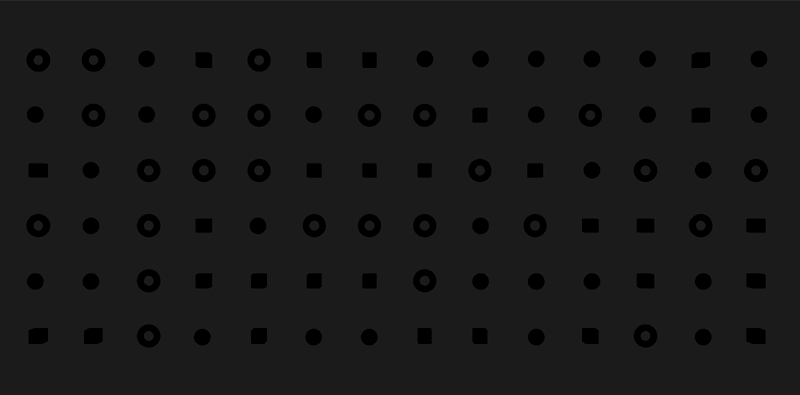
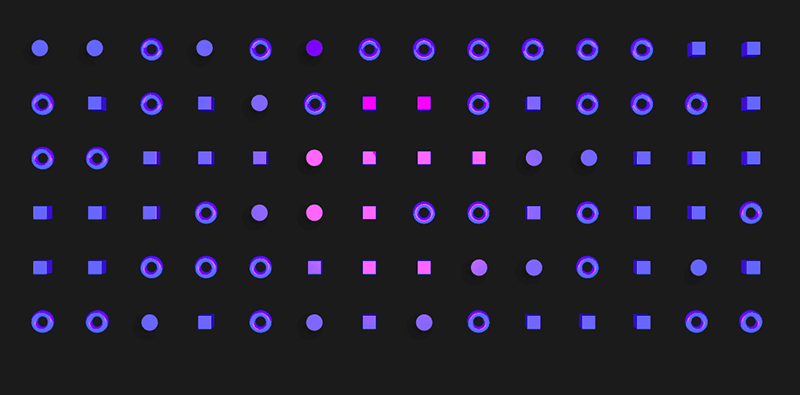
And this is it! There are many more possibilities here, i.e. adding more objects etc. Take a look at the following grid variation:
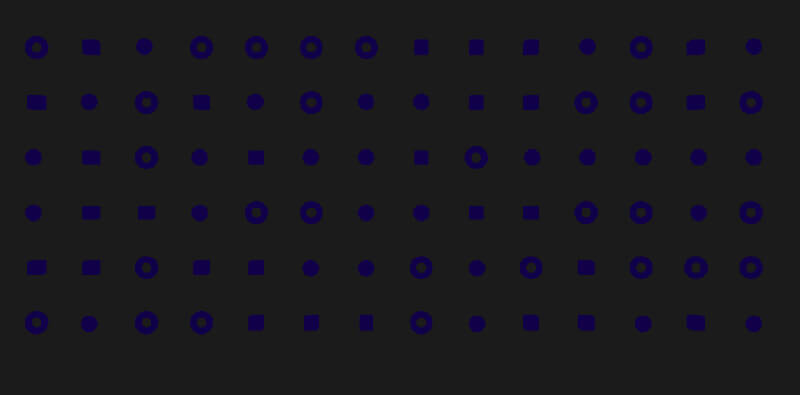
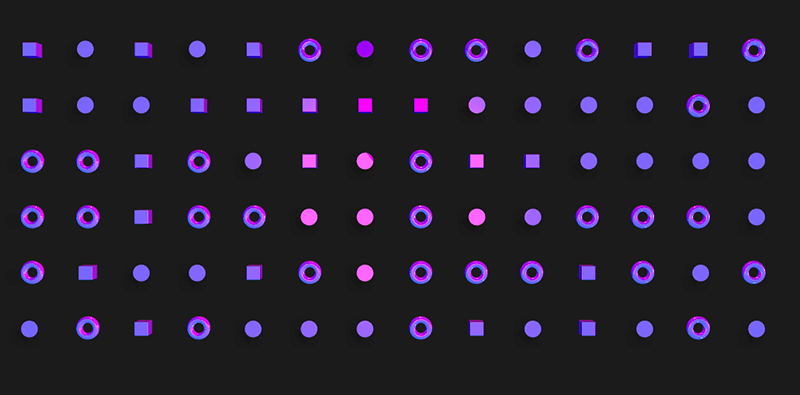
…or the camera rotation variant:

We hope you enjoyed this tutorial and find it useful!
An Introduction to CSS Shapes