If you’re a business owner who sells products or services then you know how important it is to provide excellent customer support. Managing customer inquiries and support requests can be a challenge if you do it via email or social media, but with a help desk solution you can streamline your process and provide top-notch service.
In this tutorial I’ll show you the step-by-step process of installing a help desk solution for your website so you can provide your customers with the support they deserve. For that I’ll be using free software called HESK; a simple user-friendly help desk solution with integrated knowledge base. It’s easily installable on any web server that supports PHP and MySQL, and while there is a paid cloud-based solution of Hesk, the self-hosted version is free even for commercial websites. So let me show you how easy it is to install the free version and create a help desk for your website.
How to Install HESK
To get started let’s go to hesk.com. We’re going to click the Download HESK button, then go to HESK Free to download.
At the time of writing, we are downloading version 3.4.3.
Once the download is complete you’re going to get a zip file, so extract it and then go in the folder and copy all the files. You need to upload these files to your site’s public directory. The way you do that is usually with an FTP program, though it really depends on what kind of hosting you’re using. Some hosts will offer you the option to upload files directly via the browser, others will provide you with an FTP account. In order to do this next step correctly you would need to get in touch with your hosting company in case you don’t know how to do this yourself.
To demonstrate this on my local computer I have a local website that’s running PHP and MySQL, and I called it my-local-website. I’ll navigate to the public directory of it and create a new folder. You can call this whatever you want; support , or help-desk, the name really doesn’t matter. I’m going to call it support. Once you create this new folder you’ll need to paste in all of those files. In your case you’ll just upload them to the live server.
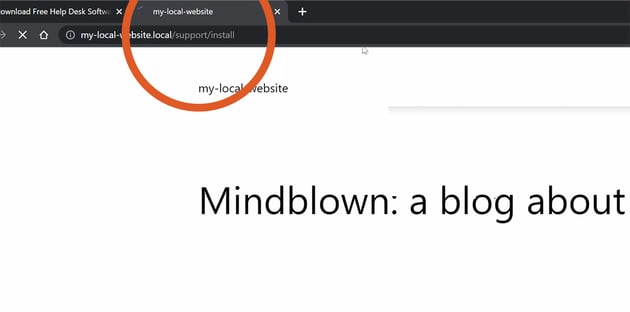
Once you’ve finished copying the files you’re going to open that website. Mine currently looks like this because it it just has a default WordPress installation. Navigate to the folder that you created and then /install.


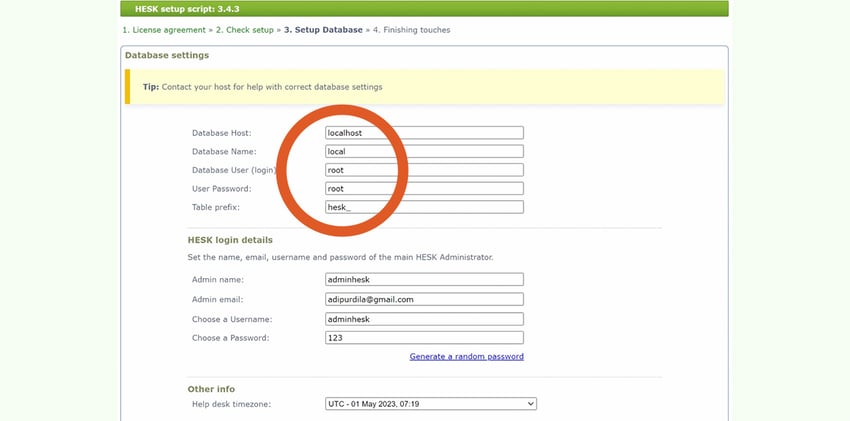
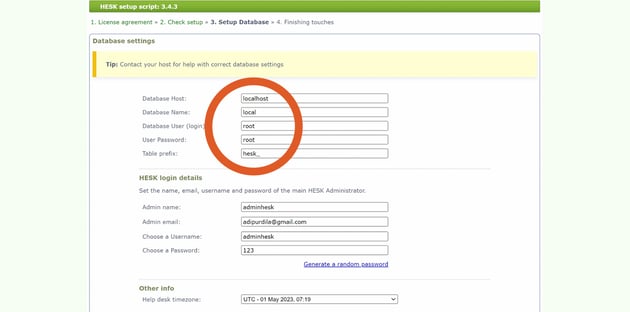
Before installing HESK you will need information about your mySQL database: the database name, user, and password.
My database name is local, and the username and password are both root, so let’s click to install HESK. I can just hit Accept here. Enter your database credentials and create some login details. Select your time zone, and continue to step four.
The database setup is complete, now delete the install folder from your server.
Let’s see how your customers will see the help desk. Go to your website address /support (remember support is the name of the folder that we created). Here is the help desk interface that the customer sees:


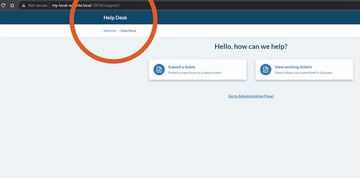
From here there are two possible options:
- If there is a knowledge base present then the customer can search that
- Option number two for the customer is to submit a ticket or view existing tickets
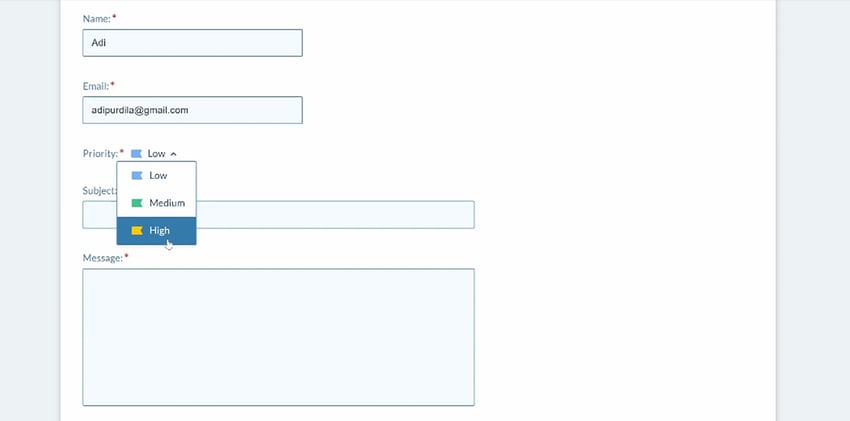
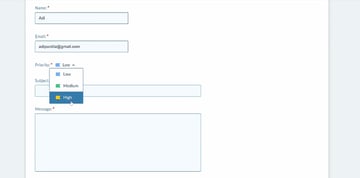
So let’s submit a ticket. We’re going to give it our name, we can select the priority, subject, and then a longer description of the issue. You can add attachments if you want, and there’s also a spam prevention field.

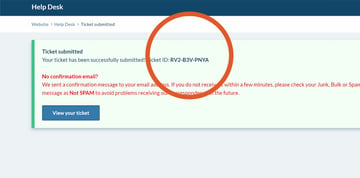
With the ticket was successfully submitted, we have a ticket ID and we can actually view our ticket.


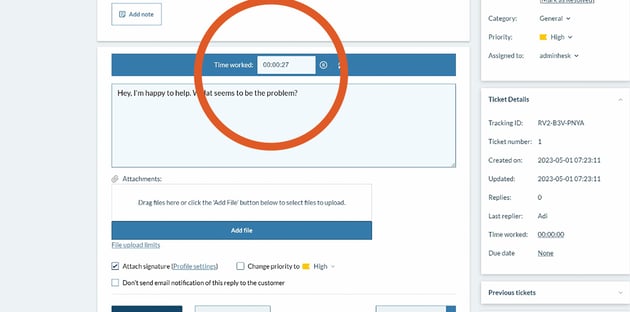
Back in the administration area we can go to Tickets and see that we have one open ticket. Open that ticket and we can see exactly what’s going on. A timer has already started for us, and here we can type our message.


The customer can actually see that ticket of course, and will get email notifications to stay updated. The communication can keep happening until the issue is solved, then once the issue is solved it can be marked as Resolved by the customer, or by the Admin.
Working as a Support Team
The administrator area is used by the support team (as you just saw), but staff can do a lot more than just reply to tickets. Let me show you a few of the options you have as a staff member.
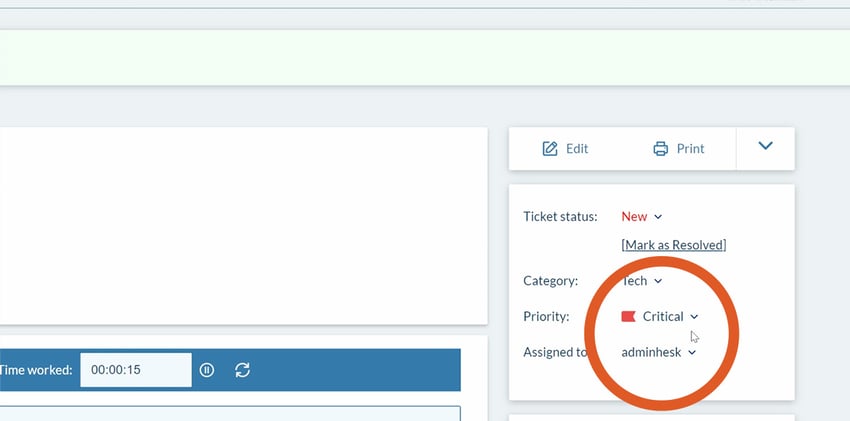
When we open up a ticket which is assigned to us, we have the option to change the category of the ticket. Under the categories menu we can add as many categories as we want. We can also change the priority of the ticket, or we can assign it to someone else:


In HESK, an admin can manage the following things:
Let’s look at email templates in more detail. Go to Tools > Email templates and here you can see templates for all the emails that are used in the communication between HESK and the customer. For example, there is a template for when a customer forgets the ticket tracking ID. Click the Edit button and you can see the exact structure of that email:

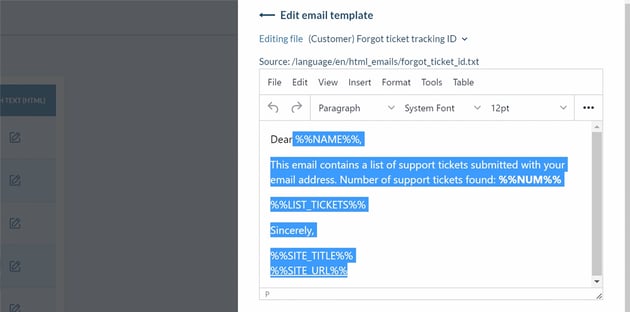

You can use special tags to customize the email to your liking, change the font size, and the text style
Elevate Your Help Desk with HESK Cloud
As I said previously, the self-hosted version of HESK is free but there is also a paid version called HESK Cloud. This is remotely hosted and there are a few benefits of using it, so let me show you.
We have a demo help desk set up at testplus.hesk.com and the interface looks exactly the same as the local installation, except we no longer have the the powered by links at the bottom.
Firstly, the team at HESK will actually take care of all the technical aspects for you. Installing and updating the help desk, creating backups, running the server, all that good stuff . So if you’re not really interested in the technical part and you don’t want to do it yourself then this is definitely the right way to go for you
Cloud also comes with some exclusive Cloud-only modules. So if we go to the modules here, we can see three of them:
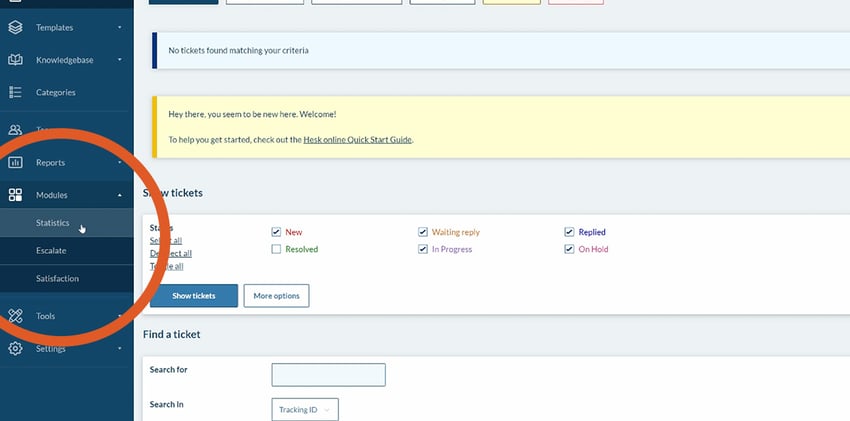
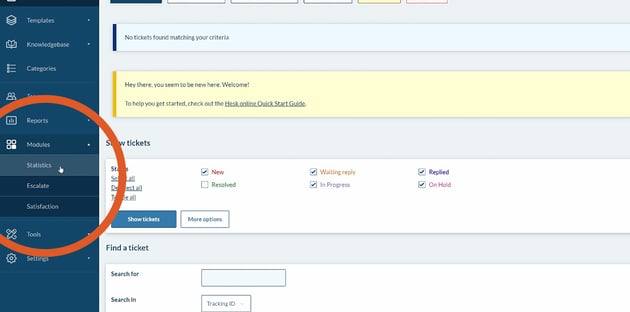
We also have these modules in the self-hosted version (the free version) in the sense that they’re in the menu, but they won’t actually work
- Statistics will give you an insight into your help desk usage and the staff performance.
- The escalate module will help you all escalate tickets that are that are not attended to on time
- And the satisfaction (or as it’s also called: survey) module will allow you to send your customers a follow-up survey, a satisfaction survey, to gather feedback about their experience with your help desk.
Also, if you’re using HESK cloud, you’ll have access to one-on-one priority support, which is actually a really big deal because if you’re using the free version the support for this is limited to a public forum.
If you want to grab yourself HESK Cloud, pricing starts at $29.99 per month plus VAT for the basic version.


Conclusion
The examples can go on and on. Regardless of what the help desk will be used for eventually, the installation is exactly the same. I hope you found this tutorial useful, and as always don’t forget to check out the Envato Tuts+ YouTube channel for more content like this, but also to learn about web design, web development, and a lot more.