In this tutorial, you will learn how to use the Cricut slice feature to slice text in Cricut Design Space. First you will learn how to slice text in Cricut Design Space, and then I will show you how to slice an image.
What You’ll Learn in This Cricut Slice Tutorial
- How to slice text in Cricut Design Space
- How to slice an image in Cricut Design Space
1. How to Slice Text in Cricut Design Space
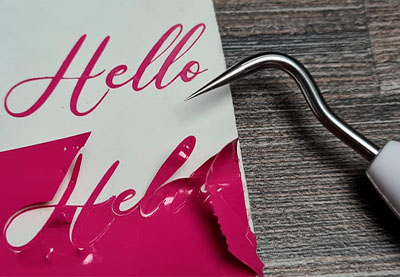
This technique works really well if you want to have the word sliced out of the shape. Let’s see how it works.
Step 1
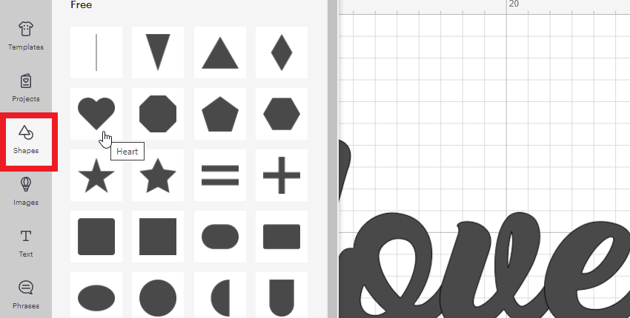
With your text already on the canvas, add a shape to your canvas by clicking on Shapes and selecting the shape you want to use to slice it. The font I used here is Asthenia.
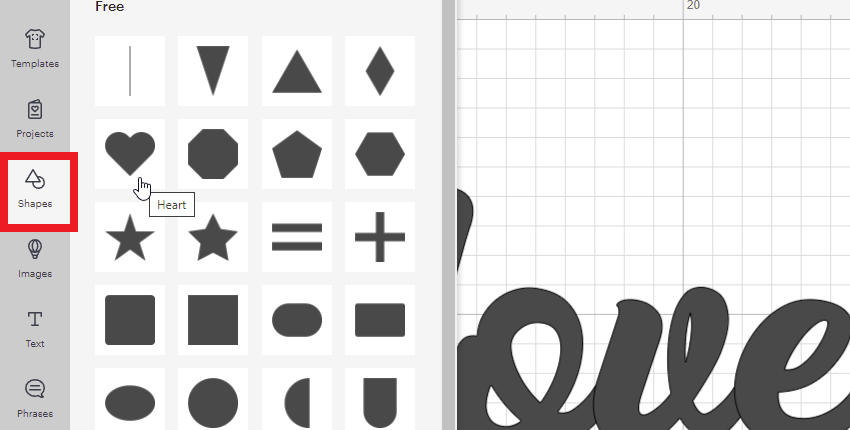
Step 2
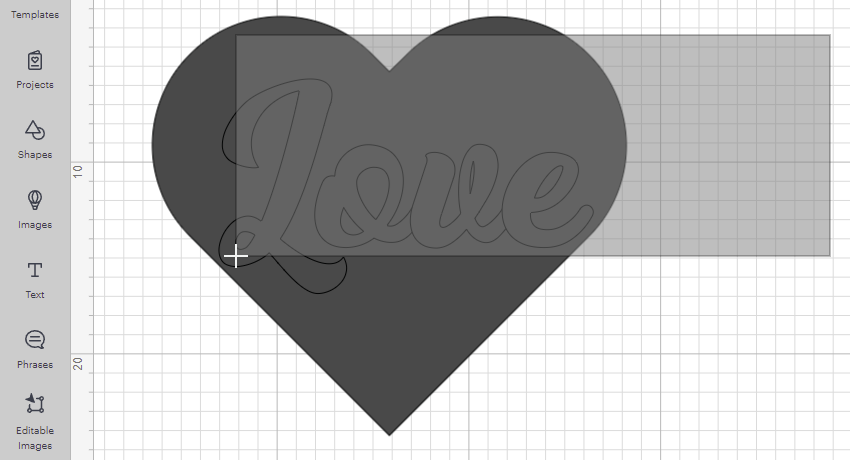
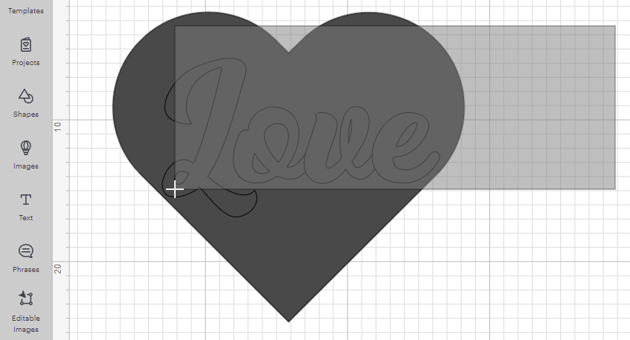
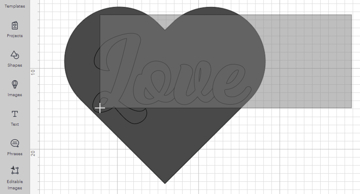
Position the shape over/behind the text where you want it to cut, and select both layers by clicking on the canvas and dragging the mouse over both layers.
Step 3
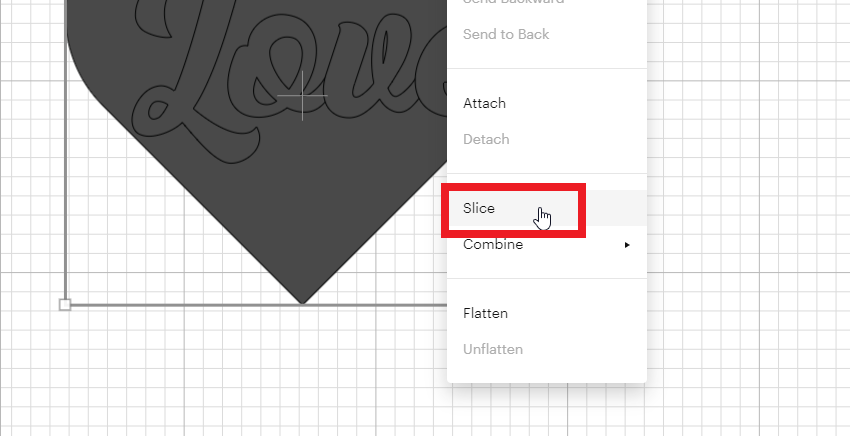
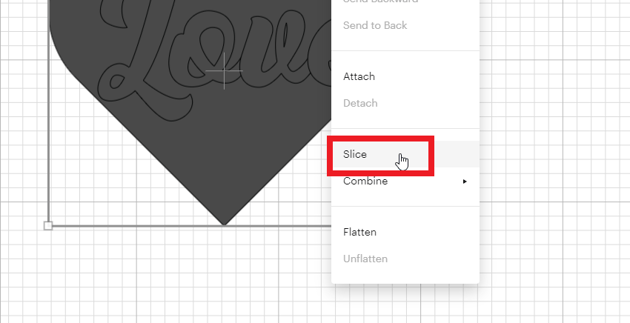
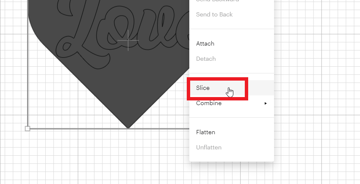
Right-click on your text and hit Slice. If you cannot select this, you likely do not have two layers selected.
Congratulations!
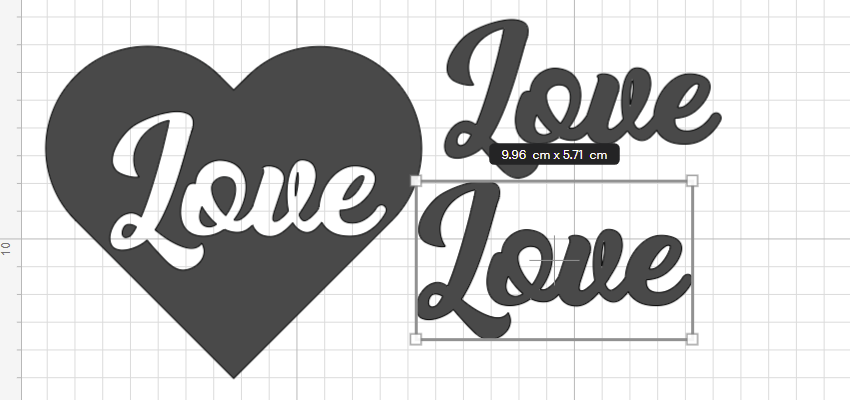
You can now move your shape away, and see how you have successfully learned how to slice in Cricut Design Space.
2. How to Slice an Image in Cricut Design Space
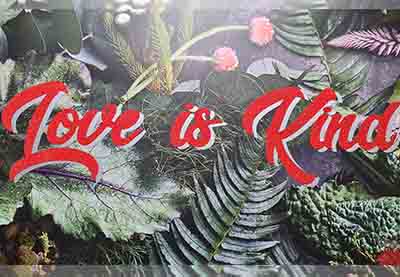
Being able to use a “print then cut” image and to slice your name out of it opens a world of possibilities for us to use. This easy method will have you using slice in Cricut Design Space for many new things.
Step 1
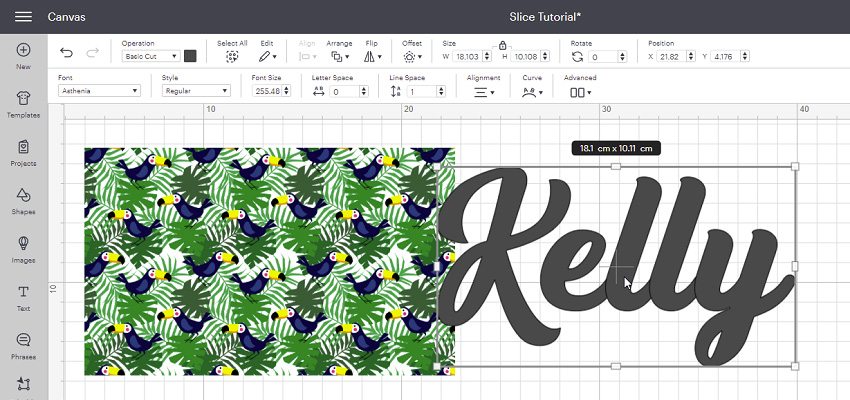
Add your image and text to your canvas.
Step 2
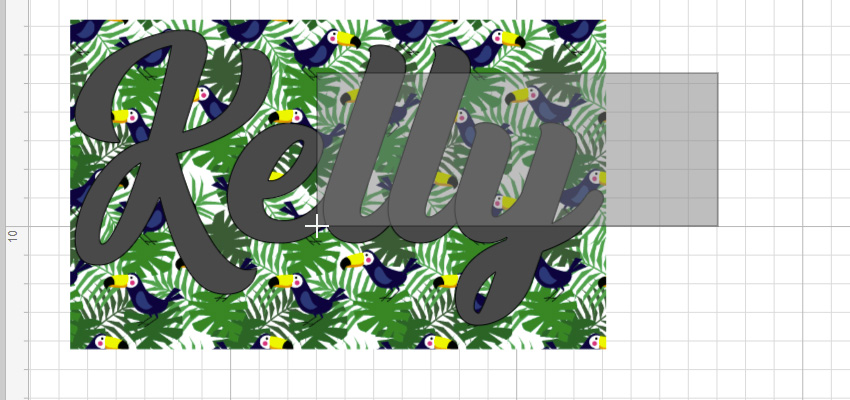
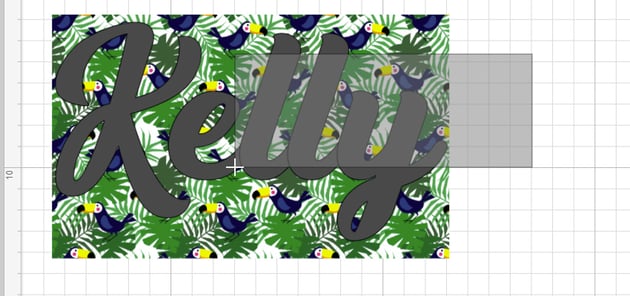
Position your text over the image where you want it, and select both layers by clicking and dragging across both elements.
Step 3
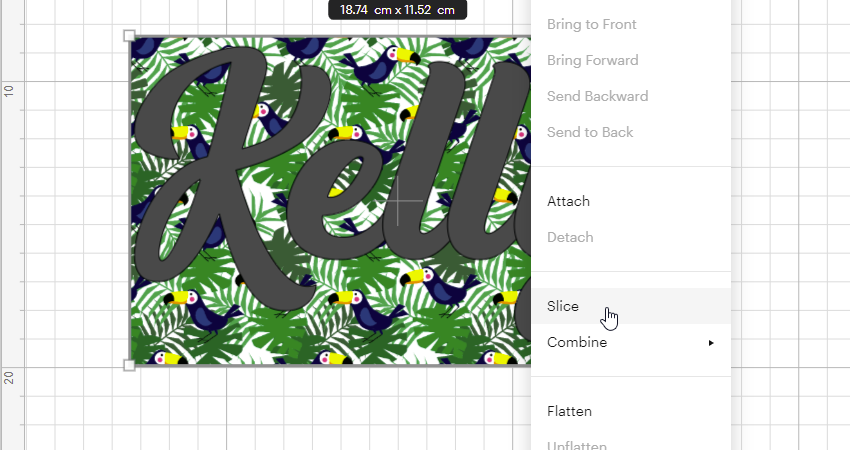
Right-click on the elements and click Slice.
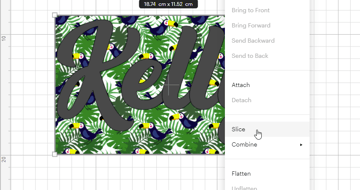
Congratulations!
You can move your layers out of the way and see how you have learned how to slice in Cricut Design Space in two different ways.
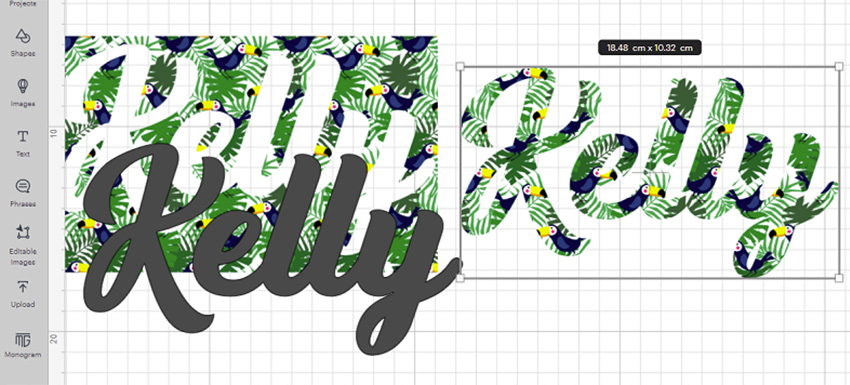
Now that you have learned slicing, you may want to learn some other new skills too. Check out these articles and tutorials that will help you learn so much more.
