This sounds very techy, but it’s manageable with this guide. By switching on error logs, you’ll be able to easily find the bugs that are in your WordPress website.
Ready to troubleshoot like a pro? Let’s dive into the world of WordPress error logs.
Understanding WordPress Error Logs
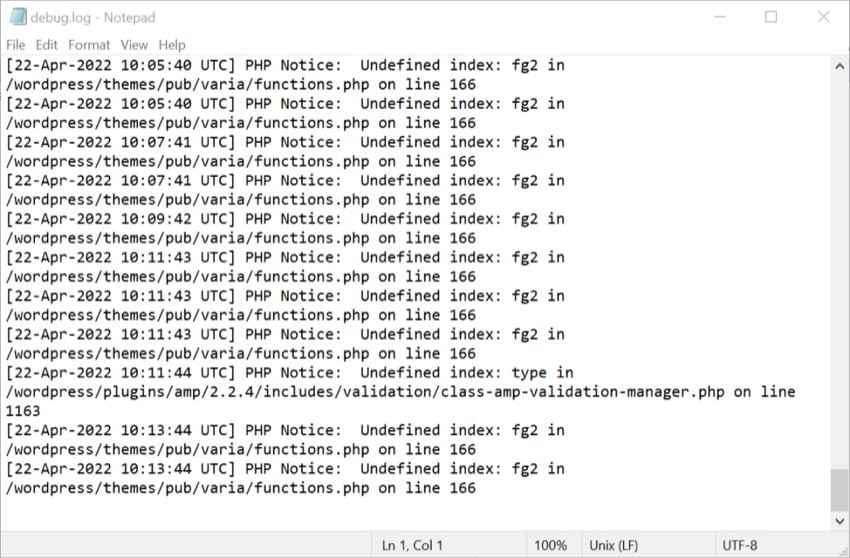
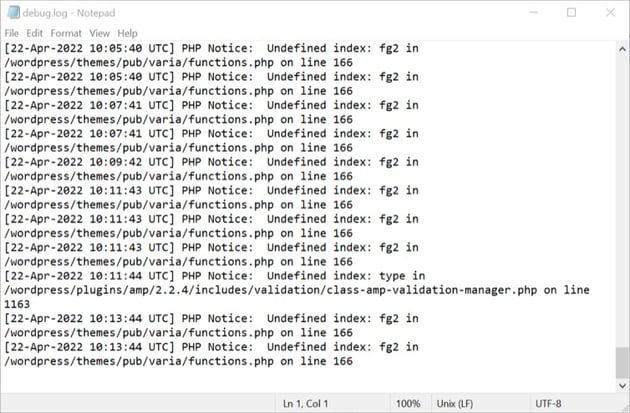
First, let’s give a brief overview of what WordPress Error Logs are and what you need to do to activate them. We’ll cover the full details on how to accomplish this in the following sections of this article.
What are WordPress Error Logs?
To fully understand the benefits of error logs, you’ll need to know how WordPress error logs function. They’re essentially a record of occurrences within your WordPress site. When something goes wrong, such as a plugin conflict or a syntax error in your code, these incidents are logged in a special file.
Benefits of Automated Error Monitoring


Automated error monitoring in WordPress offers you a proactive approach to identify and fix errors, saving you time and enhancing your website’s performance.
It saves you from the tedious task of manually checking your website for errors. The system automatically scans and logs any errors that occur in your website, saving you significant time and effort.
A key benefit is the speed at which it identifies errors. By promptly detecting errors, you can address them before they escalate into more significant issues, thereby preventing potential site downtime.
Moreover, automated error monitoring helps you identify patterns. By regularly checking the error logs, you can spot recurrent errors and address the underlying issues causing them. This could be a faulty plugin or theme, or perhaps a piece of code that’s not compatible with your current WordPress version.
Finally, it aids in troubleshooting. The detailed error logs provide valuable information about the error, such as its exact location and potential cause, making it easier for you or your developer to fix it.
How to Enable WordPress Error Logs


To enable this, you’ll need to access the wp-config.php file, a crucial component of your WordPress site that controls many important functions. It’s located in the root directory of your site. Be careful when editing this file, a small mistake can create major issues for your site.
In the wp-config file, you’ll add the code to activate the WP_DEBUG function. This is a built-in WordPress function that, when enabled, triggers the error logging mechanism.
To enable error logging, you’ll insert the following line of code:
1 |
define( 'WP_DEBUG', true ); |
Then, to ensure the errors are logged in a file, you’ll add another line:
1 |
define( 'WP_DEBUG_LOG', true ) |
Now, your WordPress site will start recording all errors in a debug.log file, located in the wp-content directory. Let’s cover each one of these steps in more detail.
Preparations for Editing Wp-Config.Php

Before you start editing the wp-config.php file, it’s crucial that you make a backup to safeguard against potential errors. This file contains essential configuration settings for your WordPress site, and any mistake could potentially break your website.
Here’s how you can prepare:
- Access your website’s files using an FTP client or the File Manager in your hosting control panel.
- Locate the wp-config.php file, typically found in the public_html directory.
- Make a copy of this file and store it in a safe location on your personal computer.
While doing this, remember to never edit the original file directly. Always work on a copy and upload it only after you’re confident there are no errors. Be sure to use a plain text editor such as Notepad or TextEdit to avoid introducing unwanted formatting into the file.
With these precautions in place, you’re now ready to access the File Manager and the wp-config.php file.
Accessing File Manager and Wp-Config.Php
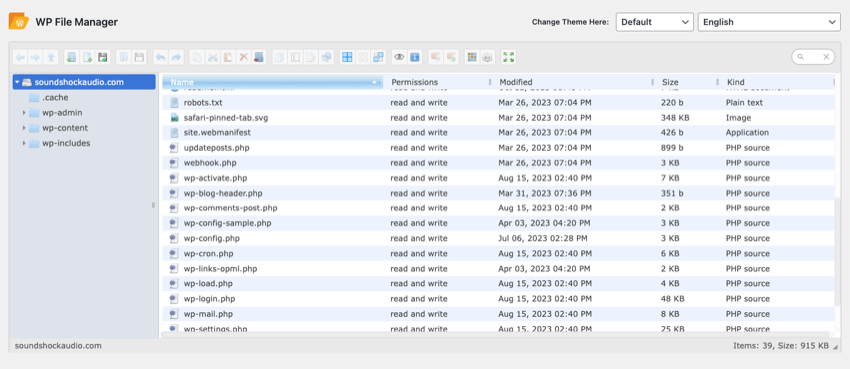
You’ll need to access the File Manager in your hosting control panel to locate the wp-config.php file. This file is typically found in the public_html folder, the main directory for your website’s files.
After logging into your hosting account, navigate to the control panel. Look for the File Manager icon, which may be found under the Files section.
Once you’re in the File Manager, locate the public_html directory. Double-click to open it. Here, you’ll find an array of files and folders. Scroll through the list until you spot the wp-config.php file.
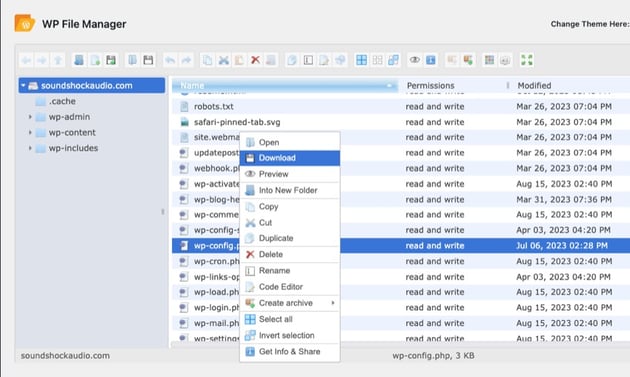
Before making any changes to this file, it’s crucial that you create a backup. Right-click on the wp-config.php file and select Download. This will save a copy to your local drive.
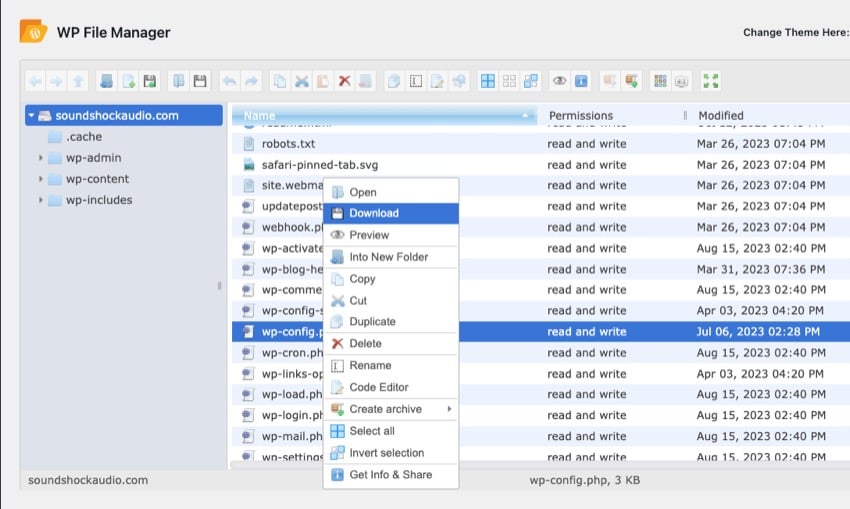
Now, you’re ready to edit the wp-config.php file. Right-click on the file again, but this time select Edit. A warning may appear, cautioning you about editing system files. Click Edit to proceed.
Code Addition in Wp-Config.Php
Once you’ve opened the wp-config.php file for editing, it’s time to add the specific code that enables WordPress error logs. This code will essentially tell WordPress to start recording any errors that occur on your site.
Here’s the code you need to add:
1 |
define('WP_DEBUG', true); |
2 |
|
3 |
define('WP_DEBUG_LOG', true); |
4 |
|
5 |
define('WP_DEBUG_DISPLAY', false); |
6 |
|
7 |
@ini_set('display_errors',0); |
Here is a breakdown of what this code does:
- WP_DEBUG: This enables the WordPress debug mode.
- WP_DEBUG_LOG: This instructs WordPress to log any errors to the wp-content/debug.log file.
- WP_DEBUG_DISPLAY: This line prevents errors from being displayed on your website, which is particularly important for a live site.
Remember to place this code before the line that says /* That's all, stop editing! Happy blogging. */. Once you’ve added these lines, save your changes and close the file.
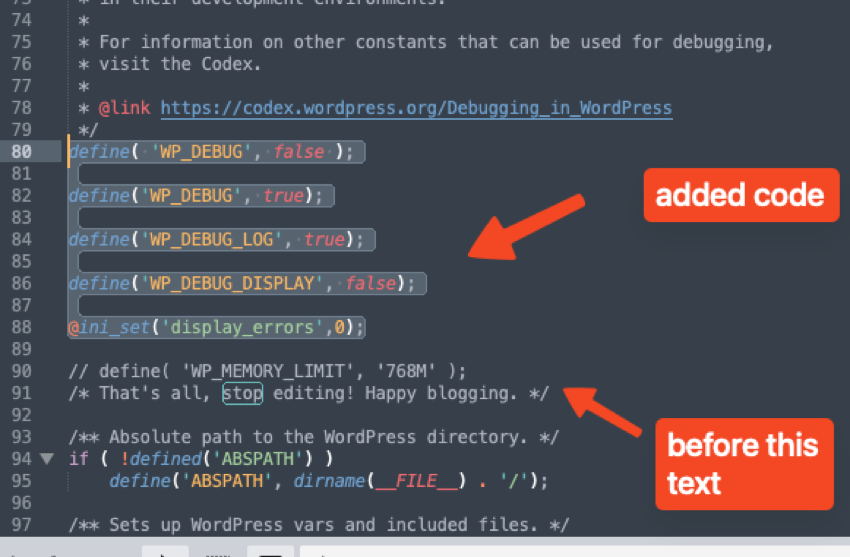
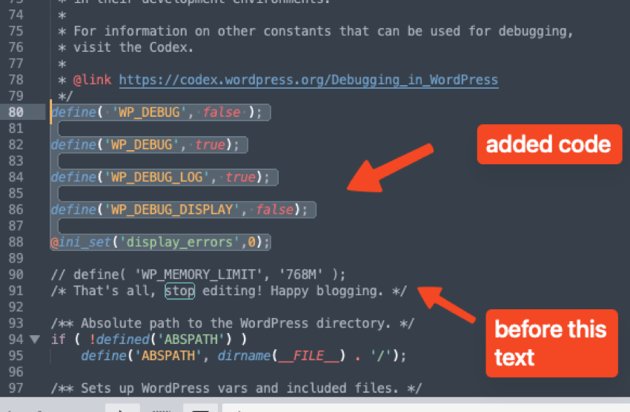
You’ve now successfully set up WordPress to log errors. The next step is to learn how to locate and analyze the debug.log.
Locating and Analyzing Debug.Log
Now that you’ve activated debug mode and error logging, it’s essential to know how to locate and analyze your debug.log file to effectively troubleshoot any issues on your site.
This file is typically stored in the wp-content directory of your WordPress installation.
Locating the debug.log file
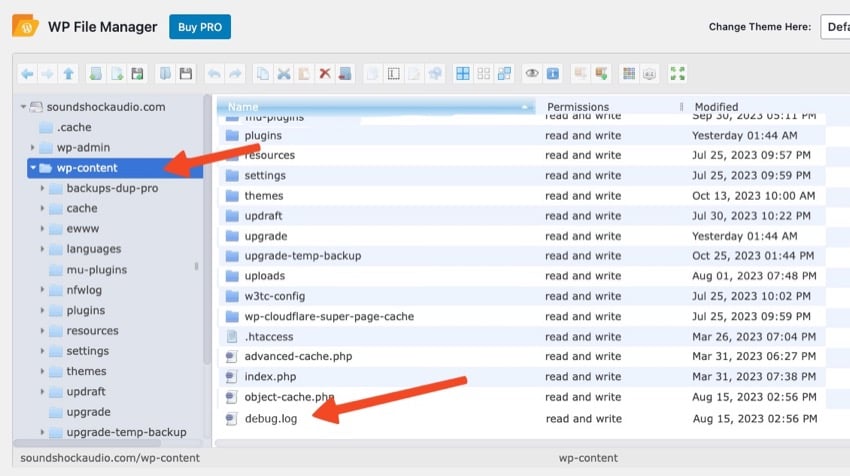
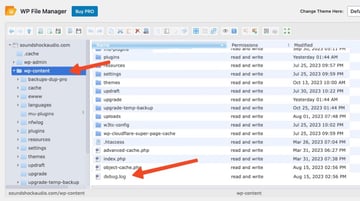
Use an FTP client or your hosting control panel’s file manager to navigate to the wp-content directory. Here, you should find a file named debug.log.
Opening the debug.log file
Open the file in a text editor. This will display a list of warnings, errors, and notices that have been logged by WordPress.
Analyzing the debug.log file
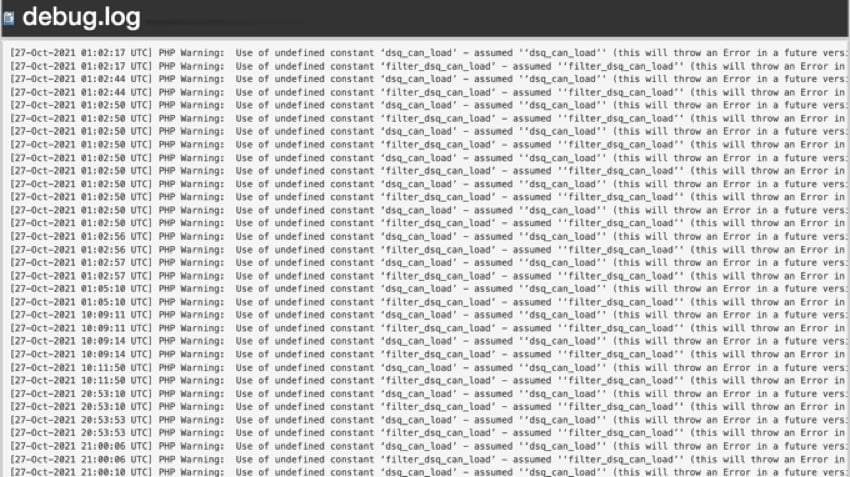
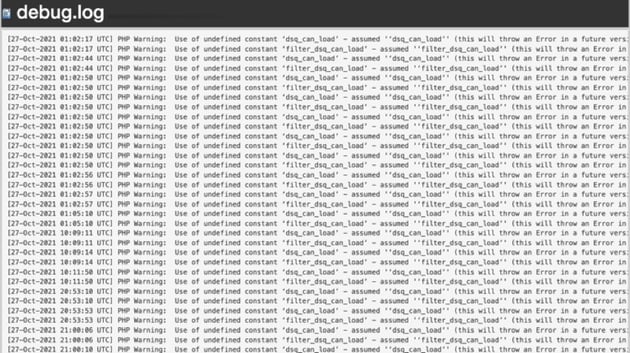
Each entry in the debug.log file includes a timestamp, the error type, and the file that caused the error. The error messages can be cryptic, but they usually contain clues about what’s wrong. Look for common patterns and problems related to specific plugins or themes.
Frequently Asked Questions
What Should I Do if I Can’t Locate My Wp-Config.Php File in the File Manager?
If you can’t find your wp-config.php file, don’t panic. It’s likely hidden. Check your hosting account’s settings and ensure “Show Hidden Files” is turned on. If it’s still missing, contact your hosting provider for help.
Is There a Way to Set up Email Notifications for the Occurrence of New Errors in the Log?
Yes, you can set up email notifications for new errors. Use a plugin like Log Email Notifications or Error Log Monitor, which alert you when new errors are logged in your WordPress error log.
How Can I Manage the Size of the Debug.Log File to Prevent It From Becoming Too Large?
You can manage the size of your debug.log file by implementing a log rotation policy. This involves setting a limit on the file size, after which it’s archived and a new log file is started.
Are There Any Specific Plugins That Can Assist in the Process of Setting up WordPress Error Logs?
Yes, several plugins can assist in setting up WordPress error logs. Examples include Error Log Monitor, WP Log Viewer, and Debug Bar. They’ll simplify the process, making error tracking more efficient for you.
What Steps Should I Take if I Have Enabled Error Logging but Still Cannot See Any Errors in My Debug.Log File?
If you’ve enabled error logging but don’t see errors in your debug.log file, ensure your site has encountered errors. Check your code or use a plugin to trigger errors. Reinstate WP_DEBUG_LOG if necessary.
Set up WordPress Error Logs Today!
And there you have it! You’ve set up your WordPress error logs and are ready to fix your site. Make sure to keep your eye on those logs to ensure that your WordPress site stays bug free.
Looking for great plugins and themes for your WordPress site? Envato Elements has tons of high quality tools that can help you with your website.