Retouching underwater elements
Step 1
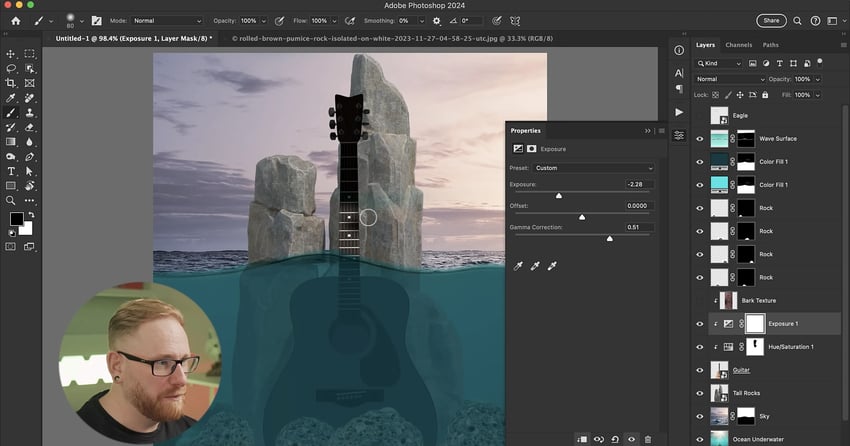
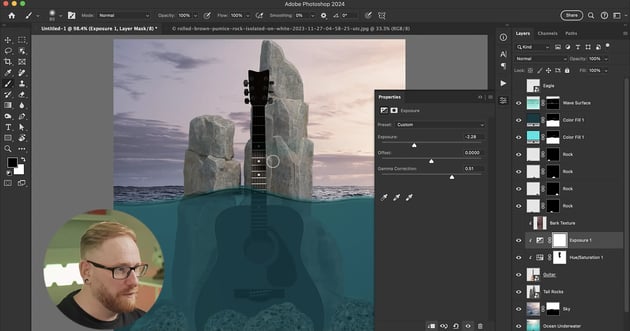
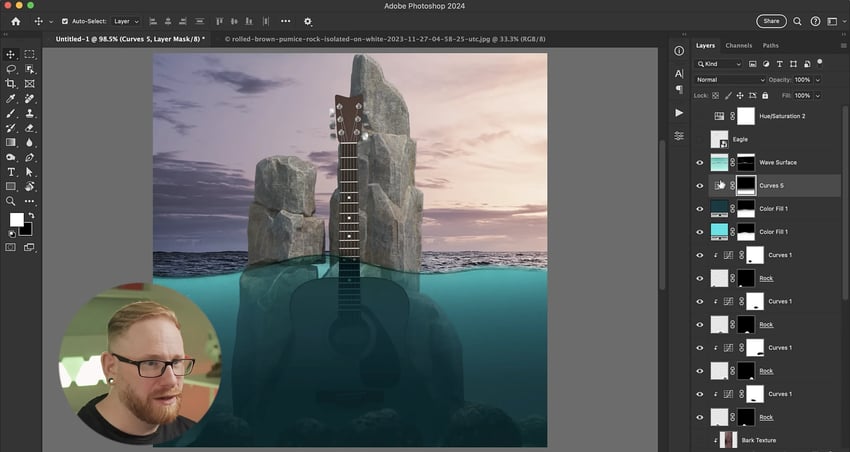
Start by applying an adjustment layer to the guitar. You can make it darker or lighter depending on the direction you push the three sliders—Exposure, Offset, and Gamma Correction.
In this case, you want to make the guitar darker, so move the sliders to the left and keep them in a straight line, more or less. As the guitar is underwater, it should be harder to see. Once you’ve darkened the guitar, mask out the section above the water so it’s not being affected.
Step 2
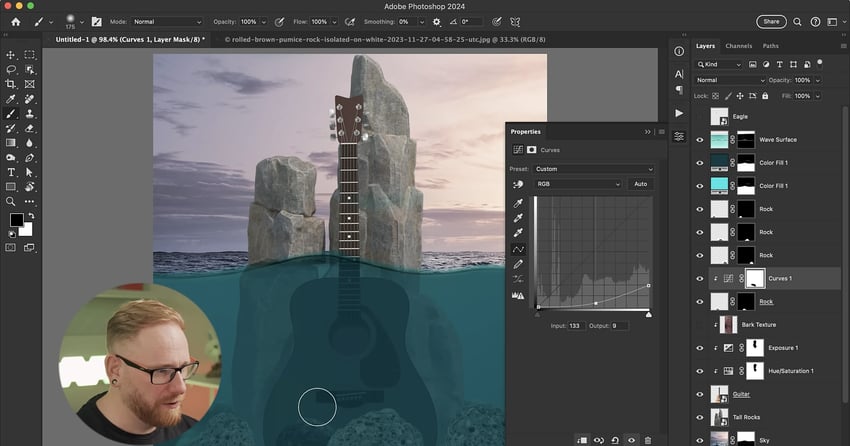
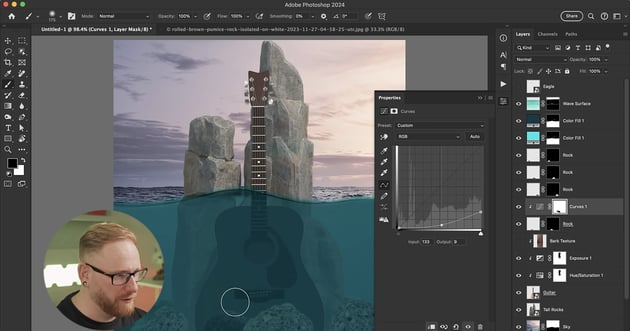
Do the same for the underwater rocks you created in the last video. Choose a rock layer and, using curves this time, apply a clipping mask. Drop the right point of the curve straight down to make the rock darker. If you want a bit more contrast, just give the curve a slight bend.
Now brush away the effect very subtly along that top edge of the rock. This makes it look as if there are shadows along the bottom, and the light coming from the surface is just touching the rock. Repeat this step for the other underwater rocks.
Step 3
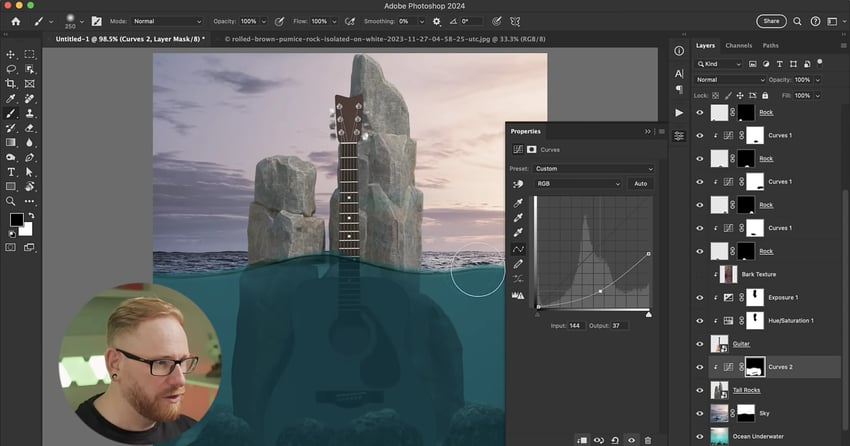
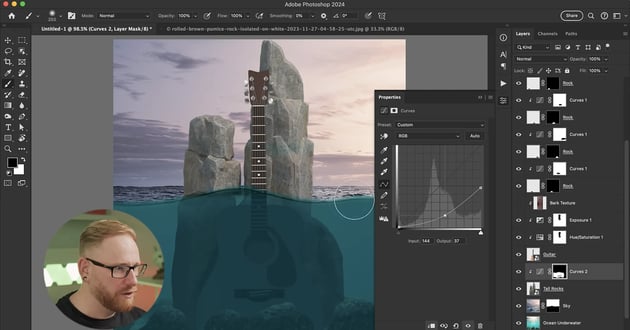
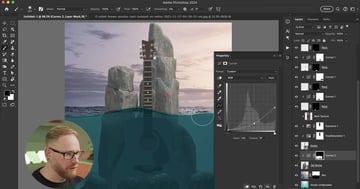
We can do the same for the tall rocks as well. Add a curves or exposure layer. Darken the rocks and add a bit of contrast. Press Command/Control-I to invert the mask. Hold Alt/Option and click between the layers to add it as a clipping mask. Lighten the top of the tall rocks towards the top and darker at the bottom.
Step 4
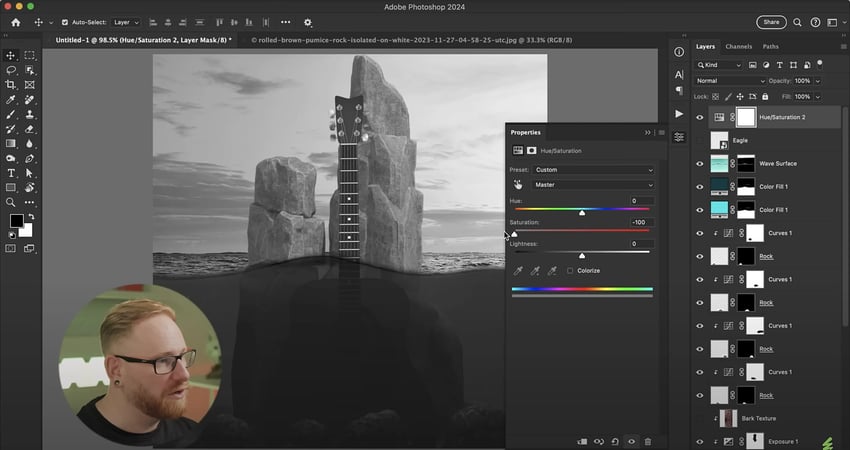
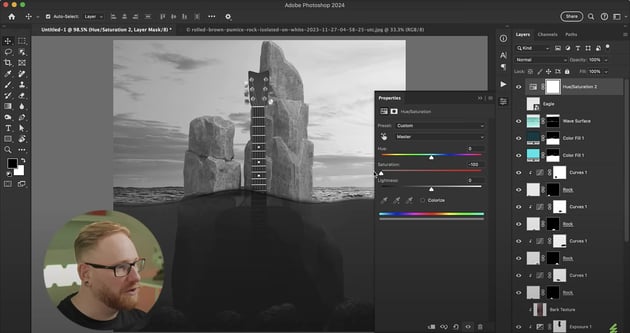
When balancing exposure, a great trick is to go to the top of the layer stack and add a Hue/Saturation adjustment layer. Then bring the saturation all the way down so that the whole graphic becomes completely black and white. That helps you see where the exposure is balanced correctly and where it’s not before you adjust colors.
Make adjustments to any areas where the exposure looks uneven. For example, the sky is a little too bright, so we can darken it. The rocks above the water also look washed out, so we can add some contrast. And the guitar under the water is too dark, so we can lighten that a bit.
Step 5
Hide the adjustment layer so that you can see the colors again, and make some final adjustments to refine the look.
- Refine the Wave mask layer by removing any blue color over its surface line.
- Lighten the top of the water via the Color fill layers so there’s more light coming from the surface.
- Darken the bottom of the water to make it murkier using the same techniques we’ve already covered. For added effect, bump up the blue and green channels in the curves layer to make the water darker and murkier towards the bottom.
Discover more Photoshop resources and tutorials
In this tutorial, you learnt how to retouch underwater elements to make things appear more realistic for your music album cover design.
In the next tutorial, you’ll learn how to work with color and texture. Be sure to check out other upcoming articles on Envato Tuts+ and the Envato blog to discover more Photoshop tutorials. And for the digital subscription that will cover all your creative Photoshop assets and needs, visit Envato!
Here are some great resources to get you started: