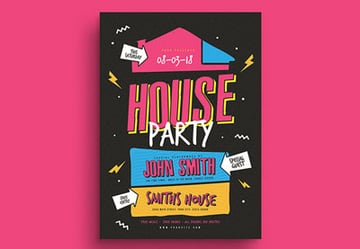

Want to learn how to make a Halloween flyer? In this tutorial, we’ll create a Halloween costume contest flyer, and you could use these concepts to create any kind of Halloween event flyer you prefer. We’ll also take a look at some Halloween flyer ideas.


What You’ll Need
Here’s what you’ll need to create this Halloween party flyer template:
- Halloween Characters Illustration
- Halloween Seamless Pattern
- Child Witch Halloween Font
- Lorenza Sans Serif Font
- Halloween Clip Art
Use these assets as we explore how to make a Halloween party flyer, or use any assets of your choice. You can apply the ideas behind this Halloween flyer template to any images, fonts, or ideas you like.
Looking for a Finished Halloween Party Flyer Template?
If you’re looking for a customizable Halloween event flyer, consider checking out all of the colorful, stylish options on Envato Elements. There are hundreds to choose from, and they’re all included for one low price.

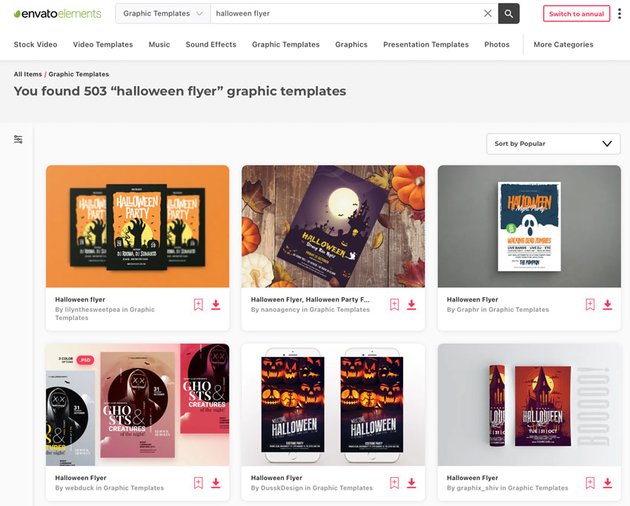

Whether you’re looking for a Halloween costume drive flyer or a trendy Halloween party club flyer, there’s plenty to see. Why start with a blank Halloween flyer template, when you could start with something professionally designed and ready for print?


1. How to Begin a Halloween Flyer Design
Step 1
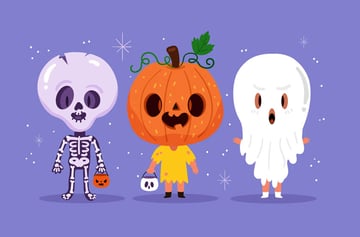
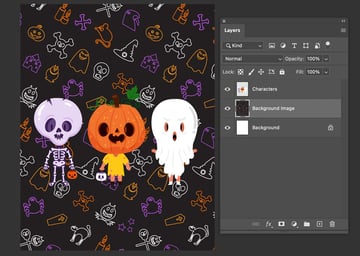
First, let’s begin by choosing some fun imagery. This will be one of the main focal points of our poster. I’m going to work with this fun Halloween illustration from Envato Elements.


Step 2
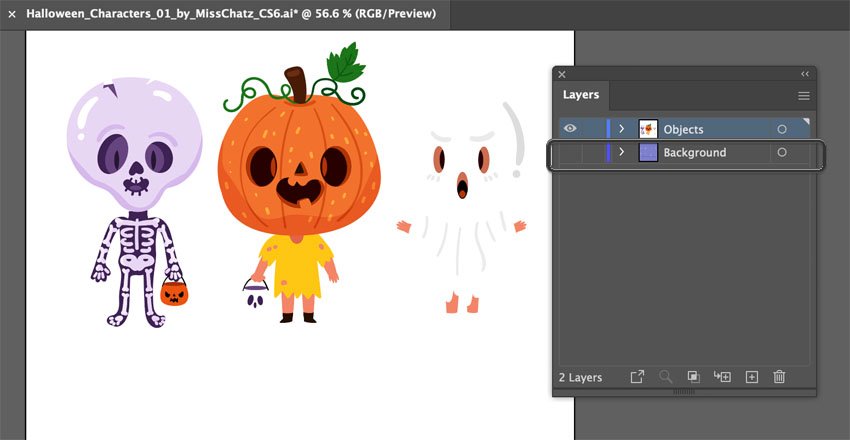
Next, let’s prepare the image. I opened this image up in Adobe Illustrator. We won’t design our flyer in this software, but Illustrator is an ideal environment for these customizations.
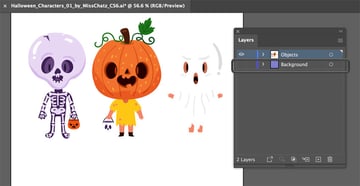
In this case, I’m going to turn the background layer off, so we have transparent artwork to work with. Open the Layers panel by going to Window > Layers. Then, click the eye icon to turn off visibility on the purple background layer.
Once you’ve done so, go to File > Save a Copy. Give your file an alternative name, so we have a copy of this illustration, without a background. Once you’ve done so, you can close Illustrator.

Step 3
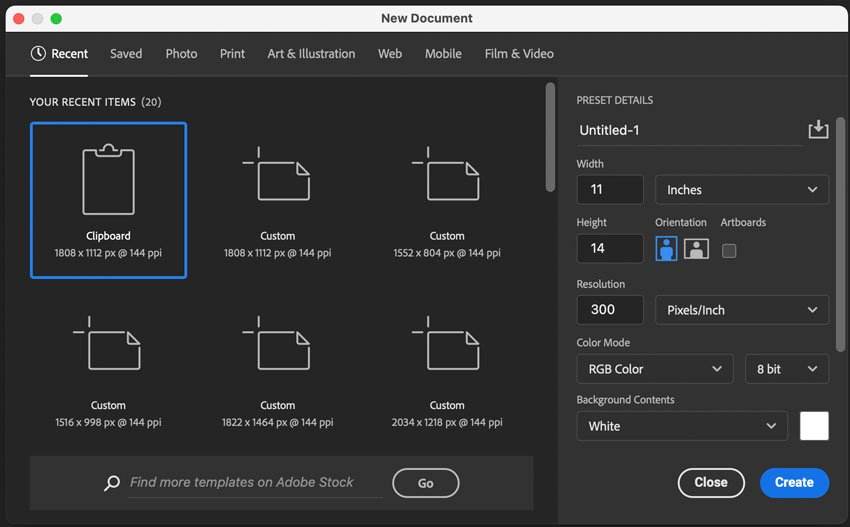
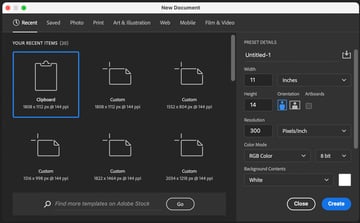
Let’s go to Adobe Photoshop and start a New Document by going to File > New. We’ll work with the following specs in our flyer design:
- 11 x 14 inches
- 300 DPI, appropriate for high-quality printing
This is the basis for our blank Halloween flyer template. Choose the specs that best suit your needs, or you can follow along with these. Once you’re happy with your selections, click Create to continue.

Step 4
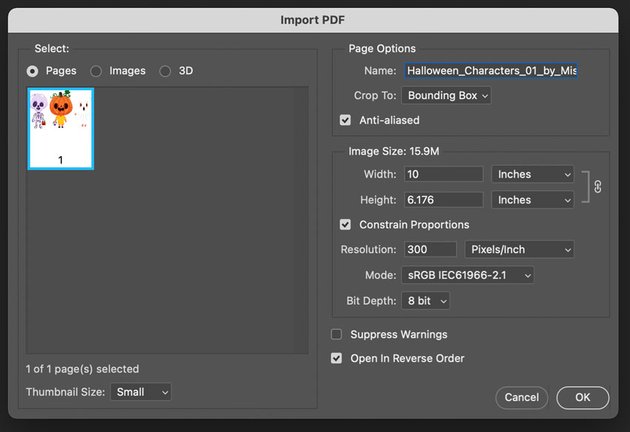
Let’s begin our design by opening up our prepared Halloween illustration. Go to File > Open to open it up. Photoshop can open Illustrator AI files.
When we do so, we’re given import options. Make sure to toggle Constrain Proportions on, especially if you’d like to import vector art as a larger size. Once you’re happy with your chosen options, click OK to open the file.


Step 5
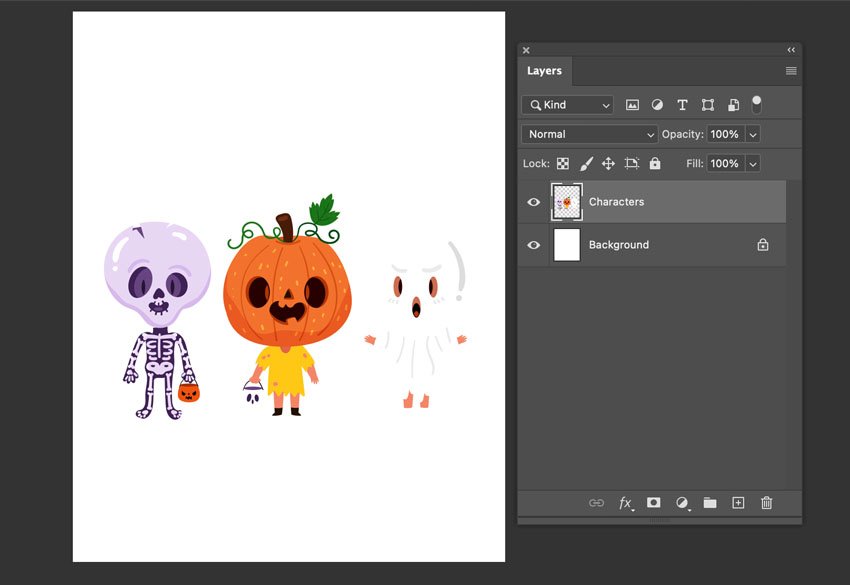
Here’s our Halloween illustration, without a background. Go to Select > All to select the entire image. Then, go to Edit > Copy.
Return to your Halloween Flyer document. Then go to Edit > Paste. Now our illustration is in our design document, and it has a transparent background.

Step 6
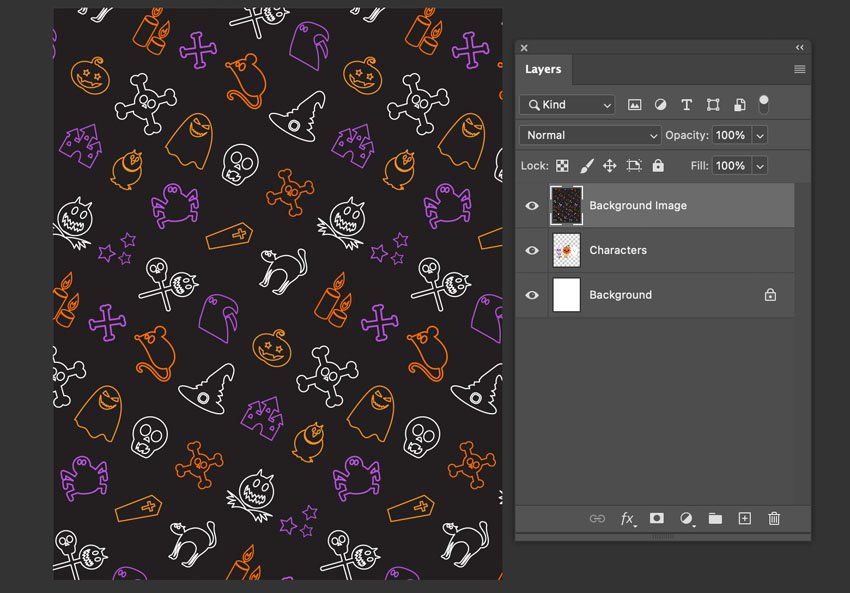
Let’s repeat this process with another image. We’ll use this fun Halloween pattern. It’ll make a perfect Halloween flyer background. Open it in Photoshop by going to File > Open and choosing the file.
Then, repeat our process from earlier. Select > All will select the entire image. Then go to Edit > Copy to copy it.
Return to your flyer design document, and go to Edit > Paste. Now, we have both images in our document.
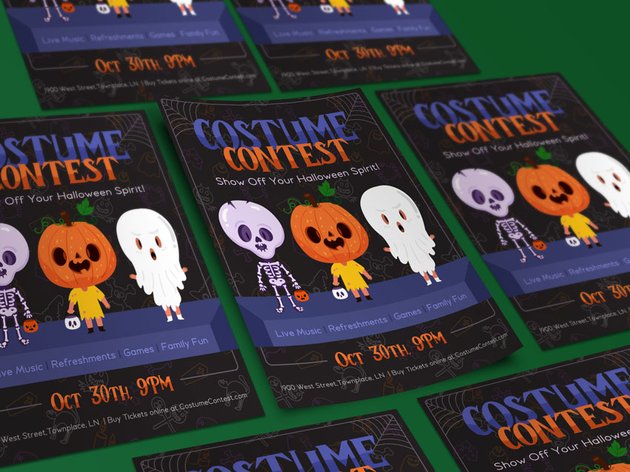
2. How to Make a Halloween Flyer
Step 1
Now that we’ve got our design file started and images inserted, let’s get designing.
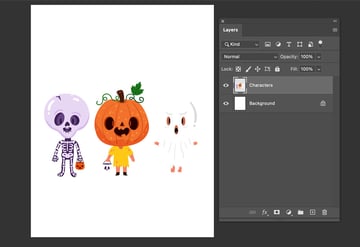
Begin by opening your Layers panel. Go to Window > Layers to do so. This is going to be an essential part of the design process.
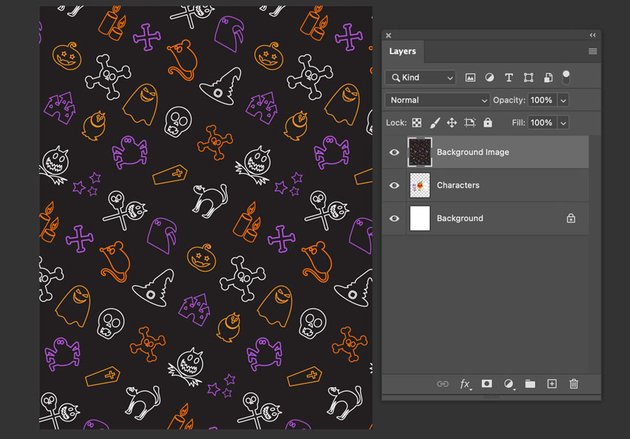
Start by making sure your layers are in the right order. We want our Halloween flyer background pattern behind our Halloween illustration. Click and drag to rearrange their order.
Note, you can also double-click on the layers to rename them. This can really help with organization.


Step 2
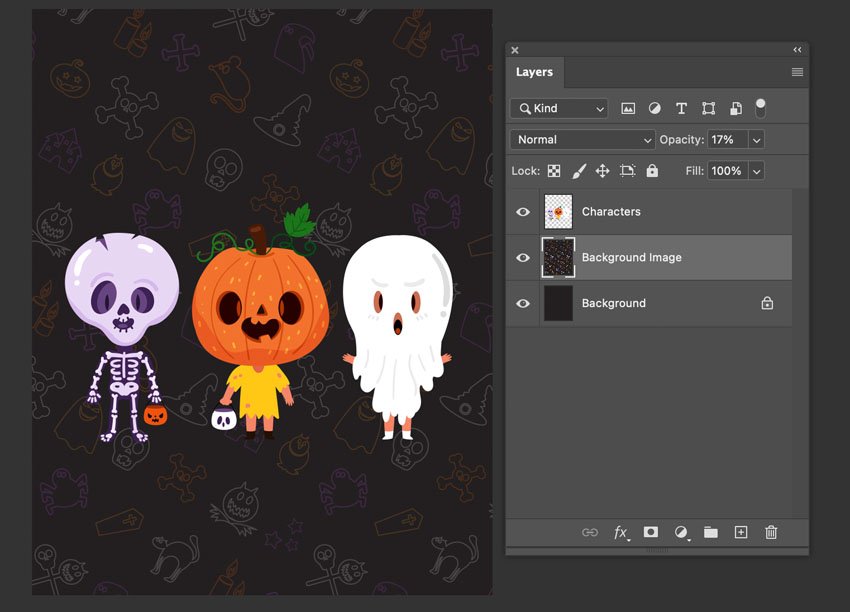
Let’s adjust our background. Start by clicking on the Fill Color and choosing a dark, black color.
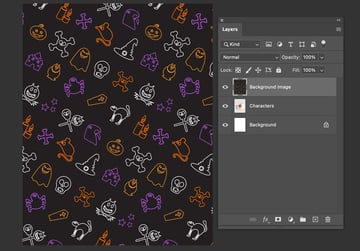
Then, select the Background layer, in your Layers panel. With this layer active, use the Paint Bucket tool to apply our dark color. Just click to fill this area. We can’t see this color applied, although the layer thumbnail should look dark now. This is because we have content on top of this layer.
To change this, click on the layer holding our background image. Change the Opacity to 17%. Now, we have a more subtle background pattern here.


Step 3
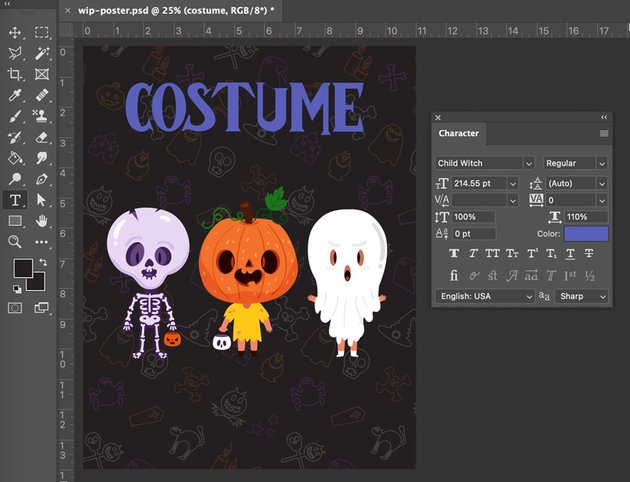
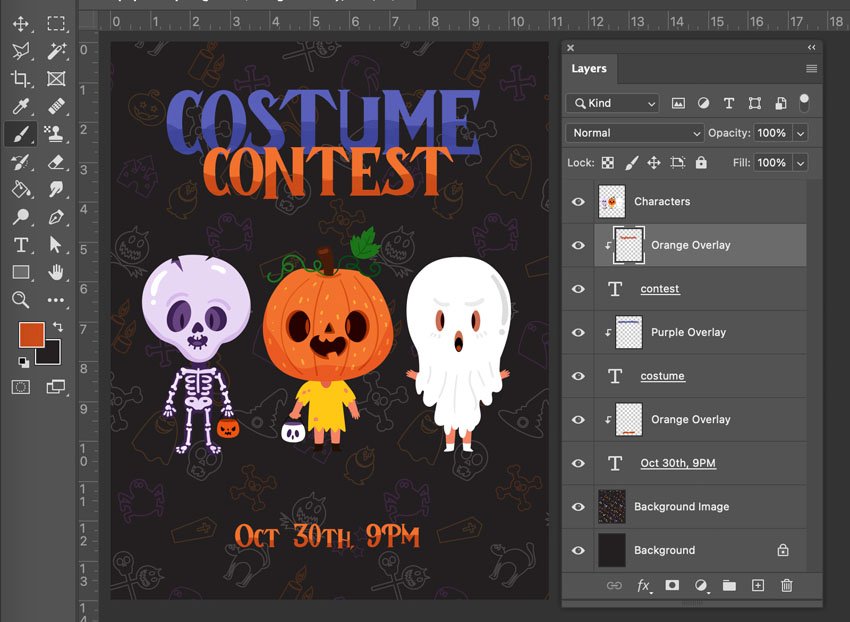
Next, let’s add some text to our design. Begin by opening up the Character panel. Go to Window > Character to do so. From here, we can choose things like the font and color. We’ll use the font Child Witch in this design.
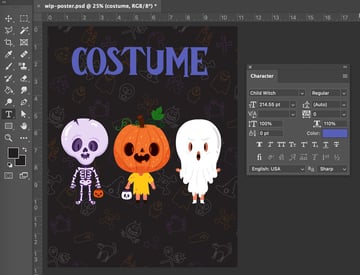
Then, let’s add some text with the Type tool. Click once, and begin typing as you would in most word processing software. In this scenario, type out the word “Costume”.
Tip: you can use Edit > Free Transform to resize your text. Just click and drag on the resize handles to do so.

Step 4
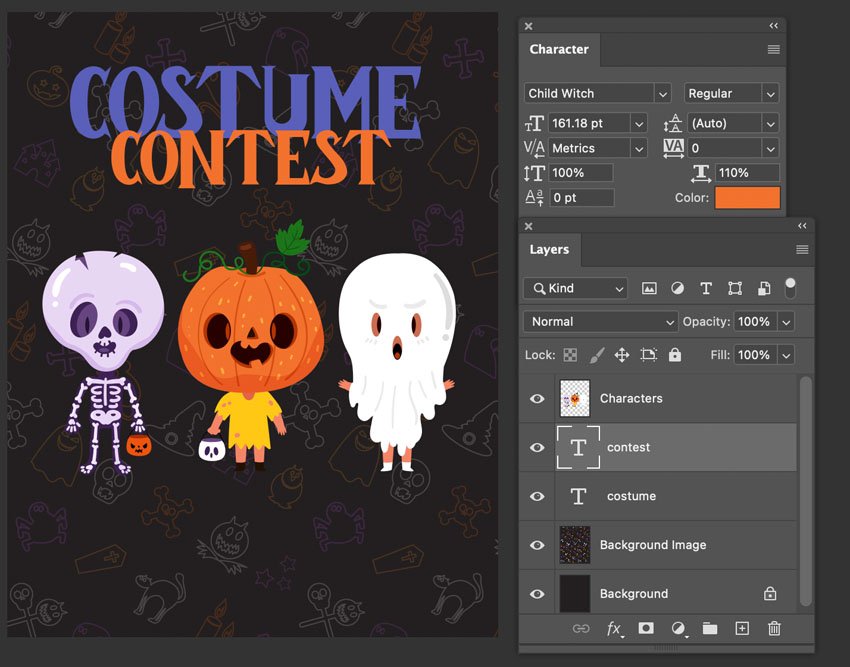
Repeat this process and type out the word “Contest”. This will be perfect for our Halloween costume contest flyer.
You’ll notice that the two words are on their own layer, in your Layers panel. Then, we can select each of these layers and move them independently, with the Move tool selected.
Return to the Character panel to change the color of the text. I went with purple and orange.


Step 5
Let’s try adding some extra effects to our text too. Begin by creating a New Layer at the bottom of your Layers panel. Click the plus sign to do so.
Then, right-click on this new layer on PC or Control-click on Mac. Select Create Clipping Mask. This means any content we add here will be confined to the visible area of our text. We want to do this for both text layers.
Use the Brush tool to add a wavy, darker line. In this example, I used a dark purple fill color and a dark orange fill color. You don’t need any special drawing software or pen; just click and drag to draw in this space. Keep it wiggly and messy!
Repeat this process for any other text in your composition that you would like. For example, I also did this for the date, at the bottom of the flyer.


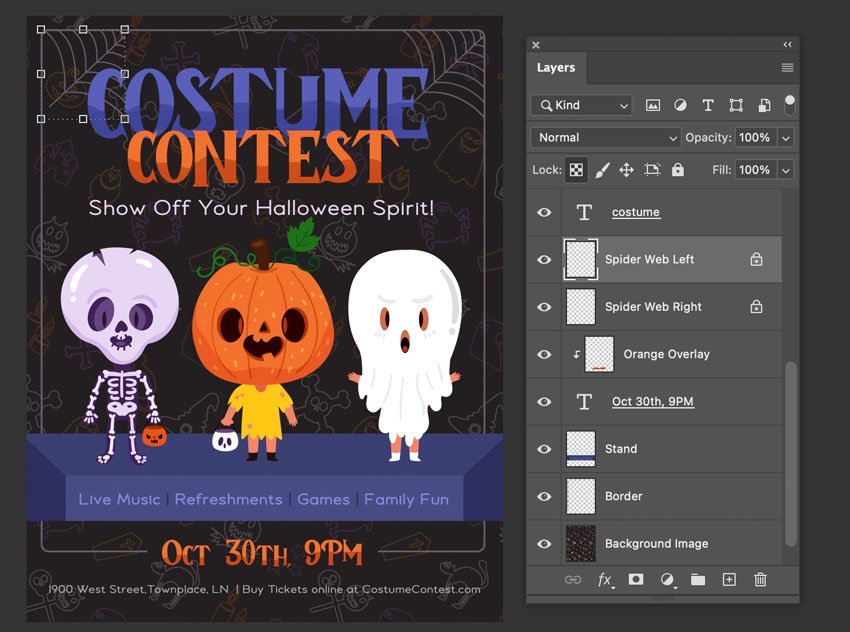
Step 6
Next, let’s add a slight border to our flyer. Select the Rectangle tool. Up in the Options panel, select the following settings:
- Fill color off
- Stroke color, a dark gray
- Stroke width, 12 pixels
- Corners, 50 pixels
Choose these options, or experiment with your own. Once you’re happy with them, click and drag to draw your rounded, rectangular shape. I wanted the base of this border to interact with the date at the bottom of the flyer.
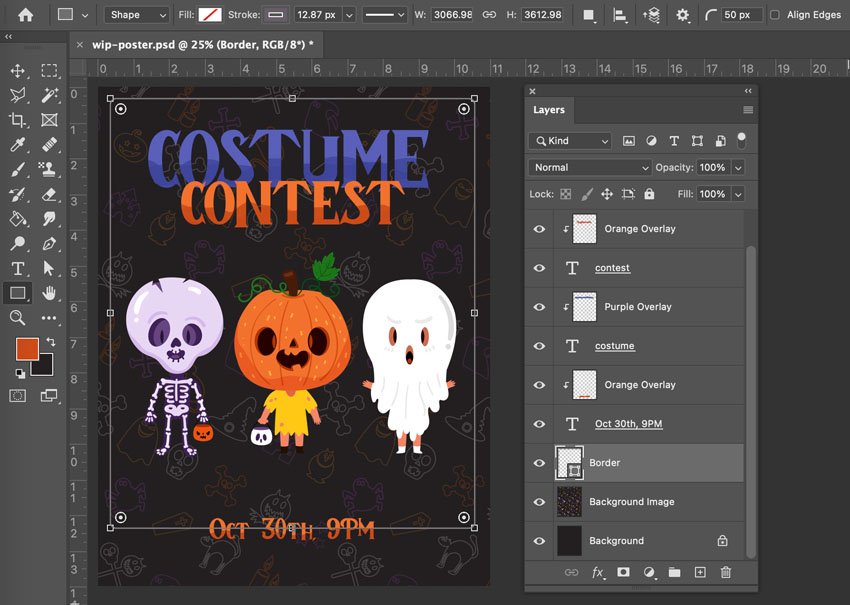


Step 7
Next, right-click on PC or Control-click on Mac on our rounded rectangle’s layer. Select Rasterize Layer.
Then, we can use our Rectangular Marquee tool to highlight the area occupied by our date, at the bottom of the composition. Just click and drag to draw this selection. Then, press Delete on your keyboard to delete this extra part of our border.


Step 8
Let’s build a little platform for our Halloween characters to stand on. We can easily do this using the Polygonal Lasso tool. Click to create points, and create a rectangular, angled selection, like the example below.
Then, use the Paint Bucket tool to fill this area with a dark purple color. Simply click with the Paint Bucket tool active to apply this fill.

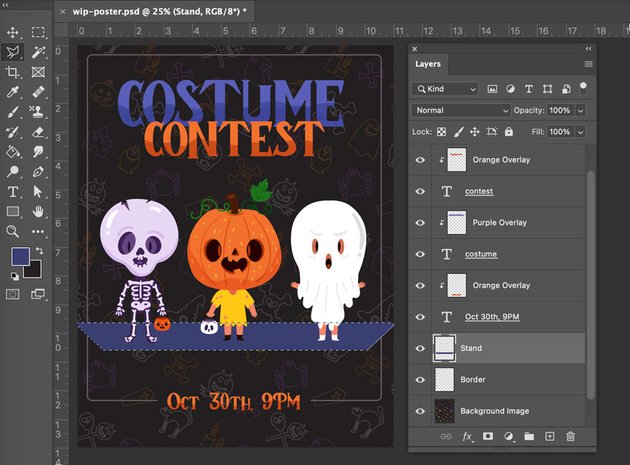

Step 9
We can repeat this process to create an angled shape. Use different shades of purple to simulate depth. Here’s a possibility you could try.
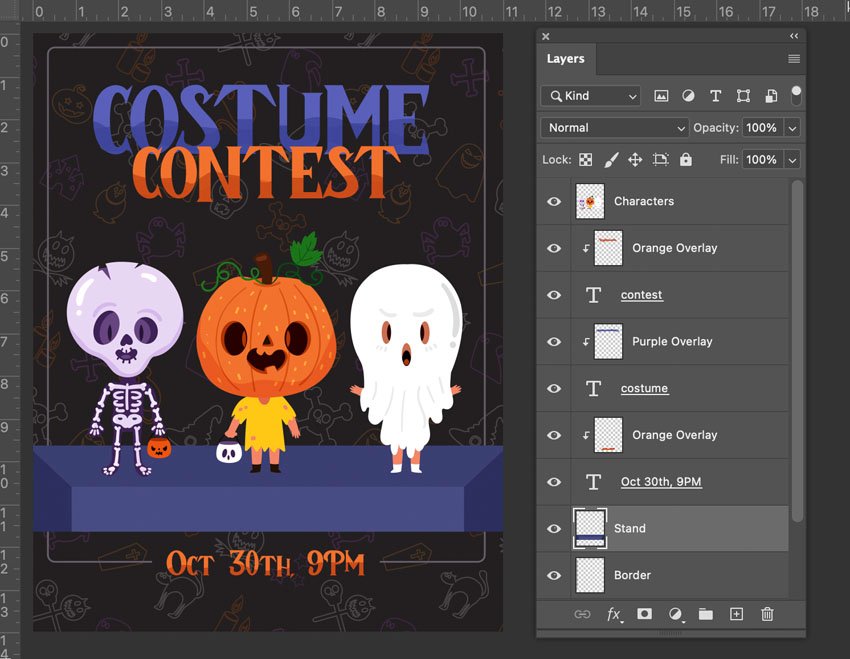


Step 10
Let’s add some text to the base of our purple shapes. Use the Type tool to add this text, just as we did earlier in the tutorial. This example uses the sans serif font Lorenza.
This time, let’s work more with color. I added several items and separated them with a text vertical bar.
With the Type tool active, click and drag to select specific text, like this vertical bar. Then, we can turn to the Character panel and change the color of specific characters individually. I made the bars a darker purple and the text a lighter purple.
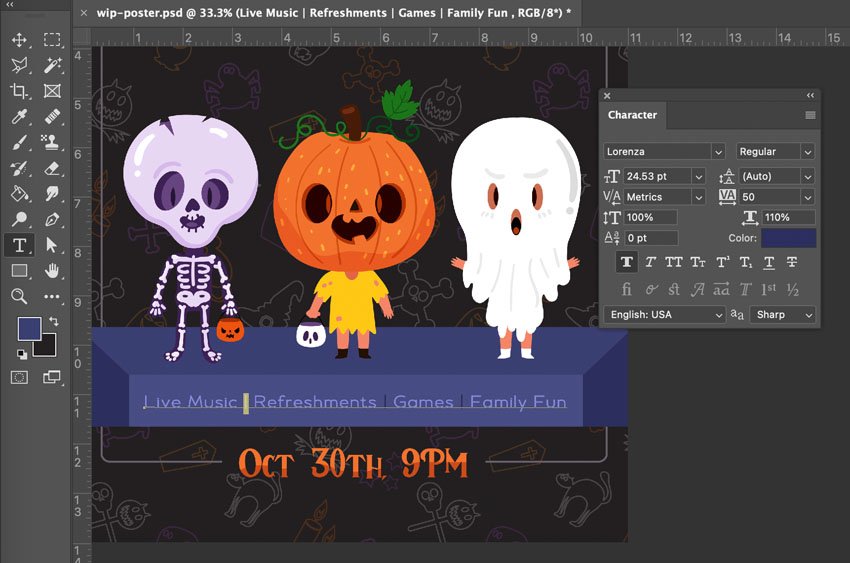


Step 11
Now, let’s add some extra text to our composition. Use the Type tool to add a subtitle to our header. To keep things visually consistent, I used the Lorenza font again. Try it in a light color, similar to the color of the ghost character.
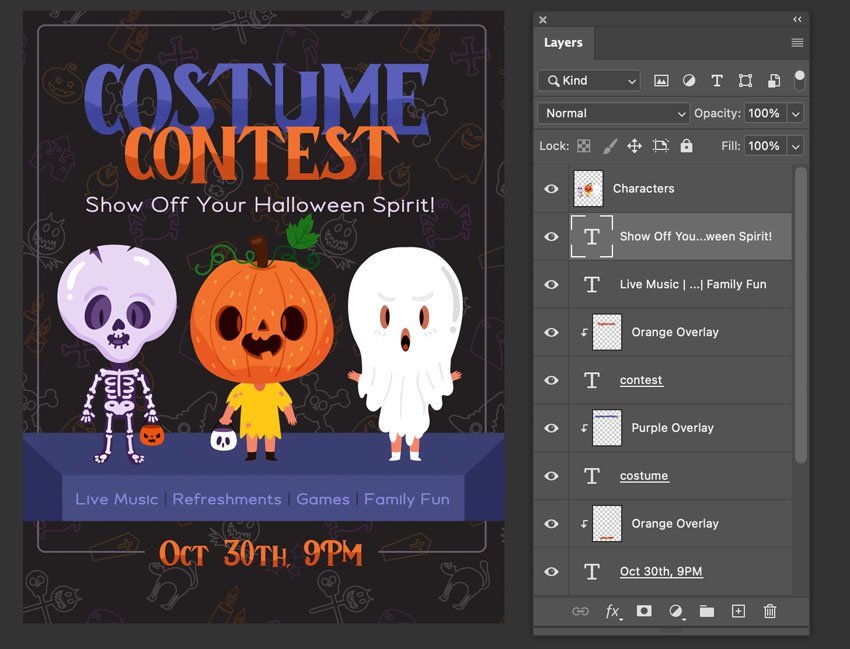


Step 12
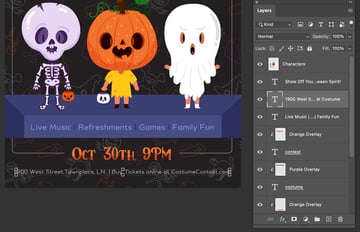
Similarly, let’s try some supplemental text at the bottom of the composition. This is a great place for extras like addresses and website URLs.
In this case, I wanted the text to perfectly align with my border. After placing the text, go to Edit > Free Transform. Use the resize handles to resize the text. You’ll likely end up with a font size that isn’t necessarily a whole number. However, it’ll give you just the right size to align everything in a visually cohesive way.


Step 13
Let’s add some fun finishing touches. I’ll add these fun spider webs to the corner of our Halloween flyer. As we did earlier in the tutorial, open up this imagery in Photoshop. Select > All to select the imagery. Then, go to Edit > Copy to copy it.
We can go back to our flyer design, and go to Edit > Paste to get it into the document.


Step 14
Resize this image by going to Edit > Free Transform. Then, reposition the artwork using the Move tool; click and drag to do so.
However, the color here is all wrong. What can we do?
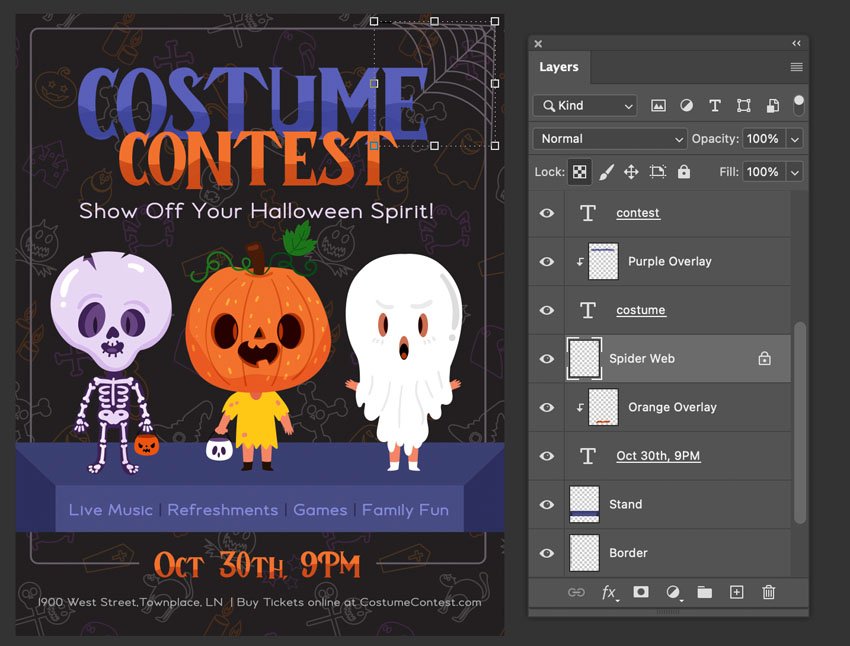
There are many ways we could address this. Here’s one you can try. Go to your Layers panel, and select the layer containing this spider web art. Then, click Lock Transparent Pixels.
I used the Eye Dropper tool to select the same dark gray color as my border. Then, simply use the Brush tool to apply the color to our spider web. You can’t color outside of “the lines” with transparent pixels locked!
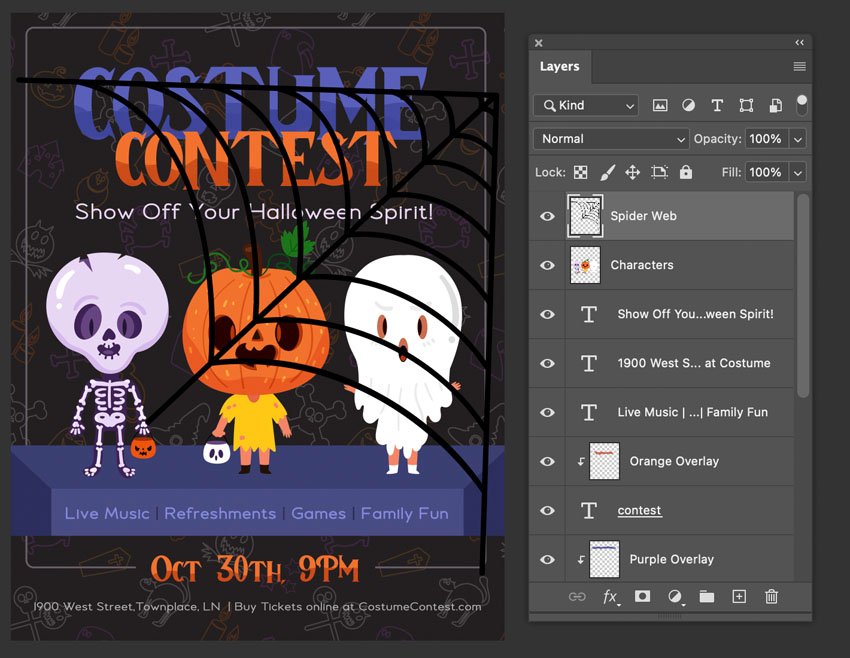
Step 15
But the spider web art doesn’t completely align with the border. Use the Rectangular Marquee tool (or any selection tool of your choice) to select outside of the border. You can add to your selection by holding down the Shift key while you click and drag.
Then, we can press Delete on our keyboard to delete any excess spider web.


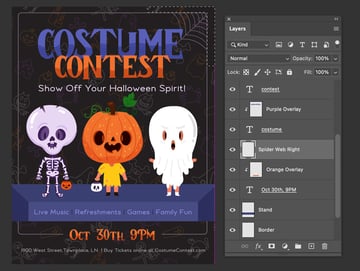
Step 16
Let’s duplicate this layer, so we can have a matching spider web on the other side. Select the layer in your Layers panel. Then, right-click on PC or Control-click on Mac and select Duplicate Layer.
With the Move tool selected, click and drag to reposition our spider web on the other side.


Step 17
Finally, go to Image > Image Rotation > Flip Canvas Horizontally. This will give us a mirrored version of our spider web. Remember to use the Move tool to reposition it accordingly, so it lines up with our border.


And Now You’ve Created a Halloween Flyer Template!
Now that you’ve explored how to make a Halloween party flyer, what will you create? Use these techniques to create your own Halloween costume drive flyer. Or mix it up and create a Halloween party club flyer. These techniques could work for any event, any time of the year.
Looking for Halloween Flyer Ideas?
Looking for design inspiration? Or maybe you need some extra help? Check out these flyer design templates that you can download right now on Envato Elements.
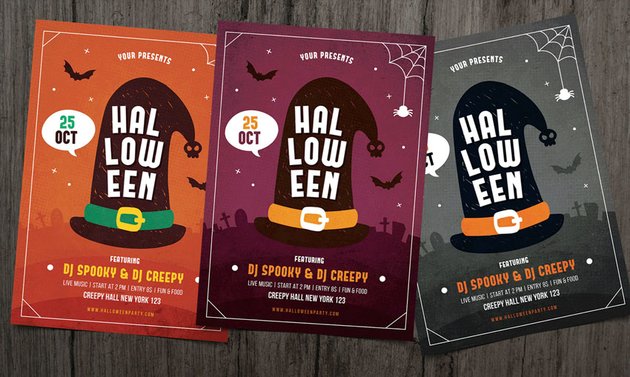
1. Halloween Club Flyer (AI, PSD)
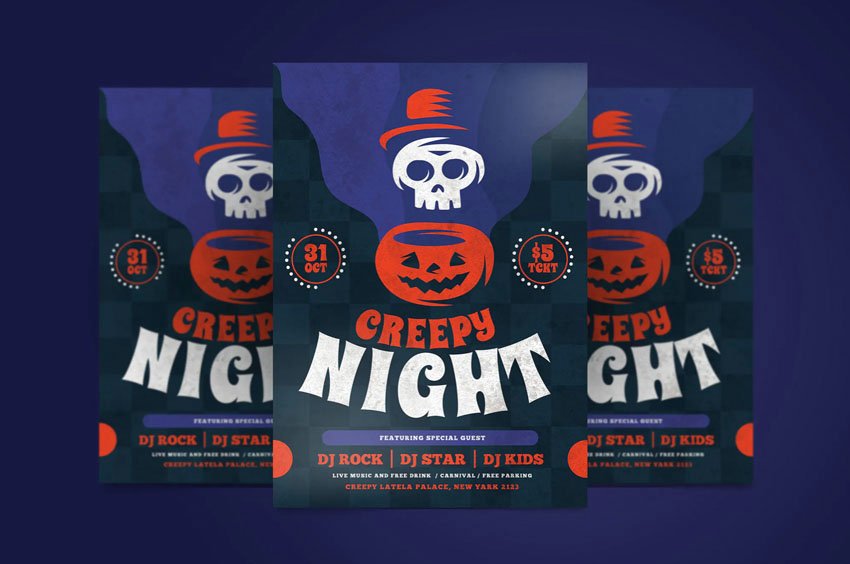
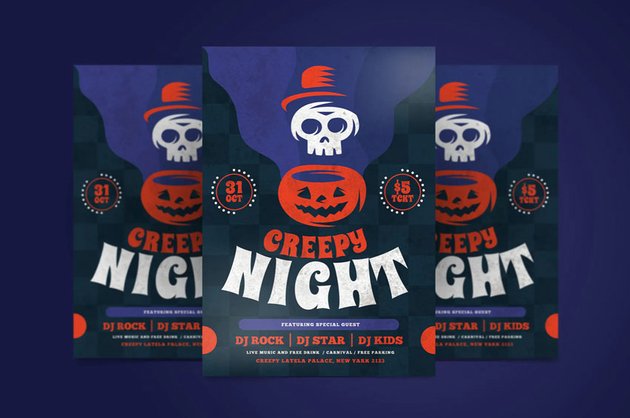

Check out this stylish Halloween club flyer. Download it and customize this Halloween flyer template in Adobe Photoshop or Adobe Illustrator.
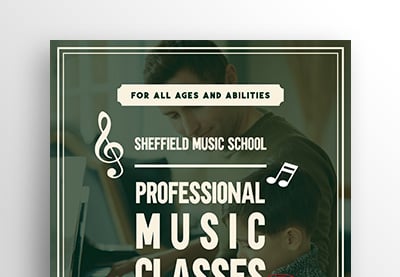
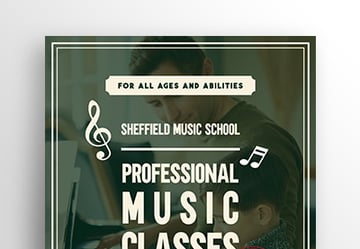
2. Halloween Party Flyer (PSD)
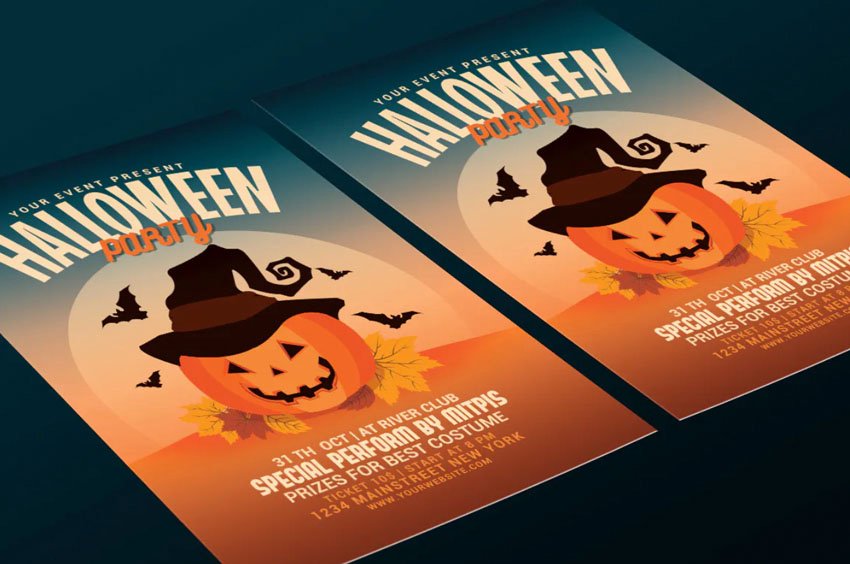

Here’s an Adobe Photoshop Halloween flyer with cute illustrative elements. It’s easy to jump right in and edit it, using the techniques in this tutorial.
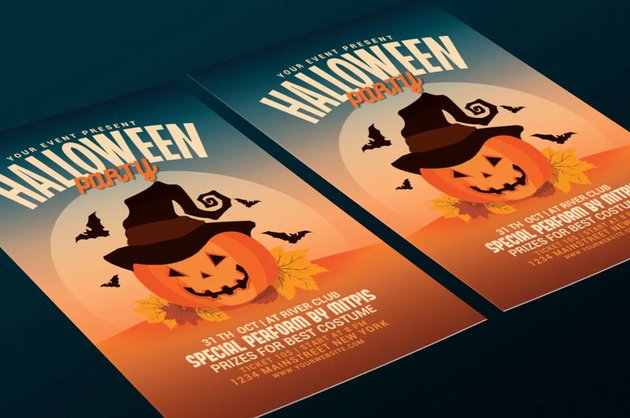
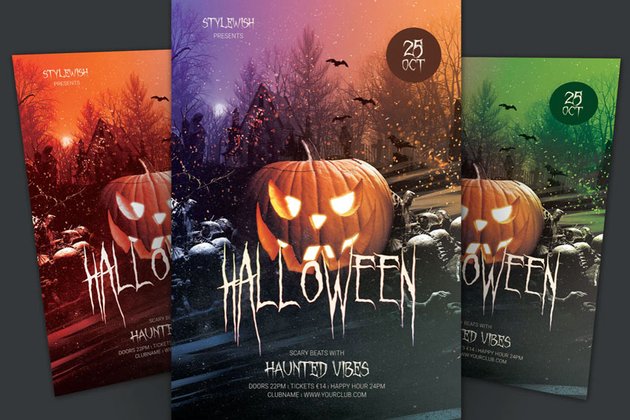
3. Halloween Event Flyer (AI, EPS, PSD)


This Halloween flyer is so eye-catching and colorful. Change up the text and you have a finished flyer. Or use it to jump-start your design process.
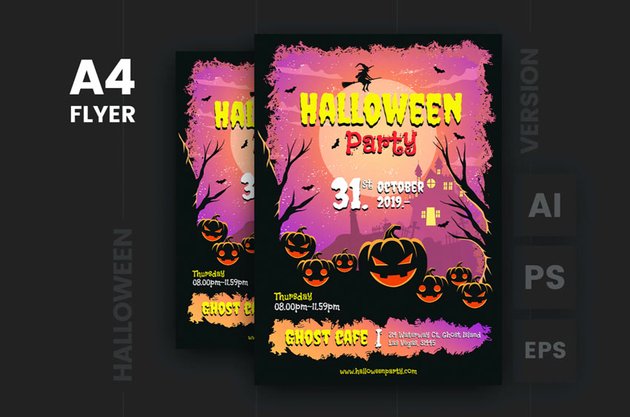
4. Halloween Flyer Set (AI, EPS, PSD)
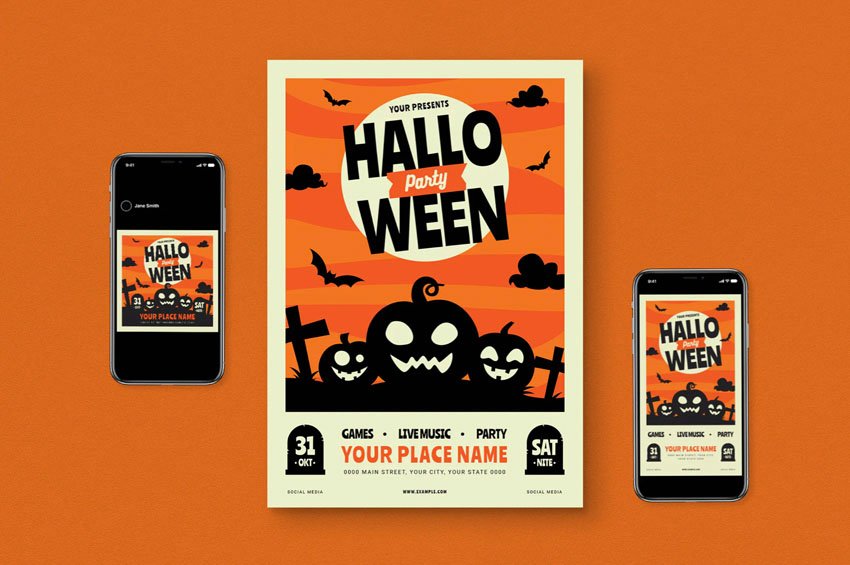


This Halloween flyer template comes with extras, so you can share your flyer digitally too. Post it on Instagram, Facebook, and other platforms.
5. Halloween Club Flyer (PSD)


Prefer something with a more photographic look? This Halloween flyer would be awesome for parties, hayrides, and so much more.
Looking for Even More Options?
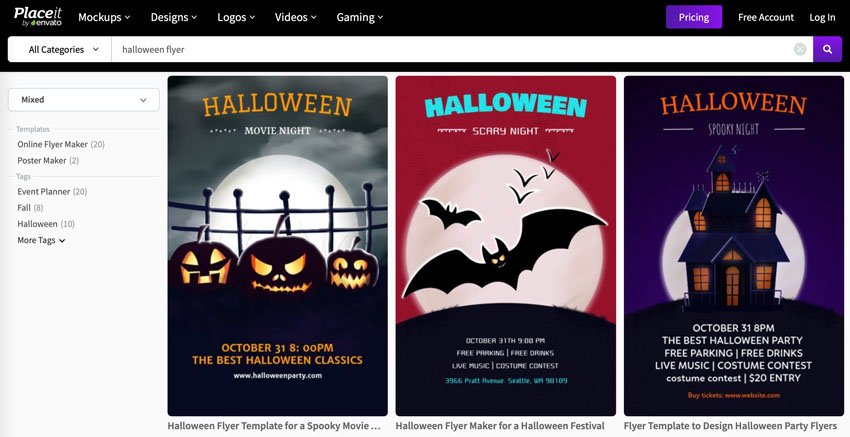
Want to design a flyer, but you don’t have Photoshop? Did you know you can create custom designs, right from the comfort of your browser? Placeit is an awesome online design tool, and you can do a lot with it. Import imagery, click and drag to rearrange items, and much more. Check out this cute design that you can customize right now.


Happy Halloween and Happy Designing!
Good luck with your Halloween flyer. Remember, you can always download resources on Envato Elements to help make your next design project shine. You can find everything from fonts to graphics, stock photos, and much more. Even better, they’re all included for one low price. It’s an awesome deal. Sign up for Envato Elements today.
Want to learn more about designing your own flyers? Check out these other free tutorials from Envato Tuts+: