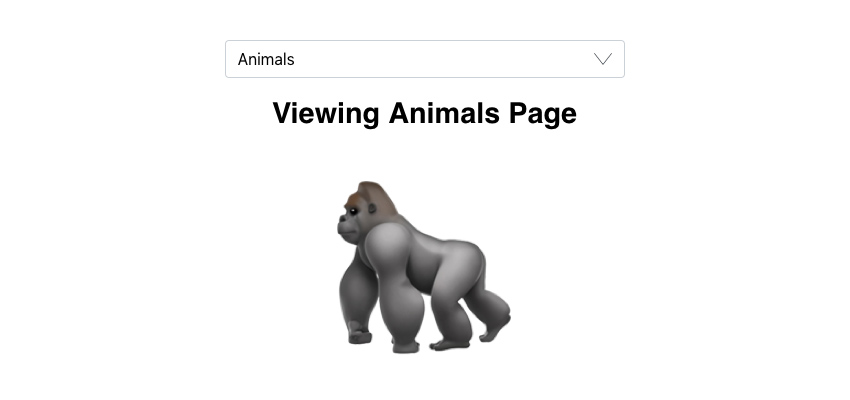
Imagine you’re using a <select> element to navigate between pages–ordinarily the select will return to its default option when the page reloads. Today we’ll learn how to maintain the selected option, ensuring that whatever page you’ve selected remains selected even once the new page has been served. To demonstrate it, we’ll use a demo project with some static pages. Let’s get started!
Project Structure
The project structure looks like this–a few HTML pages with some assets:
selected-option-load/
├── animals.html
├── cars.html
├── index.html
├── motorcycles.html
├── plants.html
└── assets/
    ├── css/
    |   └── style.css
    ├── img/
    |   └── down.svg
    └── js/
        └── main.js
The HTML
Inside each of the HTML pages there’s a select element:
<select class="myselect">
  <option data-url="index.html">All</option>
  <option data-url="animals.html">Animals</option>
  <option data-url="cars.html">Cars</option>
  <option data-url="motorcycles.html">Motorcycles</option>
  <option data-url="plants.html">Plants</option>
</select>
Each option is associated with a static page. The link to the corresponding page is stored in the data-url attribute.
In a real-world case our select menu might hold the categories of all blog posts. So let’s imagine that by selecting the All option, all blog posts appear. Then if we select the Animals option, the posts that belong to the Animals category appears, and so on.
The data-url attribute might contain an absolute url instead of a relative one, like this:
<option data-url="http://yoursite.com/category/animals">Animals</option>
The CSS
By default, there are browser limitations regarding the styles we can apply to a select element. For example, there isn’t a cross-browser CSS approach for styling the option element.
With that in mind, let’s add just a few CSS rules that will enhance the select appearance across all browsers:
Here are the styles:
.myselect {
  -webkit-appearance: none;
  -moz-appearance: none;
  appearance: none;
  width: 100%;
  max-width: 400px;
  padding: 6px 12px;
  border-radius: 4px;
  border: 1px solid #cbd1d8;
  font-size: 1rem;
  line-height: 1.5;
  background: #fff url(../img/down.svg) no-repeat center right 12px / 18px 18px;
  transition: all .2s ease-in-out;
}

/*IE*/
.myselect::-ms-expand {
  display: none;
}

.myselect:focus {
  outline: 0;
  border-color: #7bbaff;
  box-shadow: 0 0 0 3px rgba(0, 121, 250, .3);
}
It’s worth mentioning that a number of powerful JavaScript libraries are available for manipulating the select element. Two examples are Chosen.js and Select2.js.
The JavaScript
Each time an option is selected, the related page should be loaded and the target option should be marked as selected. We’ll cover two similar methods that both implement this.
First Method
With regards to the first method, we have to do the following things:
- Retrieve the page url related to the selected option and force a redirection to this page.
- Iterate through all options, grab their
data-urlattribute value, and check to see whether this value is part of the page url or not. If it is, we mark the related option as selected and jump out of the loop.
Here’s the required code:
const select = document.querySelector(".myselect");
const options = document.querySelectorAll(".myselect option");

// 1
select.addEventListener("change", function() {
  const url = this.options[this.selectedIndex].dataset.url;
  if(url) {
    location.href = url;
  }
});

// 2
for(const option of options) {
  const url = option.dataset.url;
  if(location.href.includes(url)) {
    option.setAttribute("selected", "");
    break;
  }
}
As already discussed above, in a real project the value of the data-url attribute might be an absolute url. In a such a scenario, we can update the second part of our code as follows:
// 2
for(const option of options) {
  const url = option.dataset.url;
  if(url === location.href) {
    option.setAttribute("selected", "");
    break;
  }
}
Note: Instead of adding the selected attribute to the corresponding option through JavaScript, we could have set it statically in the HTML. So for example, in the Animals page we could have added the selected attribute to the Animals option. However, this isn’t a flexible approach because in a dynamic site all options (which might hold post categories) will possibly share the same page/template (more on that in an upcoming WordPress tutorial).
Second Method
The second method, which is very similar to the first one, takes advantage of local storage.
With regards to this method, we have to do the following things:
- Retrieve the page url related to the selected option, store it in local storage, and force a redirection to this page.
- Iterate through all options, grab their
data-urlvalue, and check to see whether this value is equal to the value stored in local storage or not. If it is, we mark the related option as selected and jump out of the loop.
Here’s the required code:
const select = document.querySelector(".myselect");
const options = document.querySelectorAll(".myselect option");

// 1
select.addEventListener("change", function() {
  const url = this.options[this.selectedIndex].dataset.url;
  if(url) {
    localStorage.setItem("url", url);
    location.href = url;
  }
});

// 2
if(localStorage.getItem("url")) {
  for(const option of options) {
    const url = option.dataset.url;
    if(url === localStorage.getItem("url")) {
      option.setAttribute("selected", "");
      break;
    }
  }
}
Note: This solution comes with one limitation. If we navigate to a page (e.g. Animals page) without first having selected the related option, we won’t see the expected option as selected. That happens because either there isn’t any url value in local storage or the value stored there isn’t the correct one.
Conclusion
In this tutorial, we covered two methods for maintaining the selected option on page load. Even though we used some static data as demonstration, I hope you understand the idea and you can apply the knowledge gained today in your projects.
In an upcoming tutorial, we’ll examine how to incorporate the techniques discussed here in a WordPress website. See you then!