


Introduction
DaVinci Resolve, in the world of video editing software, is nothing short of a powerhouse. Its capabilities and features are broad, and designed to cater to the needs of both novice and experienced editors alike. One of the common tasks that users of this software often encounter is the need to insert a video clip between existing clips on the timeline – a task that might seem simple but requires a bit of finesse. This article is committed to walking you through the various effective ways to accomplish this task.

Whether you’re just dipping your toes into the vast waters of video editing or you’ve already navigated its depths, this tutorial has something for you. We will be exploring the different techniques that can make inserting a clip between other clips in DaVinci Resolve a breeze. Be it the basic drag-and-drop method or the use of keyboard shortcuts, we will cover them all comprehensively.
But before we delve into the technicalities, let’s take a moment to appreciate the beauty of professional-grade digital content. Envato Elements is a treasure trove for such content. With a subscription, you gain access to millions of high-quality assets that can elevate your video projects. It is like having a magic wand that can transform your ordinary work into extraordinary art. Whether it’s stunning graphics, captivating sound effects, or engaging video templates – Envato Elements has it all.


This tutorial, however, is not just about showing you the ropes. It’s about helping you understand the logic behind each step so you can apply these skills in various editing situations. We believe understanding is key to mastering any craft, and video editing is no exception.
So, let’s embark on this journey of learning together. Let’s unravel the mysteries of DaVinci Resolve and discover how to insert and add video clips effectively. Trust us; it’s going to be an exciting ride.
In the following sections, we will begin with the basics of inserting a clip, then progress towards more advanced techniques. We will also explore some useful tips for effective insertion and discuss other options like ‘Overwrite’ and ‘Replace’. And if you’re looking for pre-made templates to make your editing process smoother, don’t forget to check out our range of templates on Envato Elements.
Remember, the goal here is not just to learn but to understand, to not just do but to create. So, buckle up and get ready to dive into the fascinating world of DaVinci Resolve.
Let’s start the journey. The first stop? Inserting a clip.
The Basics: Inserting a Clip
Video editing is an art, and like any art form, it requires a good understanding of the tools at your disposal. DaVinci Resolve is one such tool, packed with features that can help you create stunning videos. One of the fundamental skills you need to master in DaVinci Resolve is inserting a clip between other clips on your timeline. There are several ways to do this, but today we’re focusing on two primary methods: Drag and Drop and using Keyboard Shortcuts.
Drag and Drop is intuitive and user-friendly, making it a favorite among beginners. Here’s how it works:
Step 1: Position the Playhead


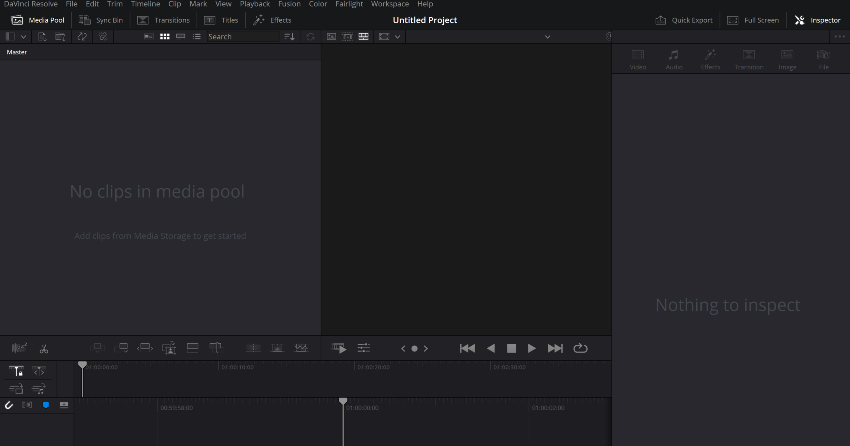
Your first task is to decide where you want to insert the new clip. In DaVinci Resolve, the playhead (the vertical line that shows the current position in the timeline) will be your guide here. Simply click along the timeline to place the played between the two clips where you want to insert the new clip.
Step 2: Right Click to Reveal Menu
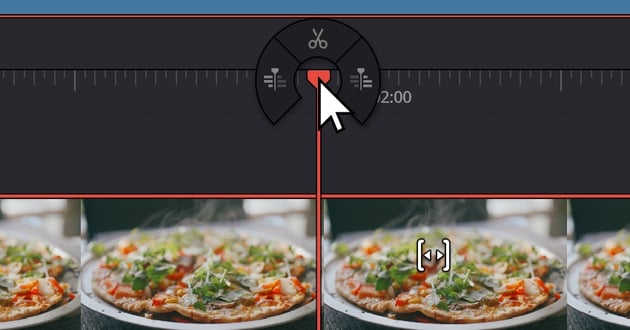
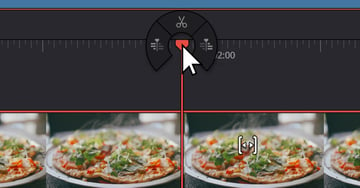
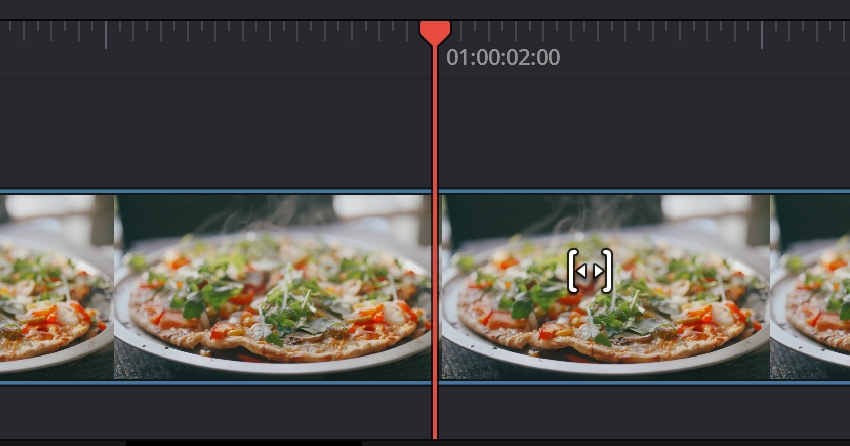
Once you’ve placed your play head to the exact location that you want to insert your clip, ‘Right-Click‘ to reveal the ‘Right Click Menu‘.
Step 3: Choose the Cut Option
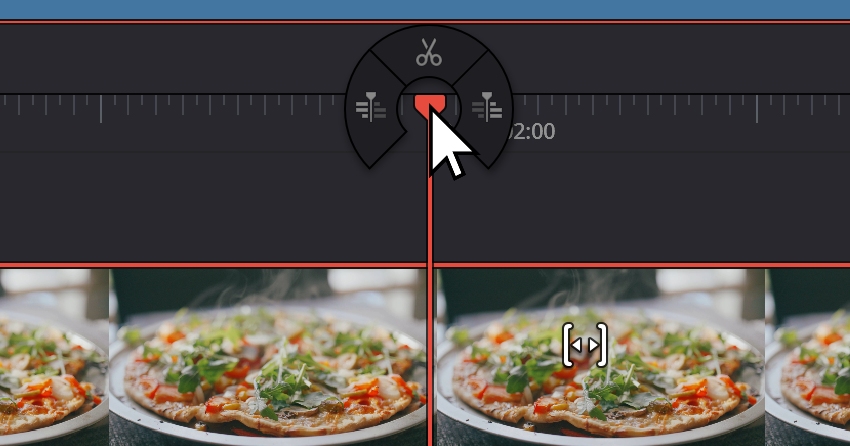
In the next step, click on the ‘Scissor Icon’.
Step 4: Select Your Clip

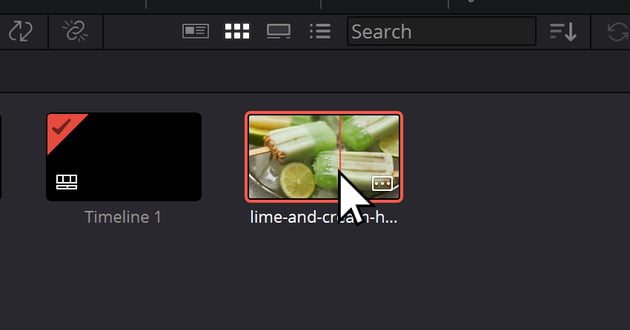

Now, it’s time to select the clip you want to insert. In the media pool (the area where all your video files are located), double-click the clip of your choice. This will highlight the clip, indicating that it’s ready for use.
Step 3: Drag to Timeline

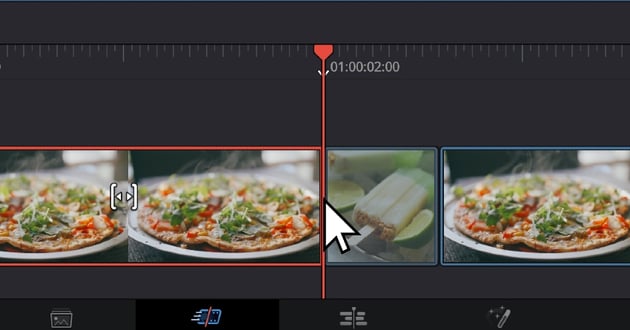

With your chosen clip selected, drag it to the timeline. As you hover over the timeline, you’ll notice some changes. The clip on the right will slide out of the way. Don’t worry; these are just visual cues to help you with the next step. Once you have the clip in place, release the ‘left-click’.
Step 5: Drop the Clip
With ‘Insert‘ highlighted, release your mouse button to drop the clip. Congratulations! You’ve successfully inserted a clip using the drag-and-drop method.
Advanced Techniques: Inserting Into Specific Tracks
As you become more comfortable with the basics of inserting clips in DaVinci Resolve, you may find yourself craving more advanced techniques to streamline your editing workflow. This section delves into specialized tools within DaVinci Resolve that offer nuanced ways to insert and manage clips on your timeline. From the Smart Insert button that intelligently makes room for your new clip, to the Append function that adds clips to the end of your timeline, each tool serves a unique purpose. We’ll also explore Ripple Overwrite and Source Overwrite, two powerful features that offer flexibility when replacing or modifying clips. Whether you’re working on a short film or a lengthy documentary, these advanced techniques can save you valuable time and effort.
Tool 1: Smart Insert

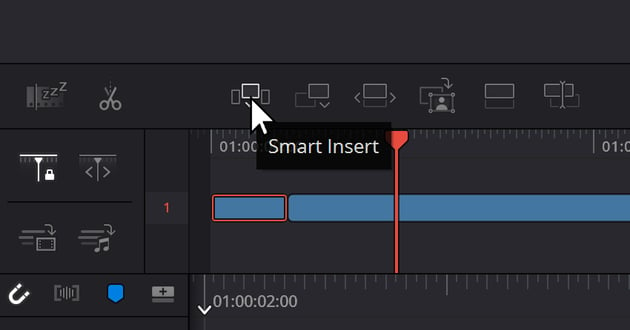

The Smart Insert button in DaVinci Resolve is used to insert a new clip into the timeline. When you click the Smart Insert button, it pushes all clips to the right of the edit point forward to make room for the new clip. This keeps everything in sync on your timeline.
You can also perform a Smart Insert edit by pressing F9.
The Smart Insert button is similar to the traditional insert edit function. However, the Smart Insert button retains the quality of the video clips.
Tool 2: Append
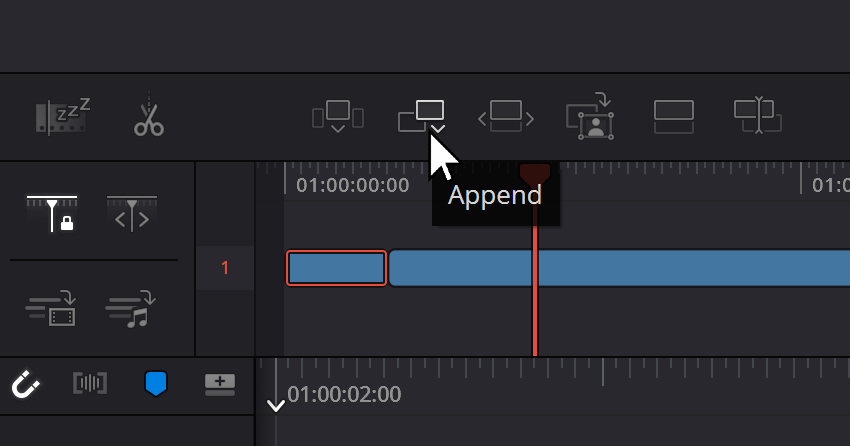
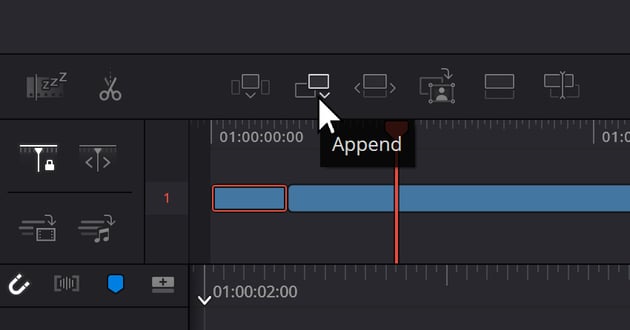
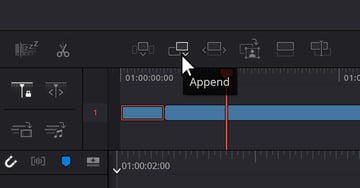
The append button in DaVinci Resolve allows you to add a clip or group of clips to the end of a timeline. To use the append button, you can:
- Choose the clips you want to add.
- Click the append at the end button on the toolbar.
The append function will always add clips after the last media clip in the timeline.
Tool 3: Ripple Overwrite


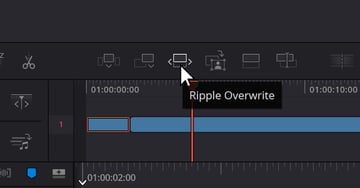
Ripple overwrite in DaVinci Resolve replaces a clip on the timeline with a new clip, even if the new clip is a different length. The timeline will ripple longer or shorter to make space for the new clip. The keyboard shortcut for ripple overwrite is Shift + F10.
To execute a ripple overwrite, you can:
- Place your play head over the clip you want to replace.
- Determine the position of the playhead.
- Find the nearest edit point to the left of the playhead. This edit point will become the starting point for the new clip.
- Determine which clips to the right will move and which clips to the left will stay.
- Select the source clip.
- Hit the keyboard shortcut.
Ripple overwrite is useful when you want to replace a clip in the timeline with another clip from your media pool. It can save you a lot of time, especially if you’re working with a lot of clips.
Tool 4: Source Overwrite

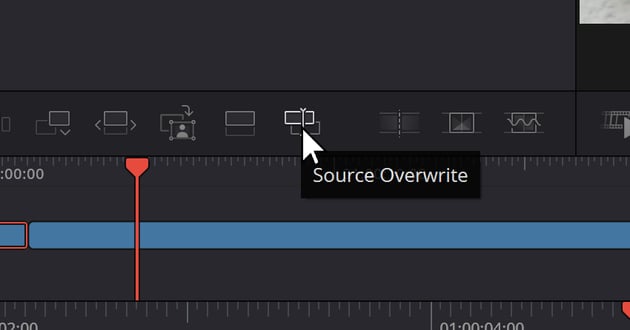

The source overwrite button in DaVinci Resolve is F11. It overwrites timeline footage between two edit points or between a marked in and out. To use the source overwrite button, you can:
- Select an ‘In‘ on your source clip.
- Position the playhead over a section.
- Hit F11.
Tips for Effective Insertion
To wrap up this section, here are a few tips that can make your clip insertion process smoother:
Magnetic Pull: DaVinci Resolve’s playhead has a ‘magnetic pull’ feature. This makes it easier to position it between clips, ensuring accurate clip placement.
Multiple Undos: Even experienced editors make mistakes. Thankfully, DaVinci Resolve allows for multiple undos. Simply pressing Ctrl+Z will reverse your last action.
Track Selection: Always double-check that you’ve selected the correct track before inserting a clip. This prevents unwanted changes to other tracks.
Envato Elements Template: For those seeking to streamline their editing process, Envato Elements offers a range of pre-made templates. These templates can save you time and provide a professional touch to your projects.
Conclusion
Navigating the complex landscape of advanced techniques in DaVinci Resolve may initially seem like a daunting task. The multiple features, tools, and options can be overwhelming, even for seasoned video editors. However, it’s crucial to remember that each journey begins with a single step, and in this case, that step is understanding the process of inserting clips into specific tracks.
At first, you may find yourself stumbling, making mistakes, or feeling uncertain about your actions. This is perfectly normal and a part of the learning curve. With each attempt, you’ll gain more confidence and familiarity with the software, turning what once seemed challenging into an intuitive and seamless process. Over time, inserting clips will become second nature to you, as easy as typing on a keyboard or clicking a mouse.
The key to effective video editing, as we have reiterated throughout this guide, lies in understanding the tools at your disposal. DaVinci Resolve is a powerful software, equipped with a plethora of options designed to aid your editing process. But these tools are only as useful as your knowledge of them allows. So, take the time to explore the software, experiment with its features, and learn how each tool can be used to enhance your editing workflow.
Inserting clips in DaVinci Resolve, as we’ve discovered, is a relatively straightforward process. However, knowing the various methods, techniques, and shortcuts can significantly improve your workflow efficiency. It’s like knowing multiple routes to a destination; if one path is blocked, you always have alternatives at your disposal.
Whether you’re inserting a clip between two others, adding one to a specific track, or replacing an existing clip, the steps are simple and easy to follow. Each method has its unique advantages and use cases, allowing you to adapt your approach based on the project’s requirements.
But the art of video editing extends beyond just the technical aspects. It’s also about the creative elements you incorporate into your projects – the visuals, sounds, and effects that make your videos compelling and engaging. That’s where Envato Elements comes in.
Envato Elements is a treasure trove of high-quality digital assets, designed to elevate your projects from good to great. With a subscription, you gain access to an extensive library of resources, ranging from stunning visuals and captivating sound effects to professional-grade templates. These assets can save you time, provide inspiration, and add a touch of professionalism to your projects.
In conclusion, mastering DaVinci Resolve – or any video editing software, for that matter – is a journey of continuous learning and growth. It’s about acquiring new skills, refining existing ones, and constantly pushing the boundaries of your creativity. So, keep practicing, stay curious, and remember: that every great editor was once a beginner. Happy editing!