Ready to learn how to design a QR code? In this walkthrough, we’ll explore how to design a QR code with logo design elements and without.
What You’ll Learn
- What Is a QR Code?
- How to Design a QR Code
- How to Design a QR Code With Some Logo Elements
- Different Ways to Customize a QR Code Design
What You’ll Need
In this demonstration, we’ll use Adobe InDesign—it has native QR code generation capabilities, and they’re really simple to use! However, you could also use Adobe Photoshop or Illustrator with plugins from Adobe Exchange. In addition, there are a number of free tools on the Internet for QR code generation.
1. What Is a QR Code and How Do They Work?
What Is a QR Code?
A QR code is a type of barcode, or a scannable series of patterns that store information that can be scanned and decoded.
QR stands for “Quick Response”. It’s a type of two-dimensional barcode. Two-dimensional barcodes contain more information than traditional barcodes, which are typically vertical lines. Two-dimensional barcodes, like QR codes, contain both horizontal and vertical information in them.

How do QR Codes Work?
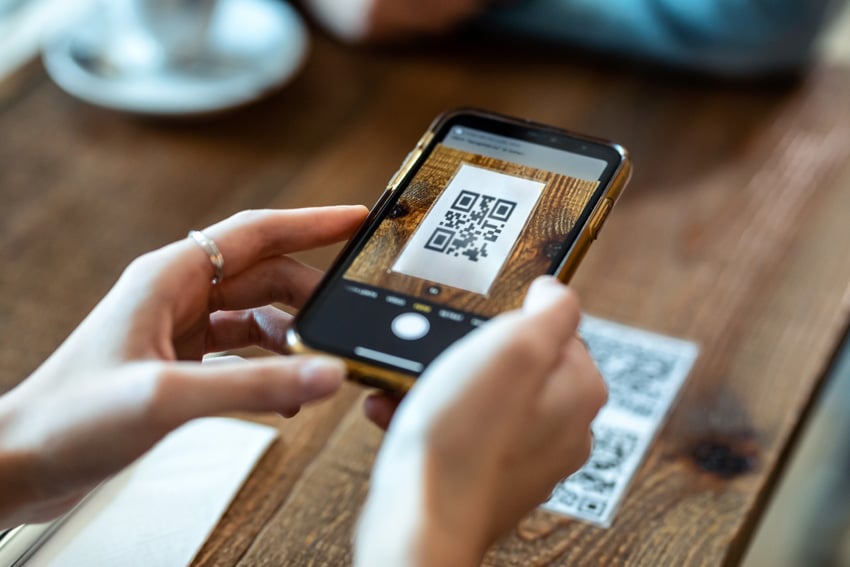
Every functional QR code has data encoded in its two-dimensional matrix. That’s the blocky pattern you may be familiar with. When a QR code is scanned using a compatible device, the reader captures this pattern and decodes it. Most modern smart devices can read QR codes when you open up the camera and view them.
Give this QR code a try and see what happens!



What Can I Do With a QR Code?
QR codes can be a very versatile tool, and there are many ways they are modernly used. Here’s just a sample of ways you could use a QR code:
- Website Links—QR codes can be used to easily store and access websites without requiring anyone to type in an address. Just one scan and the website will open up for you.
- Mobile App Downloads—no need to search any app stores. One scan and it can take users right to the correct place for app installation.
- Business Cards—you can include a QR code on your business card to share contact details or even add those details to someone’s address book.
- Social Media—one scan of a QR code can take the user to a social media page and even connect users with following or signing up.
- Payments—QR codes can be used for mobile payments, which could be far easier than traditional ones.
- Verification and Ticketing—one scan can verify a ticket, event, or even an ID without the need for paper or cards.
- Coupons and Discounts—instead of requiring paper coupons, one QR code could take the user to a special discount or digital reference for a discount, digital or in person.
And this is just a sample of what QR codes could be used for. You could use them for easy WiFi access for guests or easily sharing information about an event. QR codes are also quite prevalent in marketing and advertising, because they can encourage engagement. Billboards, advertisements, and flyers can all benefit from including one.
How Are QR Codes Made?
QR codes are generally created using specialized software. These tools will take your data and then encode it into a QR code pattern—that familiar matrix pattern, in a square shape.
Here’s just a sample of some of your options:
- Adobe InDesign has a built-in “Generate QR Code” feature. It’s a quick and easy way to create a QR code design
- For more advanced work, you can also download plugins for Adobe InDesign. Softmatic, for example, has barcode plugins for Adobe InDesign, Photoshop, and Illustrator.
- There are a number of free online QR code generators you can use too. Just input your data and it will output a QR code you can download.
Do QR Codes Have to Be Black and White?
No, although you’ll find that many QR codes are. You may want to keep your QR codes simple if you’re working with a lot of them. In addition, there are some guidelines you should keep in mind:
- It’s recommended that your QR code design has high contrast. That’s why so many are black and white—it’s very high contrast and easy for devices to read.
- Inverted QR codes can cause scanning issues. These are cases where the background is dark and the code is lighter. Consider sticking to a light (or white) background and a darker code to keep compatibility stronger.
- QR codes have a “quiet zone” around the perimeter of the code. This is an area of blank space around your QR code that helps the scanner distinguish what is the readable code and what is not. Make sure to keep this margin space present.
- QR codes can also use imagery, but the images can’t take up the majority of the code’s space—or it won’t read properly anymore. If you opt to add imagery, make sure to test your code to ensure you haven’t distorted the code itself.
2. How to Design a QR Code
Step 1
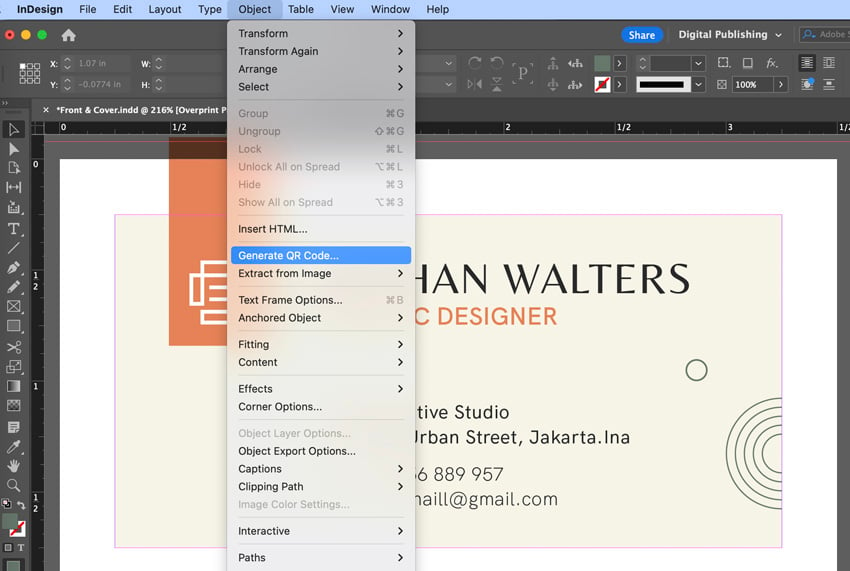
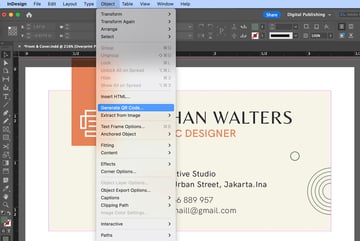
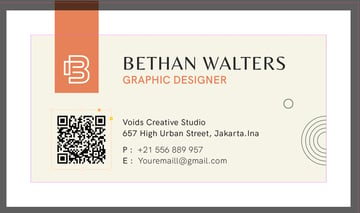
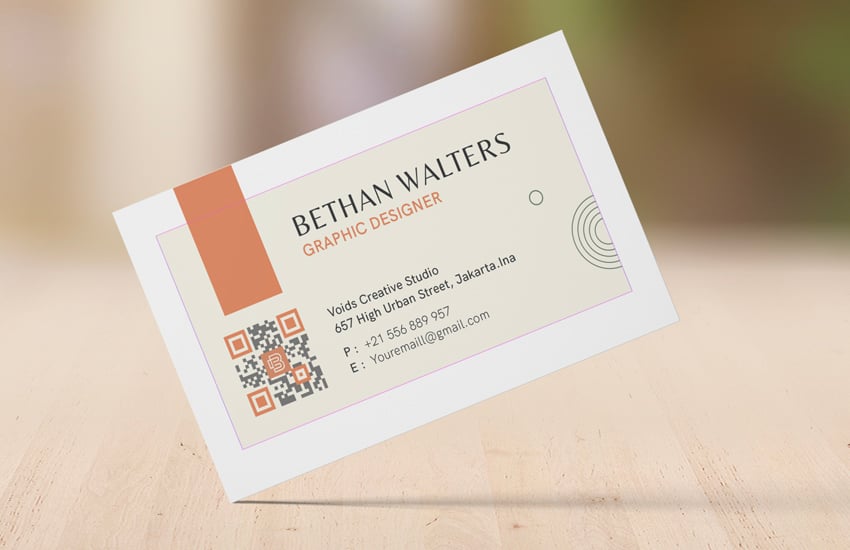
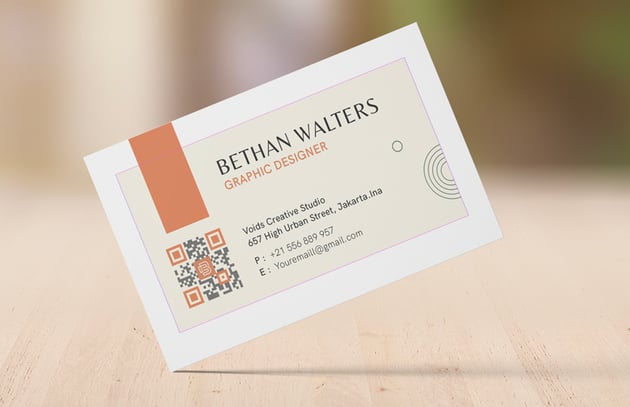
Let’s take a look at some of the QR code design options in Adobe InDesign. Make sure you’re in either a new document or any document of your choice. You’ll need an open document of some kind for this walkthrough. I’m going to use this business card design from Envato Elements.
Start by going to Object > Generate QR Code.
Step 2
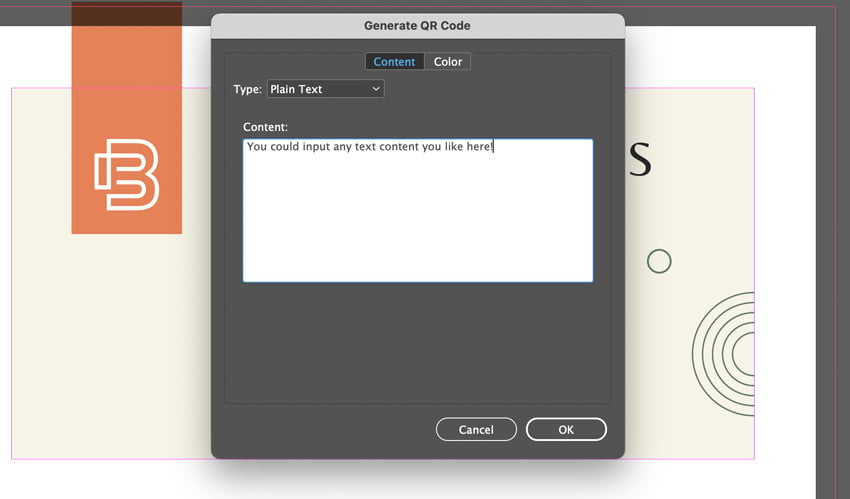
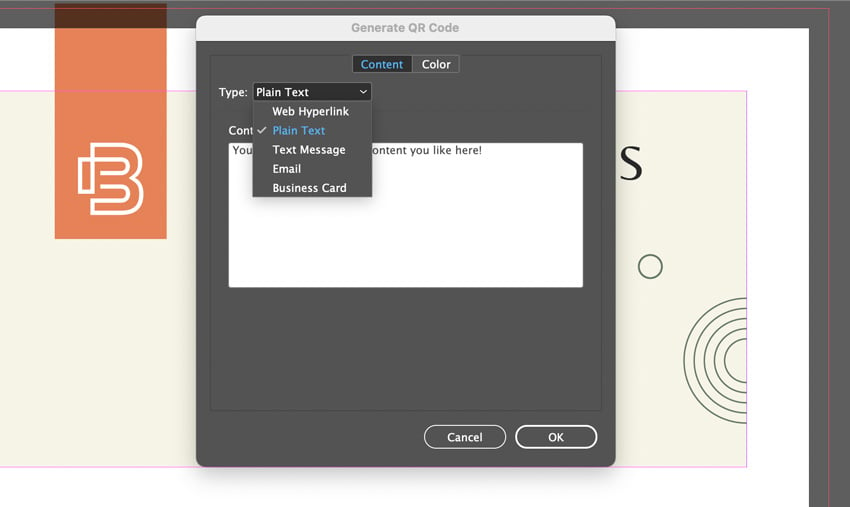
This brings up the Generate QR Code dialog box. We have two options here: Content and Color. Our default content is Plain Text, which you can use to insert a text-only message if you’d like.
Step 3
We get a whole host of options here, however. Click on the Type dropdown menu to check out all of the different content you can encode in your QR code.
Step 4
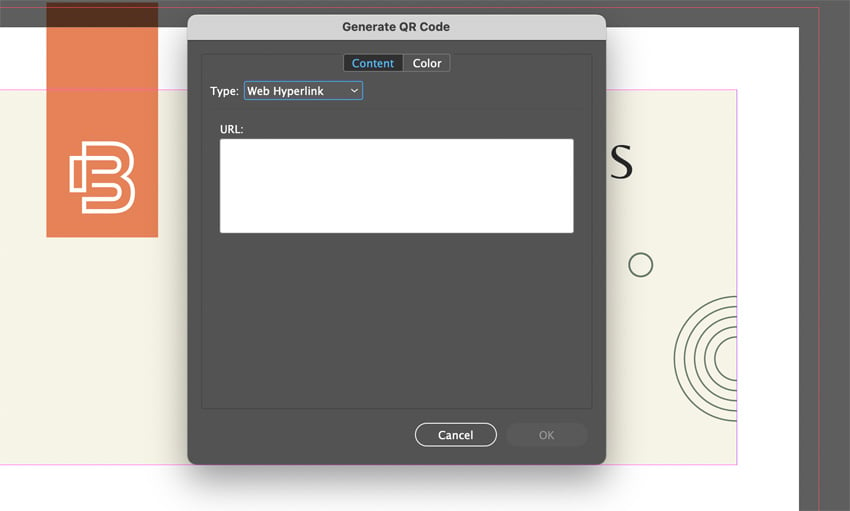
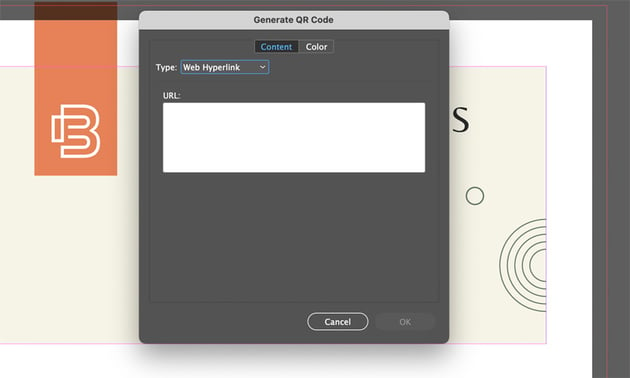
One of the more popular options is Web Hyperlink. If you opt to go with this content type, you can insert your website URL. Then, when the QR code is scanned, it will take the user to your website. This is far more convenient than typing the site’s URL in by hand.
Step 5
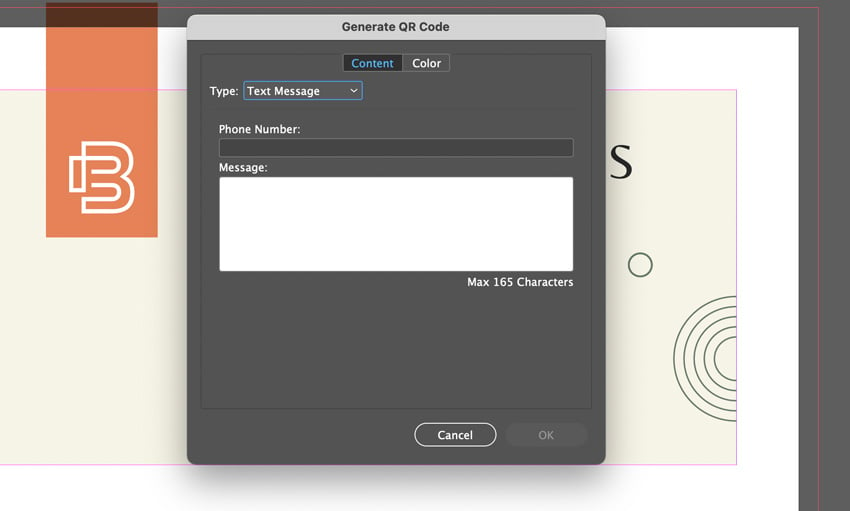
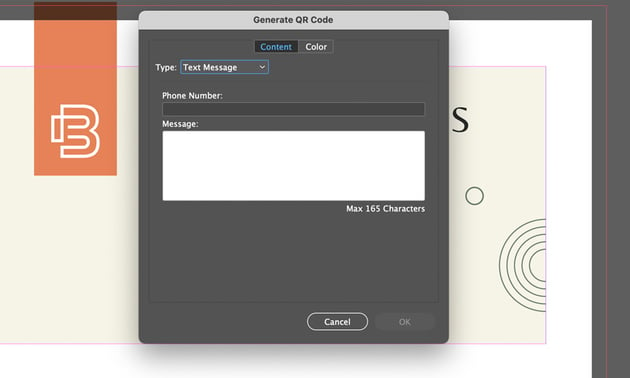
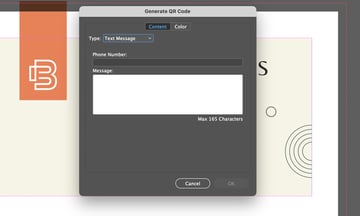
However, you can also encode your QR code with a Text Message prompt. So, for example, if you wanted someone to text a message to a specific number, this data could make that easy for your customers.
Step 6
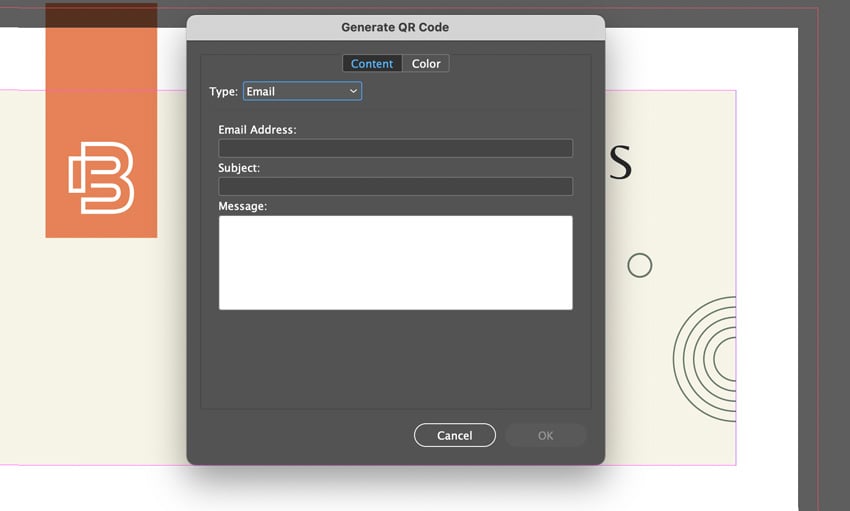
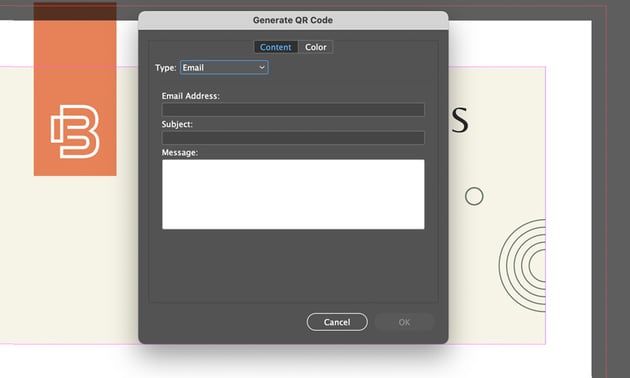
You can also easily encourage the viewer to send an email with QR codes. With this option, you can encode an Email address, subject, and default message. Imagine this on a business card, for example—or maybe a flyer, where users could easily reach out with an inquiry.
Step 7
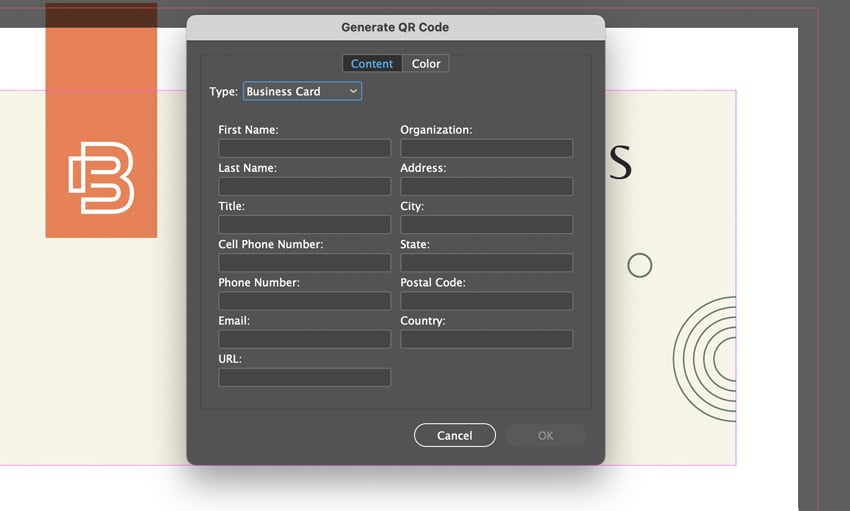
InDesign also offers us the Business Card data type, which can encode a whole host of information. Add your name, organization, and a multitude of content information. Store it and share it in a QR code for easier networking.
Step 8
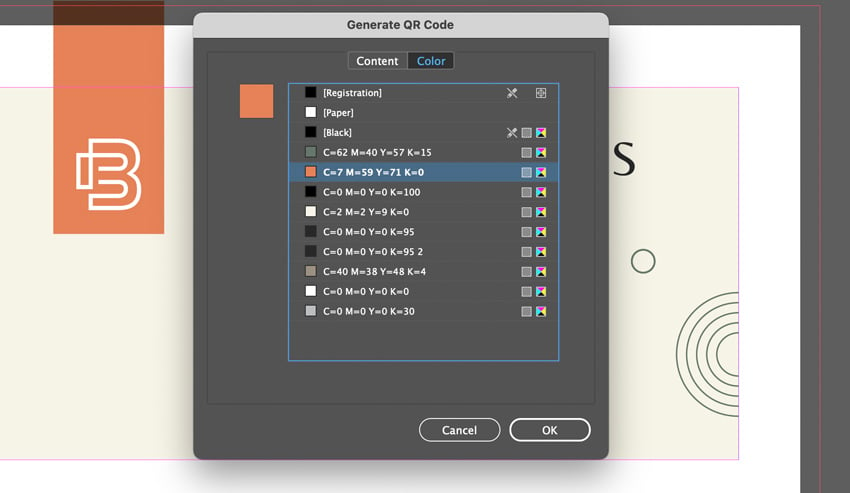
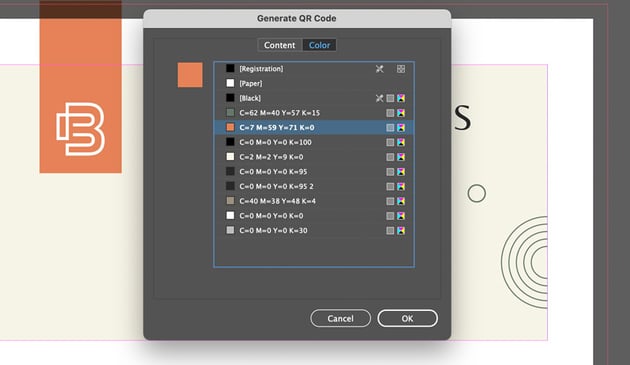
We also get color options in the Generate QR Code dialog box. You’ll notice that the colors are drawn from our Swatches by default. If you don’t see the colors here that you’d like, just go to Window > Color > Swatches. You can add and edit your color swatches there.
Once you’re happy with your options, click OK to continue.
Step 9
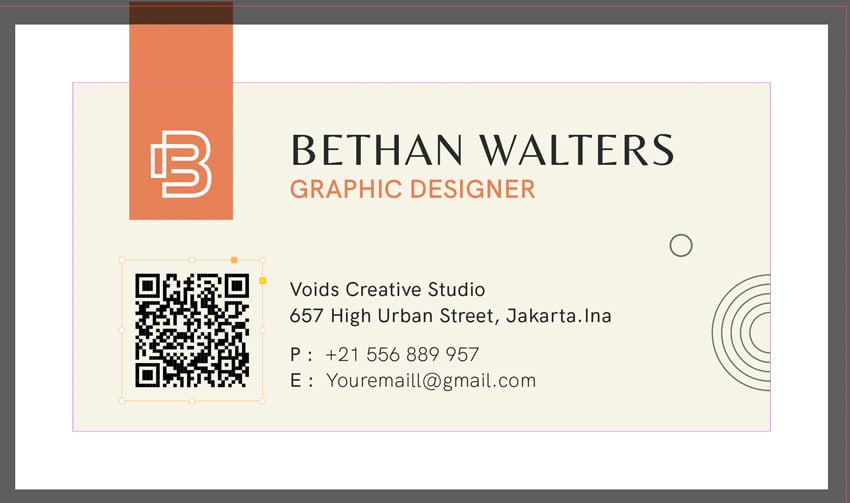
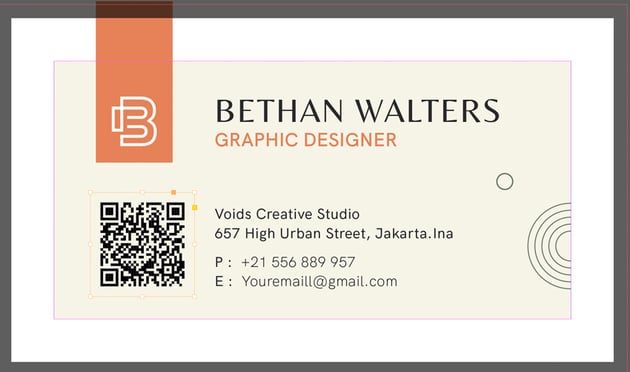
InDesign will then insert our newly created QR code. It behaves just like any other inserted or placed image. Click and drag on the resize handles to resize your QR code.
This is a nice, clean solution, but what if you want to do something a little fancier?
2. How to Design a QR Code With Logo Elements
Step 1
Now, let’s explore some ways we can create a more intricate QR Code design. For this demonstration, we’re going to use an Adobe InDesign Extension: Softmatic QR Designer. This is just one of many options you could try.
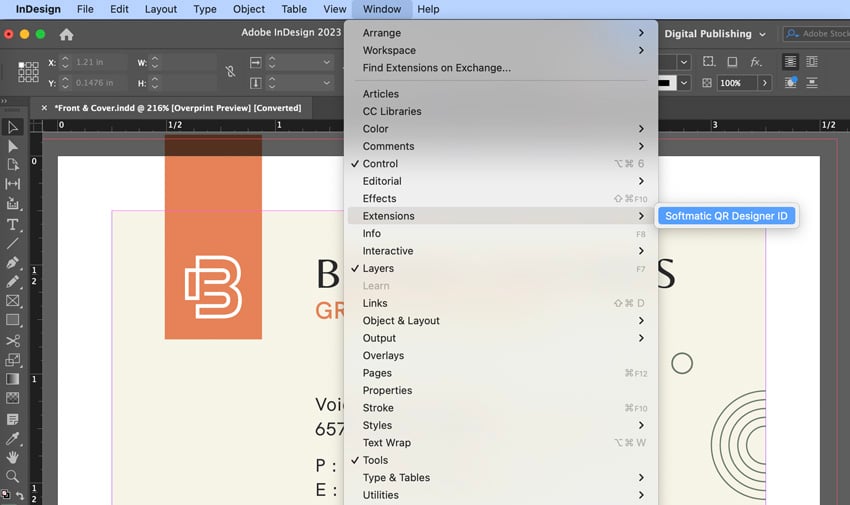
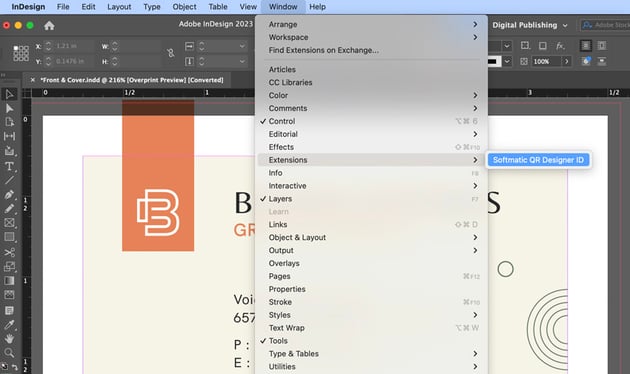
You can find your InDesign Extensions via Window > Extensions > Softmatic QR Designer.
Step 2
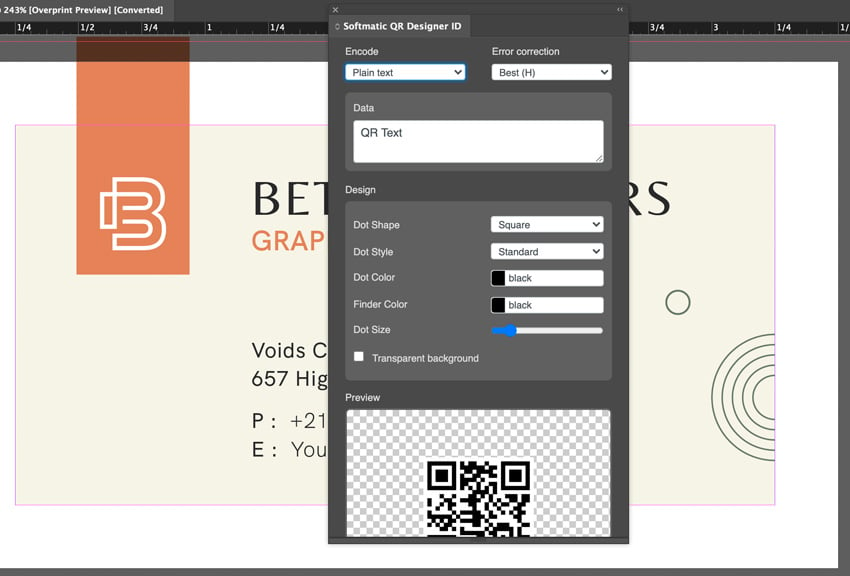
Here’s what this extension looks like. You’ll notice that we see a lot of the same content as we saw in the “Generate QR Code” dialog box—but with a lot more bells and whistles.
Step 3
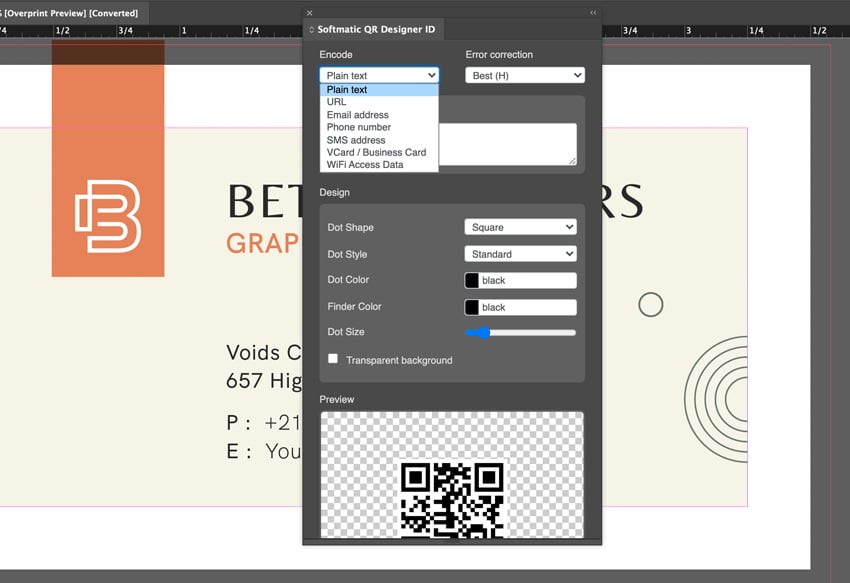
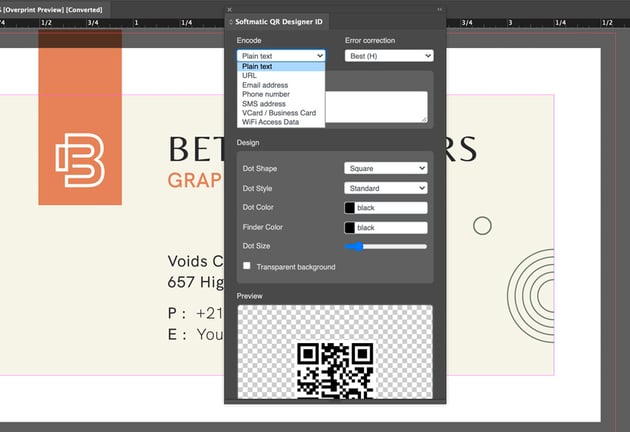
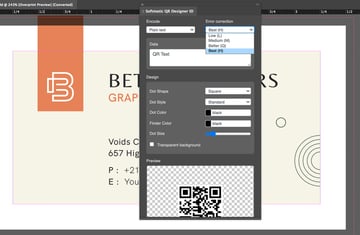
First, we can choose the type of data we’d like to Encode. Again, a lot of this likely looks familiar. We get some additional options here too—like a telephone number and WiFi access data. Choose whichever data type you prefer.
Step 4
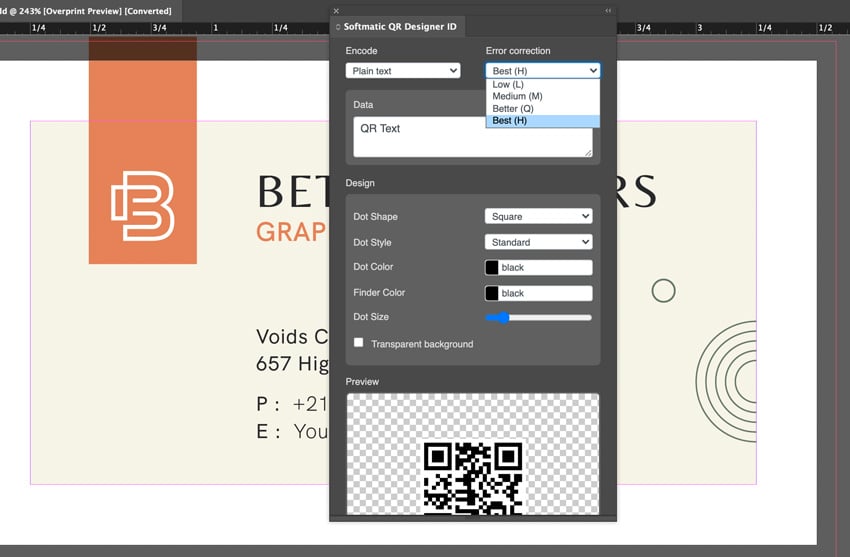
Next we have our Error Correction. QR Codes have varying levels of error correction. The higher the level, the more of the code can lack visibility while still being able to be read. So, if you want to obstruct some of the code with decorative elements, you’ll want that level to be as high as possible.
Step 5
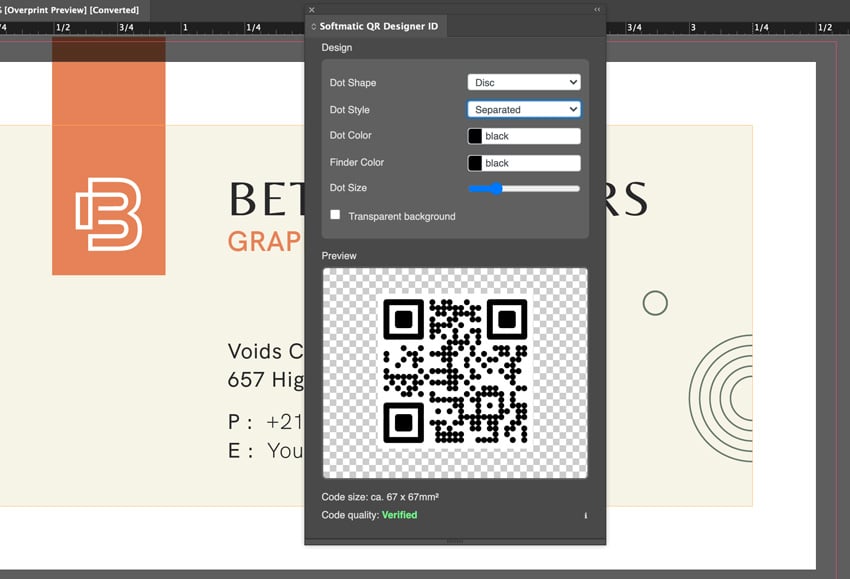
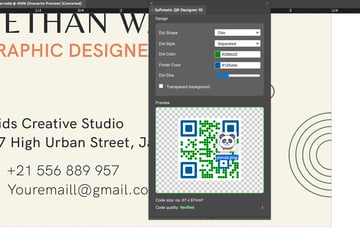
We also have Design elements here that we can experiment with. For example, we can change the Dot Shape (they don’t have to be squares!) and the Dot Style (they can be uniform or separate).
Step 6
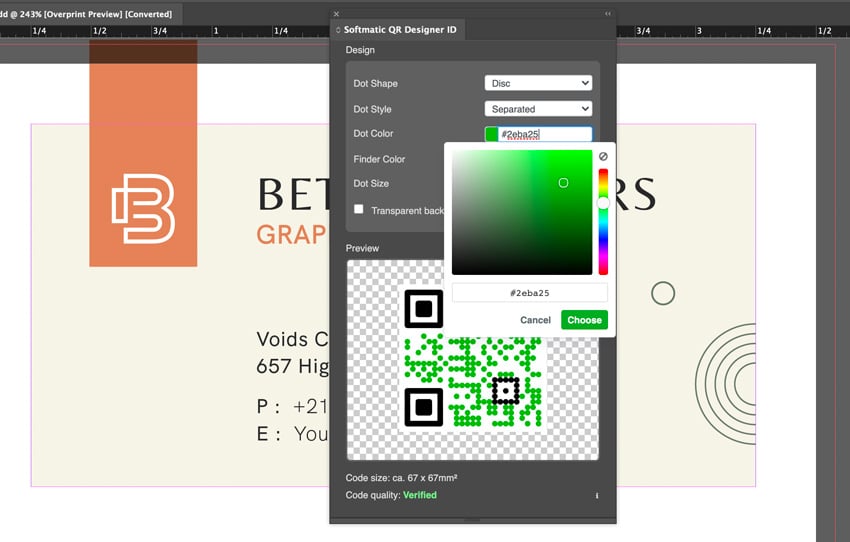
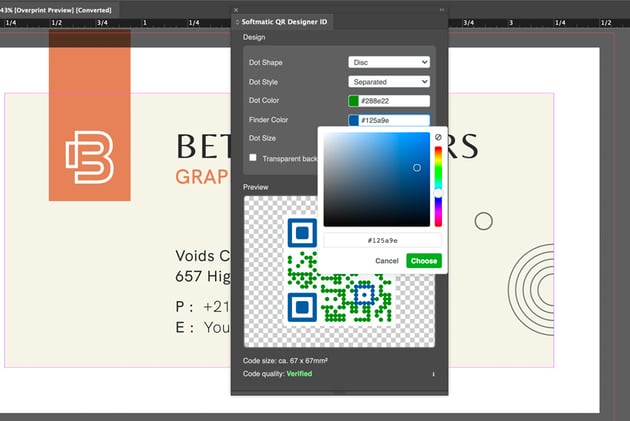
Next, we can easily change up the Dot Color using a convenient color picker. Try out any color you prefer. However, keep in mind that contrast is important. Choosing a color like a light yellow or a pale gray could prove to hurt readability here.
Step 7
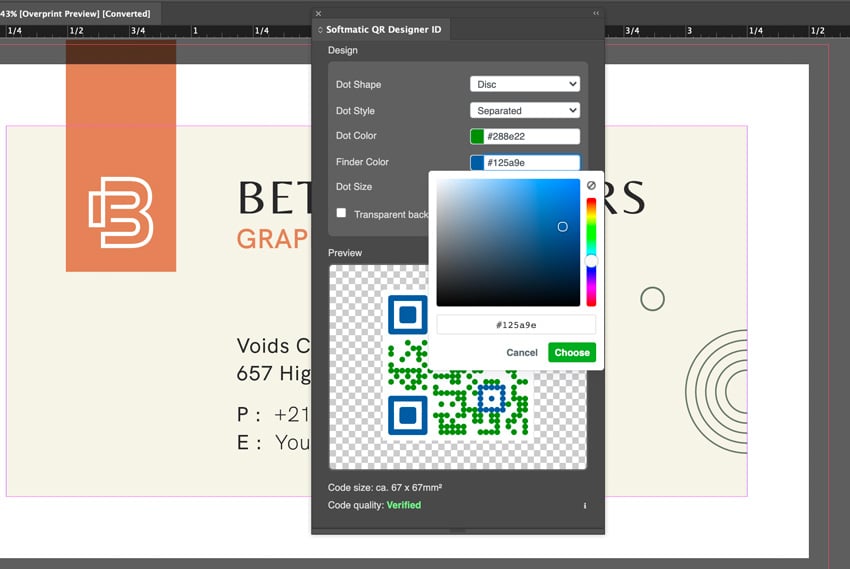
We can also change up the Finder Color in a similar way. Again, keep contrast in mind. The higher contrast, the easier the QR Code can be read. You can make these two colors match or mix it up.
Step 8
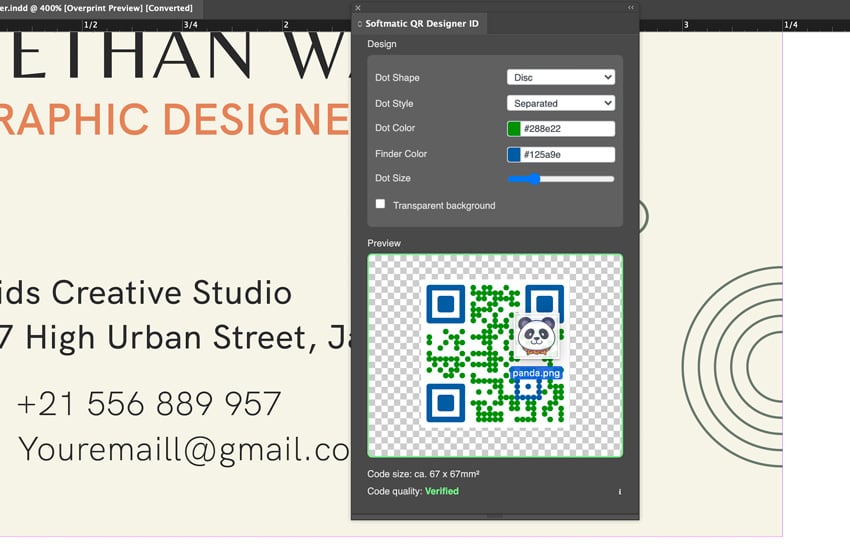
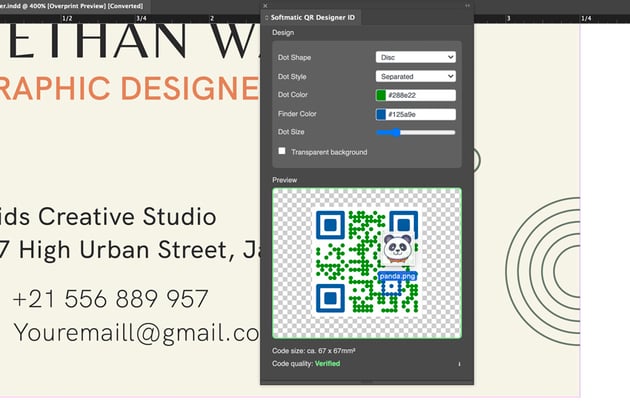
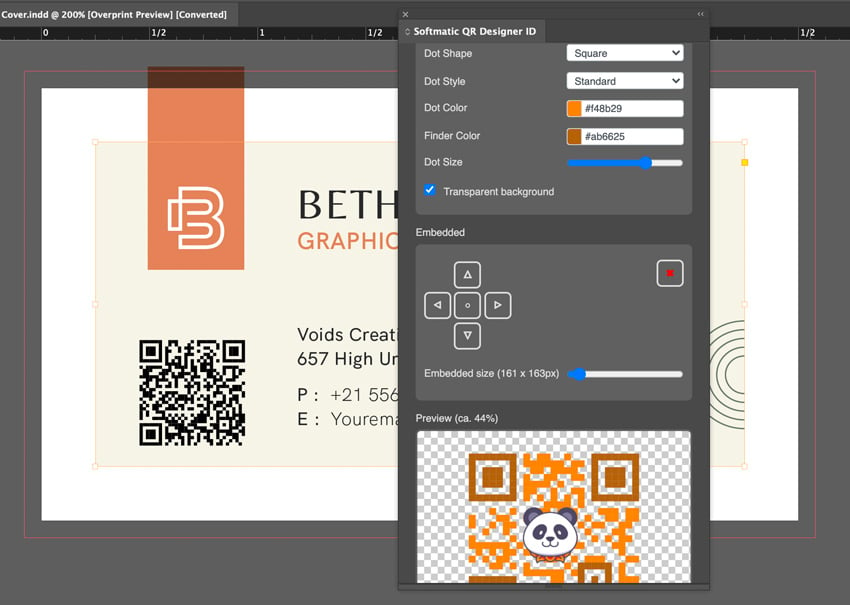
Next, let’s import an image into our QR Code. In this particular plugin, it’s as simple as dragging an image into the QR Code Preview. The preview window will be highlighted in green when your image type can be imported. Try working with PNG or JPG. I used this cute Panda Emoticon as an example.
Step 9
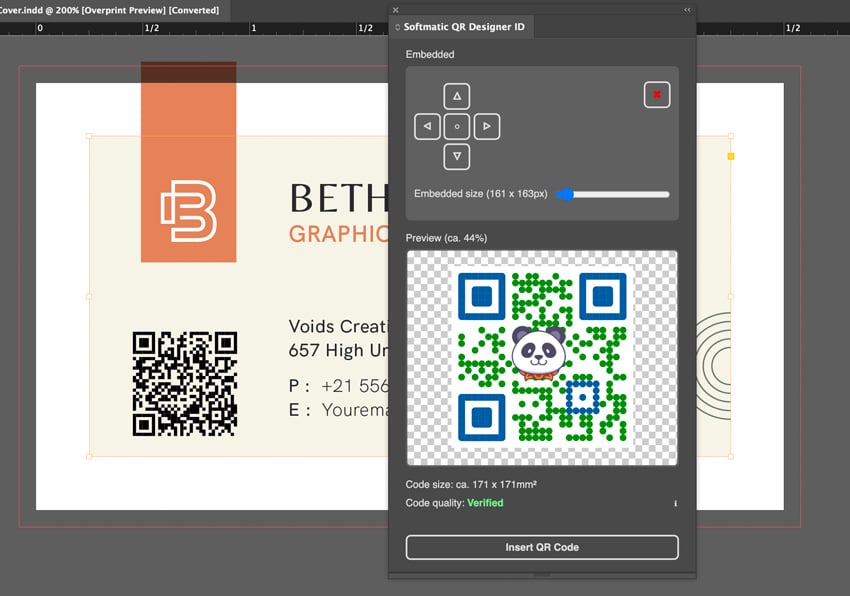
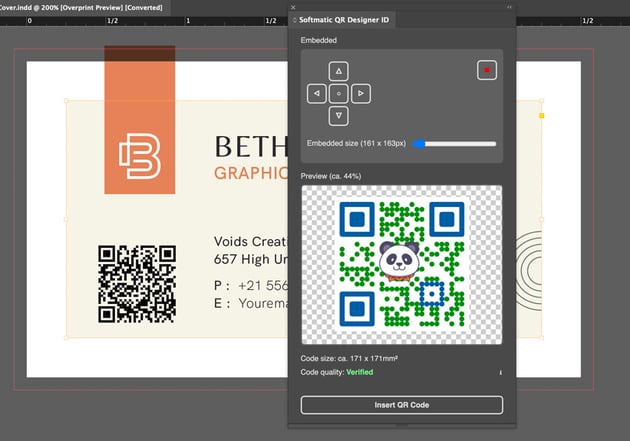
Then, we can use the Embedded options to adjust our image. Use the arrows to adjust the image placement. Use the slider to adjust the image size. If you no longer want the image in your QR Code, click on the X to remove it.
Step 10
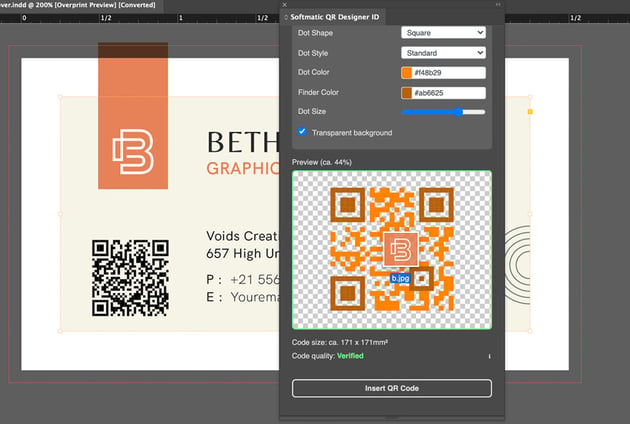
Now that we’ve experimented with these options, let’s try to make a design that matches our business card design. We could, for example, use orange colors that match our existing branding. I also changed up the dot style to be more uniform.
Step 11
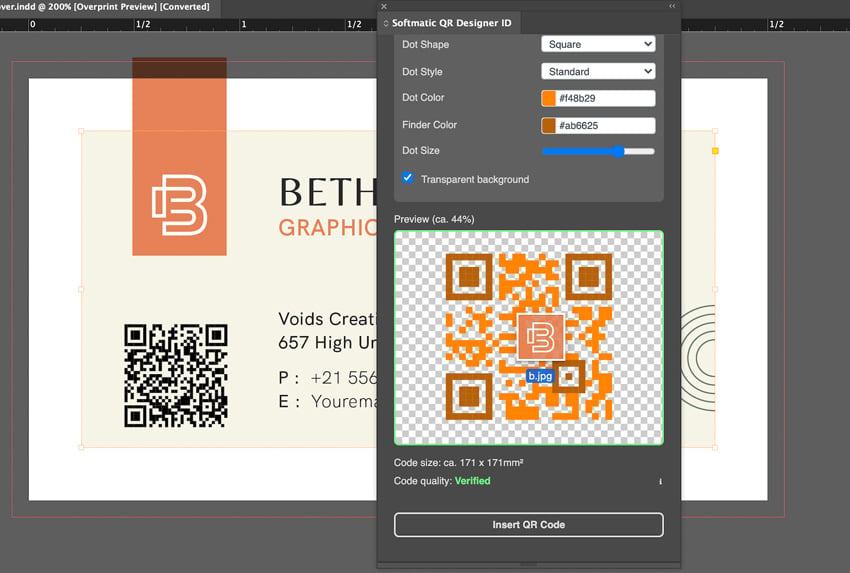
Remember, you can change out the imagery too. I thought it might be nice to use the existing logo within the QR Code design. This is such an easy way to design a QR code with a logo. Just drag and drop your logo into the preview space.
Step 12
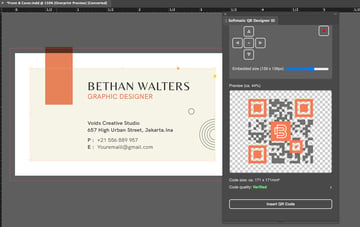
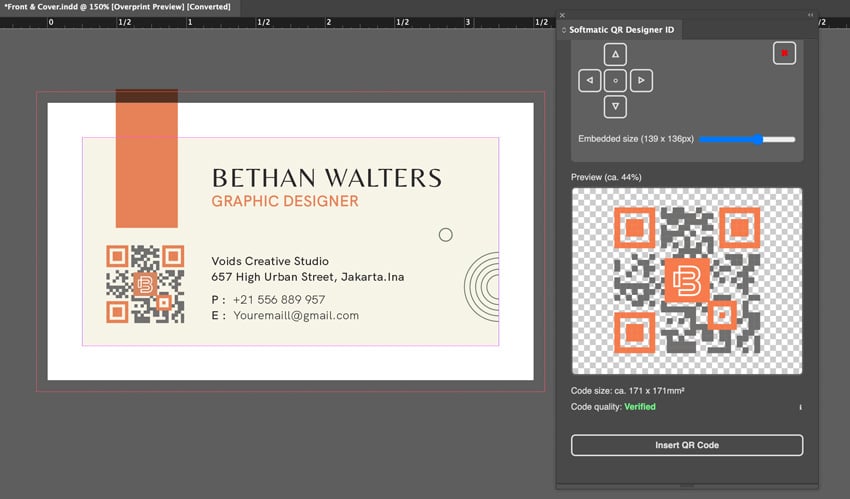
I thought it might be nice to make the Finder areas match the branding orange and the dots match the supplemental copy in the design. Here’s a look at my finalized QR code design.
You’ll notice, towards the bottom of these options, that we see the Code Quality. Keep an eye on this space. You’ll notice mine says Verified—this means that my code will work with my design options. It’s an easy way to see if your code still works with your design choices.
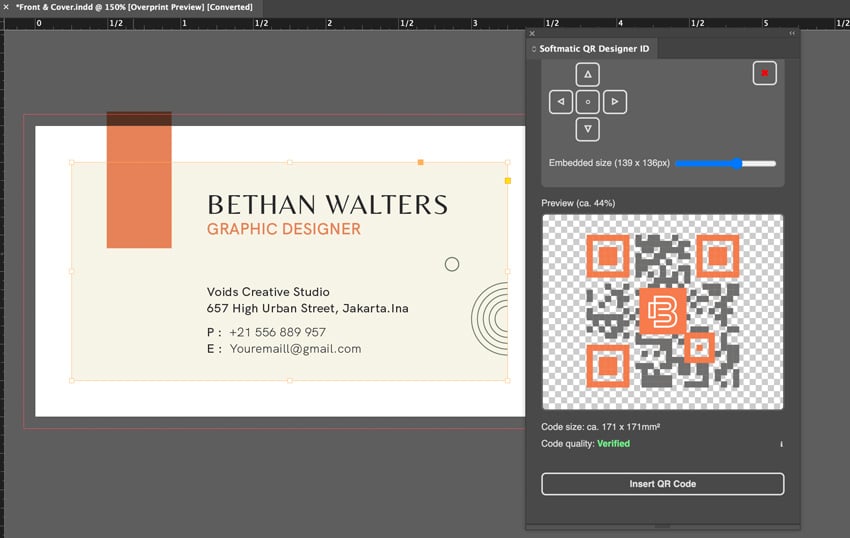
Once you’re happy with how your QR code design looks, it’s as simple as clicking Insert QR Code, in the Extension Plugin Window.
Step 13
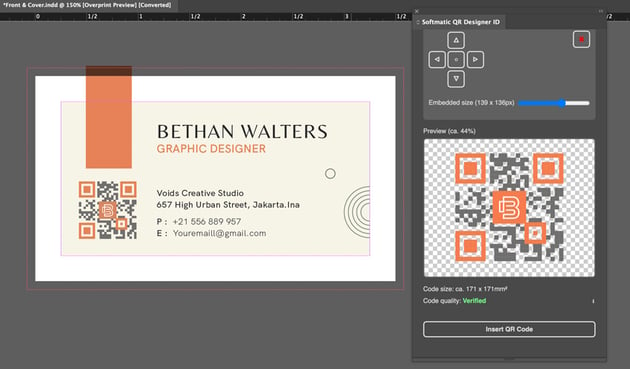
And just like that, our QR Code is inserted into our InDesign document. Just like our first QR code, we can easily resize and adjust it using the Selection Tool. The QR code behaves like any other imported image.
Step 14
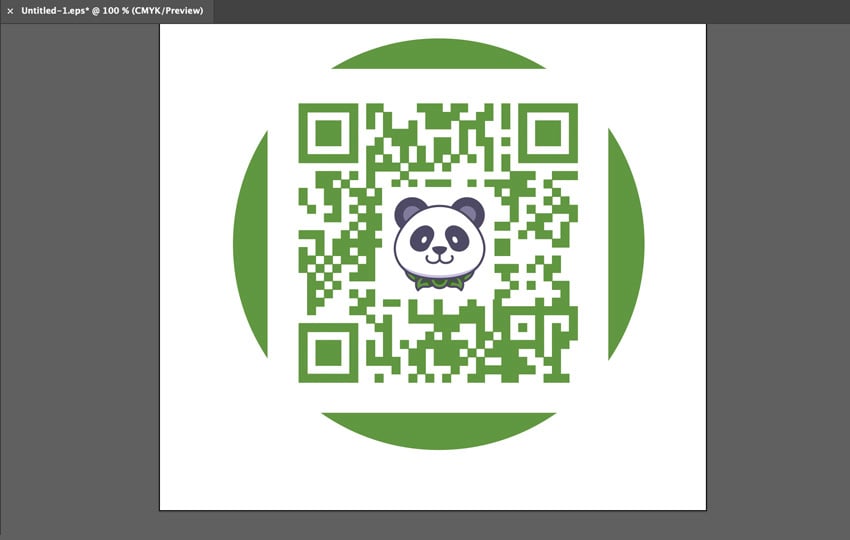
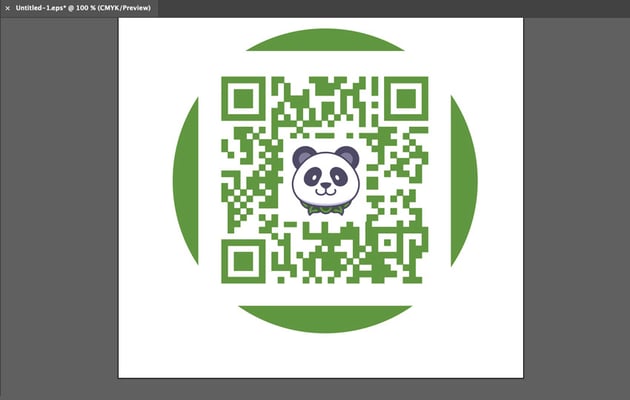
But what if you want to take this even further? Maybe you want to design something by hand, for example. InDesign makes it easy to Export your work as an EPS file—which is perfect for taking into Adobe Illustrator.
You can use the concepts we covered in this tutorial to get really creative with it. For example:
- Remember that any imagery you add shouldn’t take up the entire code. If the Error Correction is high, you should be able to work with a space in the middle while still retaining functionality. If you’re unsure, take out your smart device and give your code a test scan.
- Remember to preserve the Quiet Zone around your code. This helps the reader distinguish where the code is. So, while I experimented with some playful use of shape here, I kept the integrity of the Quiet Zone intact.
If you keep these tips in mind, there are lots of fun possibilities you could try!
Now You Know How to Design a QR Code
Now that you know how to design a QR Code with logo design elements, you have so many creative possibilities. What kind of codes would you design?
Learn More About Adobe InDesign
Want to learn more about Adobe InDesign? Check out these free tutorials, right here at Envato Tuts+. Happy designing!