Wondering how to curve text in Canva? We’re here to help.
In this short tutorial, we’ll introduce you to a special effect for curving text and show you how to curve text in Canva’s workspace in a matter of seconds.
How to Curve Text in Canva
Step 1
Log in to your Canva.com account and open whichever workspace you want to create your curved text in, e.g. Instagram Post or Story, Facebook Post, etc.


If you’re already working on a project, you can work from there. I’m creating a postcard in Canva, so I’ll use that to demonstrate how to curve letters on Canva.
Step 2
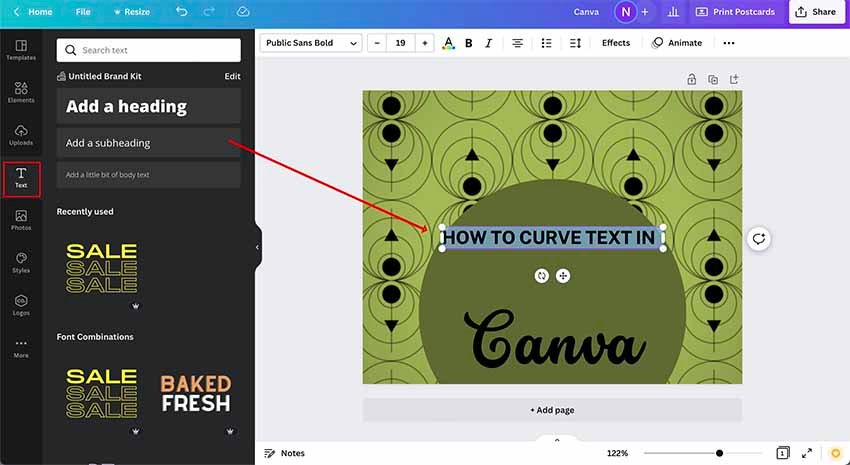
From your project screen, choose Text and Add a heading, Add a subheading, or body text. Choose your font and type your text.


Step 3
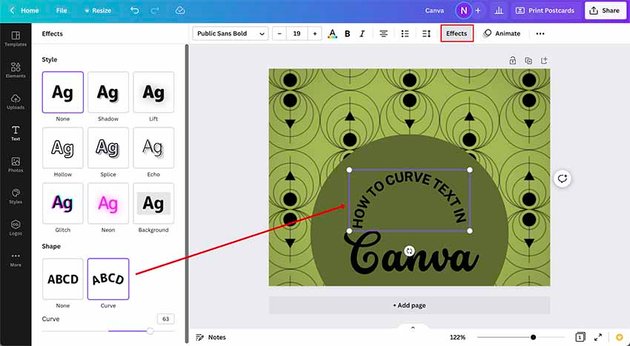
Now, with your text selected, go to Effects at the top of the screen, and then go to Shape in the column on the left. The default is set to None. To curve the text, click Curve. This will automatically curve your text.


Step 4
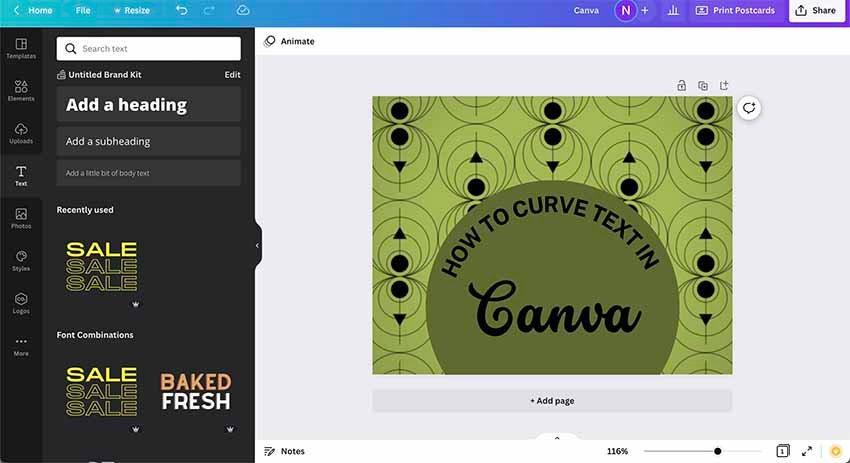
You can control the direction of the curve and the degree of the curve by pushing the Curve Slider under Shape to the left or to the right.


And that’s how you curve text in Canva’s workspace.


More Resources and Tutorials
Now that you know how to curve letters on Canva, here are some more top resources and tutorials to try from Envato Tuts+: