
Transparency is seriously trending in web design right now, due to the popular use of large images, transparencies help to make the text pop on the busy image. This quick and simple tutorial will show you how to make a stylish transparent label with large type. We have done this in white, but it can just as easily be done in black or any other color you require.
Transparent Labels in Photoshop
Resources:
- New York City image from Splashbase
- Big Noodle Titling Font from Dafont
Step 1
Open the NYC image or whichever image you prefer and make any post-production alterations to it at this point.
For this image I added a blue photo filter to lift the contrast a little. Make sure you merge your layers so you only have one image layer. Duplicate that layer.
Step 2
Select the Type Tool and the Big Noodle Titling font – or font of your choice, set the Anti-aliasing to Sharp and the size to 140pt, color unimportant, but a contrast to white, so black is probably best.
Type in your text and make sure you place it exactly where you want it.
Step 3
Create a new layer below the text layer and name it rectangle
Select the Rounded Rectangle tool, set the radius to 30px, foreground color white.
Drag out a rectangle that covers your text and gives the margins around it that you want.
Reduce the fill of this layer to around 48%.
Step 4
Hold down the Ctrl key and click on the text thumbnail in the layers palette to select the pixels. Make rectangle layer active and Ctrl+J to copy the selection to a new layer – name this layer white text
This new layer should be above the rectangle layer and below the text layer.
Select the text again in the same way. Make sure your rectangle layer is active and hit the delete key.
You won’t be seeing anything happening right now because the text is still visible and covering everything you are doing – if you turn off the visibility of the text layer, the rectangle should look complete, so if you now turn off the visibility of the layer you have just created you should have the rectangle with hollow text.
Turn all visibilities back on.
Step 5
Now we will add the layer styles to create the effects.
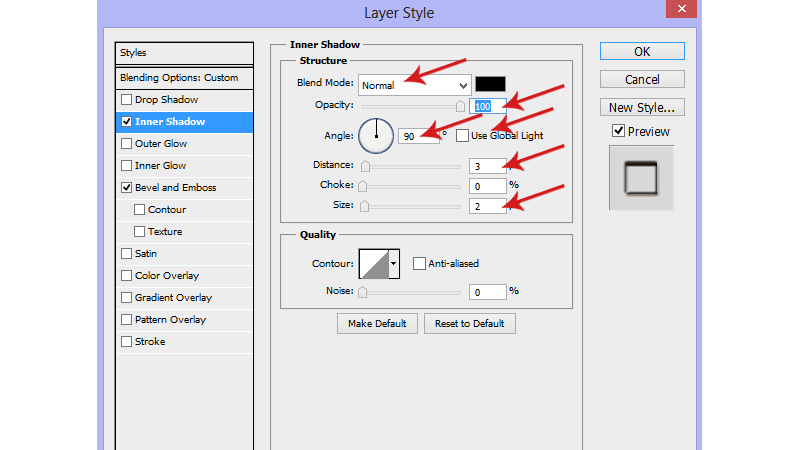
Make the text layer active and reduce the fill to 0%.
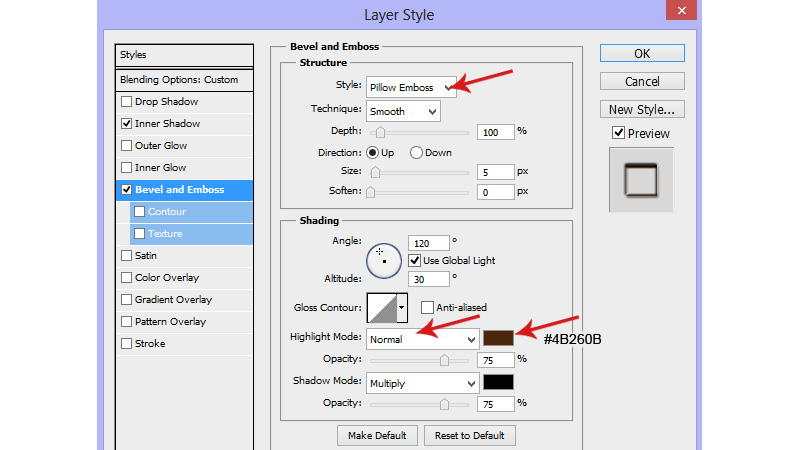
Apply the following Inner Shadow and Bevel and Emboss settings to this layer:
Step 6
Make white text layer active and simply reduce the opacity of this layer to 28%.
Step 7
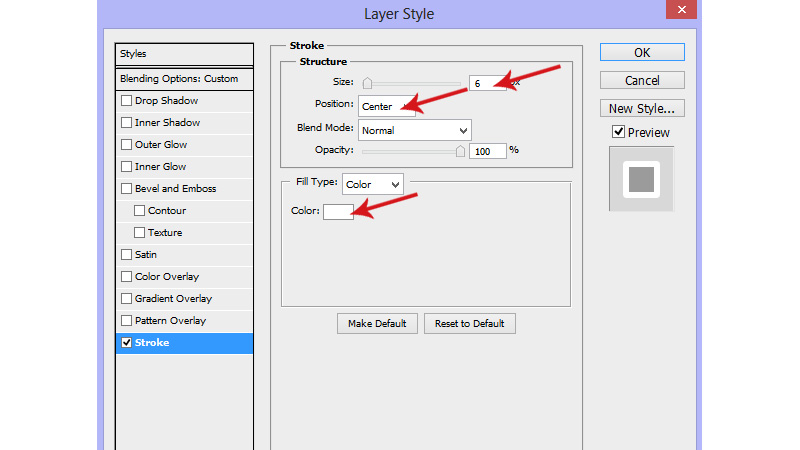
Now make the rounded rectangle layer active and reduce the fill to 48%. Apply the following Stroke settings:
Step 8
Hold down the Ctrl button and click on the thumbnail of the rectangle layer to select the pixels.
Make the background copy layer active and add a Gaussian Blur of around 3.8px.
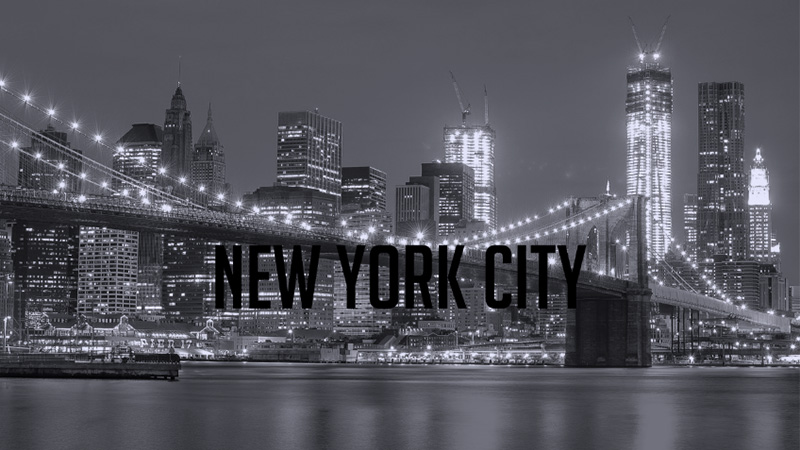
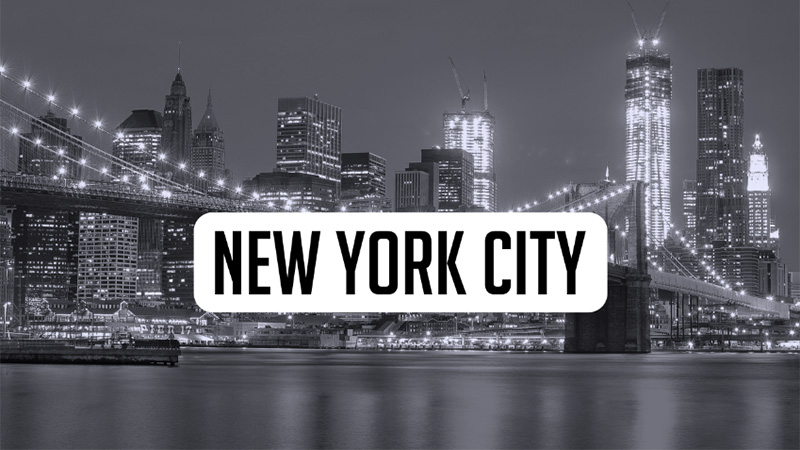
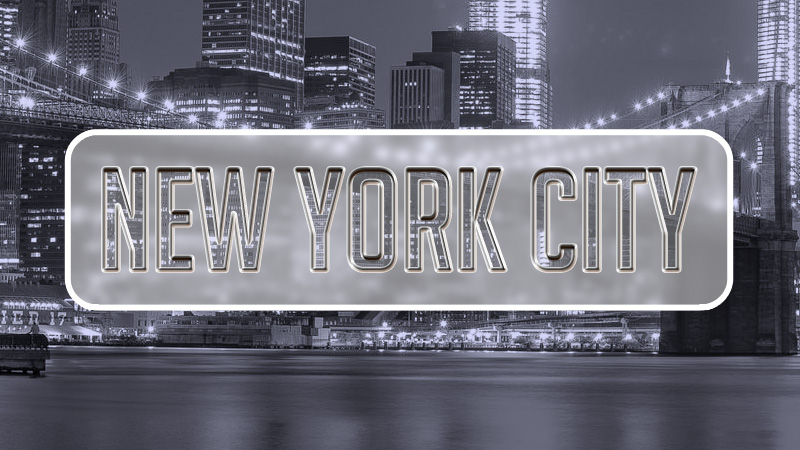
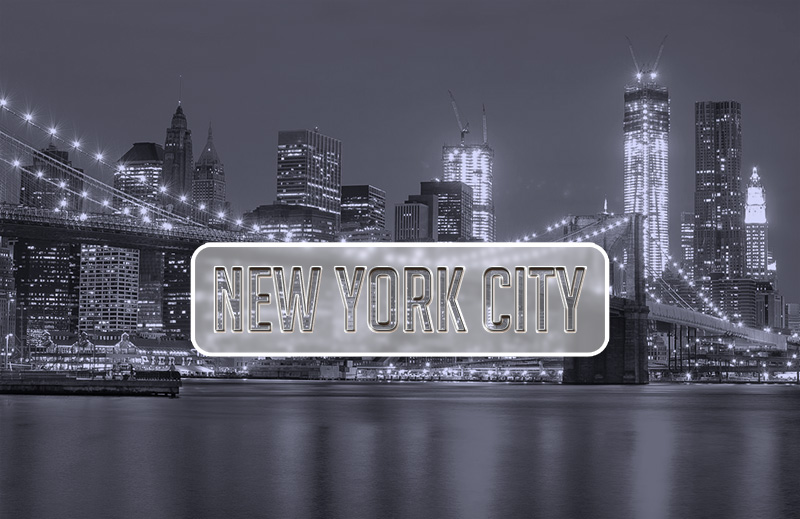
And you’re done – the first image below shows the text at full size, and the second shows the reduced size full image.
Conclusion
Hopefully you will be able to use this label in some of your projects, and if you do, we would be delighted to see your end results, so don’t hesitate to leave your links in the comments section below.