In this tutorial, we’re going to implement an animated snow effect on a webpage using CSS and vanilla JavaScript, just in time for the holiday season.
‘Tis the season to be jolly so let it snow, let it snow, let it snow!
1. Markup with Holiday HTML
For our markup, we’ll have two primary containers: a main element containing the content of our page and a snow-container element that will display the snow.
1 |
<main>
|
2 |
<h1>Happy Holidays!</h1> |
3 |
</main>
|
4 |
<div id="snow-container"> |
5 |
</div>
|
2. Season’s Styling with CSS
In this demo, our main content has a gradient background colour to give it a night sky effect. We achieve this using the CSS linear-gradient function.
For simplicity, let’s say we’re building this in CodePen, so the markup goes in the HTML tab, the styles in the CSS tab, etc.
1 |
main { |
2 |
background: linear-gradient(to bottom, #2d91c2 0%, #1e528e 100%); |
3 |
display: flex; |
4 |
align-items: center; |
5 |
justify-content: center; |
6 |
font-family: "Pacifico", cursive; |
7 |
height: 100vh; |
8 |
padding: 20px; |
9 |
text-align: center; |
10 |
}
|
11 |
|
12 |
h1 { |
13 |
color: white; |
14 |
}
|
Here’s what our banner looks like now:


We’ll also use CSS to handle the animation of each snow element. Each snowflake will have two animations: a fall animation to handle the snowflake moving from the top to the bottom of the screen and a sway animation to handle moving the snowflake slowly side to side.
1 |
@keyframes fall { |
2 |
0% { |
3 |
opacity: 0; |
4 |
}
|
5 |
50% { |
6 |
opacity: 1; |
7 |
}
|
8 |
100% { |
9 |
top: 100vh; |
10 |
opacity: 1; |
11 |
}
|
12 |
}
|
13 |
|
14 |
@keyframes sway { |
15 |
0% { |
16 |
margin-left: 0; |
17 |
}
|
18 |
25% { |
19 |
margin-left: 50px; |
20 |
}
|
21 |
50% { |
22 |
margin-left: -50px; |
23 |
}
|
24 |
75% { |
25 |
margin-left: 50px; |
26 |
}
|
27 |
100% { |
28 |
margin-left: 0; |
29 |
}
|
30 |
}
|
We’ll also style our snow container and the snow element we’ll be creating in JavaScript.
1 |
#snow-container { |
2 |
height: 100vh; |
3 |
overflow: hidden; |
4 |
position: absolute; |
5 |
top: 0; |
6 |
transition: opacity 500ms; |
7 |
width: 100%; |
8 |
}
|
9 |
|
10 |
.snow { |
11 |
animation: fall ease-in infinite, sway ease-in-out infinite; |
12 |
color: skyblue; |
13 |
position: absolute; |
14 |
}
|
The animation property in this demo takes three values:
- name: This is the value of the animation we created under keyframes.
- timing: This determines how the animation progresses.
- iteration: This is the number of times the animation happens. We use infinite to constantly repeat the animation of the snowflakes.
3. Fa la la la la Functionality ♬
Now we can work on the fun part: making it snow! First, in the JS tab in CodePen, let’s assign a value to our container element:
1 |
const snowContainer = document.getElementById("snow-container"); |
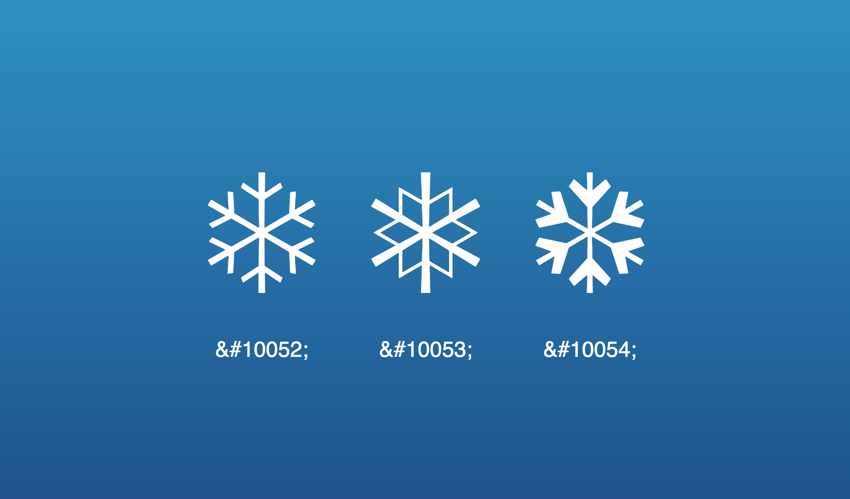
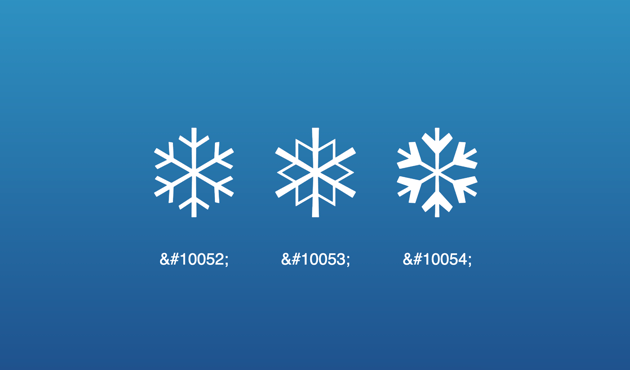
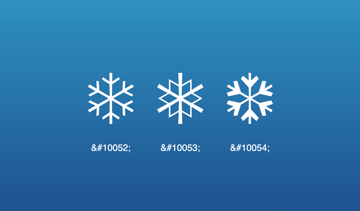
For our snowflake content, we’ll be using HTML symbols (❄ ❅ ❆):
We’ll create a snowContent array to contain the symbol codes
1 |
const snowContent = ['❄', '❅', '❆'] |
In order to create a falling snow effect, we’ll need to randomise the appearance and animation of each snowflake.
We’ll use the Math.random() and Math.floor() functions to handle generating the random values for our snow elements.
1 |
const random = (num) => { |
2 |
return Math.floor(Math.random() * num); |
3 |
}
|
Now we can create a function to generate a random style for each snowflake. We’ll generate a random position, size and animation duration.
1 |
const getRandomStyles = () => { |
2 |
const top = random(100); |
3 |
const left = random(100); |
4 |
const dur = random(10) + 10; |
5 |
const size = random(25) + 25; |
6 |
return ` |
7 |
top: -${top}%; |
8 |
left: ${left}%; |
9 |
font-size: ${size}px; |
10 |
animation-duration: ${dur}s; |
11 |
`; |
12 |
}
|
For our duration and size constant, we add a fixed number value to ensure the random generated number has a minimum value of the number being added (i.e. the lowest number for the animation duration of any snowflake is 10s)
For our top constant, we assign a negative value so the snowflakes starts from any percentage above the visible screen.
Next, we’ll handle appending the snowflakes to the snow container.
1 |
const createSnow = (num) => { |
2 |
for (var i = num; i > 0; i--) { |
3 |
var snow = document.createElement("div"); |
4 |
snow.className = "snow"; |
5 |
snow.style.cssText = getRandomStyles(); |
6 |
snow.innerHTML = snowContent[random(2)] |
7 |
snowContainer.append(snow); |
8 |
}
|
9 |
}
|
In this demo, we use a for loop to create a fixed number of snowflakes and append them to the container. We also randomly assign the innerHTML as any of the values in our snowContent array.
Then, we’ll call the createSnow function once our page loads using the load event listener.
1 |
window.addEventListener("load", () => { |
2 |
createSnow(30) |
3 |
});
|
And it’s snowing! Click Rerun to see the animated snow:
Removing Snowflakes
We can also choose to add a function to remove the snowflakes.
1 |
const removeSnow = () => { |
2 |
snowContainer.style.opacity = "0"; |
3 |
setTimeout(() => { |
4 |
snowContainer.remove() |
5 |
}, 500) |
6 |
}
|
In this function, we assign our snowContainer an opacity of 0 to allow it fade out smoothly and then, after half a second, we remove the container using the .remove() method.
We can then choose to call this function however we want. We can remove the snow when the user clicks anywhere on the page:
1 |
window.addEventListener("click", () => { |
2 |
removeSnow() |
3 |
});
|
Or we can include it in setTimeout() function so it disappears after a certain amount of time:
1 |
window.addEventListener("load", () => {
|
2 |
createSnow(30) |
3 |
setTimeout(removeSnow, 10000) |
4 |
}); |
Switching Out the Snowflakes
Since we’ve built this from scratch, we can also update the element content and animation to create other fun effects, like floating balloons:
or even animated Nyan Cat:
I hope you enjoyed this animated snow tutorial, and it’s made you feel nice and festive!