
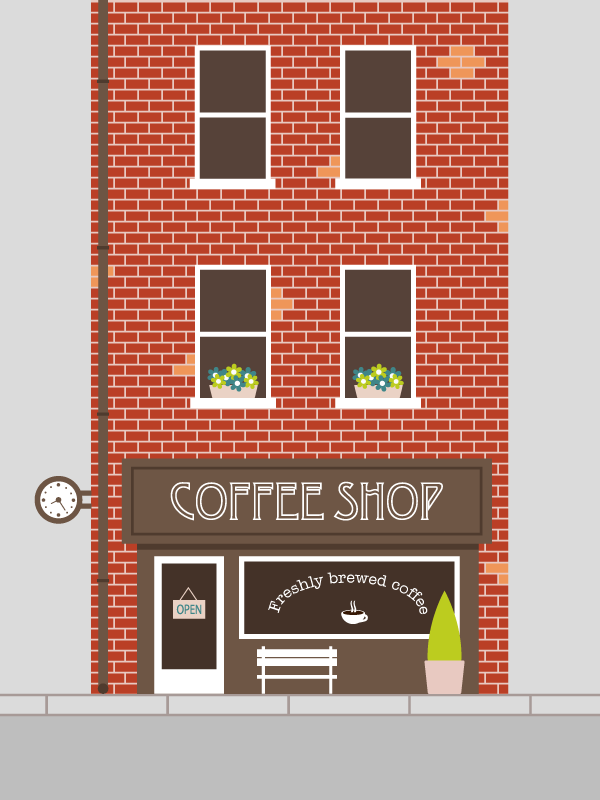
In this tutorial you will learn how to create a street landscape with ease, using mainly the Rectangle Tool and a few effects in Adobe Illustrator.
1. Set the Background
Step 1
Go to File > New to create a new document, size 600px by 800px.
Create three new layers (Window > Layers):

Step 2
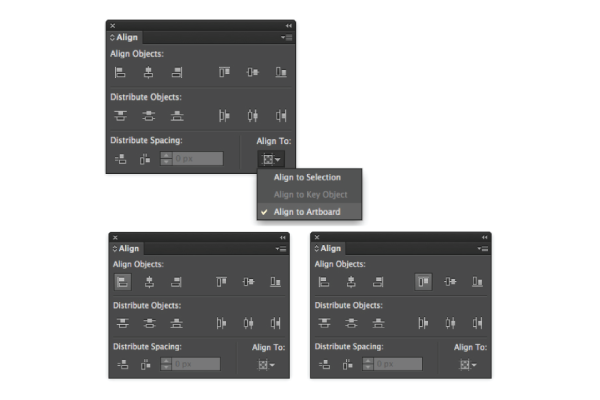
Select the background layer. Pick the Rectangle Tool (M), click the artboard and set the rectangle to 600px by 800px. Set the fill color to R=219 G=219 B=219 and align it to the artboard with the Align panel (Window > Align):
Select the Rectangle Tool (M) click the artboard and set the rectangle to 600px by 85px. Set the fill color to R=190 G=190 B=190 and align it to the artboard.

Step 3
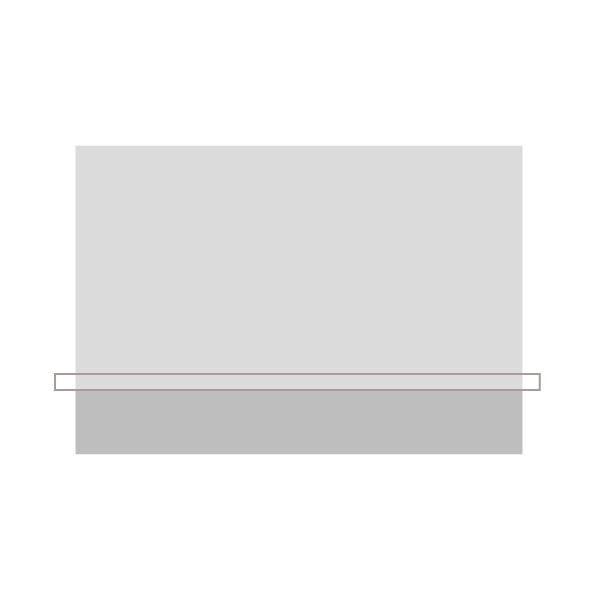
We will add a footpath. Draw a rectangle above the previous one. Don’t worry about going outside of the artboard, we’ll sort this out later. Set the stroke to 2pt and the stroke color to R=168 G=155 B=152.
Pick the Line Segment Tool (\), hold the shift key and draw a vertical line with a 2pt stroke and stroke color R=168 G=155 B=152.
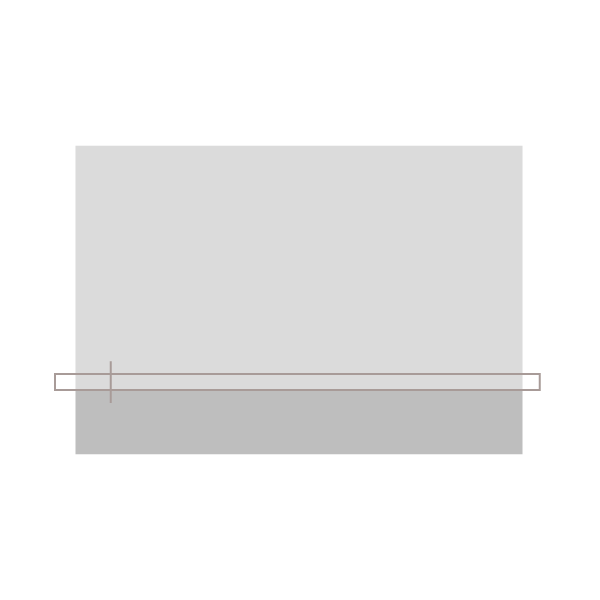
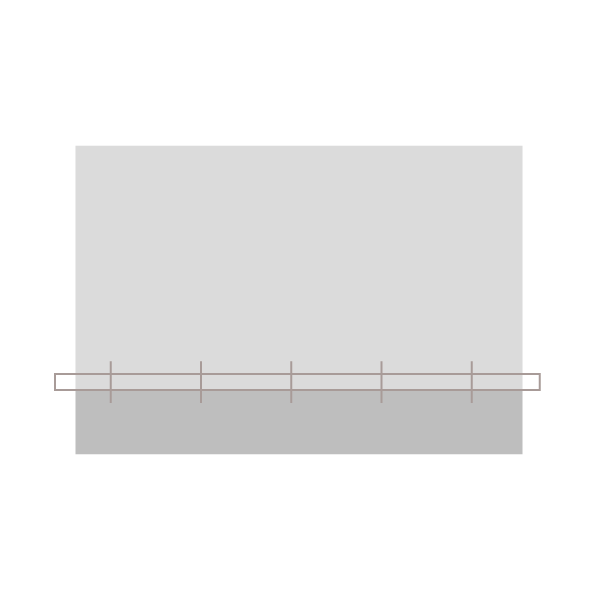
Drag the newly created line to the right holding Alt-Shift to copy it.
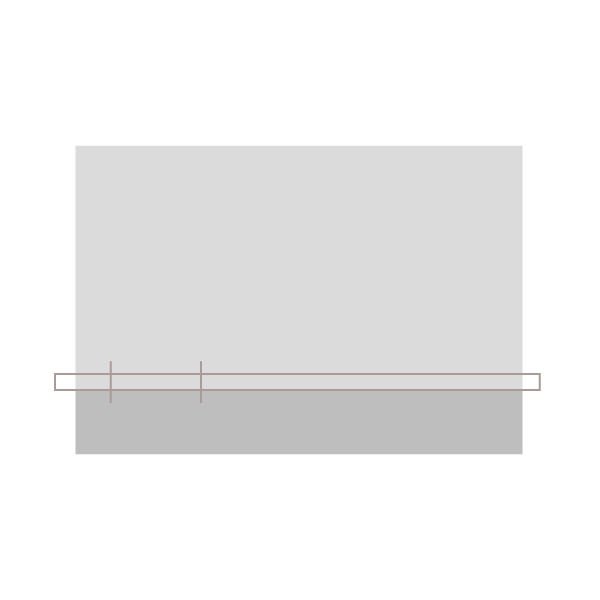
Then hit Control-D three times to repeat your last action:
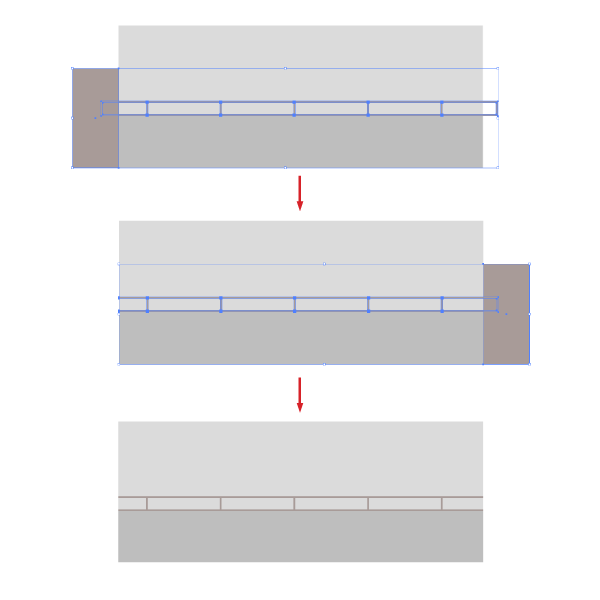
Select all these shapes, go to the Pathfinder panel (Window > Pathfinder) and hit Divide. Then go to Object > Expand, select Stroke only and hit OK.
Keep the group selected and go to Pathfinder again and hit Unite.
Pick the Rectangle Tool (M), draw a rectangle as below, keep it selected, hold the Shift key, select the footpath shape and hit Minus Front in the Pathfinder. Do the same thing on the other side and you have your footpath!
2. Create the building
Step 1
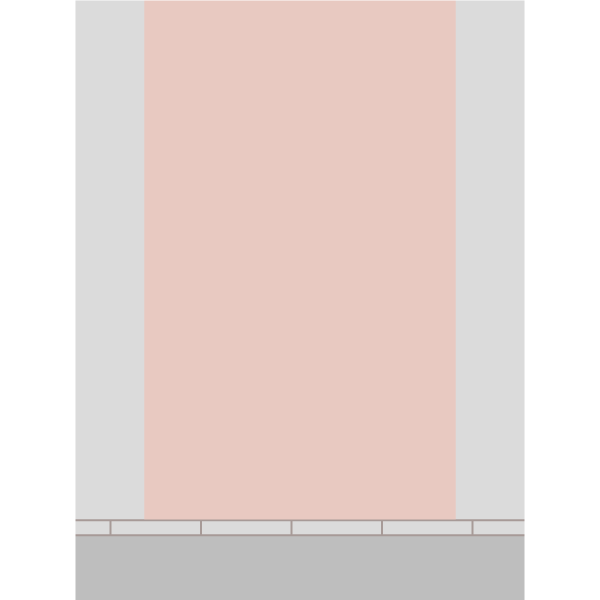
Select the building layer. Draw a rectangle as below with no stroke and fill color R=232 G=201 B=193.
Step 2
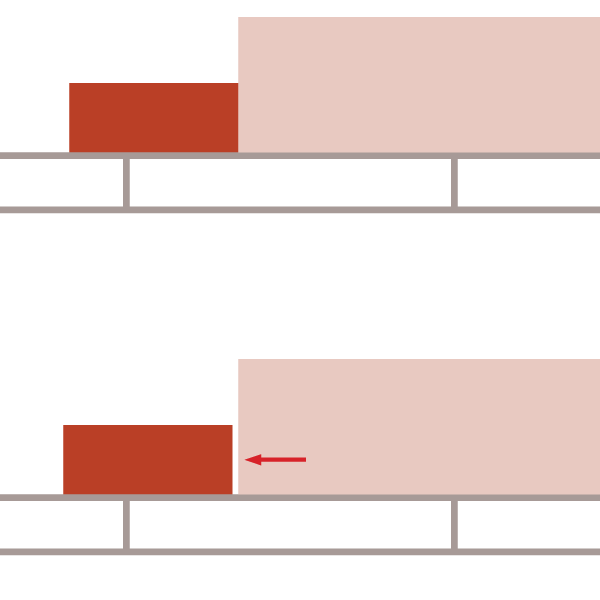
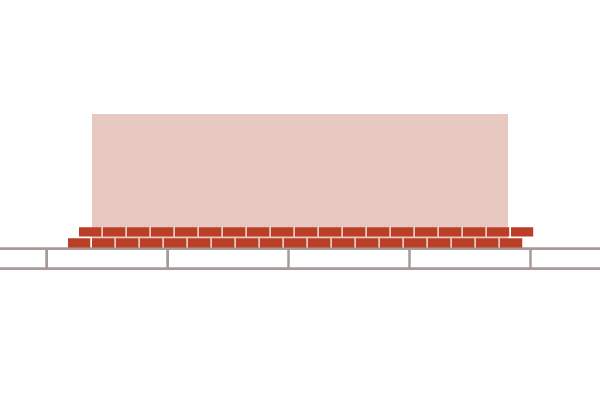
Then we will use the Transform effect to draw the bricks. Select the Rectangle Tool (M), click the artboard and set the rectangle to 22px by 9px. Set the fill color to R=186 G=63 B=38 and place it outside of the bottom left corner of the building shape.
Keep the brick selected, go to Object > Transform > Move and in the Horizontal box enter -2px.
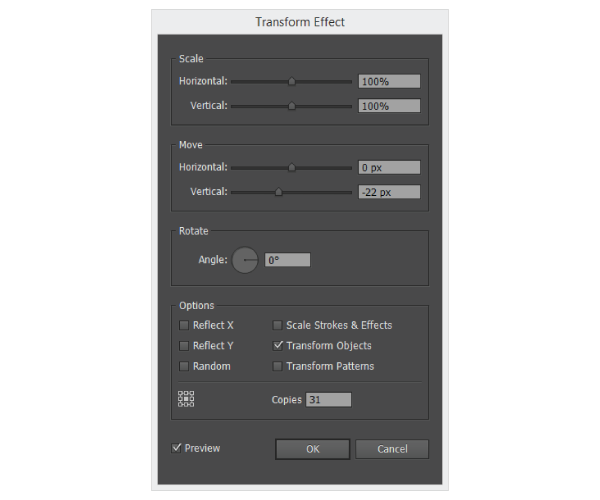
Keep the brick selected, go to Effect > Distort & Transform > Transform and apply the settings below:
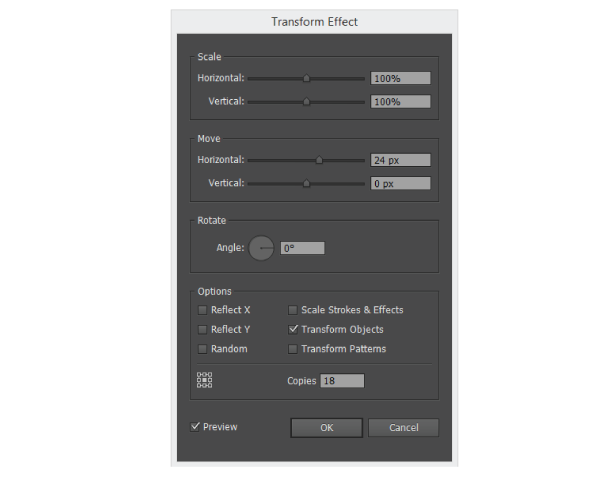
Here is the result:
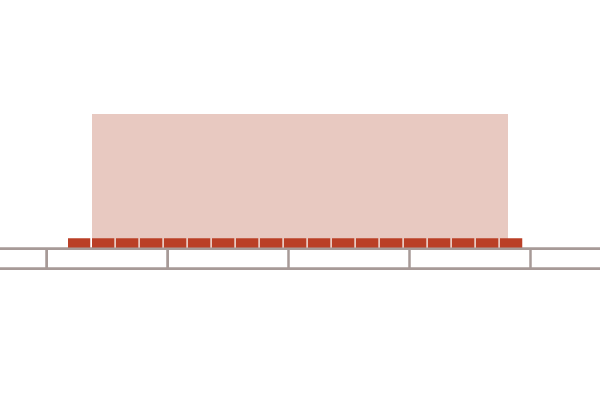
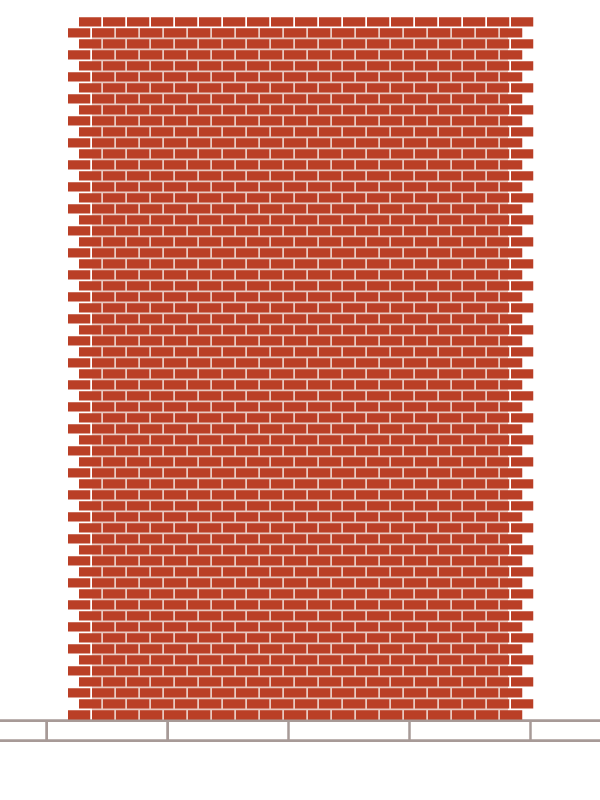
Select the original brick shape, again go to Effect > Distort & Transform > Transform and apply the settings below:
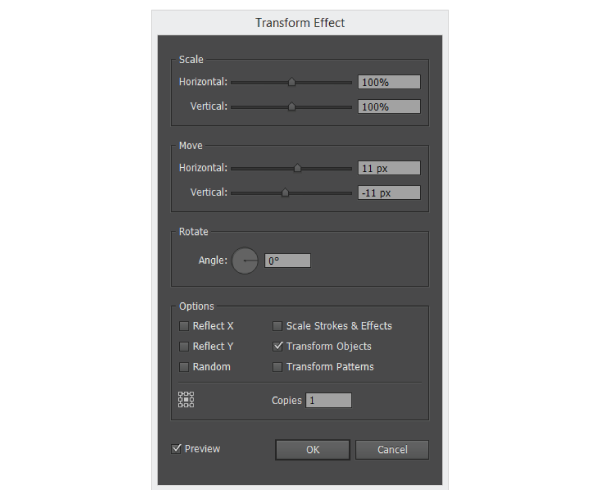
Do the same thing one more time with the following settings:
And here is what you get:
Step 3
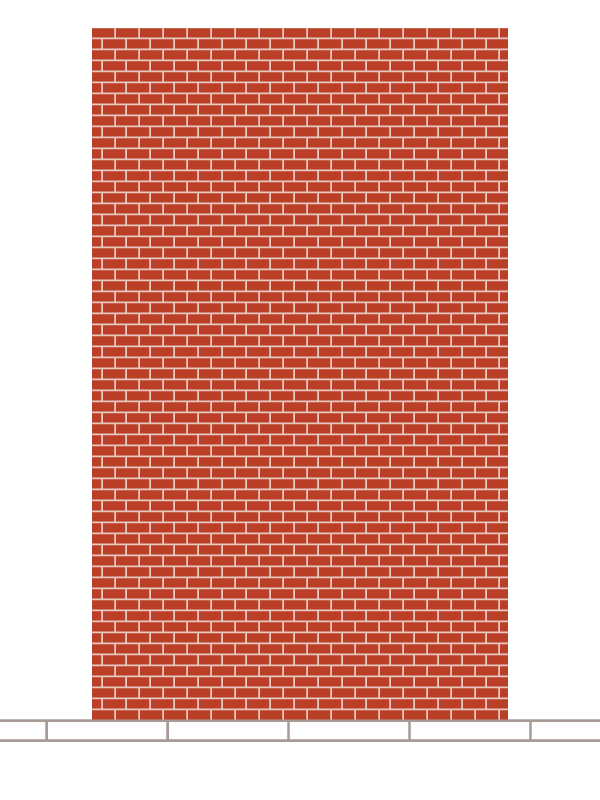
Select the original brick shape again and go to Object > Expand Appearance. Keep the all group selected and hit Unite in the Pathfinder.
Copy and paste (Control-F) the building shape and bring it to front (Object > Arrange > Bring to Front). Keep it selected, hold the Shift key and select the bricks group. Go to the Pathfinder panel and hit Crop.

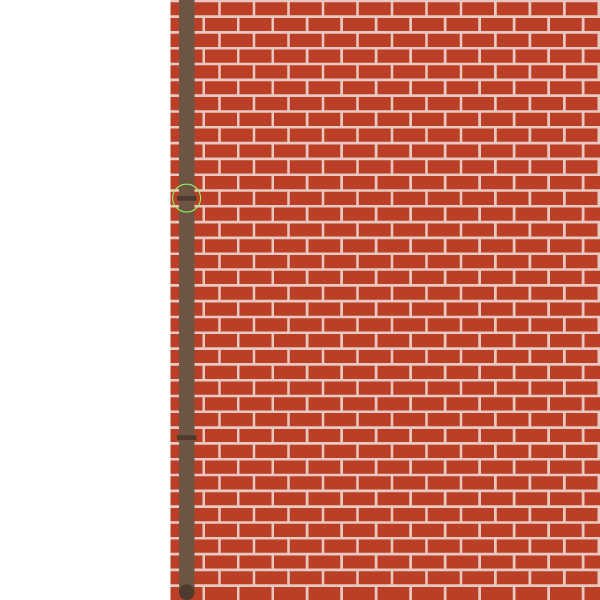
And here we have a nice brick wall!
Step 4
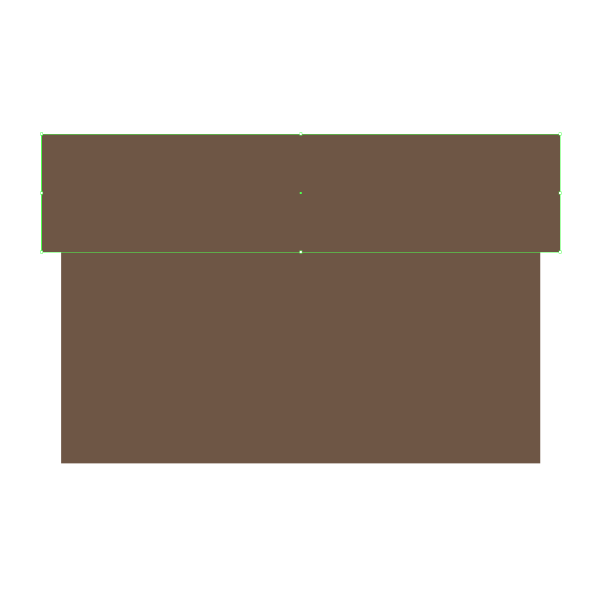
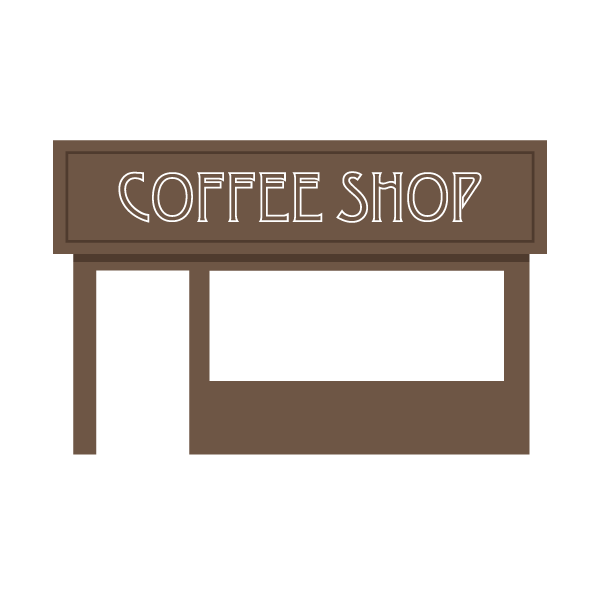
Select the coffee shop layer. Pick the Rectangle Tool (M), click the artboard and set the rectangle to 340px by 150px, give it a R=110 G=86 B=69 color fill. Align it to the building, placing it slightly to the right.

Draw a second rectangle of 370px by 85px, align it to the first one:
Step 5
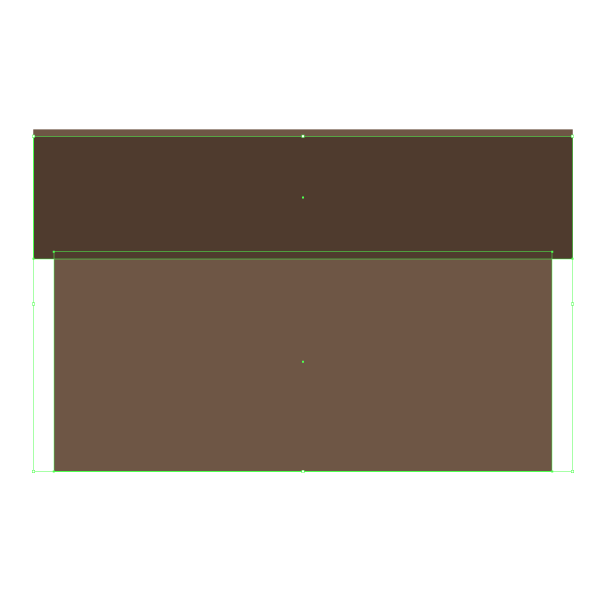
Let’s add a shadow between the bottom and the top part of the coffee shop. Hold the Shift key and select the two rectangles. Copy and paste them in front (Control-F). Move the top part a few pixels down, change the fill color to R=79 G=59 B=46.
Select the two shapes and hit Intersect in the Pathfinder.
Step 6
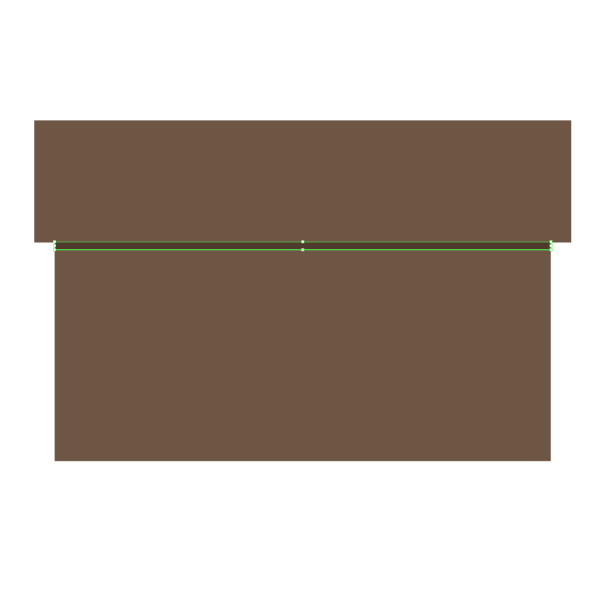
Select the top rectangle again, copy and paste it in front (Control-F), give this new rectangle a 2pt stroke, no fill and set the stroke color to R=79 G=59 B=46.
Resize it as below and align it to the bigger rectangle.

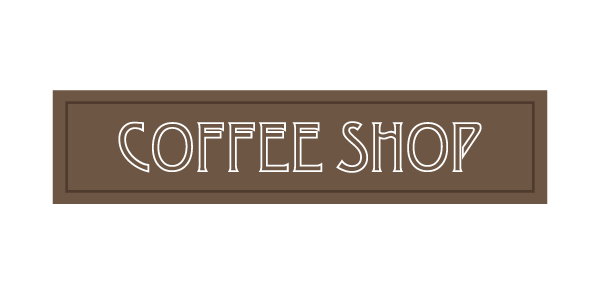
Step 7
Let’s add text to the sign. Select the Type Tool (T), select the Desdemona font (Type > Font), set the size of the characters to 50 and the color to white. Click inside the rectangle and type the text.
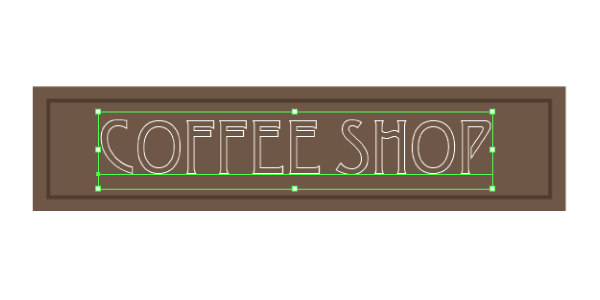
Keep the text selected, go to Object > Expand. Hit OK and add a 1pt white stroke to it.
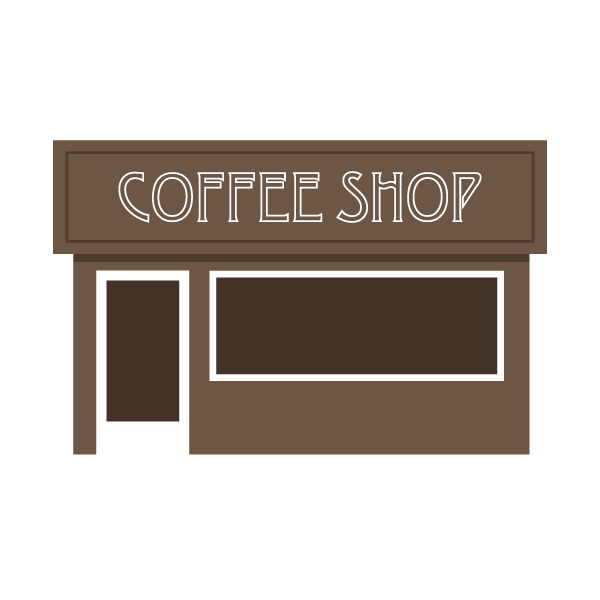
Step 8
We will add windows to the coffee shop. Pick the Rectangle Tool (M), draw two white rectangles and place them as below:
Select those two new rectangles, copy and paste them in front (Control-F), give them the fill color R=68 G=50 B=40. Resize them as below:
Step 9
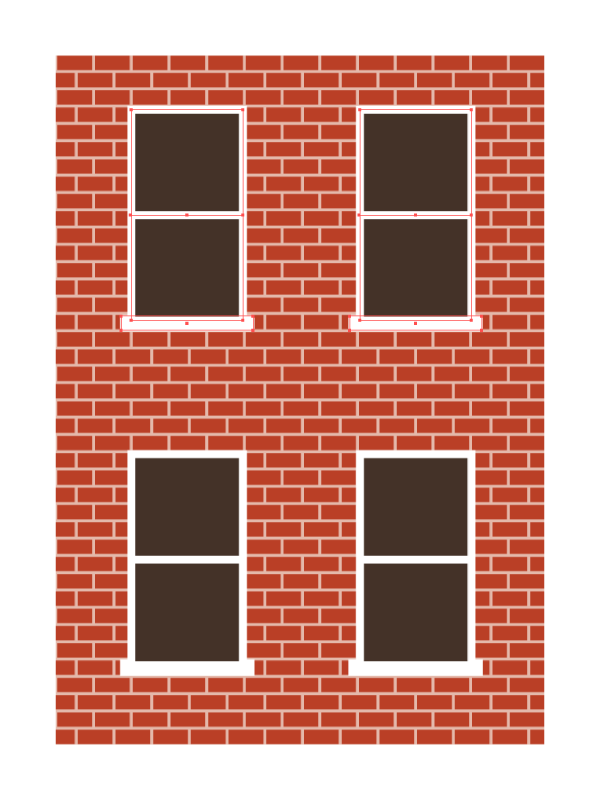
We will add windows to the building. So select the building layer. Pick the Rectangle Tool again and draw a rectangle size 70px by 130px, give it a 5pt white stoke and set the fill color to R=68 G=50 B=40.
Pick the Line Segment Tool (\), hold the Shift key and add a line in the middle of this rectangle. Draw another white rectangle for the window sill:
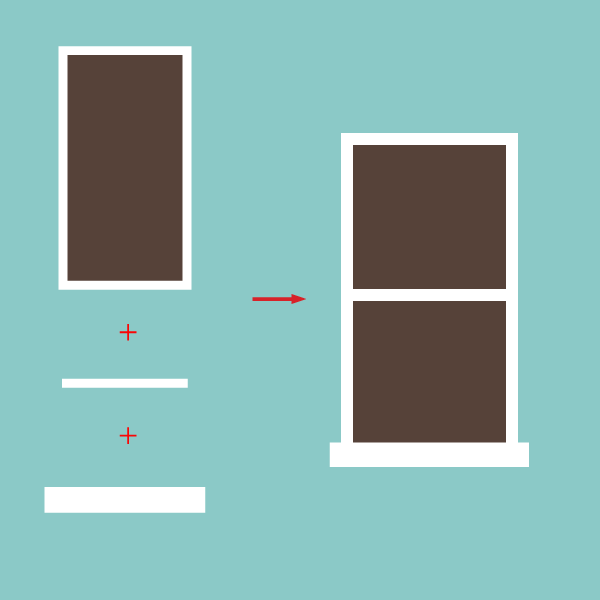
Select the three shapes and Group them together (Control-G) then go to Object > Expand, select fill and stroke and hit OK.
Select the window group, place it above the coffee shop, on the left. Hold Alt-Shift and drag the group to the right to copy it.
Select the two windows, hold Alt-Shift and drag them up to duplicate them:
3. Add Details
Step 1
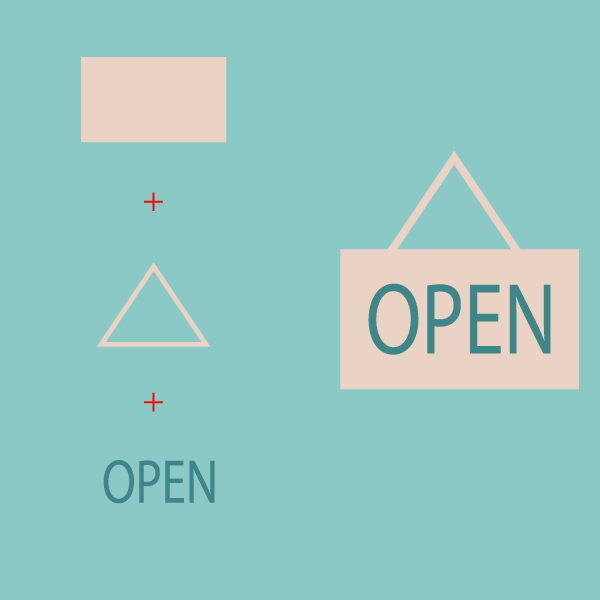
Let’s add signs on the coffee shop windows. Draw a small rectangle, set the fill color to R=234 G=210 B=197. Pick the Polygon Tool, click the artboard, enter 3 sides and hit OK. Give the triangle no fill color and set the stroke color to R=234 G=210 B=197. Adjust the size and align it to the rectangle.
Pick the Type Tool (T), select the Myriad Pro font, set the color to R=63 G=134 B=137 and type your text. Adjust the size and align it to the rectangle. Group the three shapes together (Control-G) and go to Object > Expand and hit OK.
Step 2
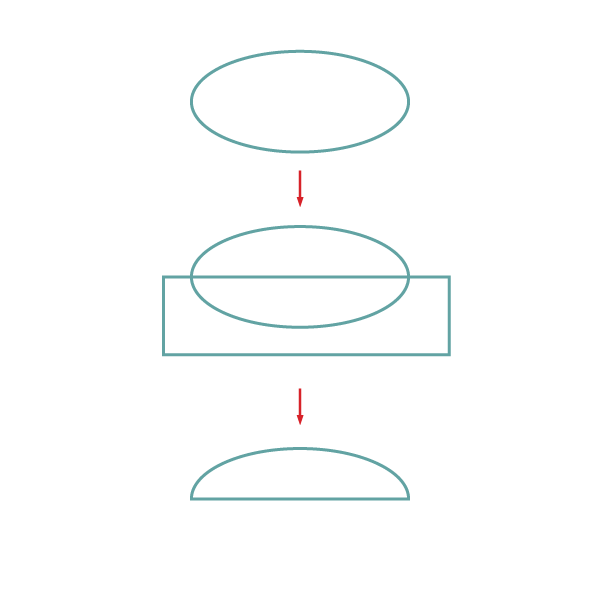
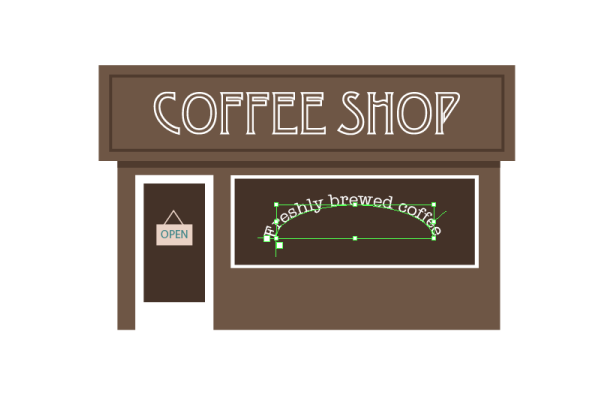
Draw an ellipse size 140px by 60px, draw a rectangle and align it to the center of the ellipse. Select both shapes, go to the Pathfinder panel and hit Minus front.
We will use this shape as a guide to type the text on the window.
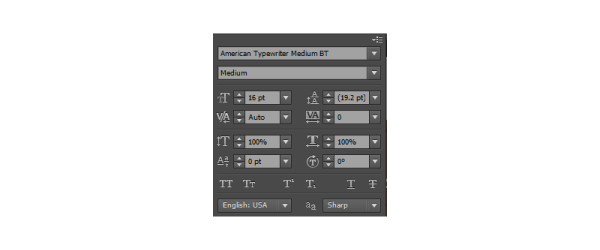
Place the arc in the center of the window, select the Type on a Path Tool and click the anchor point on the very left hand side of the arc. Select the American Typewriter font, set the stroke to white and to 16.5pt and type your text.
Step 3
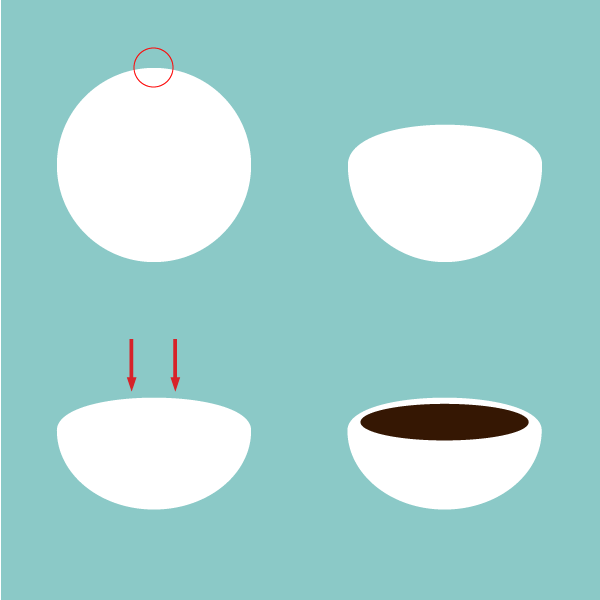
We will add a coffee cup on the window. Pick the Ellipse Tool (L), draw an ellipse holding the Shift key to have it perfectly round. Select the Delete Anchor Point Tool (-) and click the top anchor point of the ellipse to delete it.
With the Selection Tool (V) select the shape and drag the top part down to squash it a little. Add a squashed ellipse on top with fill color R=53 G=53 B=3.
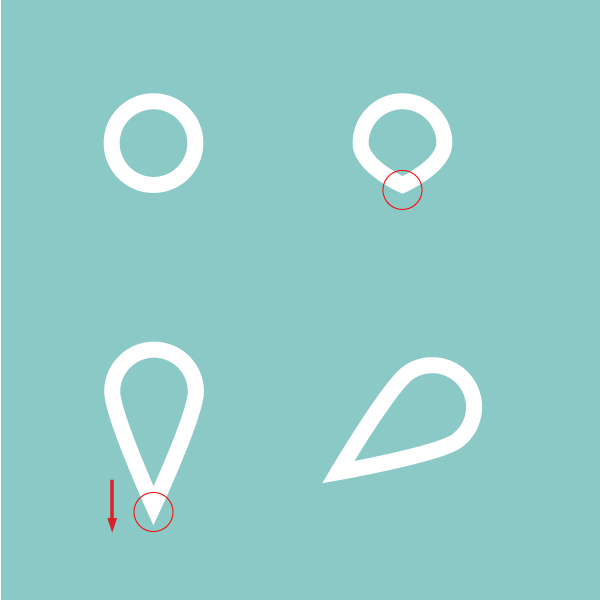
Draw a circle for the handle. Apply a thick white stroke. Pick the Convert Anchor Point Tool (Shift-C) and click the bottom anchor point. Then select it with the Direct Selection Tool (A) and drag it down. Rotate the handle with the Rotate Tool (R).
Go to Object > Expand, hit OK, resize it and place it on the cup.

Draw a rectangle with a white fill. Got to Effect > Wrap > Flag and apply the settings as bellow. Keep the rectangle selected and go to Object > Expand appearance, hit ok.
Click the new shape and drag it to the right holding Alt-Shift to copy it. Align them with the cup.
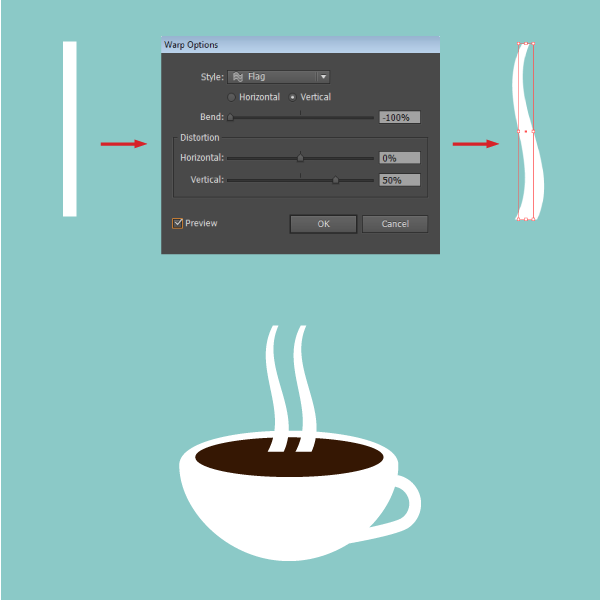
Place the cup on the window.

Step 4
We will add a gutter on the side of the building. Select the building layer and draw a long thin rectangle the height of the building and give it the fill color R=109 G=85 B=68.
To add details to the gutter, draw a circle at the bottom and a rectangle as below. Set their color fill to R=79 G=59 B=46.
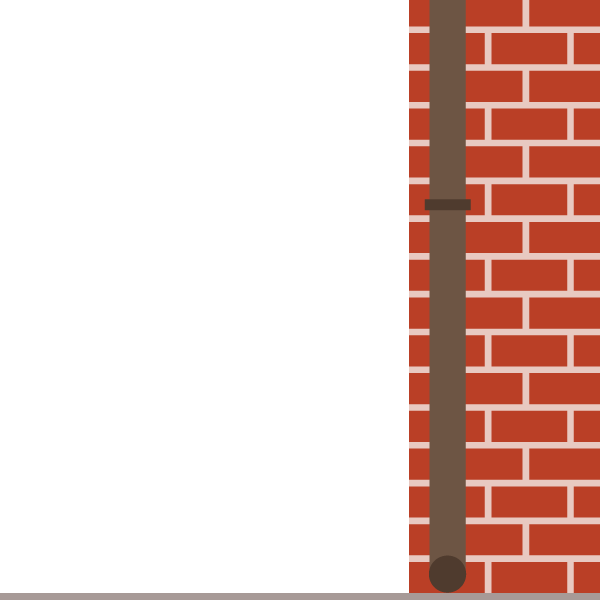
Click the rectangle, hold Alt-Shift and drag it upwards.
Hit Control-D to repeat this action two more times.
Step 5
Let’s add a clock on the left hand side of the building. Pick the Ellipse Tool (L) and draw a first circle with fill color R=109 G=85 B=68. Draw a second one, smaller and white and place it on top. Then draw a tiny one, with fill color R=109 G=85 B=68. Align them using the Align panel.
Pick the Line Segment Tool (\) and draw two lines with stroke color R=109 G=85 B=68. In the Stroke panel, give then a thick weight and hit Round Cap. Keep the the two lines selected and go to Object > Expand, hit OK.
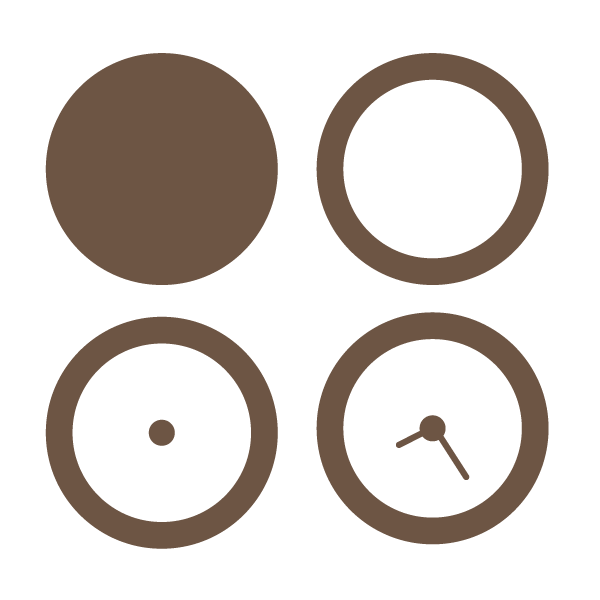
Add smaller ellipses and duplicate them as bellow:
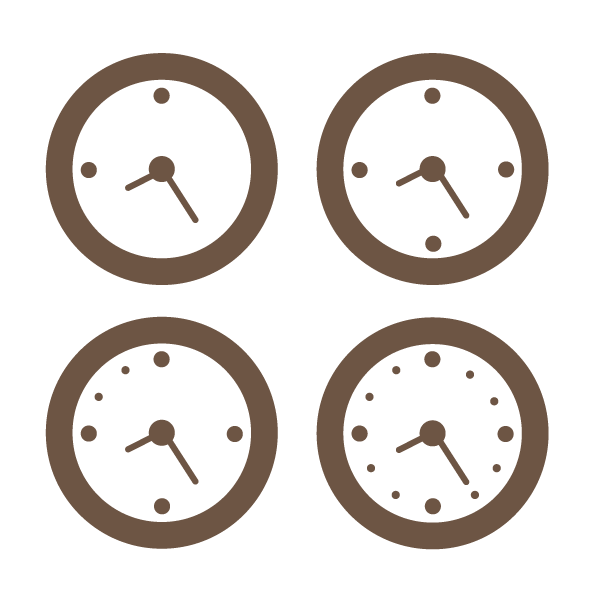
Draw a rectangle, hold Alt-Shift and drag it dawn to duplicate it and place them behind the clock (Object > Arrange > Send to Back) :
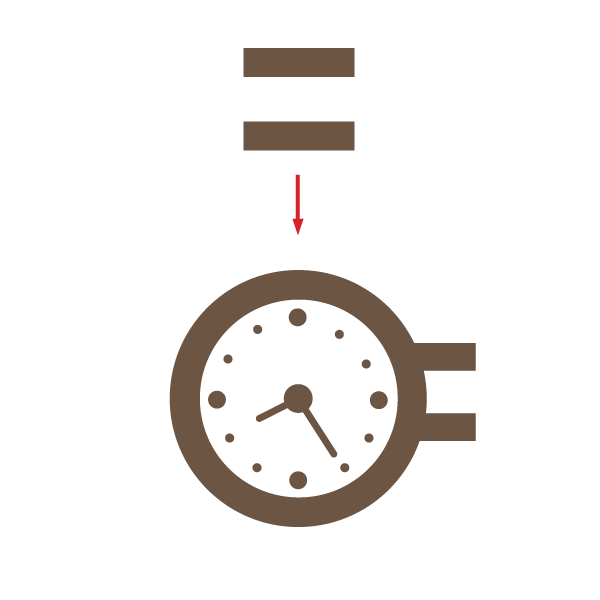
Select all the shapes and Group them together (Control-G), adjust the size of the clock and place it on the left side of the building.
Step 6
Let’s add a few pots of plants and flowers.
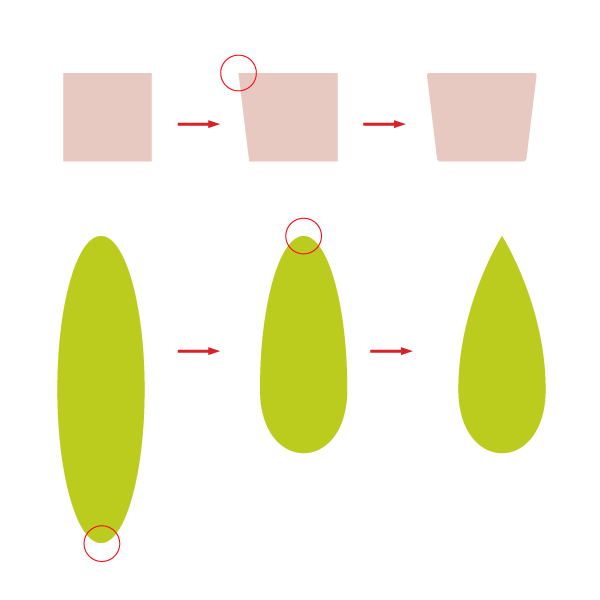
For the first pot, draw a square with the fill color R=232 G=201 B=193. Select the top left anchor point with the Direct Selection Tool (A) and move it a few points to the left. Do the same on the other side. Then go to Effect > Stylize > Round Corners and set the Radius to 3px.
Then draw a long ellipse, with fill color R=188 G=204 B=31. Pick the Delete Anchor Point Tool (-) and click the bottom anchor point of the ellipse. Pick the Convert Anchor Point Tool (Shift-C) and click the top anchor point:
Place the ellipse behind the square (Object > Arrange > Send to Back), align them and Group them together (Control-G). Place the plant in front of the coffee shop.

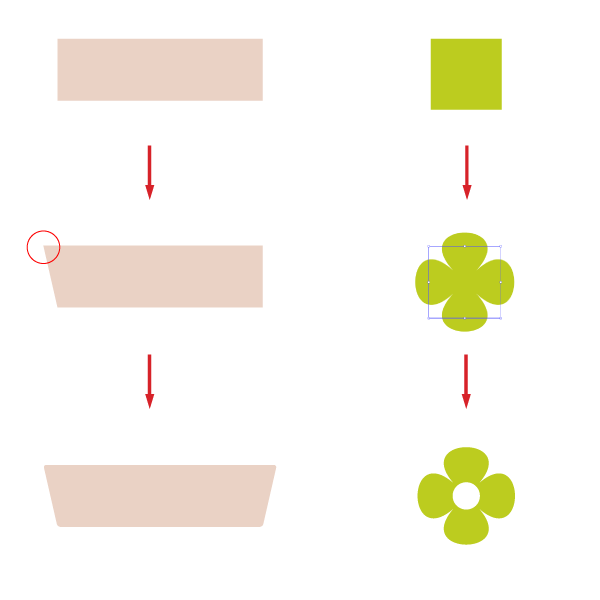
For the flower pot at the windows, draw a rectangle with fill color R=232 G=201 B=193. Select the top left anchor point with the Direct Selection Tool (A) and move it a few points to the left. Do the same on the other side. Then go to Effect > Stylize > Round Corners and set the Radius to 3px.
For the flowers, draw a square, set the fill color to R=188 G=204 B=31. Go to Effect > Distort & Transform > Pucker & Bloat and enter 75%. Then go to Object > Expand Appearance. Add a white ellipse in the middle.
Duplicate the flower (drag it holding Alt-Shift) and change the color of some of them to R=63 G=134 B=137. You can also rotate, enlarge or reduce some of them. Then arrange them on the pot:
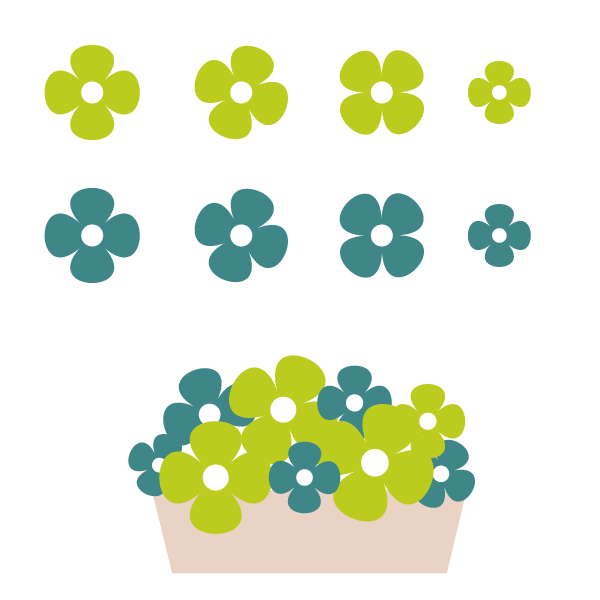
Group them all together (Control-G), duplicate the group and place the pots on the edges of the windows.
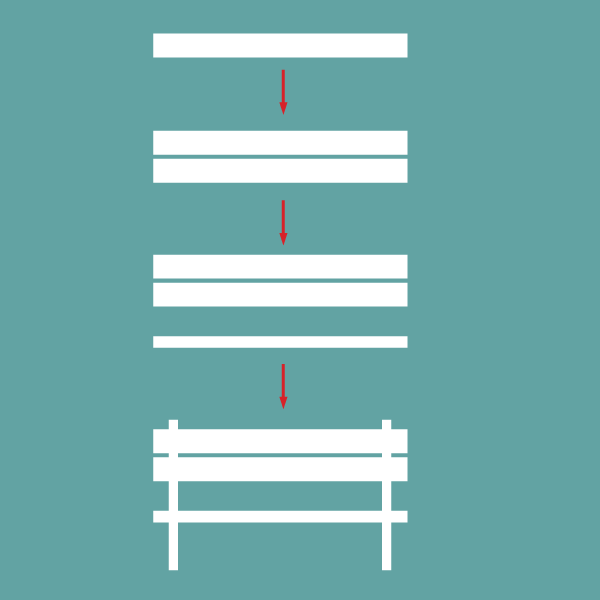
Step 7
Let’s add a bench in front of the coffee shop. Draw a white horizontal rectangle, click the rectangle and drag it down holding Alt-Shift.
Draw a narrower white horizontal rectangle.
Add another white rectangle but vertical this time, click it and drag it holding Alt-Shift to copy it. Select all the shapes and Group them together (Control-G)
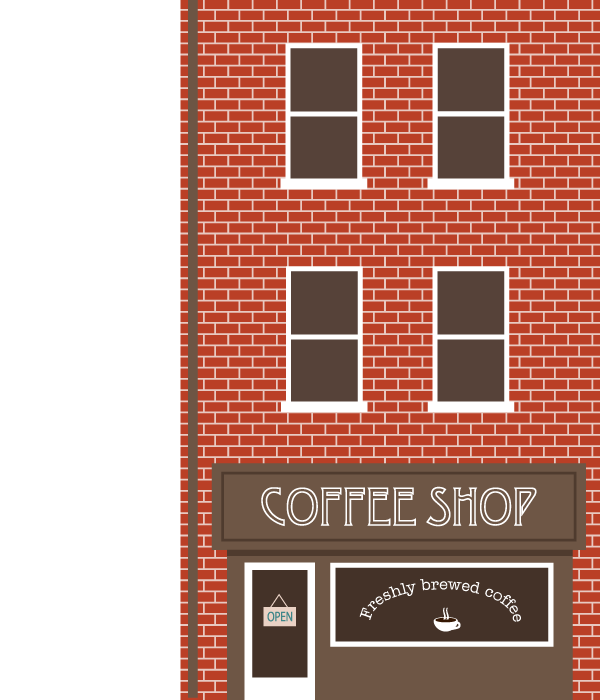
You’re Done, Fancy a Coffee?
I finish off the illustration by changing the colors of some of the bricks to help them stand out. And here is your final result. I hope you’ve enjoyed this tutorial and found some great tips on building illustrations from simple shapes.