
Sproute is a hosted framework for rapid development of web applications. It allows you to easily define dynamic data and comes with lots of useful features out of the box such as user accounts and security.
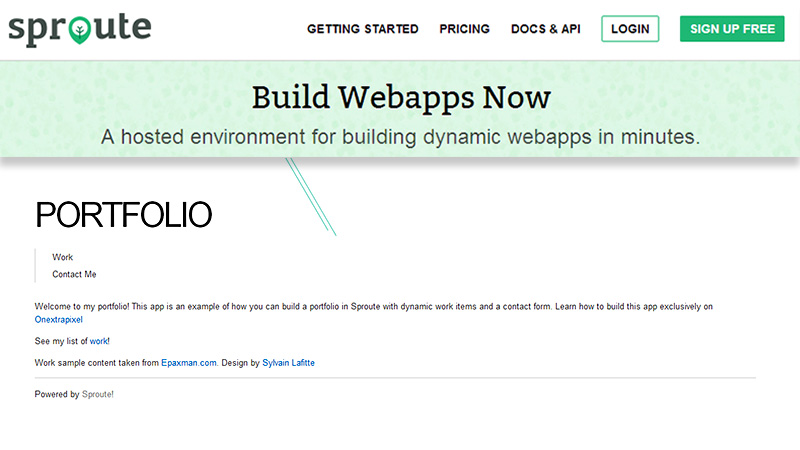
This tutorial will show you how to build your very own online portfolio using Sproute: a hosted environment for building dynamic web apps. The site will have a dynamic list of portfolio items to showcase and a contact form. See the example app live.
Working with Sproute
Core Concepts
There are 4 main concepts that you will need to understand for building a Sproute app:
Pages
Pages are just like HTML files with embedded template tags. This is a similar model to PHP where a request runs code in a page.
Models
Models form the dynamic parts of the web app. Think of it like a database table. You define fields on a model and some integrity properties like maximum length, uniqueness, data type etc.
Routes
Routes are a neat way to make pretty SEO-friendly URLs. You create a pattern and if a request matches that pattern, it will render a page.
We can include wildcards and placeholders in the route so when the page is rendered we have information about what was requested in the placeholder.
Permissions
Permissions are defined at the very end and is a way to limit parts of your application to a certain user-type. For instance you would only want an Admin to be able to delete an entire model and not just anyone.
Permissions are implemented in the same way as routes with URL patterns but instead of pointing to a page, it points to a required user-type before the request can be full filed. Think of it as the gate keeper before letting the request go through.
Create a new Project
If you haven’t already, signup for an account. You will need to give the project (or space) a unique name so it can be accessible at <yourname>.sproute.io.
Once the project has been created, visit the Dashboard at http://<yourapp>.sproute.io/admin and login with same credentials you signed up with.
Create the Models
The dynamic data in this application will be the portfolio items. We will call this ‘works’. Create a new model called works with the following fields and properties:
title– Text, Requiredyear– Number, Requiredslug– Text, Requiredtags– Text, Requiredbody– Text, Required
Each work item will have a title, a year it was created, a slug which will be a pretty URL, a list of relevant tags and finally a body which will contain all the information about the work with HTML.
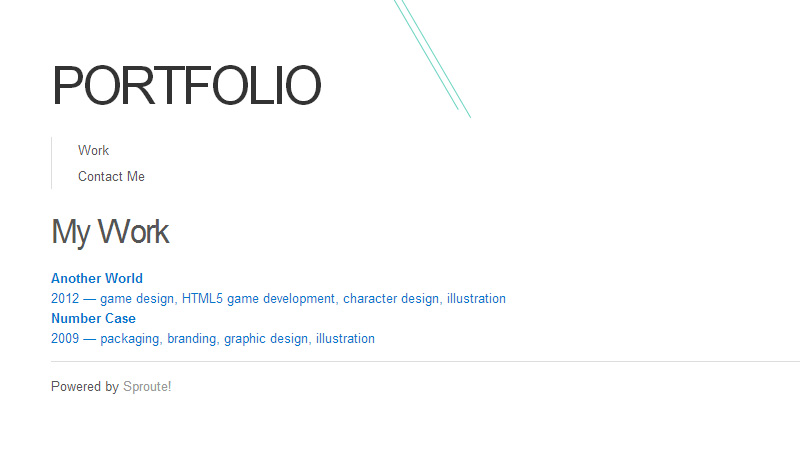
Create the Work listing page
We need a new page to render the data from the model. Click Pages and create a new page called works. We will list all the work items sorted by year, most recent first. This can be done with a template tag: {{ get /data/works?sort=year,desc as works }}
All data is retrieved, created and modified through an HTTP interface (or REST API). Try the above in your browser and it will return the data as JSON.
Another template tag can loop over the collection in the variable called works:
{{ each works as work }}
<a href="/work/{{work.slug}}">
<strong>{{work.title}}</strong>
<div>{{work.year}} — {{work.tags}}</div>
</a> {{ / }}
This will render each item returned in the works collection with a link to the slug, the title, the year and the tags.
Work Page
Create the View page
Every portfolio item will need it’s own page in the web app. Luckily we don’t need to create a new page in Sproute for each entry, we can just have one. Let’s call it view. Include a get request to get the data about the item:
{{ get /data/works/slug/:params.slug?single=true as work }}
Using the HTTP interface we can filter results based on a field; in this case the slug field using the placeholder in the route (params.slug). The ?single=true parameter will return the object rather than a single element collection.
Let’s render the data:
<h2>{{work.title}}</h2>
<div>{{work.year}} — {{work.tags}}</div>
<div class="content"> {{#work.body}} </div>
We use a hash symbol (#) before the variable name so HTML in the field won’t be escaped. This should only be used when the data can be trusted as it opens your application to XSS vulnerabilities.
We need to create a Route so that this page is accessible. Click Route and add the following:
Route:/work/:slug, Page:view
View Page

Create the Entry page
We need a way for the admin to submit new or old work. This can be done with a simple HTML form. Create a new page called entry:
<form action="/data/works?goto=/works" method="post"> <label> <div>Title:</div> <input type="text" name="title" /> </label> <label> <div>Slug:</div> <input type="text" name="slug" /> </label> <label> <div>Tags:</div> <input type="text" name="tags" /> </label> <label> <div>Year:</div> <input type="text" name="year" placeholder="2000" /> </label> <label> <div><textarea name="body"></textarea></div> </label> <div><button type="submit">Add Work</button></div> </form>
This will send a POST request to the REST API for creating a row in the works collection. Remember to create a route for the page:
Route:/entry, Page:entry
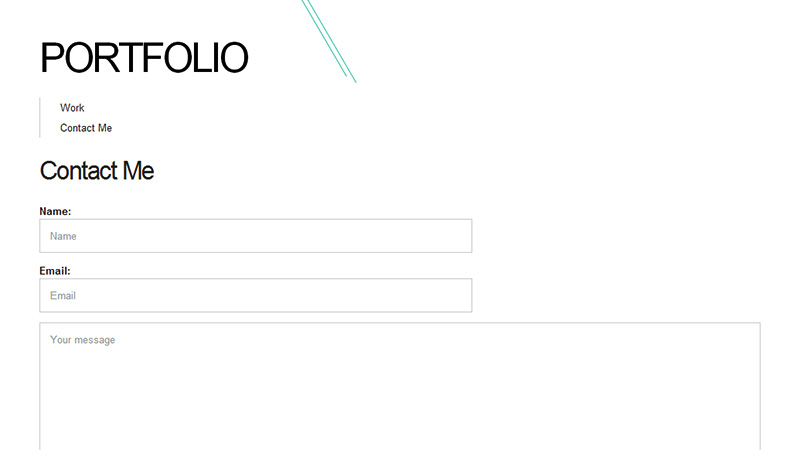
Create the Contact page
All great websites need a contact form to send you messages. Sproute doesn’t have this feature built-in but luckily other free services exist that do. In particular we will use Formspree.
Create a new page called contact:
 {{ if query.sent }}
Thanks for your message! {{ / }}
<h2>Contact Me</h2> <form action="//api.formspree.com/<YOUR EMAIL HERE>" method="POST">
<label>
<div>Name:</div>
<input type="text" name="name" placeholder="Name">
</label>
<label>

<div>Email:</div>
<input type="email" name="_replyto" placeholder="Email">
</label>
<label>
<textarea name="message" rows="5" placeholder="Your message"></textarea>     </label>
<input type="hidden" name="_next" value="http://portfolio.sproute.io/contact?sent=1" />
<button type="submit">Send</button> </form>
You will need to register the form with Formspree by sending a test message. Use your email address in the action field and the URL to the contact page in the _next input field. We use a query parameter to show a Thank You message once the message has been sent.
Add the following route:
Route:/contact, Page:contact
Contact Page
Lock it down!
The final thing we should do is add some permissions so naughty people can’t tamper with the data. Add the following permissions with the user type of admin:
- Method:
* ALL, Route:/entry, User:Admin - Method:
POST, Route:/data/:table, User:Admin - Method:
POST, Route:/api/register, User:Admin
This means only an admin can visit the entry page and only an admin can create new data.
Prettify with a template
You’ll notice your space has no default template so it looks rather bland. I solved this by searching for a free CSS template and linking directly to a hosted CSS file.
You could also use a CSS framework such as Bootstrap or Foundation.
See the documentation for information regarding hosting static assets.
Conclusion
We’re done! This tutorial has covered a lot but by now you should have a fully functional online portfolio. Have fun with it and see if you can extend it with more features. Be sure to read the documentation or contact us for any support questions.