Need to center text vertically in a text box? InDesign makes it simple. In this quick tutorial, you’ll quickly and easily learn how to center text vertically in InDesign.
How to Center Text Vertically in InDesign
Step 1
First, you’ll need to have a document open in InDesign. To center text vertically, you’ll need a text box with copy in it. We’ll center text vertically in the text box. InDesign makes it easy to add and edit copy using the Type Tool.
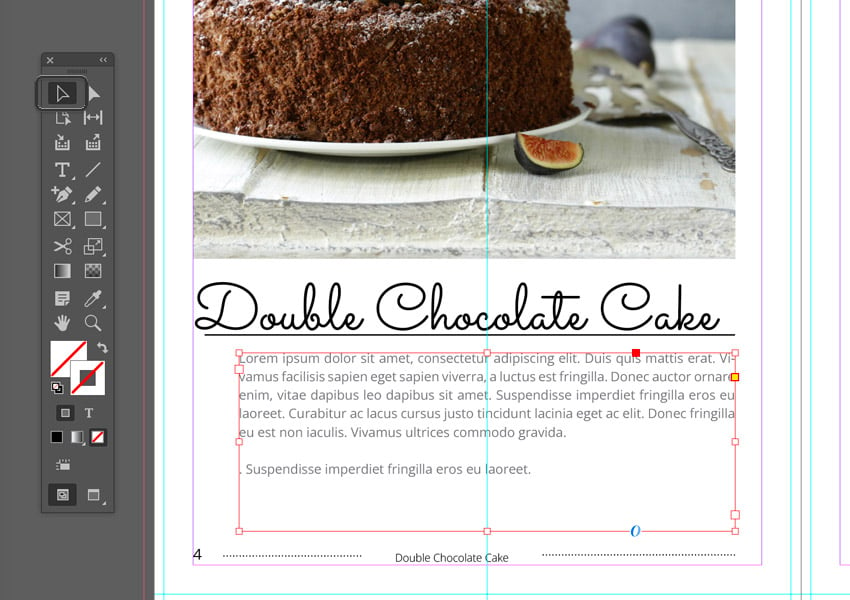
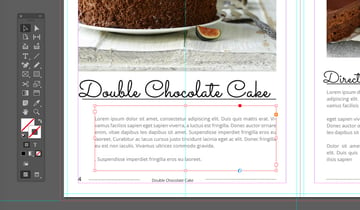
For this demonstration, I’ll use this InDesign Cookbook Template from Envato Elements. You can use any document you prefer. Using the Selection Tool, I’ve selected the text box containing the copy I would like to align vertically. By default, as shown below, it’s vertically aligned to the top.
Step 2
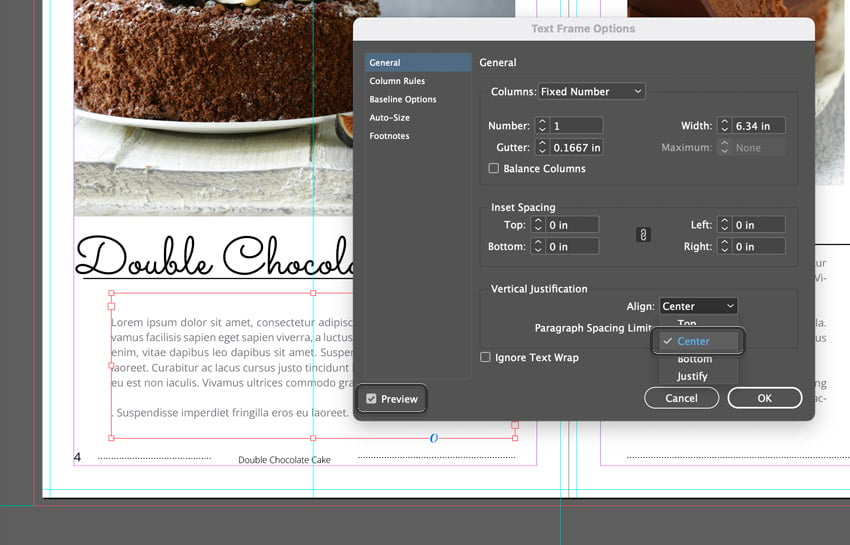
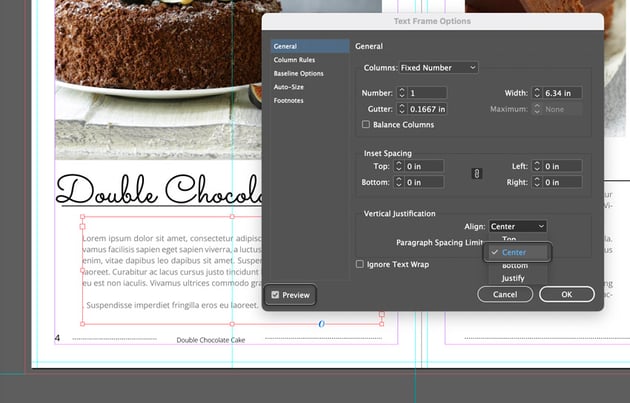
Next, with our text box still selected, go to Object > Text Frame Options. That’s where InDesign can center text vertically for you.
Under the General settings, we can see Vertical Justification at the bottom. From here, we can select a number of options, including Top, Center, Bottom, and Justify. Toggle Preview On to see your text’s vertical alignment change as you choose between the options.
Choose Center, since our goal is to center text vertically. InDesign will then make that adjustment for us. Once you’re happy with your selection, click OK to continue.
Step 3
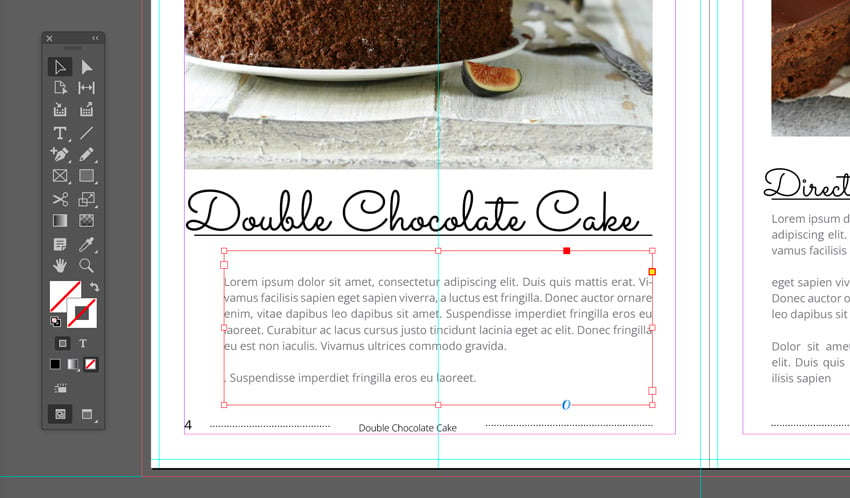
And, just like that, you can easily get InDesign to center text vertically for you. Just return to those Text Frame Options any time you need to adjust that Vertical Justification. Simple, right? And should you adjust your text frame’s dimensions, that justification will stay until otherwise adjusted.
Now You Know How to Center Text Vertically in InDesign
It’s pretty simple to center text vertically in a text box. InDesign takes all the guesswork out, if you know where to look. Looking for even more InDesign quick tips and shortcuts? There’s plenty more to learn right here on Envato Tuts+. Check out these recommended tutorials for even more handy tips to add to your InDesign workflow.